

How to Install a Kitchen Sink Basket Strainer
About This Project
This guide provides detailed instructions for removing an old kitchen sink basket strainer and installing a new one. The process involves disconnecting the drain, removing the old unit, cleaning the sink surface, applying plumber's putty, and securing the new strainer to create a watertight seal before reconnecting the plumbing.
Best for experienced DIYers and homeowners with some experience with basic plumbing knowledge and familiarity with power tools.
Tools & Materials

Bucket

Channellock 10 in. Tongue and Groove Plier 430
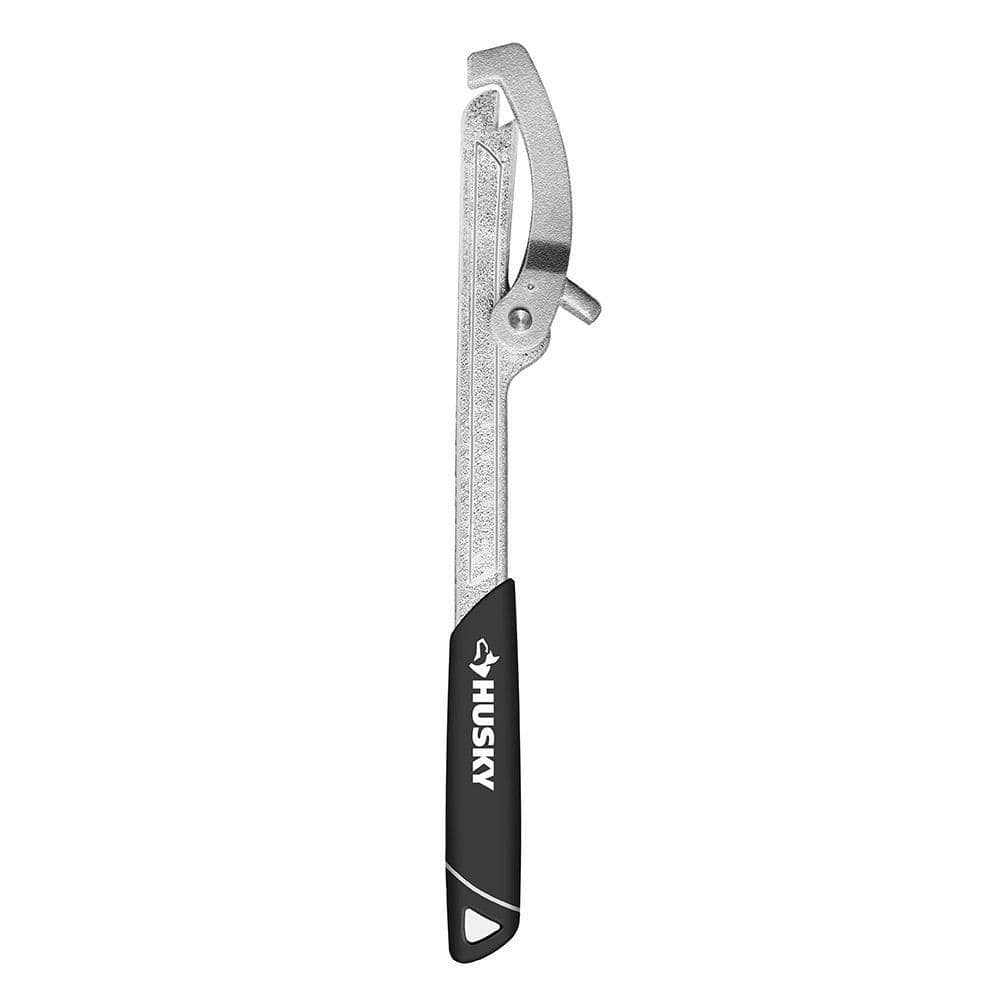
Husky Lock Nut Wrench 16PL0133

Screwdriver

Putty knife

Rag
Bucket
Ideal for carrying or storing liquids.
Channellock 10 in. Tongue and Groove Plier 430
The Channellock 10 in. Straight Jaw Tongue and Groove Pliers are constructed with high-carbon steel and fashioned with laser heat-treated teeth for strong, nonslip jaw action. Undercut tongue-and-groove
Husky Lock Nut Wrench 16PL0133
Husky's 12 in. adjustable Lock Nut Wrench tightens and removes sink strainer lock nuts on strainer baskets. The spring-loaded jaw automatically adjusts to fit most sink strainer lock nuts. The long handle
Screwdriver
A tool used to turn screws.
Putty knife
Spreads putty with its flat blade.
Rag
Handy for cleaning or wiping tasks.
Steps

Prepare and Remove Old Strainer
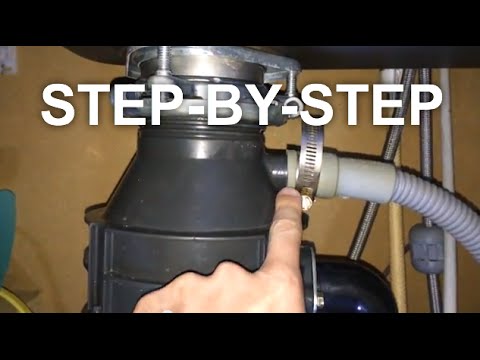
10 minsStart by clearing everything out from under the sink to give yourself ample workspace. Place a bucket directly beneath the P-trap to catch any water that will spill out. Use channel-type pliers to loosen the slip nuts connecting the tailpiece to the basket strainer and the P-trap. Once loose, disconnect the tailpiece and set it aside. Next, use the pliers or a strainer locknut wrench to loosen and remove the large locknut holding the old strainer to the underside of the sink. You may need a helper to hold the strainer from above with a screwdriver or pliers to prevent it from spinning. Once the locknut is off, push the old strainer up and out of the sink.
Clean the Sink Drain Opening
5 minsAfter removing the old strainer, thoroughly clean the top and bottom surfaces of the sink's drain opening. Use a putty knife to carefully scrape away any old, hardened plumber's putty or sealant residue. Follow up with a rag and a mild cleaning solvent or mineral spirits to remove any remaining film, ensuring the surface is completely clean and dry. A clean surface is crucial for creating a perfect seal with the new strainer.

Apply Plumber's Putty
5 minsTake a small amount of plumber's putty from its container and knead it in your hands for about a minute to warm it up and make it pliable. Roll the putty between your palms to form a uniform, rope-like snake about 1/2-inch thick. The rope should be long enough to encircle the drain opening completely. Carefully press this rope of putty onto the underside of the new strainer's flange, ensuring it forms a continuous, unbroken ring.

Insert the New Strainer
2 minsWith the plumber's putty applied, firmly press the new basket strainer down into the sink's drain opening from above. Push it down evenly so that some of the putty squeezes out around the entire perimeter of the flange. This squeeze-out indicates a good seal. The strainer should sit flush and be centered in the opening.

Install Underside Gaskets and Locknut
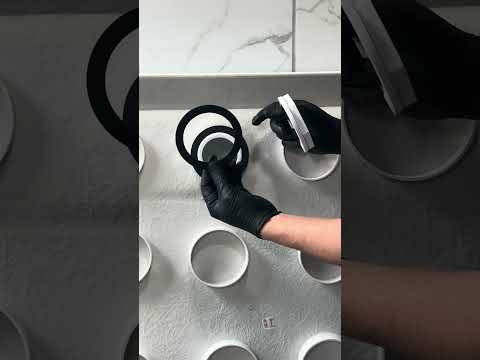
5 minsFrom underneath the sink, place the components onto the threaded body of the strainer in the correct order. First, slide on the rubber gasket, ensuring its flat side is against the sink bottom. Next, add the friction washer (this is often made of paper or fiber). Finally, thread on the metal locknut by hand until it is finger-tight. Ensure the gaskets and washer are centered and flat against the underside of the sink.
Tighten the Strainer Locknut
5 minsAsk a helper to hold the strainer steady from above by inserting the handles of pliers or a screwdriver into the crossbars of the strainer body. From below, use channel-type pliers or a specialized strainer locknut wrench to tighten the locknut. Tighten it firmly to compress the putty and the rubber gasket, creating a watertight seal. Be careful not to overtighten, which could crack the sink or the strainer. A good rule of thumb is to tighten until snug, then an additional quarter to half turn.


Reconnect Drain Pipe
5 minsReattach the drain tailpiece to the bottom of the new basket strainer. If the old tailpiece is in poor condition, now is a good time to replace it. Ensure the slip nut washer is in place and oriented correctly (tapered side facing the flare of the tailpiece). Hand-tighten the slip nuts connecting the tailpiece to the strainer and the P-trap. Give them a final quarter-turn with channel-type pliers, but be careful not to overtighten plastic threads.

Test for Leaks
5 minsWith everything reassembled, it's time to test your work. Place the stopper in the sink drain and fill the sink basin with several inches of water. Let it sit for a few minutes, checking underneath with a flashlight and a dry paper towel for any drips around the new locknut or the drain connections. Then, pull the stopper and let the water drain out quickly, again checking for leaks as the water flows through the pipes. If you see any drips, you may need to slightly tighten the corresponding nut or, in a worst-case scenario, disassemble and reseat the strainer.
Common Problems
Overtightening the basket strainer can crack the sink or cause leaks.
Solution: Be careful when installing and tightening the basket strainer to avoid any damage or leaks.
Stuck locknut prevents proper sink strainer installation.
Solution: If the locknut is difficult to turn, applying some penetrating oil might help loosen it.
Do not over-tighten the drain assembly as it can damage the tub or the drain pipe.
Solution: To avoid this issue: Be mindful of this warning and take appropriate precautions.
Leaky sink due to twisted gasket.
Solution: The paper or plastic friction ring is important as it allows the nut to turn smoothly without grabbing and twisting the rubber gasket, which could compromise the seal.
Scratched or damaged chrome finish on the drain strainer.
Solution: Smooth-jaw pliers are recommended to avoid scratching or damaging the chrome finish of the drain strainer.
Overtightening the basket strainer can crack the sink or strip the threads.
Solution: Make sure the assembly is hand-tight plus a quarter turn with the tool. Do not overtighten.
The snap ring won't seat properly in its groove.
Solution: A flathead screwdriver can be helpful to pry the snap ring into its groove if you have trouble doing it by hand.
Frequently Asked Questions
How difficult is installing a kitchen sink basket strainer for a beginner, and how long should I expect it to take?
This project is considered beginner-friendly, but patience is key, especially with removing an old, stubborn strainer. While estimated at 3 hours, allow extra time, perhaps up to 4-5 hours, if you encounter unexpected issues or if the old components are corroded. Having the right tools ready will significantly streamline the process.
What's the purpose of plumber's putty, and is there an alternative I can use for sealing?
Plumber's putty creates a watertight seal between the new strainer's flange and the sink opening, preventing leaks. While some people use silicone sealant as an alternative, plumber's putty is generally preferred for this application because it remains pliable, making future disassembly and repairs much easier. Ensure a generous, even bead for a reliable seal.
My old strainer is really stuck; what's the best way to remove it without damaging the sink?
If the old strainer's locknut is corroded and won't budge, try applying penetrating oil and letting it soak. You can also use a basin wrench or a large pair of Channellock pliers for leverage. If it's still stuck, insert a screwdriver into the crossbars of the strainer from above and tap it gently with a hammer from below to loosen the nut. Avoid excessive force to protect your sink.
Do I need all the specific tools listed, especially the locknut wrench, or can I get by with basic tools?
While you might manage with large channel-lock pliers, a dedicated locknut wrench (like the Husky Lock Nut Wrench 16PL0133) or a basin wrench is highly recommended. These tools provide better grip and leverage in tight spaces, making it much easier to properly tighten the locknut and ensure a secure, leak-free seal without overtightening or damaging components.
What's the most critical step to prevent leaks after installing the new strainer?
The most critical step is applying plumber's putty correctly and tightening the strainer's locknut. Apply a thick, even rope of putty around the underside of the strainer's top flange, press it firmly into the sink opening, then tighten the locknut from below until putty squeezes out evenly around the top. This confirms a complete and watertight seal.
What should I do if I discover a leak after completing the installation and reconnecting the drain?
If you find a leak, first turn off the water and check all connections, especially the strainer locknut and any slip nuts on the drain pipes, to ensure they are snug. If tightening doesn't fix it, you may need to disassemble the strainer, clean off the old plumber's putty, and reapply a fresh bead, ensuring even coverage and compression upon reassembly. Also, inspect all gaskets for proper seating or damage.


