
How to Install a Dishwasher Air Gap on a Countertop
About This Project
This guide provides comprehensive, step-by-step instructions for installing a dishwasher air gap on a kitchen countertop. The process involves selecting a location, drilling a hole in the countertop, mounting the air gap device, and connecting the necessary drain hoses from the dishwasher and to the garbage disposal or sink drain. This is a common plumbing requirement in many regions to prevent contaminated water from siphoning back into the clean dishwasher.
Best for advanced DIYers and professionals with basic plumbing knowledge and familiarity with power tools. Requires HDX Indoor Safety Glasses Clear (1-Pack) VS-9300, clear.
Tools & Materials
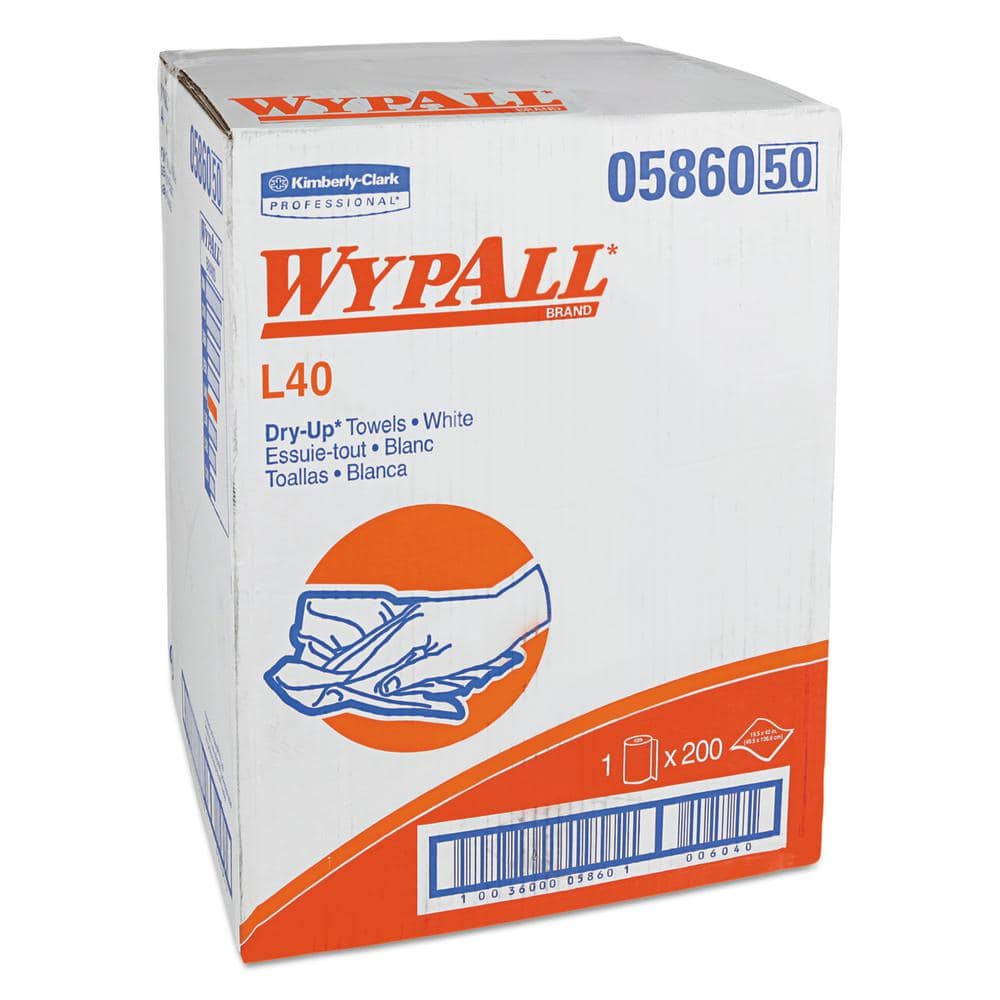
WYPALL L40 Towels, Dry Up Towels, 19-1/2 in. x 42 in., White, 200 Towels/Roll KCC05860

9in Galvanized Metal Candycane Bucket With Pine and Jingle 35092DF
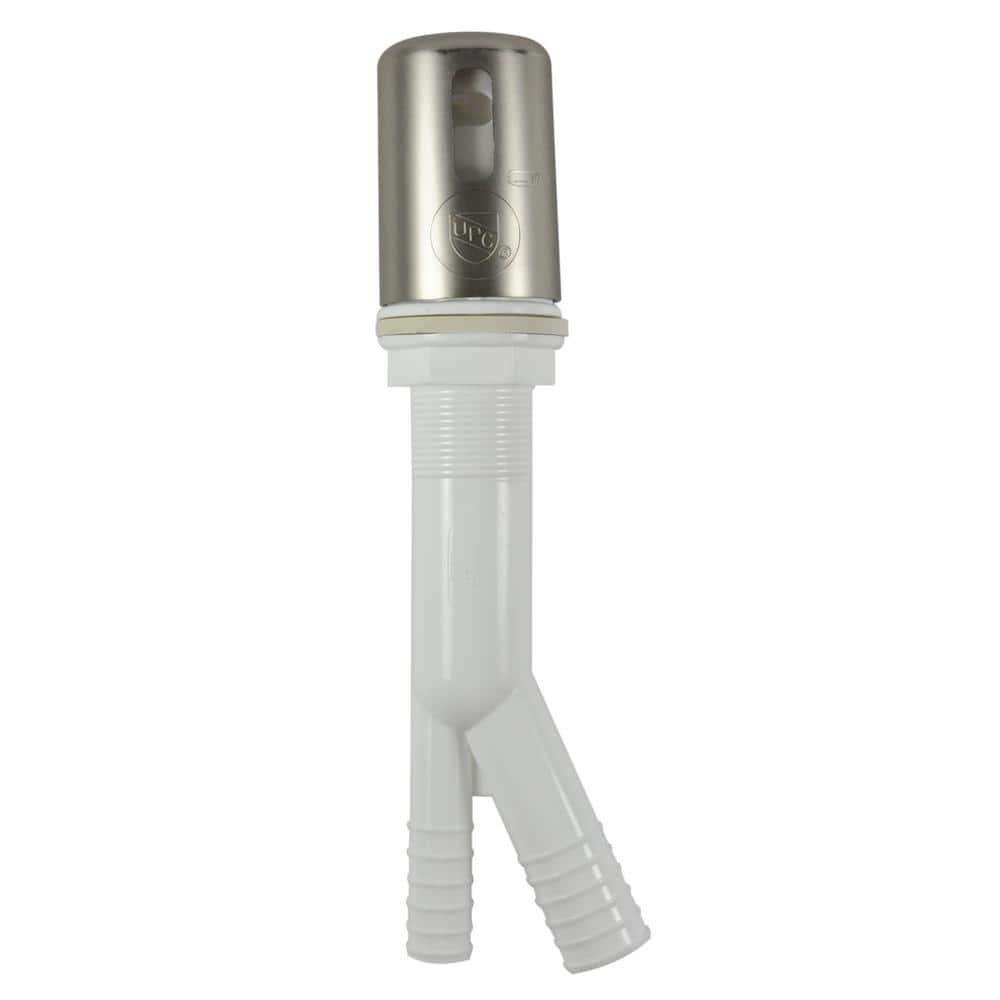
DANCO 7/8 O.D. Air Gap Body with Air Gap Cap in Brushed Nickel 10924
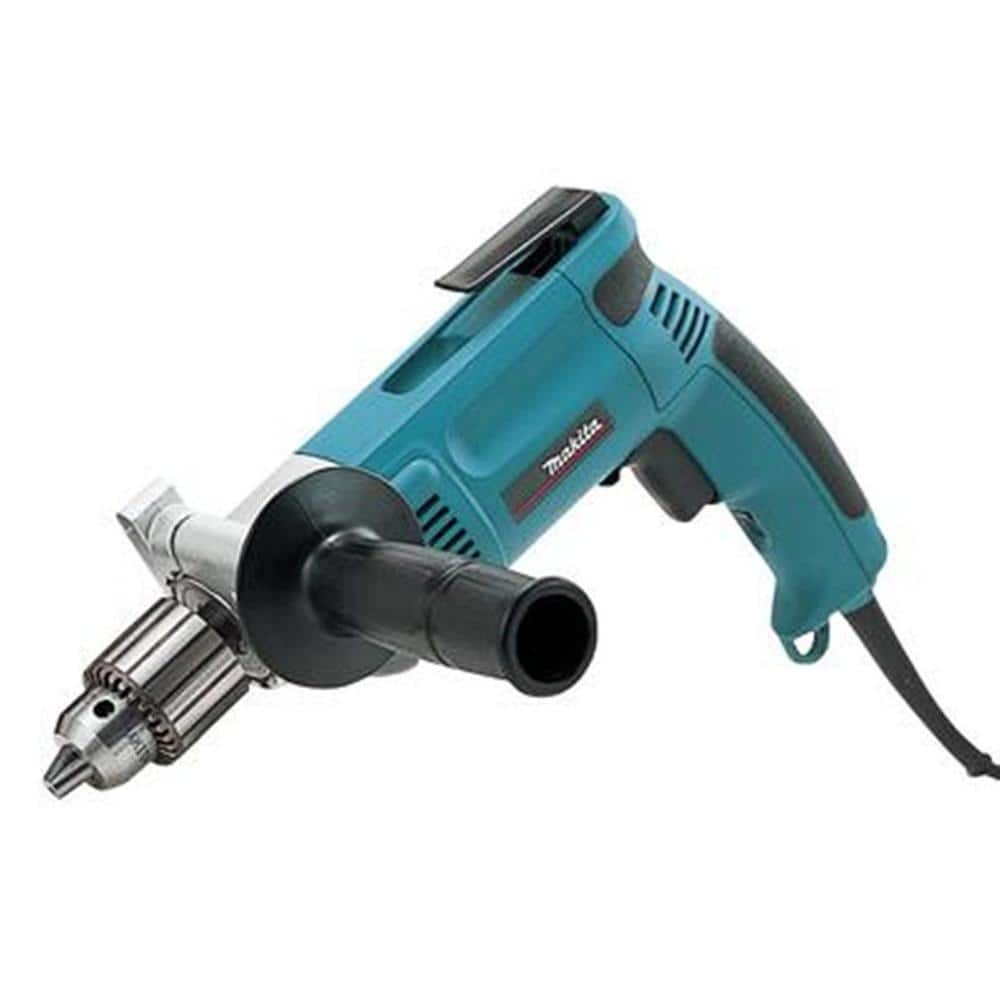
Makita 7 Amp 1/2 in. 900 RPM Drill DP4000
Malco Adjustable Hole Cutter HC1S
25 ft. Tape Measure
WYPALL L40 Towels, Dry Up Towels, 19-1/2 in. x 42 in., White, 200 Towels/Roll KCC05860
WYPALL L40 Wipers are effective wipers that absorb liquids lightning-fast. These wipes are made of bonded cellulose using DRC (double re-creped) technology for strength, softness and absorbency. As a wiping cloth, it soaks up liquids fast, but all you'll feel is softness, thanks to a plush, touchable outer layer. In fact, it's a popular choice for patient wiping in healthcare industries, for bathing and patient drying. These utility wipes are specially designed to absorb liquids, lubricants and oils (in restaurants for wiping counters, in mechanic shops, industrial and commercial factories and more), yet they're soft enough for use on face and hands. Experience the difference in superior absorbency and cleaning at your home or office today. Towel/Wipe Type: Dry Wipes; Application: Bathrooms; Material(s): Cloth-Like; Number of Plies: 1.
9in Galvanized Metal Candycane Bucket With Pine and Jingle 35092DF
Elevate your winter and Christmas decor and welcome the holiday season with Let's Party's selection of festive decorations. We offer galvanized metal buckets to provide your home, room, or office with
DANCO 7/8 O.D. Air Gap Body with Air Gap Cap in Brushed Nickel 10924
The Danco Complete Air Gap Assembly with Brushed Nickel Air Gap Cap prevents sewage from flowing back into the dishwasher. The dishwasher air gap is mounted above the sink and prevents contaminated water
Makita 7 Amp 1/2 in. 900 RPM Drill DP4000
The Makita 1/2 in. Drill (model DP4000) has a powerful 6.5 Amp motor for heavy duty continuous work. It includes a large and conveniently-located reversing switch and lock-on button. It contains a large
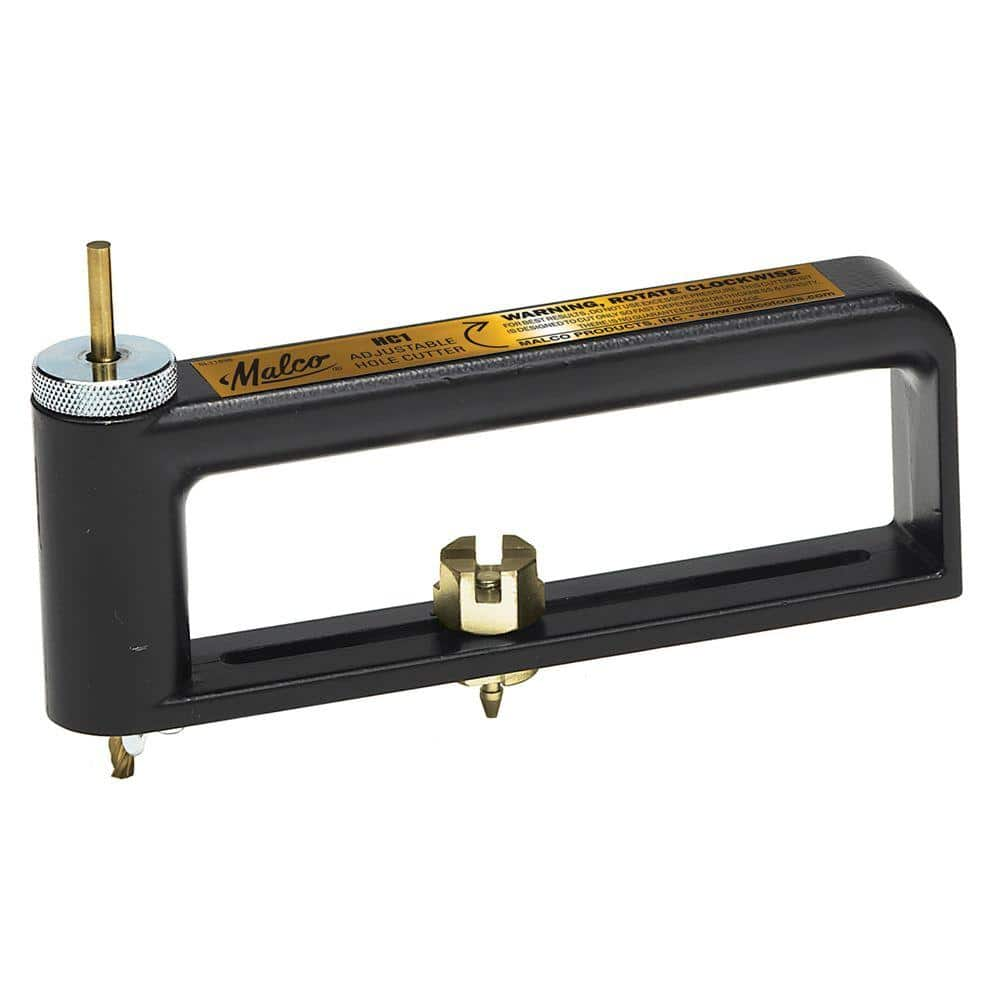
Malco Adjustable Hole Cutter HC1S
The Malco Adjustable Hole Cutter works with almost any power drill to make 2 - 12 inch diameter holes in sheet metal. It features a durable cutter bit with precision-fit sealed bearings. Lightweight aluminum
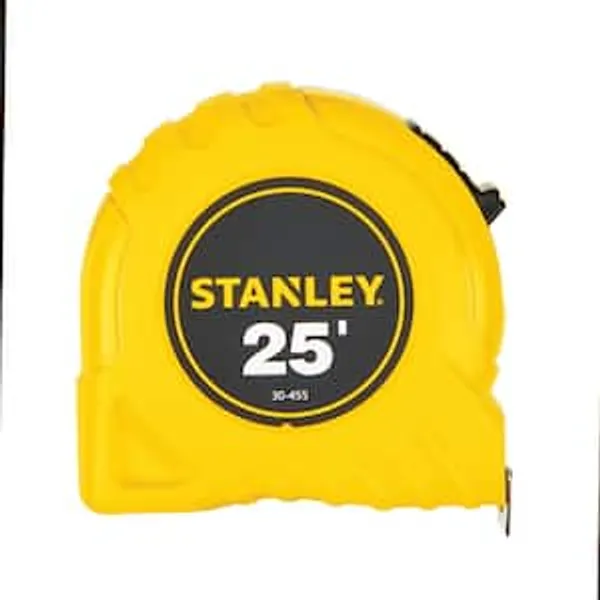
25 ft. Tape Measure
Measure with precision and ease.
Steps

Preparation and Planning
20 minsBegin by ensuring your work area is safe and prepared. Turn off the power to both the dishwasher and the garbage disposal at your home's main electrical panel (circuit breaker). Clear all items from the cabinet under the sink to give yourself ample room to work. Lay down old towels or place a shallow pan inside the cabinet to catch any water that will spill from the drain lines. Unpack your new dishwasher air gap kit and verify that all parts, including the body, decorative cover, washers, mounting nut, and hose clamps, are present.

Drill the Mounting Hole
20 minsSelect a suitable location for the air gap on your countertop, typically near the sink basin and behind the faucet. The location must be accessible from underneath. Use a tape measure and a pencil to mark the exact center of the hole. For a laminate countertop, apply masking tape over the marked spot to prevent the surface layer from chipping. Using a power drill equipped with the correct size hole saw (typically 1-1/4 to 1-3/8 inches, check your air gap's instructions), drill a pilot hole first if your hole saw doesn't have a pilot bit. Then, drill the main hole. Apply steady, moderate pressure and let the saw do the work. Once through, clean up all sawdust from the top and bottom of the countertop.

Mount the Air Gap Body
10 minsFrom the top of the countertop, insert the threaded body of the air gap through the hole you just drilled. From underneath the sink, slide the large rubber washer onto the threaded body first, ensuring it sits flush against the underside of the countertop to create a seal. Follow this with the friction washer (if included) and then the mounting nut. Hand-tighten the nut as much as possible. Position the air gap body so the smaller inlet nipple faces the dishwasher and the larger outlet nipple faces the garbage disposal. Use channel-lock pliers or a basin wrench to give the nut a final quarter-turn to secure it, being careful not to overtighten and crack the plastic body.

Connect Dishwasher to Air Gap
15 minsLocate the drain hose coming from your dishwasher. It is likely connected directly to the garbage disposal's inlet or looped high up under the sink and connected to a drain tailpiece. Place your bucket underneath this connection. Using a screwdriver or nut driver, loosen the hose clamp and disconnect the hose. Be prepared for water to drain out. Route this hose (typically 5/8-inch diameter) to the smaller of the two nipples on the newly installed air gap body. Slide a hose clamp over the hose, push the hose firmly onto the nipple, and tighten the clamp securely.
Connect Air Gap to Garbage Disposal
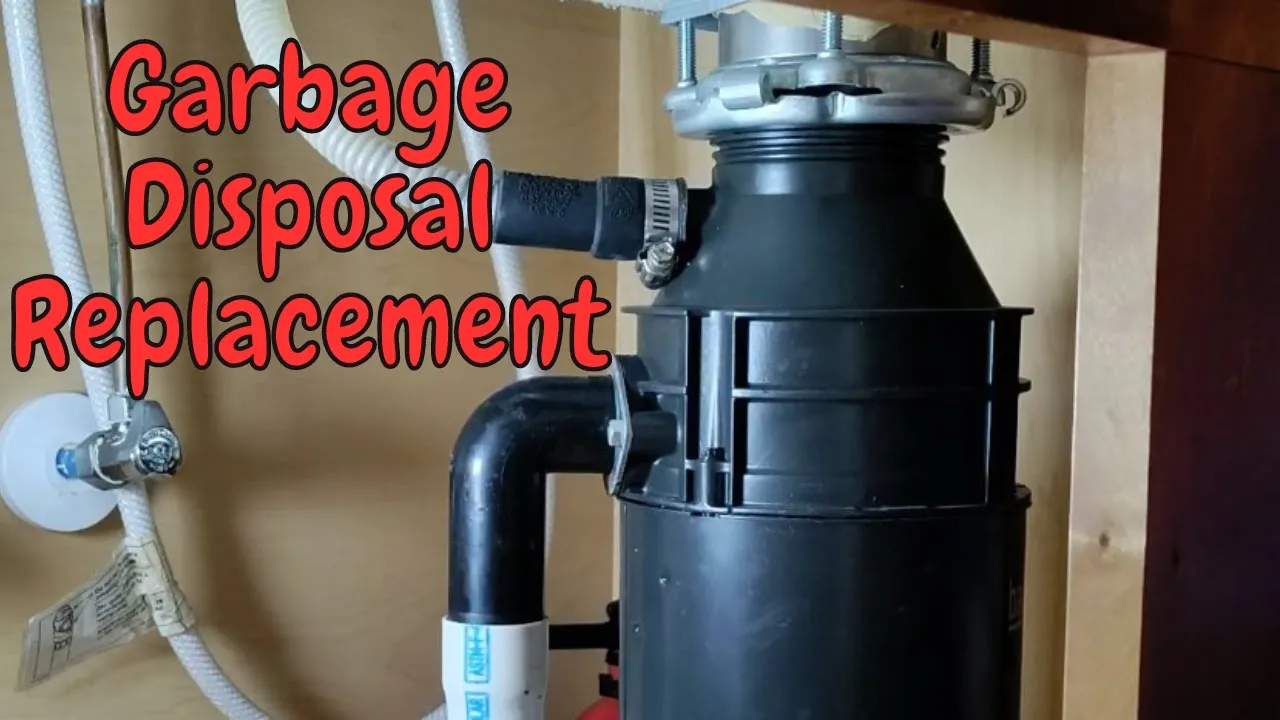
20 minsThis step connects the air gap to the garbage disposal. First, you must ensure the disposal's inlet port is open. If it has never been used, it is sealed by a plastic 'knockout plug' from the factory. Insert the tip of a flathead screwdriver into the inlet nipple and strike the end of the screwdriver firmly with a hammer to break the plug free. It will fall into the disposal's grinding chamber. Reach into the disposal (ENSURE POWER IS OFF) and retrieve the plastic piece. Now, take the larger 7/8-inch drain hose (usually included with the kit), attach one end to the larger outlet nipple on the air gap, and secure it with a hose clamp. Route the other end of this hose to the now-open inlet nipple on the garbage disposal. Secure this end with another hose clamp.

Final Checks and Testing
15 minsWith all hoses connected, perform a final check. Ensure all hose clamps are tight and there are no visible kinks in either hose. Place the decorative cover over the air gap body on the countertop. Go to the electrical panel and restore power to the dishwasher and garbage disposal. Turn on the cold water at the sink and run the garbage disposal for a few seconds to ensure it is clear and functioning. Now, start the dishwasher on a 'rinse only' or 'drain' cycle. As the dishwasher pumps out water, use a flashlight to carefully inspect all your connections under the sink (at the air gap and at the disposal) for any signs of leaks. It is normal to hear some gurgling sounds from the air gap, but no water should spill out of the top vent holes.
Common Problems
Water may briefly exit the top of the air gap vent on the countertop during the drain cycle; this is normal operation.
Solution: To avoid this issue: Be mindful of this warning and take appropriate precautions.
Leaky plumbing connections after dishwasher installation.
Solution: Before turning on the switch, run cold water into the sink to check for leaks at your plumbing connections.
Unnoticed leaks can cause water damage and mold growth under the sink.
Solution: Place a dry paper towel under the disposal and connections to make it easier to spot small drips.
Leaky connections go unnoticed until after the countertop is sealed.
Solution: Testing with a large volume of water creates pressure and is the best way to reveal any small leaks.
If installing a new garbage disposal, make sure to remove the knockout plug from the dishwasher inlet before attaching the hose.
Solution: To avoid this issue: Be mindful of this warning and take appropriate precautions.
Failure to remove the knockout plug from the garbage disposal inlet will cause the dishwasher to not drain.
Solution: To avoid this issue: Be mindful of this warning and take appropriate precautions.
Standing water in the air gap hose due to improper slope.
Solution: The hose must run downhill from the air gap to the disposal to prevent standing water.
Frequently Asked Questions
Why is an air gap necessary, and is it always required for a dishwasher?
An air gap prevents contaminated drain water from siphoning back into your clean dishwasher, protecting your dishes and health. While not universally required, many local plumbing codes mandate them, so always check your local regulations before installation.
What are the main safety precautions I should take when drilling the hole in my countertop?
Always wear eye protection and gloves. Securely brace the countertop from below if possible, and use the correct hole cutter (like the Malco HC1S) at a slow speed to prevent chipping or cracking. Start with a pilot hole for accuracy and control.
My new air gap is leaking after installation. What should I check first?
The most common leaks occur due to loose hose clamps (ensure they are tightened properly, like the Everbilt 5/16 - 5/8 in. clamps), improperly seated hoses, or damaged gaskets on the air gap body. Double-check all connections and the integrity of any rubber seals.
Is the 4-hour estimated time realistic for a beginner, and what makes it take that long?
Yes, 4 hours is realistic for a beginner. This accounts for thorough preparation, careful drilling (especially for a first-timer), routing hoses, making secure connections, and meticulous testing for leaks, which can take time to get right.
How do I know which air gap port connects to the dishwasher and which goes to the garbage disposal/drain?
The larger port on the air gap (typically 7/8 inch) connects to the dishwasher's drain hose, while the smaller port (typically 5/8 inch) connects to the garbage disposal or sink drain. Always refer to the air gap's specific instructions and diagrams to confirm connections.
Can I use a regular drill bit instead of a specialized hole cutter for drilling through my countertop?
It's highly recommended to use a specialized hole cutter (like the Malco HC1S) for a clean, precise hole that matches the air gap's diameter. A regular drill bit, especially without proper technique, can cause chipping, cracking, or an uneven hole in most countertop materials.


