
How to Install a Bathroom Sink Drain and P-Trap
About This Project
This guide provides comprehensive, step-by-step instructions for removing an old bathroom sink drain and P-trap, and then installing a new assembly. The process covers preparing the workspace, sealing the new drain body into the sink using plumber's putty, connecting the pop-up stopper mechanism, assembling the P-trap components, and connecting the entire system to the wall's waste pipe. The final and most crucial stage involves tightening all connections and thoroughly testing for leaks to ensure a durable, trouble-free installation.
Best for experienced DIYers and homeowners with some experience with basic plumbing knowledge and familiarity with power tools.
Tools & Materials

Bucket

Channellock 10 in. Tongue and Groove Plier 430

Putty knife

Rag
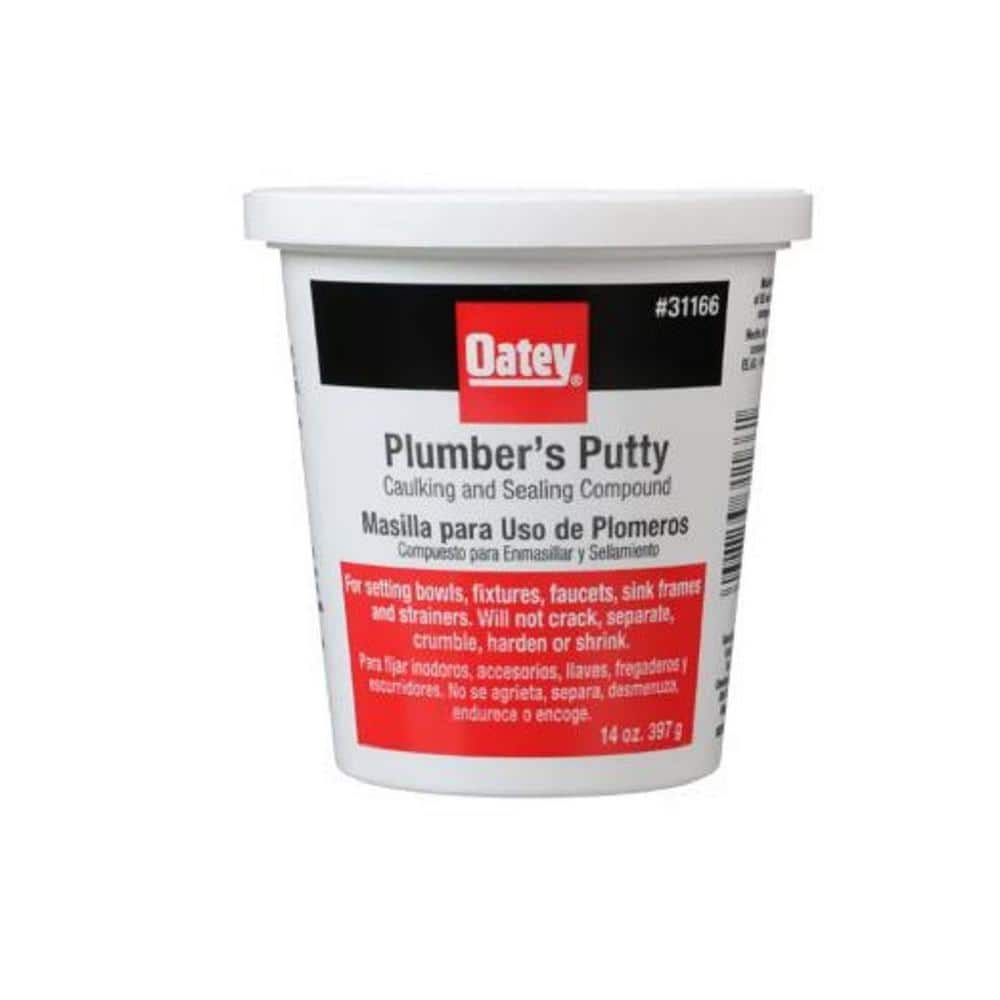
Oatey 14 oz. Plumber's Putty 311662
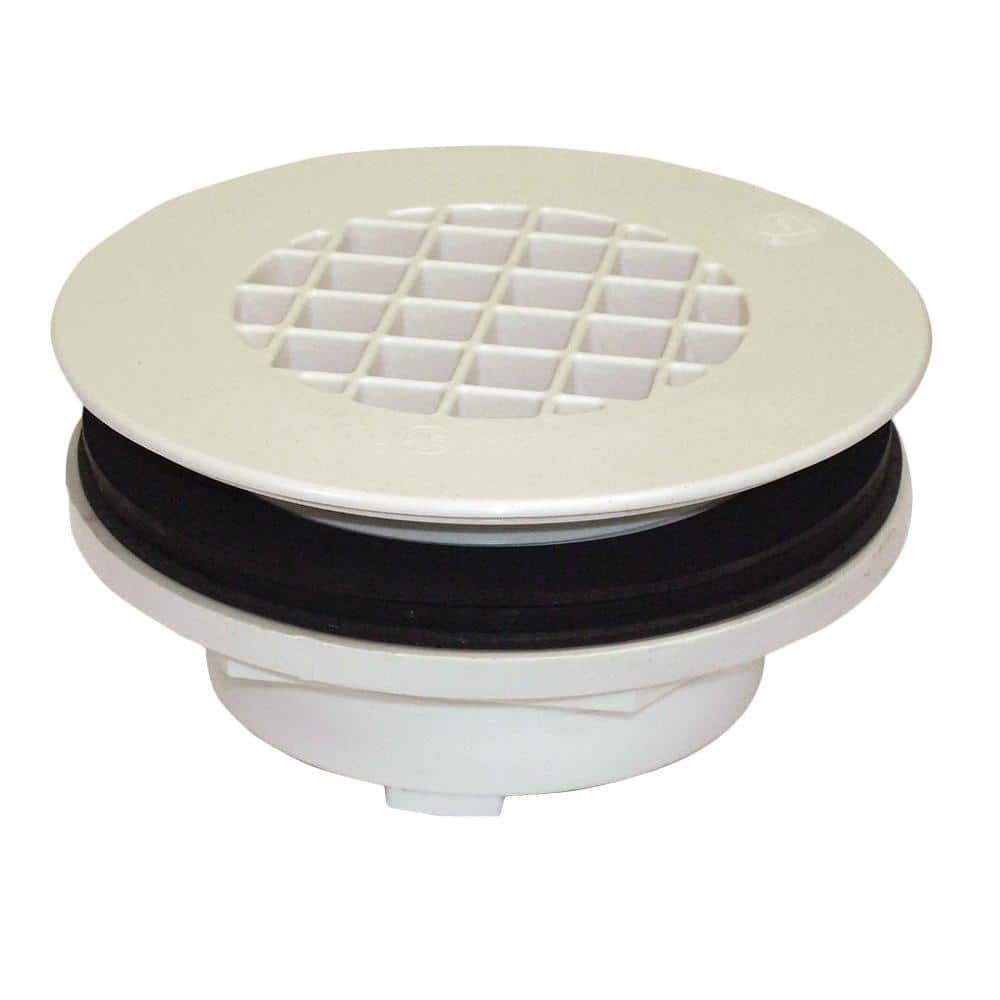
MUSTEE PVC Drain Assembly with Seal for 2 in. PVC, ABS and Iron DWV 42.317A
Bucket
Ideal for carrying or storing liquids.
Channellock 10 in. Tongue and Groove Plier 430
The Channellock 10 in. Straight Jaw Tongue and Groove Pliers are constructed with high-carbon steel and fashioned with laser heat-treated teeth for strong, nonslip jaw action. Undercut tongue-and-groove
Putty knife
Spreads putty with its flat blade.
Rag
Handy for cleaning or wiping tasks.
Oatey 14 oz. Plumber's Putty 311662
The Oatey 14 oz. Plumber's Putty is an easy-to-mold setting compound designed for use with stainless-steel sealing applications such as frames, faucets and strainer baskets. Not for use on plastic, marble,
MUSTEE PVC Drain Assembly with Seal for 2 in. PVC, ABS and Iron DWV 42.317A
PVC Drain Assembly with drain seal for 2 in. PVC, ABS and Iron DWV. The 42.317A Drain Assembly fits MUSTEE ShowerTub Shower Floor models 3060L and 3060R. The removable strainer is white to match the ShowerTub
Steps

Preparation and Old Drain Removal
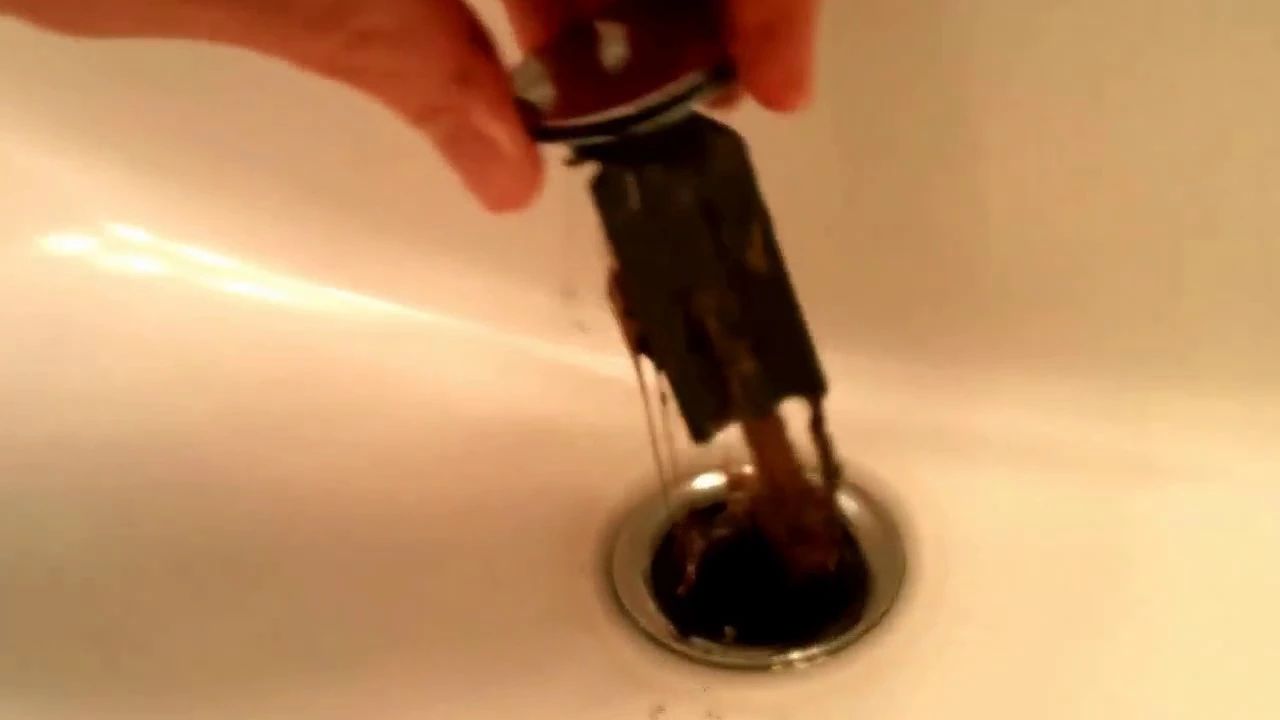
20 minsBegin by clearing all items from the cabinet under the sink to create a clean workspace. Turn off the hot and cold water by turning the knobs on the shutoff valves clockwise until they stop. Place a bucket directly under the P-trap. Use channel-lock pliers to loosen the large slip nuts securing the P-trap to the sink's vertical tailpiece and the horizontal trap arm going into the wall. Once loose, finish unscrewing them by hand. Carefully lower the P-trap, emptying its water and debris into the bucket. Next, use the pliers to loosen the large locknut holding the main drain body to the underside of the sink. While supporting the drain body from below, have a helper unscrew the drain flange from inside the sink, or reach in and do it yourself. Remove the entire old drain assembly. Finally, use a putty knife and a rag to scrape and wipe away all old plumber's putty and gasket residue from the sink's drain opening, ensuring a clean surface.

Install the New Drain Flange
15 minsTake a golf-ball sized amount of plumber's putty and knead it until soft. Roll it between your palms to form a uniform rope about 1/4-inch in diameter. Drape this putty rope around the underside of the new drain flange, pressing it on gently. Insert the flanged end of the drain into the sink's drain opening from above. Press down firmly and evenly to create a preliminary seal, causing some putty to squeeze out around the flange. From underneath the sink, slide the large rubber gasket up over the threads of the drain body until it sits flush against the bottom of the sink. Follow this with the friction washer (if provided) and then thread on the large locknut. Hand-tighten the locknut as much as you can. To complete the seal, use channel-lock pliers to tighten the locknut an additional one-half to three-quarters of a turn. This will compress the rubber gasket. Go back to the sink basin and use a rag or your finger to wipe away the excess plumber's putty that squeezed out.

Install the Pop-Up Stopper Assembly
15 minsDrop the pop-up stopper into the drain opening from above. From underneath, identify the pivot rod opening on the drain body's side. Unscrew the pivot rod nut. Insert the pivot rod through the opening, ensuring the plastic ball seats correctly in the housing. Critically, you must guide the end of the pivot rod through the loop on the bottom of the pop-up stopper. You may need to jiggle the stopper to align the loop. Once the rod is through, thread the pivot rod nut back on and hand-tighten. Use pliers for a final quarter-turn to prevent leaks. Attach the spring clip to the end of the pivot rod. Slide the clevis strap onto the spring clip. Drop the lift rod down through its designated hole in the faucet. Insert the bottom of the lift rod through one of the holes in the clevis strap and secure it with the setscrew. Test the action by lifting and pushing the rod; the stopper should move up and down smoothly. Adjust the rod's position on the clevis strap if needed.

Assemble the P-Trap Components
10 minsThe P-trap kit contains several parts: a J-bend (the U-shaped piece), a trap arm (the L-shaped piece), and two or three sets of slip nuts and beveled washers. Begin by connecting the sink drain to the P-trap. Slide a slip nut onto the vertical drain tailpiece, with the threads facing down. Follow it with a beveled washer, ensuring the beveled side faces down towards the J-bend. Align the J-bend with the tailpiece and hand-tighten the slip nut to connect them. Next, prepare the trap arm. Slide a slip nut (threads facing the J-bend) and a beveled washer (bevel facing the J-bend) onto the straight end of the trap arm. Insert this end into the outlet of the J-bend. Leave all connections hand-tight for now to allow for adjustments.

Connect P-Trap to Wall Drain
15 minsAlign the trap arm with the drainpipe opening in the wall (the stub-out). In most cases, the trap arm will be too long and require cutting. To mark it, slide the arm into the wall pipe until it bottoms out, then pull it back slightly and make a mark on the arm where it exits the P-trap's J-bend connection. Or, more simply, hold the trap arm next to the stub-out and mark it for a 1 to 1.5-inch insertion depth. Use a hacksaw or a dedicated tubing cutter to make a straight, clean cut at your mark. It is crucial to cut straight. Use a utility knife or a piece of sandpaper to remove any plastic burrs from the inside and outside of the cut edge. Slide the decorative escutcheon (if provided) over the trap arm first, followed by the slip nut and the reducing washer (the washer is needed to adapt the 1 1/4" trap arm to the 1 1/2" wall pipe). Insert the cut end of the trap arm into the wall pipe, align all P-trap components so there is no strain on the joints, and hand-tighten all slip nuts.
Final Tightening and Testing for Leaks
15 minsWith all components in place, perform the final tightening. Re-check and tighten each slip nut connection: where the tailpiece meets the J-bend, where the J-bend meets the trap arm, and where the trap arm enters the wall drain. First, ensure they are all fully hand-tightened. Then, use channel-lock pliers to give each nut a final quarter-turn. Do not apply excessive force. Place the bucket back under the newly installed P-trap. Open the water shutoff valves fully. Turn on the faucet and let lukewarm water run for at least a minute. Operate the pop-up stopper to ensure it functions correctly under water flow. While the water is running, carefully inspect every joint, nut, and seal for any sign of dripping. To perform a stress test, close the stopper, fill the sink basin completely, then open the stopper to release a large volume of water at once. This tests the seals under maximum flow. Check again for leaks. Once satisfied, wipe the entire assembly dry with a rag and place a dry paper towel underneath for 10-15 minutes as a final, sensitive check for slow drips.
Common Problems
Difficulty installing the pop-up drain mechanism due to insufficient space.
Solution: Loosen the mounting bolt all the way down to the last thread. This provides enough free space to push the pop-up drain mechanism up into the sink, making it easier to access and remove from the other side.
Be prepared for water to spill out when you disconnect the drain parts. Have a bucket and towels ready.
Solution: To avoid this issue: Be mindful of this warning and take appropriate precautions.
Ensure the water is completely shut off before disconnecting any lines to avoid flooding.
Solution: To avoid this issue: Be mindful of this warning and take appropriate precautions.
PVC cement dries too fast, causing leaks if not joined quickly.
Solution: Work quickly once you apply PVC cement, as it sets fast.
Ensure adequate ventilation when working with PVC primer and cement, as the fumes can be strong.
Solution: To avoid this issue: Be mindful of this warning and take appropriate precautions.
Per plumbing code, ensure there is a straight pipe section of at least two times the pipe diameter between the P-trap and the vent tee (TY).
Solution: To avoid this issue: Be mindful of this warning and take appropriate precautions.
Over-tightening plastic P-trap fittings can lead to cracks and leaks.
Solution: Hand-tighten the union nuts on the P-trap and trap adapters first. Use pliers only for a slight final tightening to avoid over-tightening and cracking the plastic.
Frequently Asked Questions
Is this 'beginner' difficulty truly accurate, and can I realistically complete it in 3 hours if I'm new to plumbing?
Yes, this project is considered beginner-friendly as it doesn't require complex pipe cutting or soldering. The 3-hour estimate is achievable for most DIYers, but gathering all tools and materials beforehand and reviewing the steps thoroughly will help minimize delays. If your existing drain components are heavily corroded, removal might extend the overall time slightly.
What's the most common reason for leaks after installing a new drain and P-trap, and how can I prevent them?
The most common cause of leaks is insufficiently tightened connections or improperly sealed joints. Ensure all slip nuts are hand-tightened firmly, then give them an extra quarter to half-turn with channel lock pliers, being careful not to overtighten and crack plastic components. Always apply a consistent, generous bead of plumber's putty under the drain flange to create a watertight seal against the sink basin.
The guide mentions plumber's putty; can I use silicone sealant instead for the drain flange?
While silicone sealant can provide a durable seal, plumber's putty is often preferred for drain flanges because it remains pliable, making future disassembly much easier if needed. If you choose silicone, ensure it's 100% silicone specifically rated for bathroom/kitchen use and allow adequate curing time before running water. Plumber's putty typically offers an immediate, reliable seal.
What should I do if the old drain assembly is seized or difficult to remove from the sink?
Old drains can be stubborn due to corrosion or mineral buildup. First, try applying penetrating oil to the threads of the locknut under the sink and let it sit for a few minutes. Use your channel lock pliers for maximum leverage, turning slowly but firmly. If it's completely stuck, you may need to carefully cut the old drain pipe components below the sink with a mini hacksaw to free the drain body, being careful not to damage the sink itself.
My new P-trap doesn't seem to perfectly align with the wall's waste pipe; what are my options?
Slight misalignments are common. Most P-trap assemblies offer some flexibility with slip joints and extenders, allowing for minor adjustments in height and offset. You might need to slightly trim the P-trap arm or the tailpiece coming from the sink to achieve the correct length. Ensure all connections are as straight and unstressed as possible to prevent future leaks.
What's the most important safety precaution before starting this plumbing project?
The most critical safety precaution is to completely shut off the water supply to the sink before starting any work to prevent accidental flooding. Locate the hot and cold shut-off valves, typically found under the sink, and turn them clockwise until they are fully closed. Then, open the faucet briefly to drain any remaining water from the lines and confirm the water is off.


