How to Install a Bathroom Sink: A Complete DIY Guide
About This Project
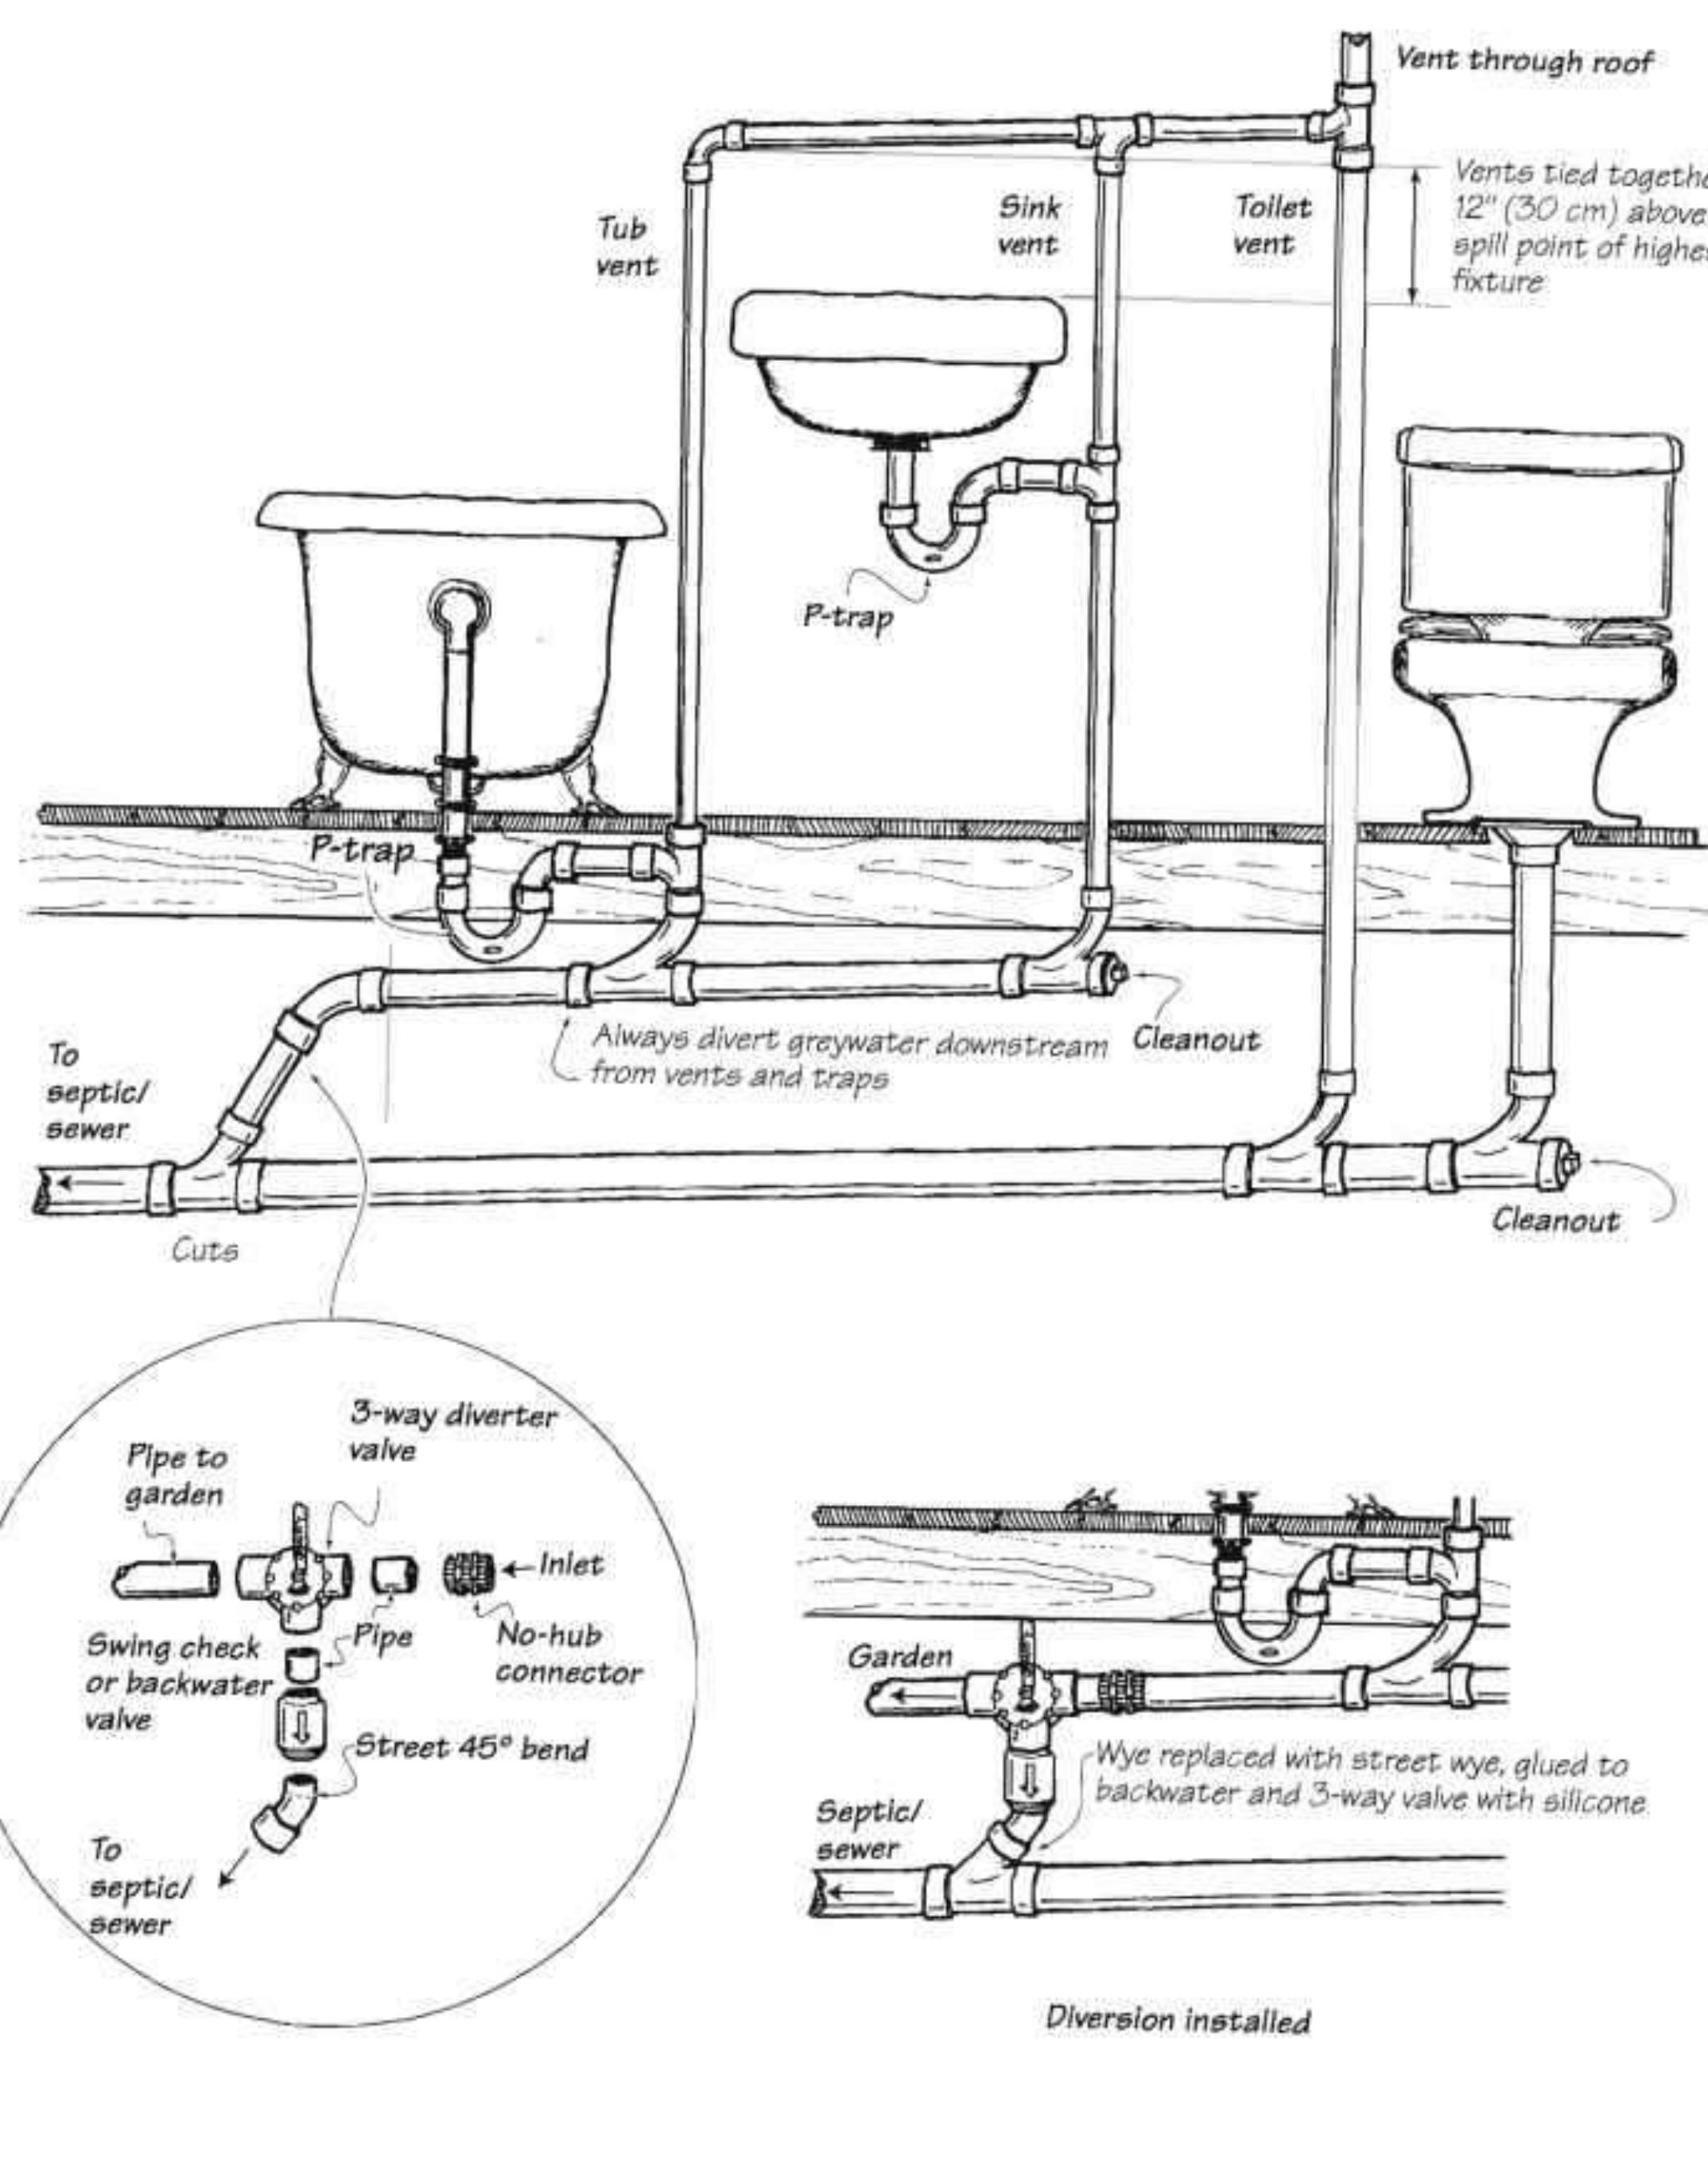
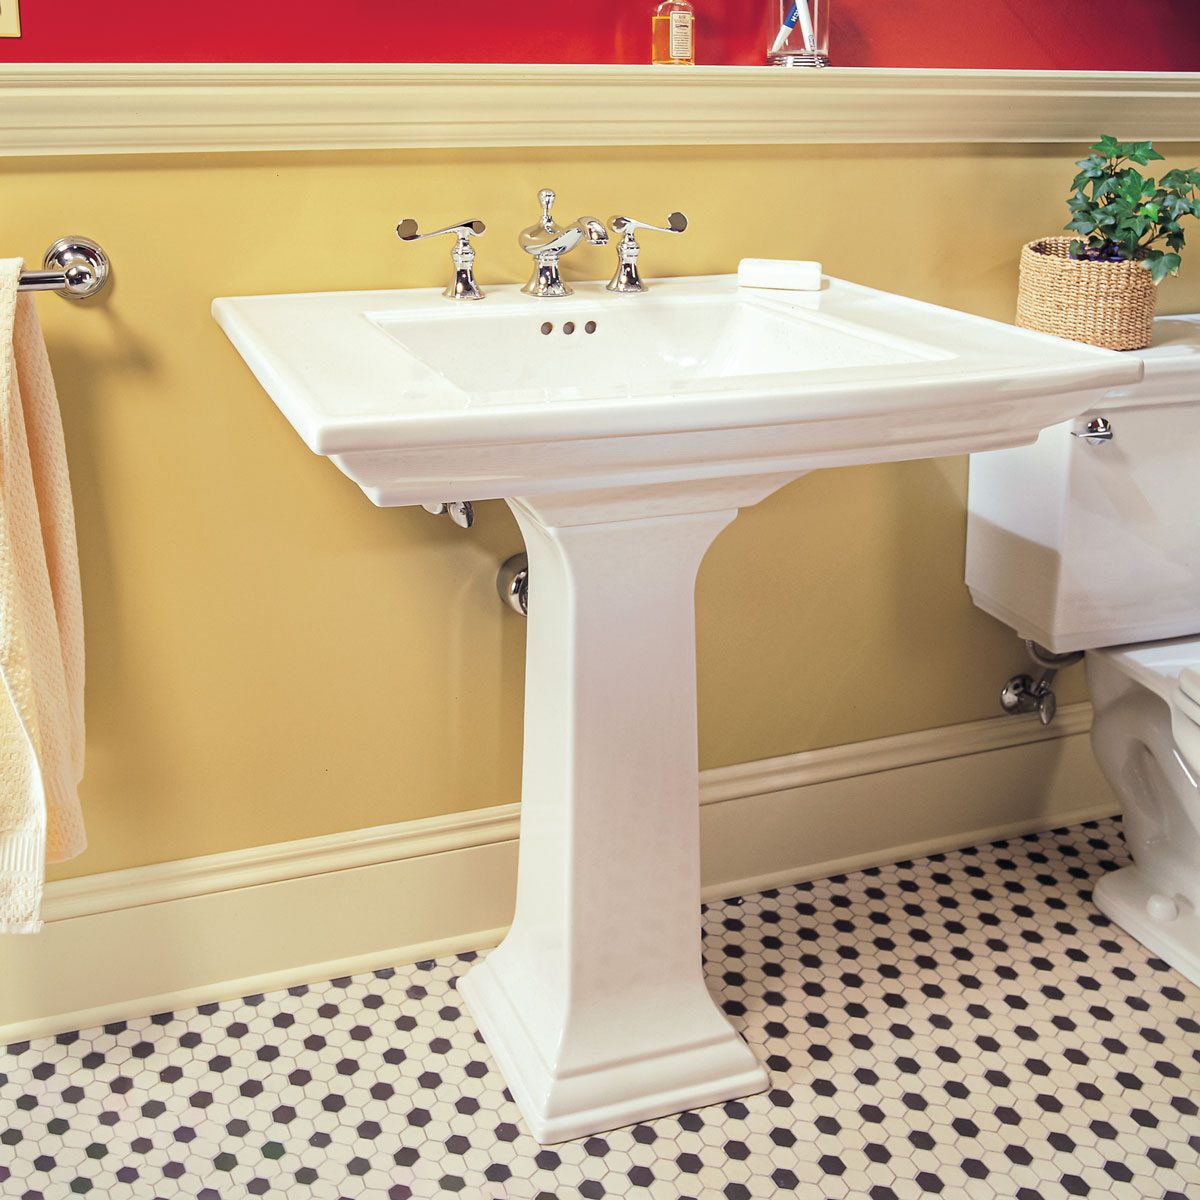
This project outlines the steps for installing a new bathroom sink. The first step involves removing the old sink by turning off the water supply, disconnecting the old supply lines and P-trap, and detaching the drain and water lines. The next step is installing the new sink, including securing the sink, faucet, and drain lines. Then connect the plumbing, such as attaching the P-trap and supply lines and ensuring proper height for the drain pipe. Finally, turn the water back on and test for any leaks in the connections and drain, tightening connections and rechecking if necessary.
Best for experienced DIYers and homeowners with some experience.
Tools & Materials

Adjustable Wrench

Bucket
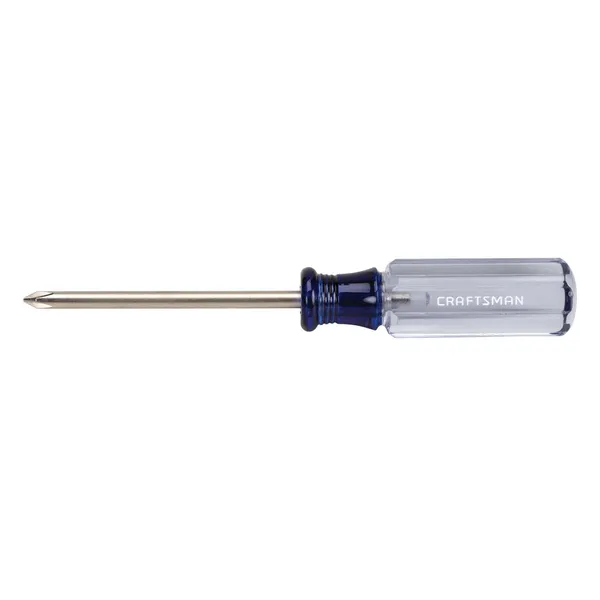
Phillips head screwdriver

Oatey 9 oz. Stain-Free Plumber's Putty 31177

Husky 12 in. Adjustable Wrench 90933
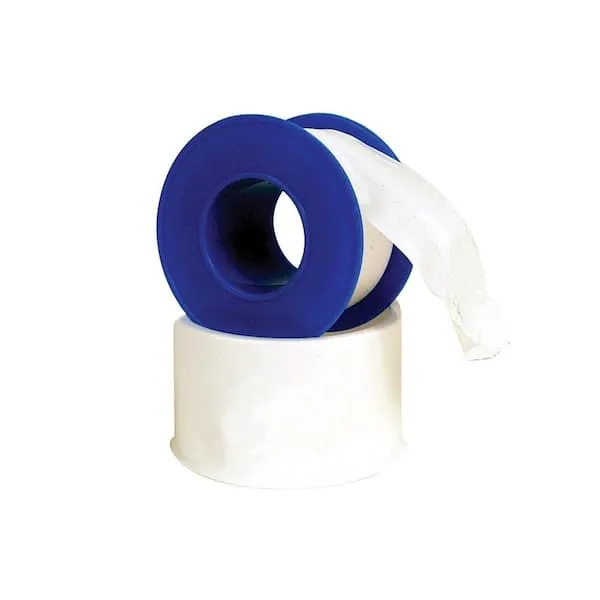
Teflon Tape
Adjustable Wrench
Fits various nut and bolt sizes with its adjustable jaw.
Bucket
Ideal for carrying or storing liquids.
Phillips head screwdriver
This is a type of screwdriver that has a cross-shaped tip.
Oatey 9 oz. Stain-Free Plumber's Putty 31177
For setting frames, faucets and basket strainers, use this Oatey 9 oz. Stain-Free Plumber's Putty on granite, marble, quartz, sandstone and other natural, porous materials. Will not crack or shrink. Cleans
Husky 12 in. Adjustable Wrench 90933
The Husky 12 in. Adjustable Wrench features a durable, comfortable handle. A large knurl allows for easy adjustment and a tight-fitting hex jaw design reduces slippage and tightly grips the fastener for
Teflon Tape
Seals pipe threads without leaks.
Steps

Removing Your Old Bathroom Sink
30 minsBegin by turning off the water supply valves located beneath the sink. Carefully disconnect the old supply lines and P-trap using appropriate tools. Then, remove the old sink from the countertop or wall, detaching the drain and water lines as you proceed. Remember to place a bucket or towels under the sink to catch any remaining water.
Watch: Disconnect Plumbing

Connecting the Bathroom Sink Plumbing
1 minPosition the sink and carefully connect the supply lines to the shut-off valves. Attach the P-trap to the drain and tailpiece, ensuring the drain pipe is positioned 18-20 inches above the floor. Remember to use sealant on all threaded connections to prevent leaks.
Watch: Connect Plumbing Lines
Testing for Leaks and Finalizing Your Bathroom Sink Installation
15 minsTurn the water supply back on and carefully inspect all connections for any leaks. If any leaks are found, gently tighten the connections and recheck. Thoroughly test the drain by filling the sink with water and letting it drain completely; repeat this process, also testing the overflow drain.
Watch: Test for Leaks and FunctionalityCommon Problems
Safety concern: Always turn off the water supply before starting any plumbing work., Overtightening connections can damage the sink, faucet, and supply lines.
Solution: Take proper safety precautions. Always turn off the water supply before starting any plumbing work., Overtightening connections can damage the sink, faucet, and supply lines.
Prevention: Always follow safety guidelines before starting the project.
Turn the water on slowly to avoid a sudden surge of pressure that could cause a weak connection to fail.
Solution: To avoid this issue: Be mindful of this warning and take appropriate precautions.
Leaky drain connections may go undetected without a full-pressure test.
Solution: Filling the sink completely and then draining it is the best way to test the new seal under maximum pressure.
Leaky connections go unnoticed if moisture isn't visible.
Solution: Use a dry paper towel to wipe the connections; any moisture will be easy to spot.
The presenter was surprised by water spraying from the shower head because it was left on. Make sure your faucet is in the off position before turning the main water back on.
Solution: To avoid this issue: Be mindful of this warning and take appropriate precautions.
A leaky drain seal occurs if the flange isn't flush with the sink.
Solution: Make sure the flange sits flush with the sink drain opening.
If you are unfamiliar with plumbing, it is highly recommended to hire a professional for this step to prevent leaks and water damage.
Solution: To avoid this issue: Be mindful of this warning and take appropriate precautions.
Frequently Asked Questions
Is installing a bathroom sink truly a beginner-level DIY, and how long should I realistically expect it to take?
While classified as beginner, this project requires patience and attention to detail. The 4-hour estimated time is reasonable for someone with basic DIY skills, assuming no major plumbing issues or modifications are needed. Rushing can lead to leaks, so allocate ample time, especially for thorough testing.
What are the essential safety precautions I must take before starting this bathroom sink installation project?
Always turn off the main water supply to the bathroom or the whole house before starting any work. Disconnect any electrical outlets or lights near the work area if present to prevent electrical hazards. Wear appropriate safety gear like gloves and eye protection, especially when handling tools or old plumbing parts.
Besides a Phillips head screwdriver and an adjustable wrench, are there any other crucial tools I might unexpectedly need?
Yes, a bucket is essential for catching residual water during the removal of the old sink. You'll also likely need plumber's putty or silicone caulk for sealing the drain, a caulk gun if using silicone, and a flashlight to see into tight spaces. Channel locks or a basin wrench can be very helpful for stubborn nuts.
My new sink is installed, but I'm getting a slow leak under the cabinet. What are the most common places to check for leaks?
The most common leak points are usually around the drain assembly, the P-trap connections, or the supply line connections. First, ensure all nuts on the P-trap and drain assembly are hand-tightened, then use a wrench for a final snug turn without overtightening. Also, check the supply lines for secure connections at both the faucet and the shut-off valves.
What if my new sink doesn't fit perfectly with the existing vanity cutout or plumbing lines?
Always measure your new sink carefully against your vanity cutout before purchase to ensure compatibility. For minor discrepancies, you might be able to enlarge the cutout using a jigsaw, but this is an advanced step. If the new sink's drain aligns differently, flexible P-trap extensions can sometimes bridge small gaps, but significant changes may require professional plumbing work.
What is the typical cost range for the necessary materials and supplies, excluding the new sink and faucet themselves, for a DIY installation?
Beyond the sink and faucet, expect to spend $20-$75 on essential supplies for a DIY installation. This typically covers plumber's putty or silicone caulk, new braided supply lines (if not included with the faucet), and potentially a new P-trap kit if your old one is corroded or incompatible. Prices can vary based on quality and brand.