How to Install a Backwater Valve to Prevent Sewer Backups
About This Project
This project involves installing a backwater valve on the main building drain to prevent sewage from flowing back into the house from the municipal sewer system during heavy rainfall or blockages. The process includes obtaining permits, breaking a section of the concrete basement floor, excavating the main drain line, cutting the pipe, installing the valve, and repairing the floor.
Best for advanced DIYers and professionals with basic plumbing knowledge and familiarity with power tools. Requires MCR Safety BearKat Safety Glasses MCSCRWBK110 and Husky Large Heavy Duty Glove 67812-06 and ROCKY Men's IronClad Waterproof 8 inch Lace Up Work Boots - Steel Toe - Brown 9.5(W) FQ0006693.
Tools & Materials

25 ft. Tape Measure
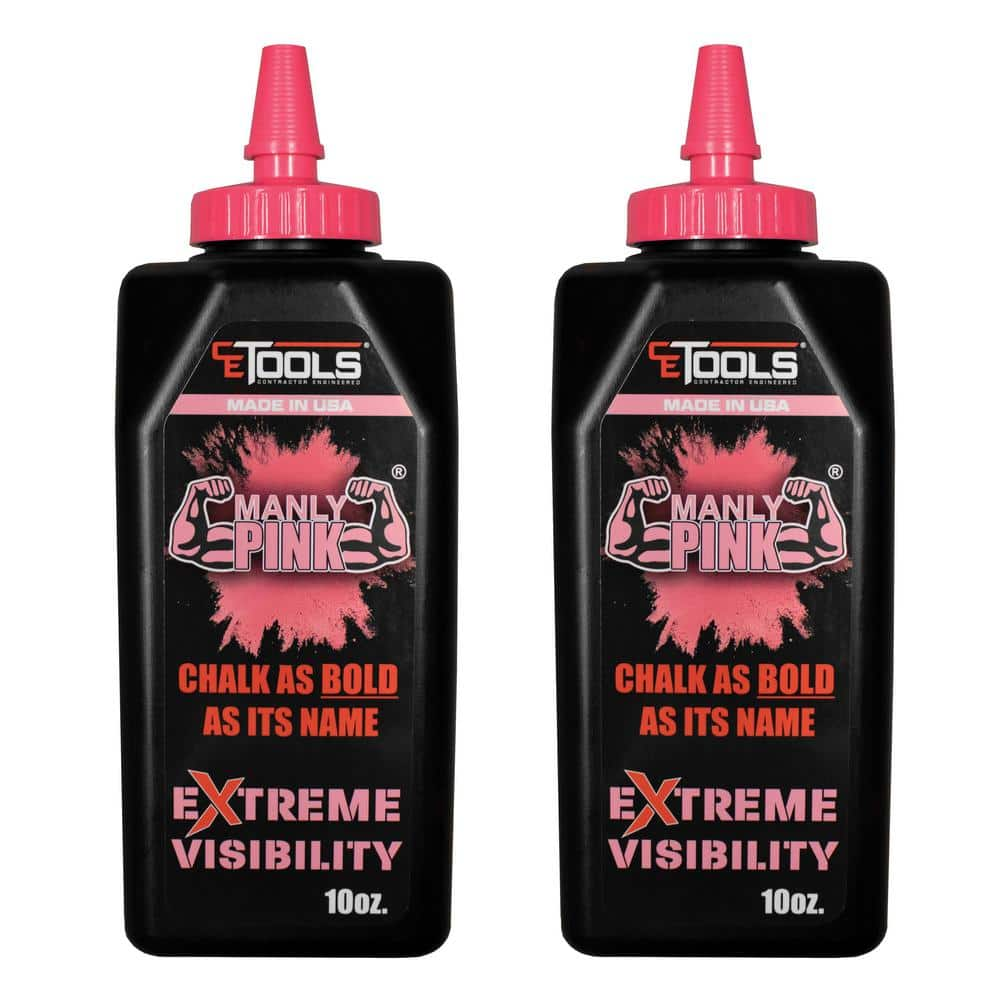
CE TOOLS Chalk Reel 10oz. Manly Pink Premium Hydrophobic Water Repellent Marking Chalk 2pk CET102P
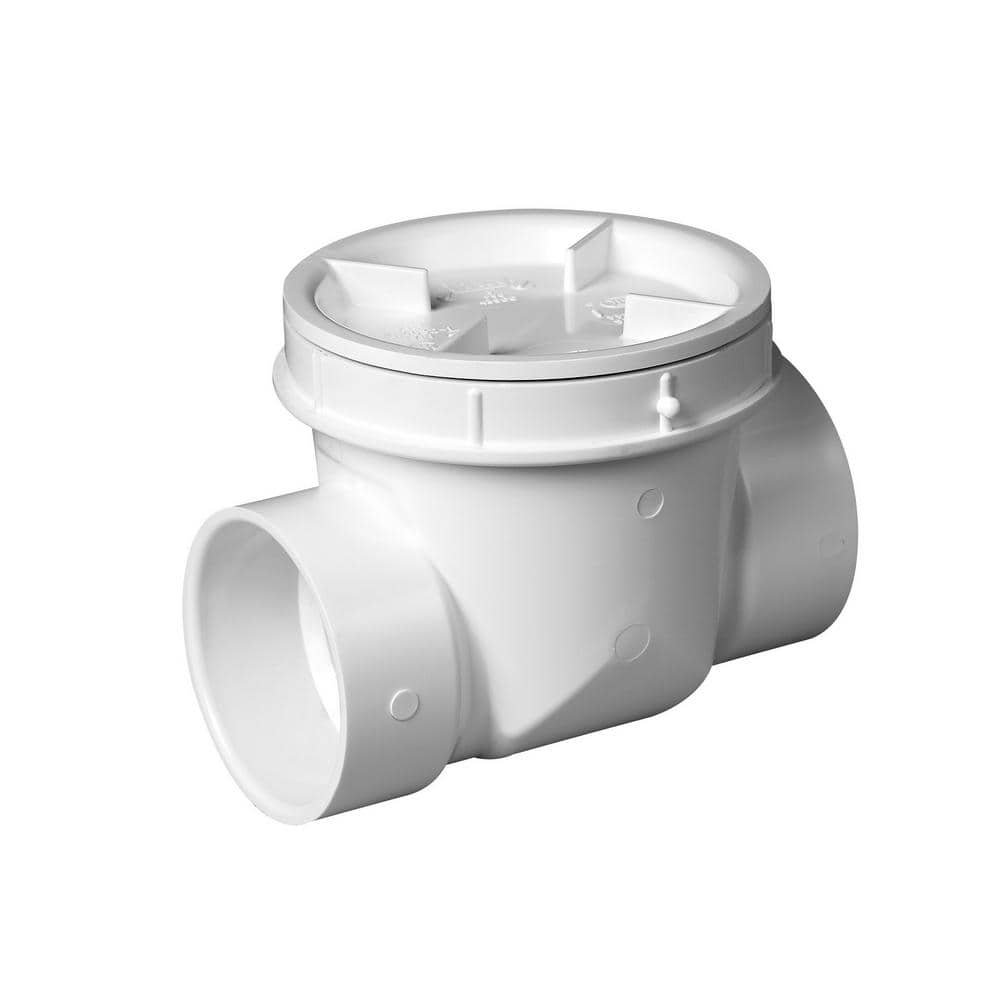
Oatey 3 in. PVC Backwater Valve 43900
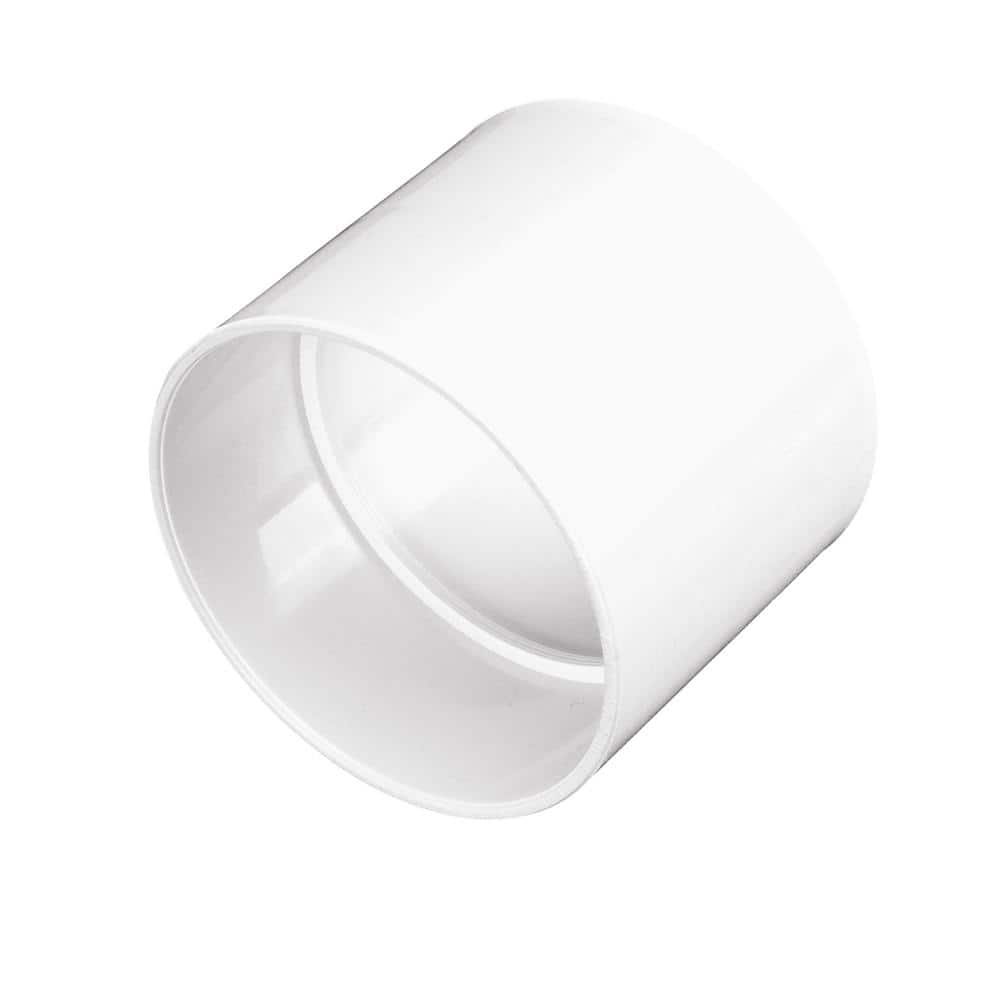
NDS 4 in. Hub X Hub PVC S&D Coupling 4P05

Oatey 8 oz. Purple CPVC and PVC Primer 3075633
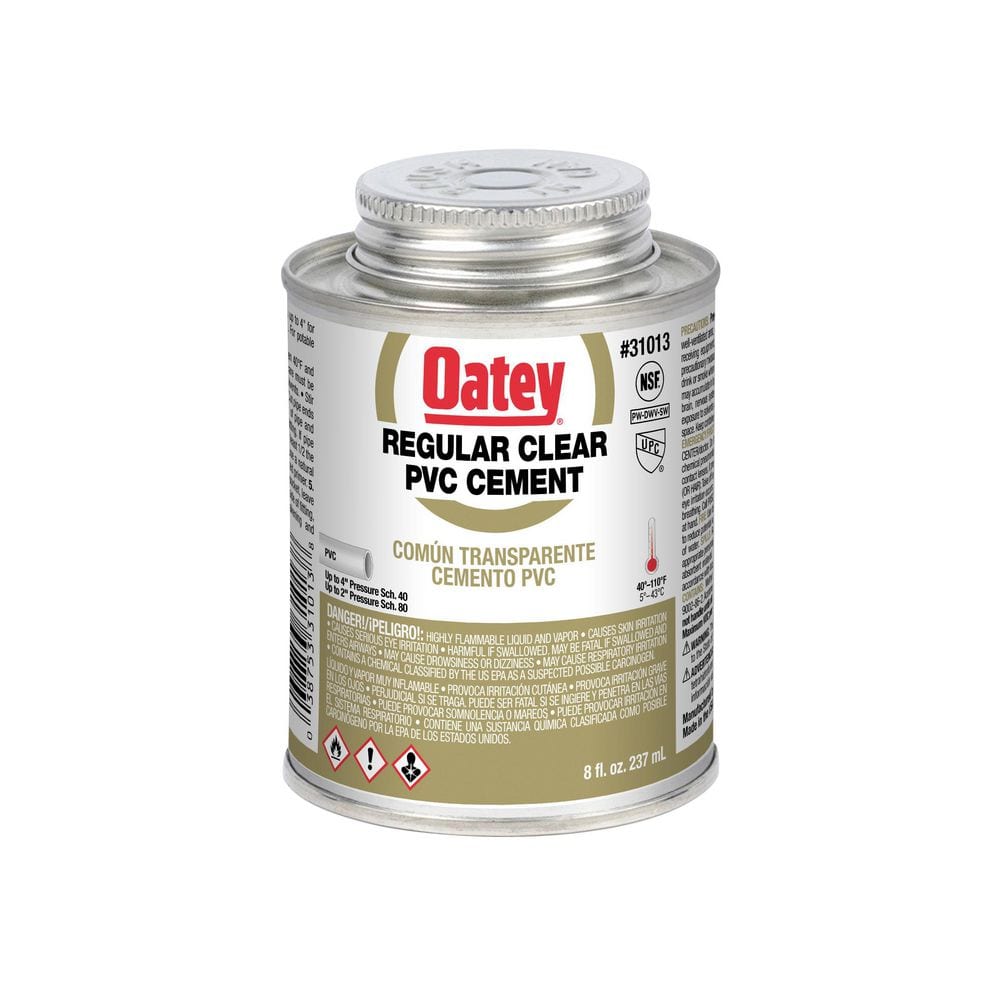
Oatey 8 oz. Regular Clear PVC Cement 310133
25 ft. Tape Measure
Measure with precision and ease.
CE TOOLS Chalk Reel 10oz. Manly Pink Premium Hydrophobic Water Repellent Marking Chalk 2pk CET102P
Premium chalk as bold as its name. Designed to be best in class, a bold consistent line and intense color make the task of chalking a line much easier. 1 snap does the trick.
Oatey 3 in. PVC Backwater Valve 43900
The Oatey Backwater Valve is designed as a sewage check valve to prevent pumped water from flowing back into the basin. Its elastomeric seal inside the flapper ensures a tight seal, preventing fluid from
NDS 4 in. Hub X Hub PVC S&D Coupling 4P05
Connect 2 lengths of 4 in. Sewer and Drain (S&D) pipes together with the 4 in. PVC S&D Coupling. This coupler also connects 4 in. S&D pipe to select drainage products compatible with 4 in. S&D connections
Oatey 8 oz. Purple CPVC and PVC Primer 3075633
The Oatey 8 oz. PVC and CPVC Purple Primer, made from a mixture of solvents, is designed to remove surface dirt, oils and other contaminants from the surface of PVC or CPVC piping. Not recommended for
Oatey 8 oz. Regular Clear PVC Cement 310133
Oatey PVC Regular Bodied Fast Set Clear Cement is recommended for DWV, pressure pipe, potable water and electrical applications. It is easy to apply with included in-lid dauber and its clear color provides
Steps

Planning, Permits, and Site Preparation
2 minsThe first and most critical step is planning. Contact your local municipal building or plumbing department to understand the specific codes, permit requirements, and inspection schedules for backwater valve installation. Locate the main sewer drain where it exits your home's foundation, typically in the basement. Trace your plumbing to confirm that all fixtures are 'upstream' from your planned installation point; the valve must be the last item on the line before it leaves the house. Mark a rectangular area on the concrete floor around the pipe, approximately 2 feet by 3 feet, to provide ample working room. Purchase a backwater valve that matches your pipe's diameter (4-inch) and material (PVC). Also, acquire the necessary PVC fittings like couplings, as well as PVC primer and cement.
Watch: Valve and Cleanout Installation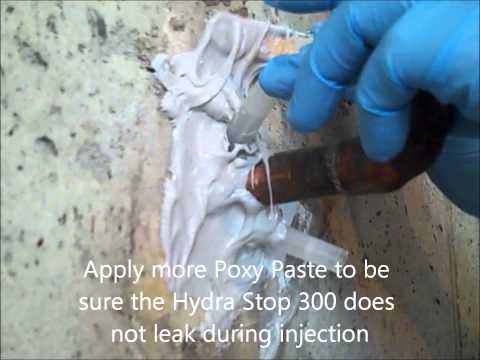
Break Concrete and Excavate
2 minsBefore starting, put on your personal protective equipment: safety glasses, heavy-duty gloves, steel-toed boots, and a dust mask or respirator. Using a demolition hammer (jackhammer) is most effective, but a sledgehammer and cold chisel will also work. Carefully break up the concrete within the marked area. Work from the center outwards to avoid cracking the surrounding floor. Remove the broken concrete pieces with a bucket. Once the concrete is removed, use a shovel to dig out the gravel, sand, and soil around the main drain pipe. You must excavate deep enough to fully expose the top, sides, and bottom of the pipe, providing enough clearance (at least 6-12 inches) to make cuts and install the new valve.
Watch: Prepare the Repair Area
Cut and Remove Pipe Section
30 minsMeasure the body length of the backwater valve. Transfer this precise measurement onto the exposed PVC pipe using a marker. To ensure the pipe doesn't drop or shift after being cut, support it securely on both sides of your marks using pipe stands, wooden blocks, or bricks. Double-check your measurement. Using a reciprocating saw with a blade designed for plastic, or a dedicated PVC pipe saw, make two straight, clean cuts to remove the measured section of pipe. Once the section is removed, use a utility knife or a deburring tool to clean any plastic burrs from the inside and outside edges of the two remaining pipe ends. A smooth, clean surface is essential for a proper solvent-welded seal.
Watch: Assemble and Glue PVC Components
Install the Backwater Valve
30 minsFirst, perform a 'dry fit'. Assemble the backwater valve and two slip couplings onto the cut pipe ends without any primer or cement to ensure all parts align correctly and the valve sits level. Crucially, check the flow-direction arrow molded into the valve body; it MUST point away from the house and toward the street sewer. Once the fit is confirmed, disassemble the parts. Working one joint at a time, apply the purple PVC primer to the outside of the pipe end and the inside of the coupling. Immediately follow with a liberal application of PVC cement to both primed surfaces. Push the coupling onto the pipe with a quarter-turn twisting motion to spread the cement evenly. Hold firmly for 30 seconds. Repeat this process for the other pipe end and coupling. Finally, prime and cement the valve spigots and the open ends of the couplings, and push the valve firmly into place, again using a slight twist. Use a level to confirm the valve is not tilted.
Watch: Assemble and Glue Cleanout Fittings
Inspection and Testing
1 minDO NOT backfill the hole or cover your work yet. Follow the manufacturer's instructions for the PVC cement cure time before allowing significant water flow. Contact your local plumbing inspector to schedule the required inspection as per your permit. The inspector will verify that the correct type of valve was used, that it is installed in the correct direction and location, and that the connections are sound. After you receive official approval from the inspector, you can perform a leak test. Have someone flush an upstairs toilet or run a sink for a minute while you closely observe the new connections with a flashlight to ensure there are absolutely no drips or leaks.
Watch: Final Check and Pressure Test
Backfill and Repair Floor
2 minsIf you are using a backwater valve access box, place its sleeve over the valve now, ensuring the cover will be flush with the finished floor. Begin backfilling the hole with the previously excavated gravel or soil. Add the material in 4-6 inch layers, and use a hand tamper or a piece of 2x4 to compact each layer thoroughly. This prevents the ground from settling later and cracking your new concrete patch. Continue until you are about 4 inches from the top of the floor. Mix your ready-mix concrete in a wheelbarrow or mixing tub according to the package directions. Pour the mixed concrete into the hole, slightly overfilling it. Use a trowel to screed, level, and smooth the surface, making it flush with the existing basement floor. Let the concrete cure for at least 24-72 hours before walking on it.
Watch: Set Shower Base in ConcreteCommon Problems
Wear safety glasses and heavy-duty gloves. Cutting metal creates sharp edges and can send small particles flying.
Solution: To avoid this issue: Be mindful of this warning and take appropriate precautions.
Using the wrong blade will make cutting cast iron pipe difficult and slow.
Solution: A cast iron specific blade (often diamond grit) will cut much more effectively than a standard metal blade.
Wear safety glasses to protect your eyes from flying debris while chiseling and cutting.
Solution: To avoid this issue: Be mindful of this warning and take appropriate precautions.
Wear safety glasses during this step to protect your eyes from flying concrete fragments.
Solution: To avoid this issue: Be mindful of this warning and take appropriate precautions.
Valve installed in an inaccessible location.
Solution: The builder in this video wisely placed the valve in the unfinished utility room, ensuring it will always be accessible.
Be careful not to damage the pipe while chipping away the concrete.
Solution: To avoid this issue: Be mindful of this warning and take appropriate precautions.
Poor epoxy adhesion leads to leaks and valve failure.
Solution: A thorough cleaning is crucial for a strong bond between the epoxy paste and the wall/pipe.
Frequently Asked Questions
Is installing a backwater valve a feasible DIY project, or should I hire a professional plumber?
This is an intermediate-level project requiring significant physical labor, specialized tools (like a concrete saw or a heavy-duty sledgehammer for breaking concrete), and a good understanding of plumbing codes and concrete work. While possible for experienced DIYers, if you're not comfortable with breaking concrete, excavating near sewage lines, or ensuring proper slope and sealing, it's highly advisable to consult a licensed plumber. Improper installation can lead to leaks, blockages, or failure to prevent backups.
What permits or inspections are typically required before starting this kind of major plumbing work?
Absolutely, permits are almost always required for altering your main sewer line. You'll need to contact your local municipal building department or plumbing authority to understand their specific requirements for plumbing and excavation permits. Failing to obtain permits can lead to fines, stop-work orders, or requiring you to remove and reinstall the work if it doesn't meet code. Plan for inspections at various stages, such as after excavation and after the valve installation but before backfilling.
What are the most critical safety precautions I should take when breaking concrete and working with sewer lines?
When breaking concrete, always wear safety glasses, hearing protection, work gloves, and steel-toed boots. For working with sewer lines, always wear impermeable gloves (like nitrile or rubber) and a mask to protect against biohazards and odors. Ensure proper ventilation in the work area. Be extremely cautious of other utility lines (water, gas, electrical) that might run through the concrete slab; call 811 before you dig to mark utilities.
What size backwater valve do I need, and are there different types or brands I should consider?
The valve size must match your existing main drain pipe, which is typically 3-inch or 4-inch PVC in residential homes (e.g., Oatey 3 in. or 6 in. valves are listed as materials). Visually inspect your drain pipe to confirm its diameter before purchasing. There are two main types: normally open (most common, stays open until activated by backpressure) and normally closed (requires manual opening for regular flow); ensure the valve you choose is suitable for your application and approved by local plumbing codes.
What are common mistakes DIYers make during backwater valve installation, and how can I avoid them?
Common mistakes include not obtaining proper permits, incorrect pipe cutting (leading to ill-fitting connections), inadequate cleaning and priming of PVC joints (resulting in leaks), installing the valve backward (it has a specific flow direction), or failing to ensure proper slope of the pipe after installation. Always double-check pipe measurements, dry-fit all connections, use plenty of primer and cement, and verify the valve's flow arrow before gluing. Ensure the excavated trench maintains the correct pitch for drainage.
Are there any less invasive or alternative methods to prevent sewer backups instead of installing a main line backwater valve?
While a main line backwater valve is the most comprehensive solution for whole-house protection, less invasive options exist for individual fixtures. You can install backwater prevention devices directly on basement floor drains or laundry sinks. However, these only protect specific fixtures and won't prevent sewage from backing up through toilets or other low-lying drains if the main line is compromised. A main line valve offers the most complete protection from municipal sewer issues.