

How to Flush a Water Heater to Stop Popping Noises
About This Project
This guide provides comprehensive, step-by-step instructions for flushing a water heater tank. The primary goal is to remove sediment buildup from the bottom of the tank, which is the common cause of popping or rumbling noises. The process involves shutting down the heater, draining the tank, flushing out the sediment, and safely restarting the system.
Best for homeowners and DIY enthusiasts with basic plumbing knowledge. Requires Voltage / Circuit Tester and Heavy Duty Latex Gloves.
Tools & Materials

Voltage / Circuit Tester
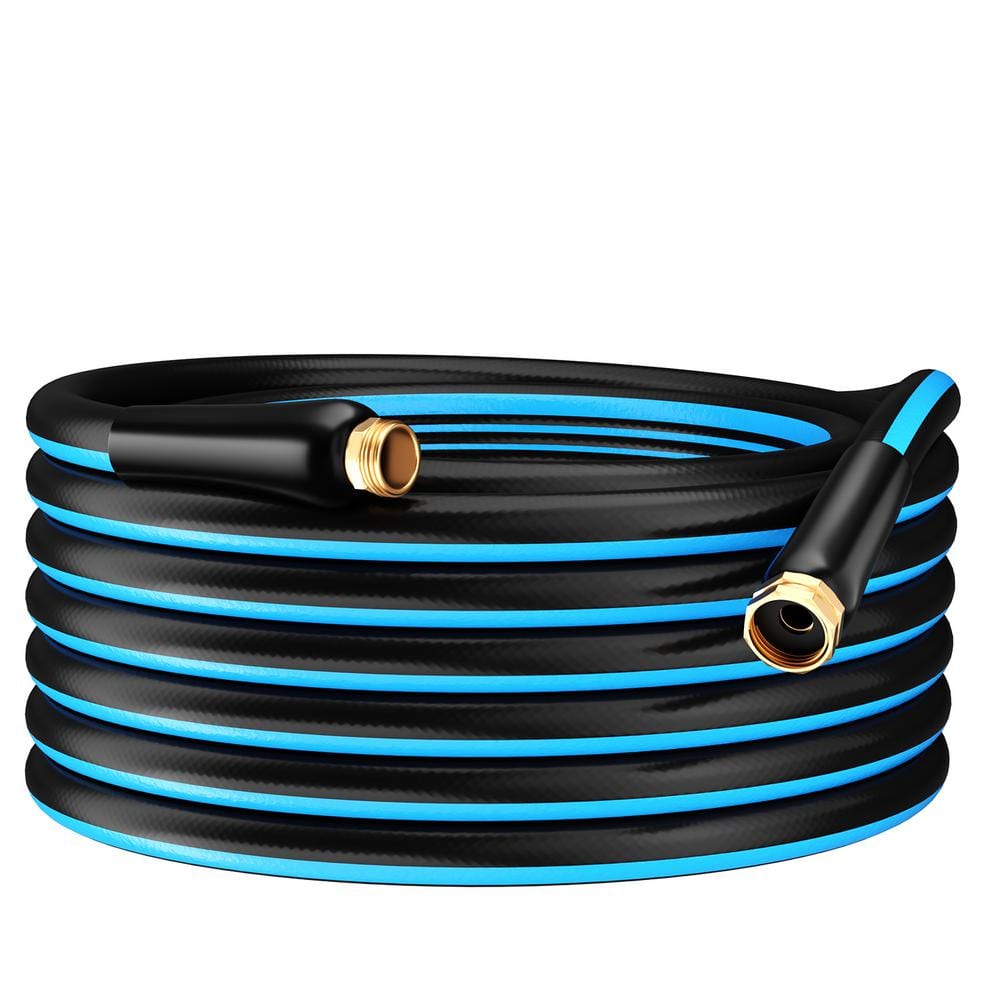
GardenJoy PVC Garden Hose 5/8 in. x 75 ft. Heavy-Duty Durable Hose Outdoor Water Hose LG-GHB5875
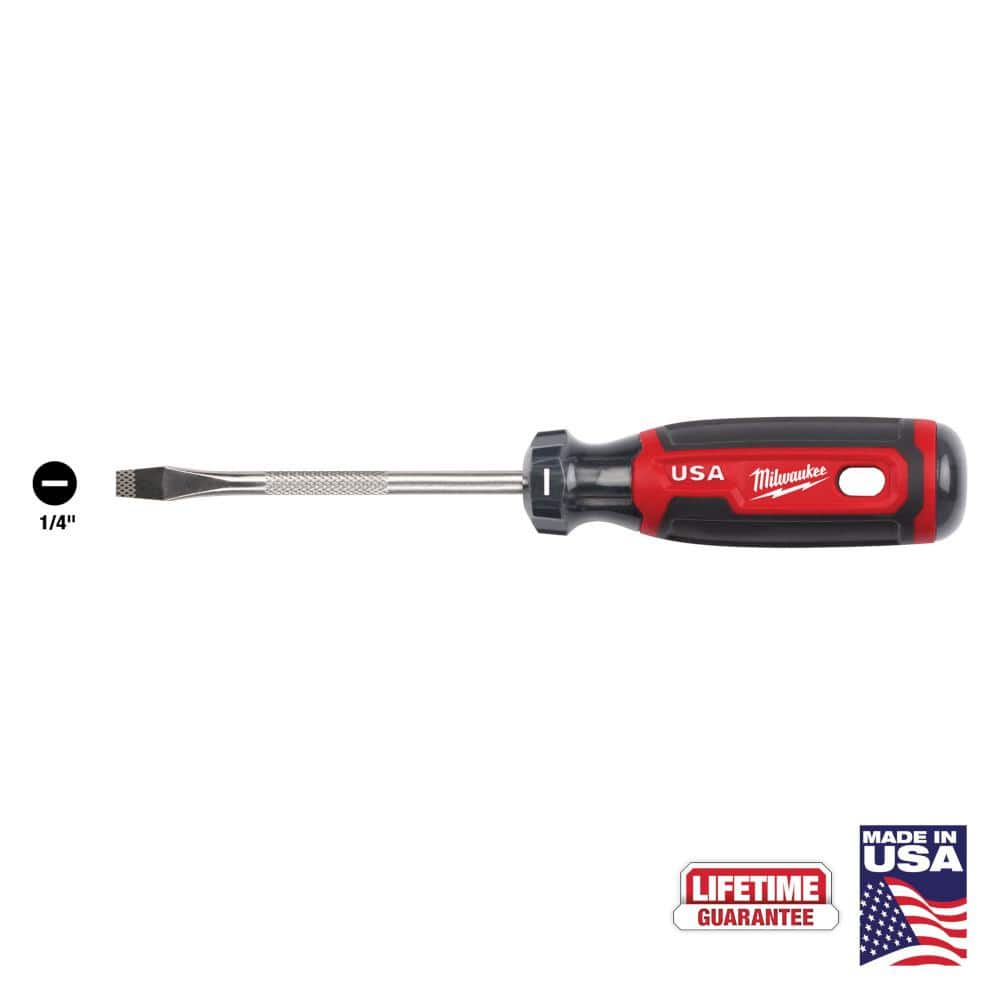
Milwaukee 4 in. x 1/4 in. Slotted Flat Head Screwdriver with Cushion Grip MT206
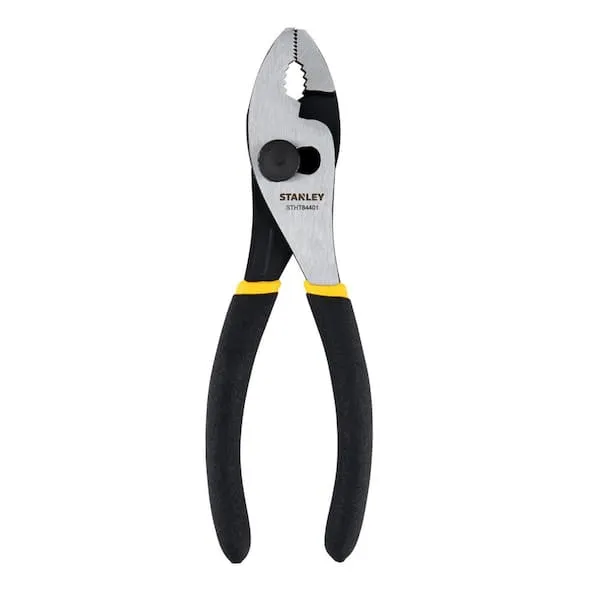
Pliers
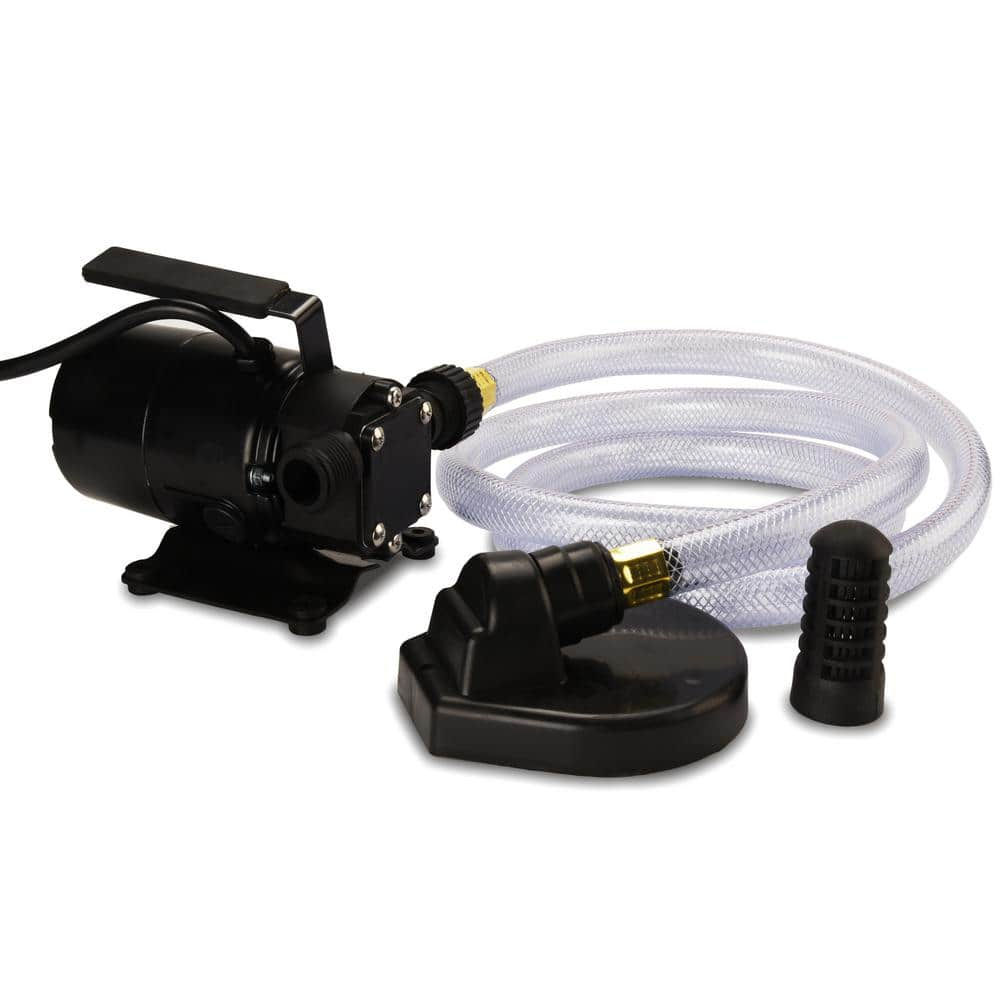
Everbilt 1/10 HP Non-Submersible Self-Priming Transfer Pump EBTP1
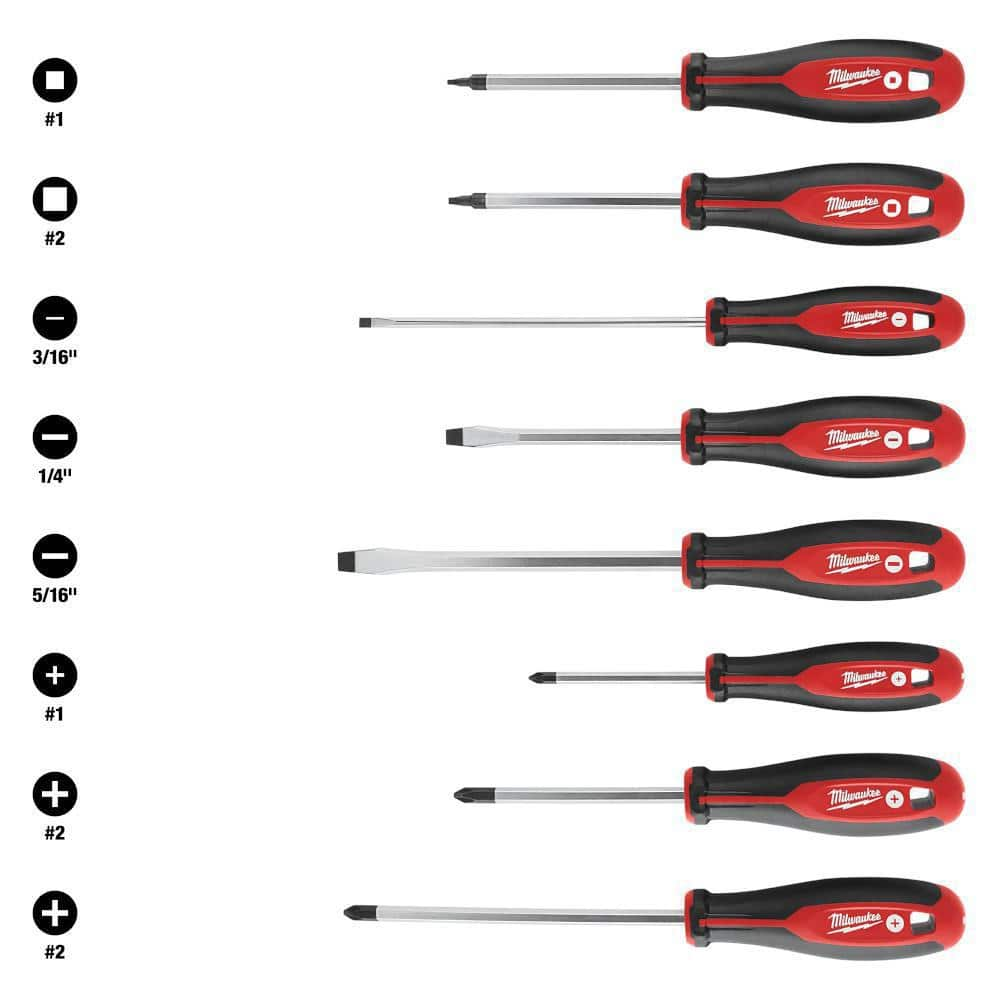
Milwaukee Phillips/Flat Head/Square Hex Drive Screwdriver Set with Tri-Lobe Handle (8-Piece) 48-22-2718
Voltage / Circuit Tester
Detects electrical voltage presence.
GardenJoy PVC Garden Hose 5/8 in. x 75 ft. Heavy-Duty Durable Hose Outdoor Water Hose LG-GHB5875
Light-weight and Flexible: Made from premium PVC, our garden hose is both light-weight and durable, allowing for easy handling without kinks or tangles, ideal for all your watering and cleaning needs.
Milwaukee 4 in. x 1/4 in. Slotted Flat Head Screwdriver with Cushion Grip MT206
The Milwaukee® 1/4" Slotted 4" Cushion Grip Screwdrivers (USA) are manufactured to give the professional the best-fitting screwdriver with max grip. These screwdriver tips are custom machined to deliver
Pliers
Grips and manipulates objects.
Everbilt 1/10 HP Non-Submersible Self-Priming Transfer Pump EBTP1
The Everbilt 1/10 HP non-submersible self-priming transfer pump is designed for portable and residential applications. It can drain or remove water from window wells, clogged sinks, basements, water basins,
Milwaukee Phillips/Flat Head/Square Hex Drive Screwdriver Set with Tri-Lobe Handle (8-Piece) 48-22-2718
Featuring hardened tips and forged shanks the Milwaukee 8-piece screwdriver set provides professional grade solutions and durability to the user. Bit types are marked on the cap of each tool for quick
Steps
Shut Off Power or Gas Supply
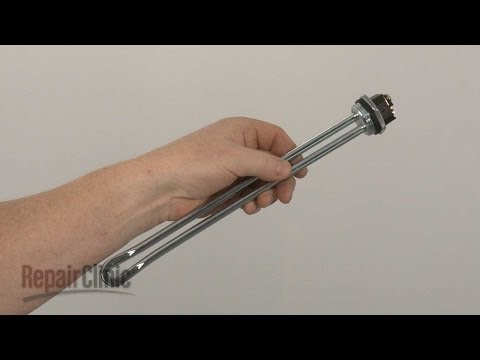
5 minsBegin by turning off the power to your water heater. For an electric model, locate your home's circuit breaker panel and switch off the breaker dedicated to the water heater. It is often a double-pole breaker and should be clearly labeled. For a gas water heater, find the control knob on the gas valve assembly on the front of the tank and turn it from the 'ON' or 'PILOT' position to 'OFF'. This is the most critical safety step to prevent damage to the appliance.

Shut Off the Cold Water Supply
2 minsLocate the cold water inlet pipe, which is typically on the top right side of the water heater and marked with a blue ring. Find the shut-off valve on this pipe. It will either be a round, wheel-like handle (gate valve) or a lever handle (ball valve). Turn the gate valve handle clockwise until it stops. For a ball valve, turn the lever handle a quarter turn so it is perpendicular to the pipe. This will stop any new water from entering the tank while you drain it.

Connect Hose and Open Faucet
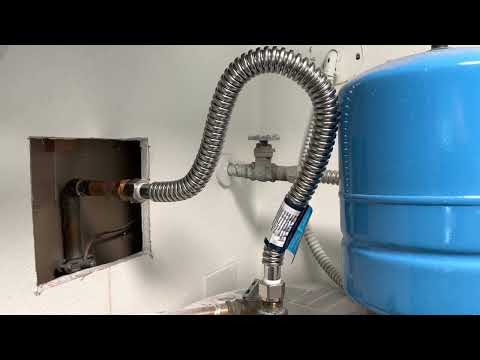
5 minsAttach a standard garden hose to the drain valve located at the bottom of the water heater tank. Make sure the connection is secure to prevent leaks. Run the other end of the hose to a suitable drainage point, such as a floor drain, a large utility sink, or outside to a driveway. After the hose is in place, go to a sink inside the house (preferably on an upper floor) and open the hot water tap fully. This will allow air into the tank, breaking the vacuum and allowing water to drain out smoothly.

Drain the Tank
30 minsWith the hose securely in place and a hot water faucet open, you can now open the drain valve on the water heater. Most plastic valves have a small slot that can be turned with a flathead screwdriver. Brass valves typically have a small handle you can turn by hand or with pliers. Turn the valve counter-clockwise to open it. The hot water and sediment will begin to flow out through the hose. Be patient, as a full 40- or 50-gallon tank can take 30 minutes or more to drain completely. You will hear the popping and crackling of sediment as it exits.

Flush Out Sediment
10 minsOnce the water flow from the hose has slowed to a trickle, the tank is mostly empty. To remove the stubborn sediment caked at the bottom, you will perform a scouring flush. With the drain valve still open, turn the cold water supply valve on for 15-20 seconds, then shut it off. This will blast water into the bottom of the tank, stirring up the remaining sediment and flushing it out the drain hose. Repeat this process 3-4 times, or until the water running out of the hose is clear and free of debris.
Close Drain and Refill Tank
20 minsOnce the water runs clear, completely close the drain valve at the bottom of the tank by turning it clockwise until it is snug. Do not overtighten, especially if it is plastic. You can now disconnect the garden hose. Go back to the cold water inlet valve at the top of the tank and open it fully by turning it counter-clockwise. You will hear water rushing in to refill the tank. Leave the hot water faucet in the house open during this process; it will hiss and sputter as air is pushed out of the lines. The tank is full when you have a steady, air-free stream of water flowing from the faucet.

Restore Power or Gas
5 minsAfter confirming the tank is full (steady water flow from the hot water tap), you can safely restore power. Go to the faucet and turn it off. For an electric heater, return to the circuit breaker panel and switch the water heater breaker back to the 'ON' position. For a gas heater, turn the control knob back to the 'PILOT' position, follow the manufacturer's instructions printed on the heater to relight the pilot light, and then turn the knob to the 'ON' position. The water heater will now begin to heat the new tank of water. The popping noises should be gone.
Common Problems
The water coming out of the tank can be scalding hot. Handle the hose with care.
Solution: To avoid this issue: Be mindful of this warning and take appropriate precautions.
The water draining from the tank is hot and can cause burns. Handle the hose with care.
Solution: To avoid this issue: Be mindful of this warning and take appropriate precautions.
Sediment remains at the bottom, causing popping noises.
Solution: The pressure from the cold water inlet helps agitate the sediment at the bottom of the tank for a more effective flush.
The water will be extremely hot. Wear protective gloves and be careful.
Solution: To avoid this issue: Be mindful of this warning and take appropriate precautions.
Unsure if sediment is fully removed from water heater.
Solution: Using a clear container allows you to easily see the amount of sediment coming out of the tank.
This is the most important safety step. Failure to turn off electricity can result in severe injury or death.
Solution: To avoid this issue: Be mindful of this warning and take appropriate precautions.
Failure to turn off the electricity can result in severe injury or death. Double-check that the power is off before proceeding.
Solution: To avoid this issue: Be mindful of this warning and take appropriate precautions.
Frequently Asked Questions
What are the most important safety precautions I need to take before starting to flush my water heater?
Always shut off the power (for electric) or gas supply (for gas) to the water heater *before* starting any work to prevent electric shock or gas leaks. Also, ensure the cold water supply is off to prevent unexpected hot water flow and potential scalding. Wear appropriate safety gear like gloves, especially when handling hot water or parts.
Do I need any specialized tools beyond a garden hose and screwdriver to flush my water heater?
No, the core process primarily requires a standard garden hose for draining and a screwdriver for tasks like opening the drain valve or accessing panels. However, using a hot water-rated hose is highly recommended for safety, and welding gloves can protect your hands from hot water or tank surfaces during the process.
Why is it important to use a hot water-rated hose for draining the water heater?
Using a hot water-rated hose, like the 'Element MAXLite Hot Water Rubber+ Hose' mentioned, is crucial because the water draining from the tank will be very hot. A regular garden hose can be damaged, melt, or even burst under high heat and pressure, leading to burns, property damage, or a messy situation.
What if my water heater still makes popping noises after I flush it, or the water flow is weak?
If popping persists, there might be significant, compacted sediment that a single flush couldn't fully remove, or the issue could stem from a faulty heating element or burner. Weak water flow after flushing often indicates that sediment has clogged the drain valve or aerators in your faucets; check and clean those if necessary.
How often should I flush my water heater to prevent sediment buildup and popping noises?
It's generally recommended to flush your water heater at least once a year, or more frequently (every 6 months) if you live in an area with hard water. Regular flushing prevents sediment from accumulating and hardening, which is the primary cause of popping noises, reduced efficiency, and potential damage to the tank.
The project says 'beginner' difficulty and '2 hours.' Is that realistic for someone who has never done this before?
Yes, for most standard water heater models, this is a beginner-friendly project. The 2-hour estimate is reasonable, allowing ample time for the tank to drain and refill properly. Take your time with each step, especially ensuring proper shut-off of utilities and gradual refilling, to avoid common mistakes.


