

How to Fix Low Water Pressure in Just the Hot Water Lines
About This Project
This guide provides step-by-step instructions for diagnosing and fixing low water pressure that is isolated to the hot water lines. The primary cause is often sediment buildup in the water heater tank, which can be resolved by flushing the tank. The process involves identifying the scope of the problem, checking simple issues like shut-off valves, and then performing a full flush of the water heater.
Best for experienced DIYers and homeowners with some experience with basic plumbing knowledge.
Tools & Materials

Safety gloves
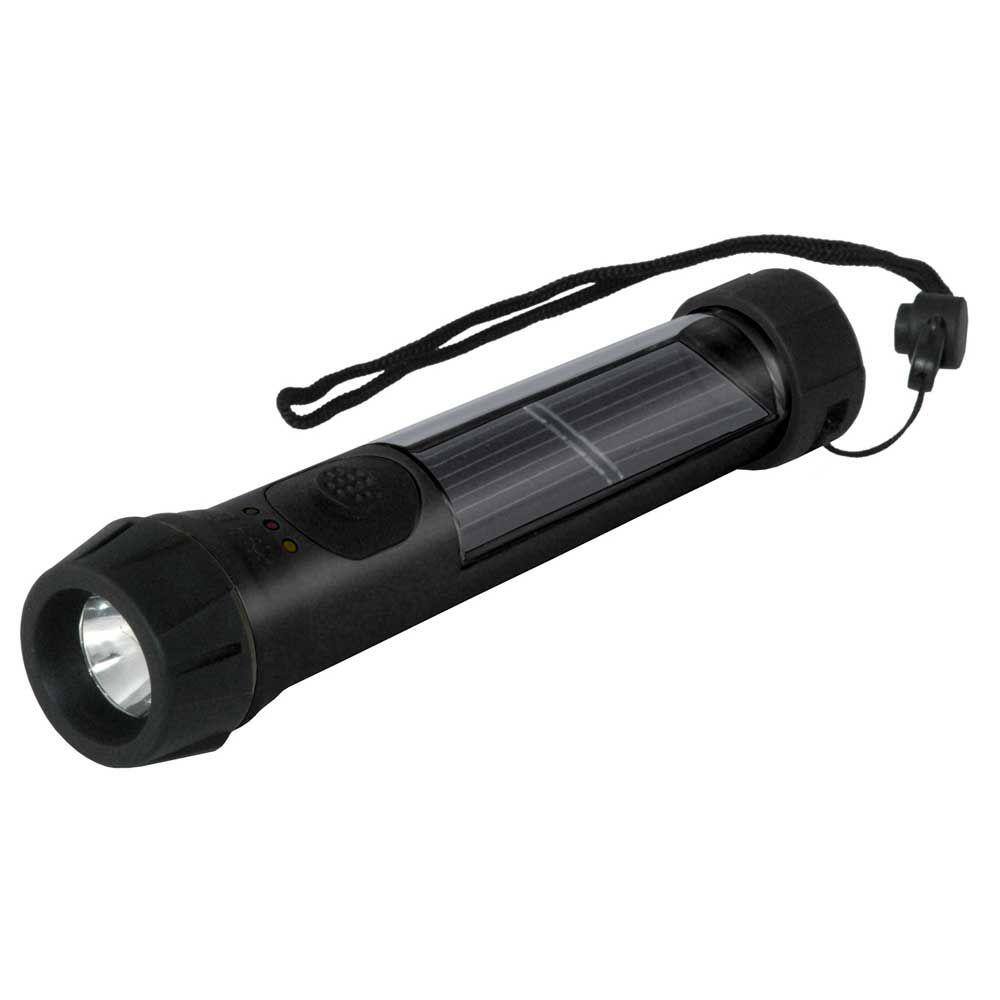
Hybrid Light Solar Flashlight - Black 001175
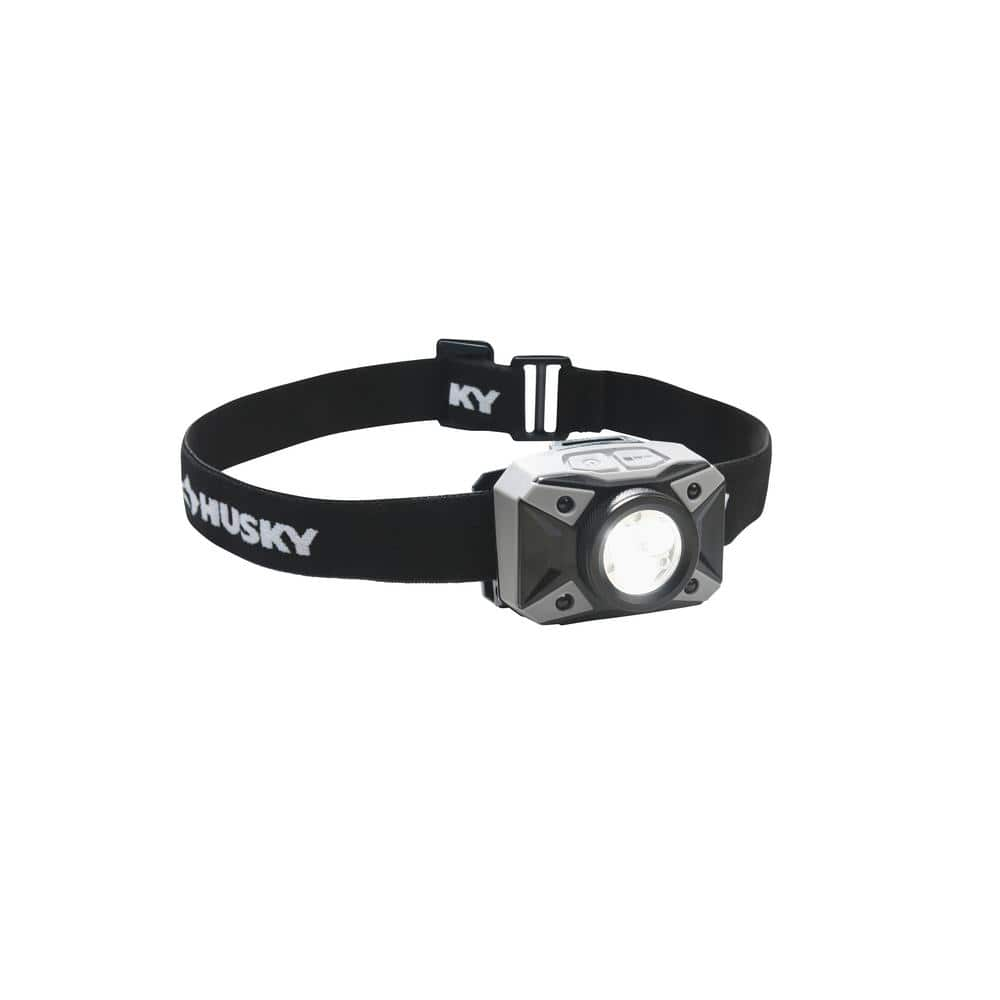
Husky 500-Lumens Dual Beam LED Headlamp 5 modes Impact and Water Resistant with Batteries HSK1PK500LHL

GardenJoy PVC Garden Hose 5/8 in. x 50 ft. Heavy-Duty Durable Hose Outdoor Water Hose LG-GHB5850
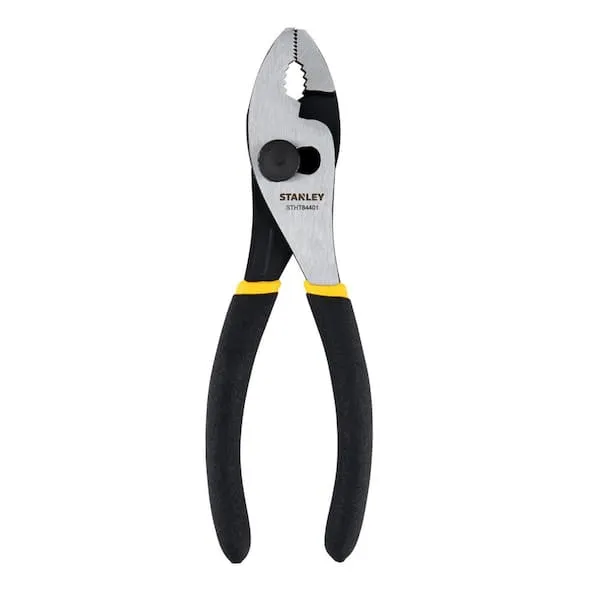
Pliers
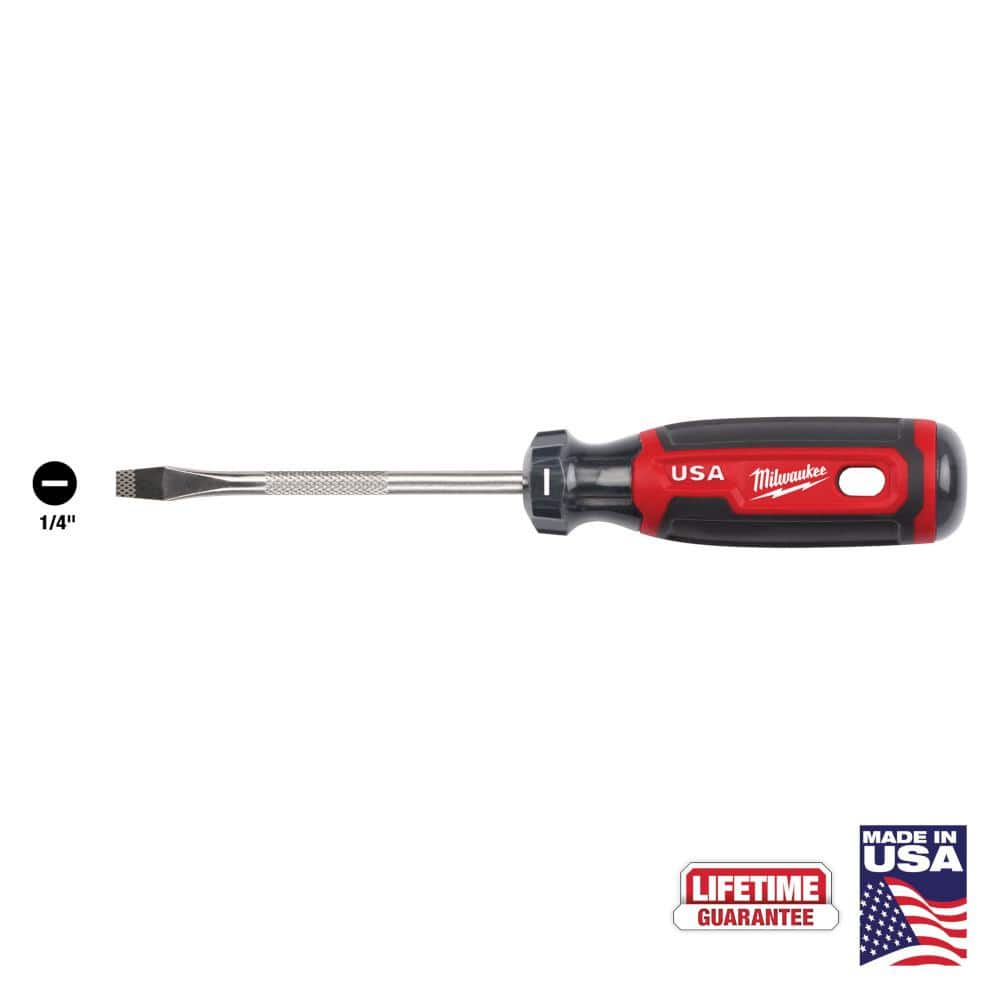
Milwaukee 4 in. x 1/4 in. Slotted Flat Head Screwdriver with Cushion Grip MT206
Safety gloves
Shields hands from potential harm.
Hybrid Light Solar Flashlight - Black 001175
The Hybrid Solar Light uses revolutionary technology that generates power from any light source, indoor lighting or sun light and stores it for later use. The Hybrid Solar Light is always collecting power
Husky 500-Lumens Dual Beam LED Headlamp 5 modes Impact and Water Resistant with Batteries HSK1PK500LHL
The husky 500-lumen dual beam LED headlamp offers both brightness and functionality. It is equipped with multi-color dual beams for any situation. The dual beam switches from flood to spot with a dual
GardenJoy PVC Garden Hose 5/8 in. x 50 ft. Heavy-Duty Durable Hose Outdoor Water Hose LG-GHB5850
Light-weight and Flexible: Made from premium PVC, our garden hose is both light-weight and durable, allowing for easy handling without kinks or tangles, ideal for all your watering and cleaning needs.
Pliers
Grips and manipulates objects.
Milwaukee 4 in. x 1/4 in. Slotted Flat Head Screwdriver with Cushion Grip MT206
The Milwaukee® 1/4" Slotted 4" Cushion Grip Screwdrivers (USA) are manufactured to give the professional the best-fitting screwdriver with max grip. These screwdriver tips are custom machined to deliver
Steps

Diagnose the Problem Scope
15 minsBegin by confirming the scope of the issue. Go to every faucet, shower, and tub in your home. Turn on the hot water and observe its pressure. Then, turn on the cold water and compare. If the hot water pressure is noticeably lower than the cold water pressure at all fixtures, the problem is systemic and likely originates at the water heater. If the problem is only at one fixture, you should first try cleaning that fixture's aerator or showerhead before proceeding with these steps.
Check the Water Heater Shut-Off Valve
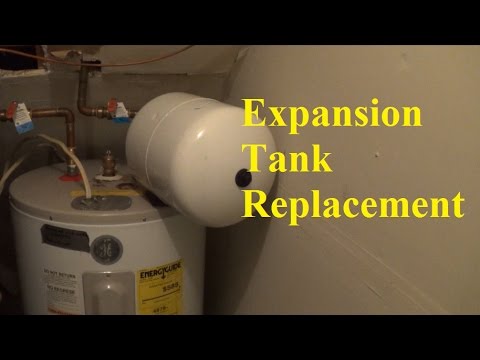
5 minsLocate your water heater. It's typically in a basement, garage, or utility closet. Identify the cold water inlet pipe, which is usually at the top of the tank and may be labeled or marked with a blue ring. Follow this pipe to find its shut-off valve. Ensure this valve is in the fully open position. For a lever-style ball valve, the handle should be parallel to the pipe. For a circular gate valve, it should be turned fully counter-clockwise until it stops.

Turn Off Power and Water Supply
10 minsBefore draining the tank, you must shut off its power source for safety. For an electric water heater, go to your home's main electrical panel and turn off the corresponding circuit breaker. It is often a double-pole breaker and should be clearly labeled. For a gas water heater, locate the gas control knob on the unit and turn it to the 'PILOT' or 'OFF' position. Next, turn off the cold water supply valve that you just inspected in the previous step.

Drain the Water Heater Tank
45 minsAttach a standard garden hose to the drain valve located at the bottom of the water heater tank. Run the other end of the hose to a safe drainage point, such as a floor drain, utility sink, or outside. To prevent a vacuum from forming and to help the tank drain, go to a faucet inside the house (preferably on a higher floor) and open the hot water side. Finally, open the drain valve on the water heater. You may need pliers if the valve is stiff. Allow the tank to drain completely.

Flush Out Stubborn Sediment
20 minsSimply draining the tank often leaves the heaviest sediment behind. To effectively remove it, leave the drain valve open and the hose attached. Briefly open the cold water supply valve for 15-20 seconds to blast water into the tank, which will stir up the sediment at the bottom. Then turn the cold water off and let it drain out. Repeat this flushing process 3-5 times, or until the water running from the hose is clear and free of particles.

Refill the Tank and Restore Power
20 minsOnce the water runs clear, close the drain valve securely and remove the garden hose. Double-check that the hot water faucet you opened earlier is still open. Fully open the cold water supply valve to begin refilling the tank. Keep the hot water faucet open until water flows out in a steady stream, without any hissing or sputtering air. This signifies the tank is full. Close the faucet. Carefully check for any leaks around the water heater's drain valve. Only after confirming the tank is full and leak-free, restore power at the circuit breaker or turn the gas valve back to its 'ON' position.

Test Hot Water Pressure
5 minsAllow the water heater 30-90 minutes to heat the new tank of water. Once it's had sufficient time, go to the various faucets in your home and test the hot water pressure again. It should be significantly improved and now match the pressure of the cold water. If the pressure is still low, the blockage may be further down the line, in the heat-trap nipples on the heater, or within the pipes themselves, which may require professional assistance.
Common Problems
If you don't have shutoff valves, turn off the main water valve to the house.
Solution: To avoid this issue: Be mindful of this warning and take appropriate precautions.
Gas leaks can be dangerous. If you smell gas, do not attempt this repair and contact a qualified technician.
Solution: To avoid this issue: Be mindful of this warning and take appropriate precautions.
Siphoning and water loss occur when hot and cold valves aren't closed.
Solution: Closing both the hot and cold valves helps prevent siphoning and reduces water loss when the system is opened.
This is the most important safety step. Failure to turn off electricity can result in severe injury or death.
Solution: To avoid this issue: Be mindful of this warning and take appropriate precautions.
Air pockets in hot water lines cause reduced water pressure.
Solution: Purging the air prevents air pockets in your plumbing lines.
Refilling the tank too quickly can cause water hammer, a shockwave that can damage pipes.
Solution: To avoid this issue: Be mindful of this warning and take appropriate precautions.
Failure to turn off the power can result in severe or fatal electrical shock. Double-check that the power is off before proceeding.
Solution: To avoid this issue: Be mindful of this warning and take appropriate precautions.
Frequently Asked Questions
How can I confirm that the low water pressure is specifically an issue with my hot water system and not a general plumbing problem?
To diagnose, test both hot and cold water pressure at several fixtures (sinks, showers). If only hot water pressure is consistently low across multiple fixtures, the problem is likely isolated to your water heater or hot water lines. If both are low, it might be a main water supply issue or a problem with individual fixture aerators.
What are the most critical safety steps I must take before starting to work on my water heater?
Always turn off the power (electricity or gas) and the main cold water supply to the water heater before beginning any work to prevent electric shock or scalding. Wear heavy-duty gloves to protect your hands from hot water and sediment. Be mindful that water draining from the tank will be extremely hot.
Do I need a specific type of garden hose for draining the water heater, or will any hose work?
It's highly recommended to use a heavy-duty garden hose, like the PVC ones mentioned, as it needs to withstand the temperature of hot water without kinking or bursting. Ensure the hose is long enough to reach a suitable floor drain or outdoor area where the hot, sediment-filled water can safely discharge.
How long will I be without hot water during this project, and when is the best time to perform it?
The estimated time for this project is about 4 hours, during which your hot water will be unavailable. It's best to schedule it during a time when hot water isn't critically needed, such as mid-day or when no one plans to shower or do laundry. This allows sufficient time for the tank to drain, flush, refill, and reheat.
My water heater's drain valve seems stuck or difficult to open. What's the best way to handle this without causing damage?
If the drain valve is stiff, try applying gentle, steady pressure with a wrench, turning counter-clockwise. Avoid excessive force, as older plastic valves can break easily. If it remains seized, it's safer to call a professional plumber to avoid damaging the tank connection or creating a larger leak.
What should I do if, after flushing the water heater, the hot water pressure is still low?
If flushing doesn't resolve the issue, first check the aerators on your sink faucets, as they can get clogged with sediment and restrict flow. Also, re-confirm that the cold water supply shut-off valve to the water heater is fully open. If the problem persists, it may indicate a more complex issue like a failing dip tube or internal pipe blockage, which might require professional plumbing assistance.


