
How to Fix a Shower Faucet Leaking from Behind the Handle
About This Project
This guide provides detailed instructions for fixing a common plumbing issue: a shower faucet that leaks from behind the handle. The process involves shutting off the water supply, disassembling the faucet handle and trim, removing and replacing the internal valve cartridge, and then reassembling everything to restore proper, leak-free function.
Best for advanced DIYers and professionals with basic plumbing knowledge and familiarity with power tools.
Tools & Materials
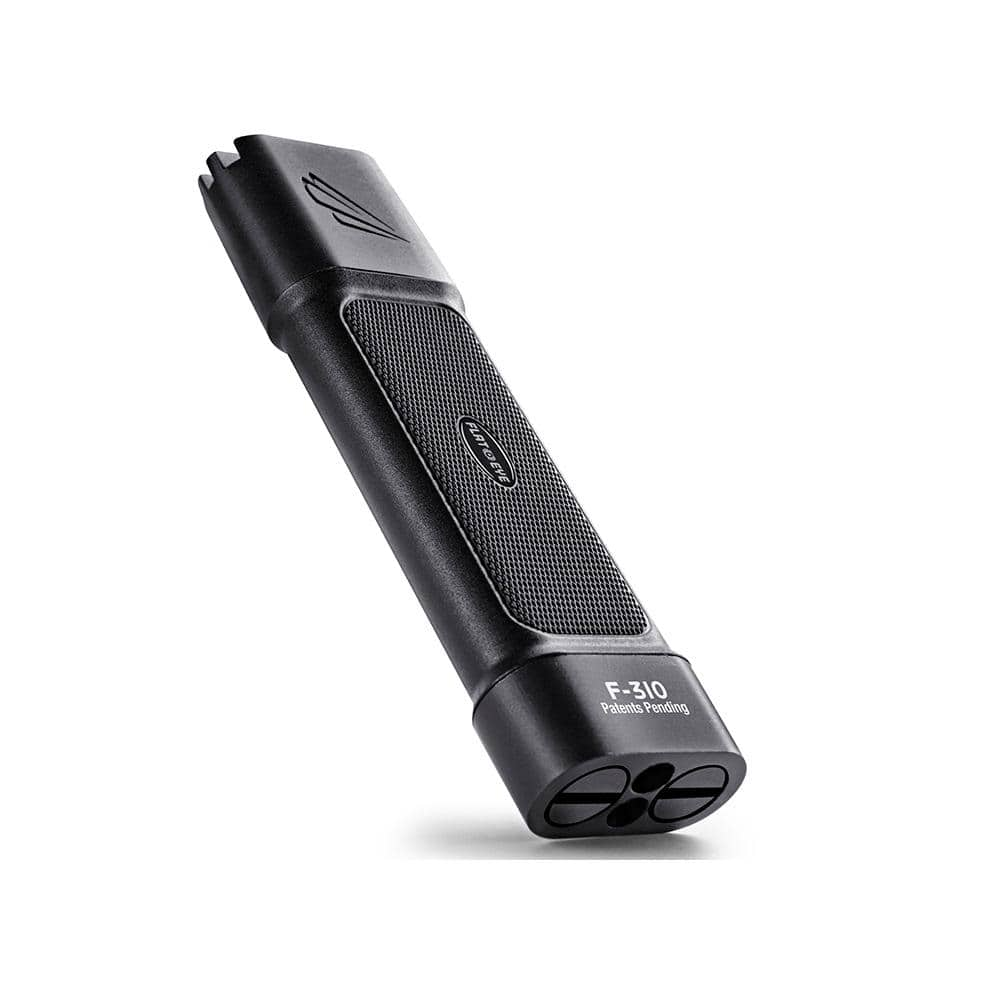
Panther Vision FLATEYE F-310 High Performance 310-Lumen Unround Flashlight CREE LED Multi Position Waterproof and Shockproof FL-6960

Adjustable Wrench
Anvil Black 5-Piece Metal Outdoor Dining Set Patio Bistro Set Table and Chair Set with Umbrella FY-W2089135482
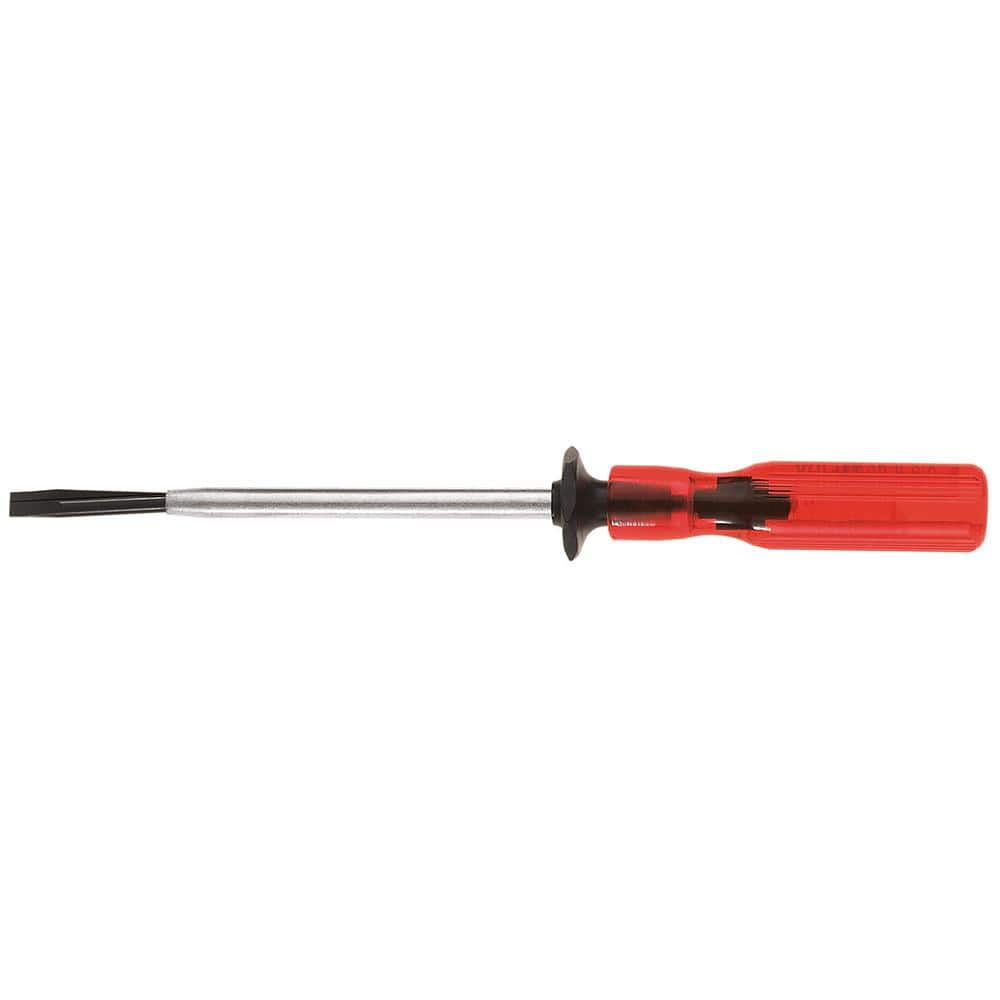
Klein Tools 3/16 in. Slotted Screw-Holding Flat Head Screwdriver with 3 in. Round Shank K23
Phillips head screwdriver
wedi Drain Cover Chrome 3.75 in. W Floor Installation Kit for Accessory US1000054
Panther Vision FLATEYE F-310 High Performance 310-Lumen Unround Flashlight CREE LED Multi Position Waterproof and Shockproof FL-6960
Every revolution starts with a spark. At 310-Lumens the F-310 has the power to ignite our un-round revolution without overpowering your needs or your wallet. Not your granddads flashlight these bad boys
Adjustable Wrench
Fits various nut and bolt sizes with its adjustable jaw.
Anvil Black 5-Piece Metal Outdoor Dining Set Patio Bistro Set Table and Chair Set with Umbrella FY-W2089135482
The 5-Pieces outdoor dining set with umbrella sounds like a great addition to any patio or outdoor space. The set includes a patio table with an umbrella and 4-chairs, providing comfortable seating for
Klein Tools 3/16 in. Slotted Screw-Holding Flat Head Screwdriver with 3 in. Round Shank K23
Getting that screw to stay put while you get it in place is much easier with Klein's Slotted Screw-Holding screwdriver. Positive gripping action holds, starts, and drives slotted screws in awkward, hard-to-reach
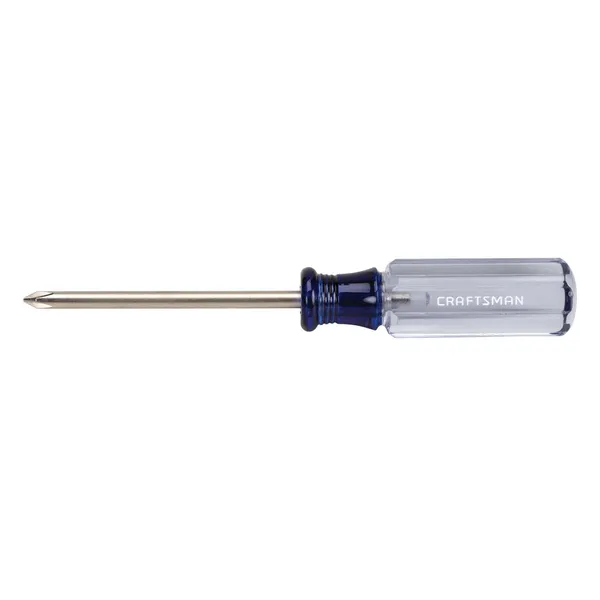
Phillips head screwdriver
This is a type of screwdriver that has a cross-shaped tip.
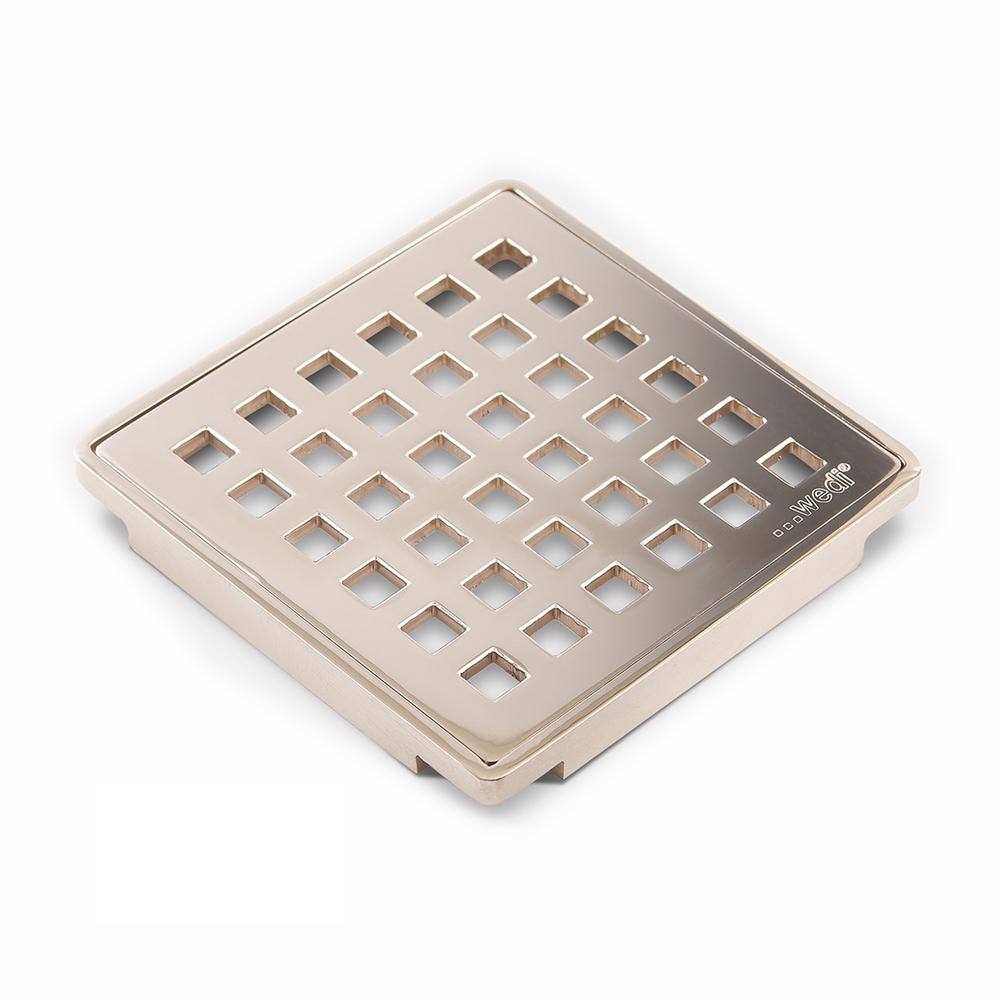
wedi Drain Cover Chrome 3.75 in. W Floor Installation Kit for Accessory US1000054
Drain cover and frame with Chrome finish. wedi Drain Covers are made from heavy-gauge stainless steel material with finishes that resist physical and chemical exposure challenges commonly found in wet
Steps

Shut Off the Water Supply
10 minsThe first and most critical step is to shut off the water supply. Since we're assuming there is no dedicated shutoff for the shower, you'll need to locate the main water shutoff valve for your entire home. This is typically found in a basement, crawlspace, or utility closet where the water service line enters the house. Turn the valve handle clockwise until it is fully closed. To ensure the water is off and to relieve pressure, open the faucet in the shower and a faucet on a lower floor (like a basement sink) to drain the remaining water from the pipes. Keep them open until the water stops flowing.

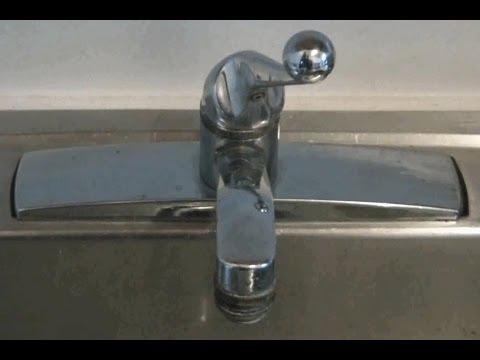
Remove the Faucet Handle
10 minsWith the water off, you can begin disassembling the faucet. First, locate the set screw that secures the handle to the valve stem. On many single-handle Moen faucets, this screw is an Allen screw located in a small hole on the underside of the handle. Use the appropriate size from an Allen wrench set to turn the screw counter-clockwise. You do not need to remove the screw completely, just loosen it enough so the handle can be pulled straight off the valve stem. If the handle is stuck due to corrosion, you may need to gently wiggle it back and forth while pulling. If there's a decorative cap on the front of the handle, use a small flathead screwdriver to gently pry it off to access a Phillips screw underneath.

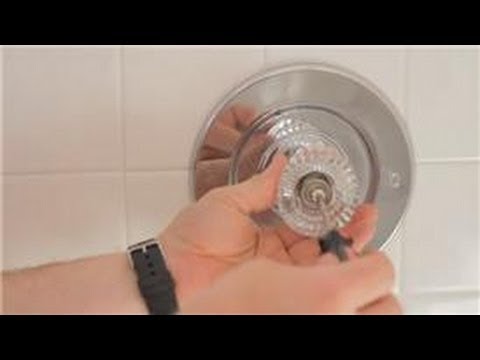
Remove the Escutcheon Plate and Sleeve
10 minsAfter removing the handle, you'll see a sleeve (often black plastic) and a large decorative plate called an escutcheon. First, pull the sleeve straight off; it may have a temperature limit stop on it that also pulls off. The escutcheon plate is typically held to the wall with two long Phillips head screws. Use a Phillips screwdriver to remove these screws. If the edge of the escutcheon was sealed with caulk, you may need to carefully run a utility knife around the perimeter to break the seal before pulling it away from the wall. Behind the plate, you will see the main valve body embedded in the wall.
Remove the Old Cartridge
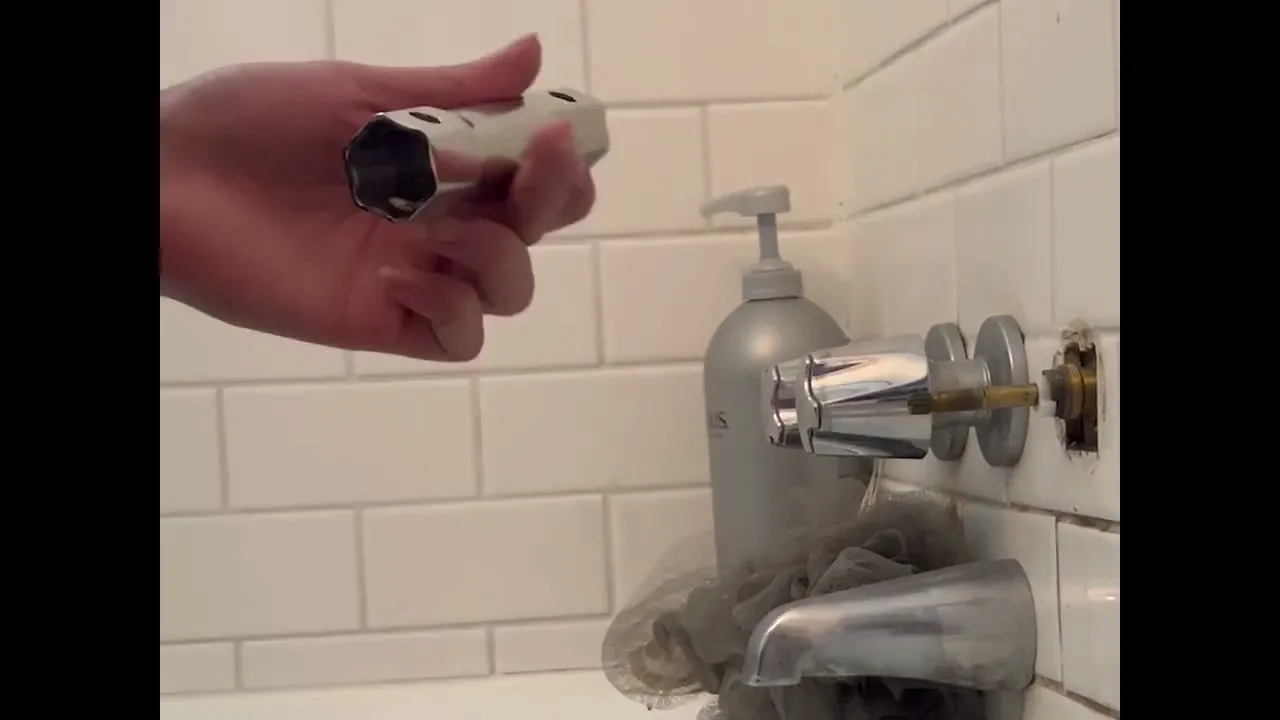
25 minsNow you can see the valve cartridge. The Moen cartridge is held in place by a small U-shaped retaining clip inserted into the top of the valve body. Use needle-nose pliers or a small screwdriver to grab the top of the clip and pull it straight up and out. Keep this clip in a safe place. With the clip removed, the cartridge can be extracted. Often, they are very stuck. Your replacement Moen cartridge (like the 1222 or 1225 model) should come with a small plastic tool. Insert this tool over the cartridge stem and rotate it back and forth to break the cartridge free. Then, use a dedicated Moen cartridge puller tool. This metal tool screws onto the cartridge stem and uses leverage to pull the cartridge straight out of the valve body without damaging the housing. Pull firmly and steadily until the cartridge comes free.

Clean Valve Body and Install New Cartridge
15 minsOnce the old cartridge is out, inspect the inside of the brass valve body. Use a rag and a small brush (an old toothbrush works well) to clean out any mineral deposits, debris, or pieces of old rubber seals. The inside surface must be clean and smooth for the new cartridge to seal properly. Take your new cartridge and apply a thin layer of the included plumber's grease (silicone grease) to all the rubber O-rings. This lubricates them and helps ensure a watertight seal. Align the new cartridge with the 'H/C' marking facing up, just as the old one was oriented. Push the new cartridge firmly and evenly into the valve body until it is fully seated. It should slide in until its flange is flush with the front of the valve body.

Reassemble the Faucet
15 minsReassemble the faucet components in the reverse order of disassembly. Start by re-inserting the U-shaped retaining clip into the slot at the top of the valve body, ensuring it snaps securely in place over the new cartridge. Next, slide the faucet sleeve back over the valve body, followed by the escutcheon plate. Secure the escutcheon plate with its two screws, being careful not to overtighten and crack the plate. Finally, push the handle back onto the valve stem, aligning it properly, and tighten the set screw with your Allen wrench or screwdriver to secure it. Pop any decorative cap back on if your model has one.
Turn On Water and Test for Leaks
5 minsWith the faucet fully reassembled, you can now test your work. Ensure the shower faucet is in the 'off' position. Go back to your main water shutoff valve and turn it on slowly, counter-clockwise, until it is fully open. This prevents a sudden pressure surge (water hammer). Return to the bathroom and closely inspect the area around and behind the faucet handle. Use a dry paper towel to wipe the area and check for any moisture. If it remains dry, turn the faucet on and cycle it between hot and cold. Check for leaks again while the water is running, then turn it off and check a final time. If there are no leaks, the repair is complete.
Common Problems
Handle is hard to turn, risking damage to chrome finish.
Solution: If the handle is difficult to turn by hand, use a cloth or rubber grip for better traction without scratching the chrome finish.
Scratched finish when removing the indicator plug.
Solution: Use a small flathead screwdriver or a pick to gently pry off the indicator plug to avoid scratching the finish.
Use caution when prying off the cap to avoid scratching the chrome finish of the faucet.
Solution: To avoid this issue: Be mindful of this warning and take appropriate precautions.
Make sure the notch on the cam aligns with the tab in the faucet body, otherwise the handle will not operate correctly.
Solution: To avoid this issue: Be mindful of this warning and take appropriate precautions.
Do not overtighten the nuts or the set screw, as this can damage the parts.
Solution: To avoid this issue: Be mindful of this warning and take appropriate precautions.
Do not overtighten the retaining nut or the handle screw, as this can crack the plastic components or strip the threads.
Solution: To avoid this issue: Be mindful of this warning and take appropriate precautions.
Unnoticed leaks behind the handle can cause water damage.
Solution: Have a second person inside to watch the new connections for leaks when you first turn the water on.
Frequently Asked Questions
How long does this project typically take for a beginner, and what's the estimated cost?
For a beginner, this project usually takes 1-2 hours, assuming you have the right tools and replacement parts. The main cost will be for the new faucet cartridge, which can range from $20-$60 depending on your faucet brand, plus any tools you might need to purchase. It's considered a beginner-level DIY task.
Are specialized tools like a cartridge puller always necessary for this project?
While some cartridges can be removed with pliers, a cartridge puller (like the Everbilt model listed) is highly recommended for stubborn or older cartridges. It prevents damage to the valve body and simplifies removal, making the process much easier for beginners. A multi-screwdriver and adjustable wrench are also essential.
What are the most critical safety precautions I should take before starting this repair?
The absolute most critical step is to shut off the main water supply to your house or, if possible, just to the bathroom. This prevents flooding and injury. Additionally, have a rag or bucket handy to catch any residual water when you open the faucet.
My faucet is still leaking slightly after I replaced the cartridge. What could be wrong?
First, double-check that the new cartridge is fully seated and oriented correctly according to the manufacturer's instructions. Ensure all screws and nuts are tightened snugly but not overtightened, which can crack components. Sometimes, mineral deposits in the valve body might prevent a perfect seal; ensure you thoroughly cleaned it before installing the new cartridge.
How do I identify the correct replacement cartridge for my specific shower faucet?
This is crucial! Before you begin, try to identify your faucet brand and model, often found on the escutcheon plate or handle base. If not, carefully remove the old cartridge and take it to a plumbing supply store or hardware store to match it. Taking photos of the old cartridge and the inside of the valve body can also help store associates identify the correct replacement.
What if the faucet handle or escutcheon plate is stuck and won't come off?
Mineral buildup can often seize parts. Try applying a penetrating oil (like WD-40) to the stuck areas and let it sit for 15-30 minutes. Gently tap the handle or plate with a rubber mallet to help break the seal. Be patient and avoid excessive force to prevent damaging the faucet components or the wall.


