

How to Fix a Leaky Single-Handle Kitchen Faucet (Ball-Valve Type)
About This Project
This guide provides step-by-step instructions for repairing a common single-handle ball-valve kitchen faucet that is leaking. The process involves shutting off the water supply, disassembling the faucet handle and body, replacing worn internal components like the ball, seats, springs, and O-rings using a specific repair kit, and then reassembling the faucet and testing for leaks.
Best for experienced DIYers and homeowners with some experience with basic plumbing knowledge and familiarity with power tools.
Tools & Materials

Towel
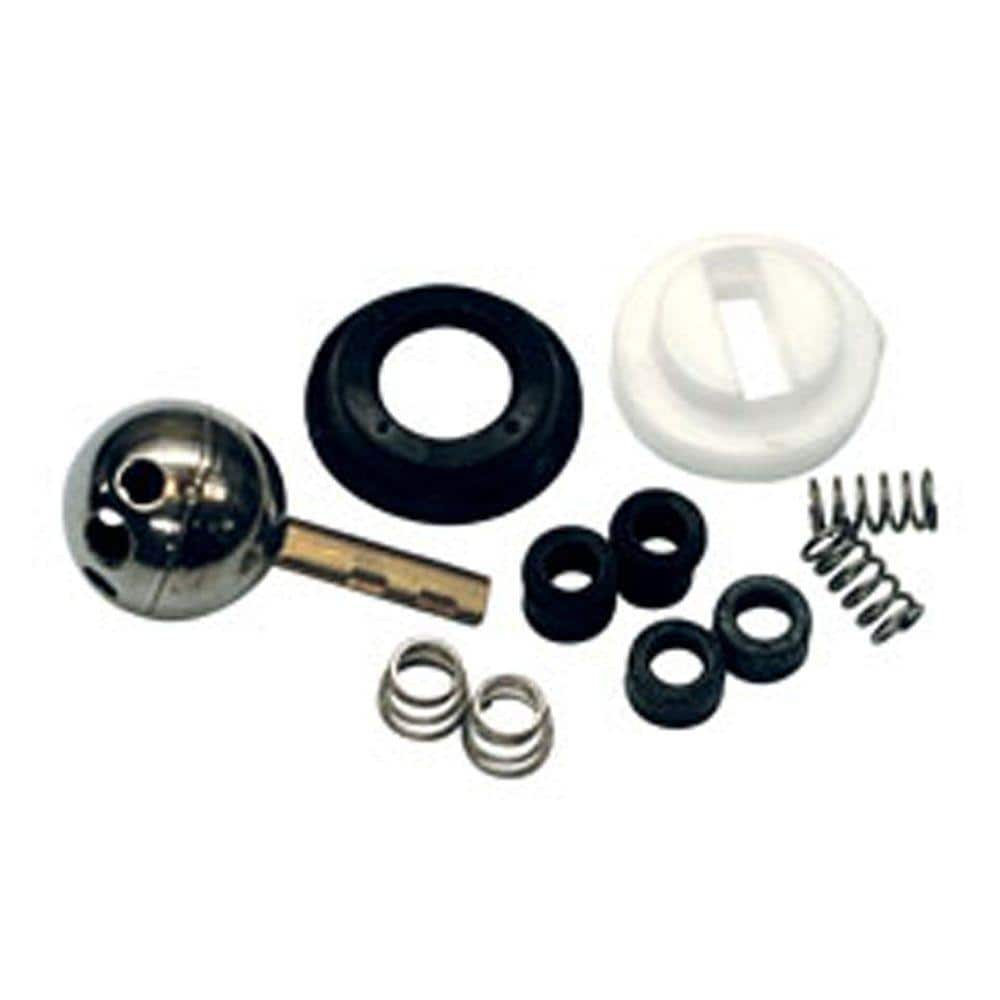
DANCO Repair Kit for Delta W/212SS Ball 86971
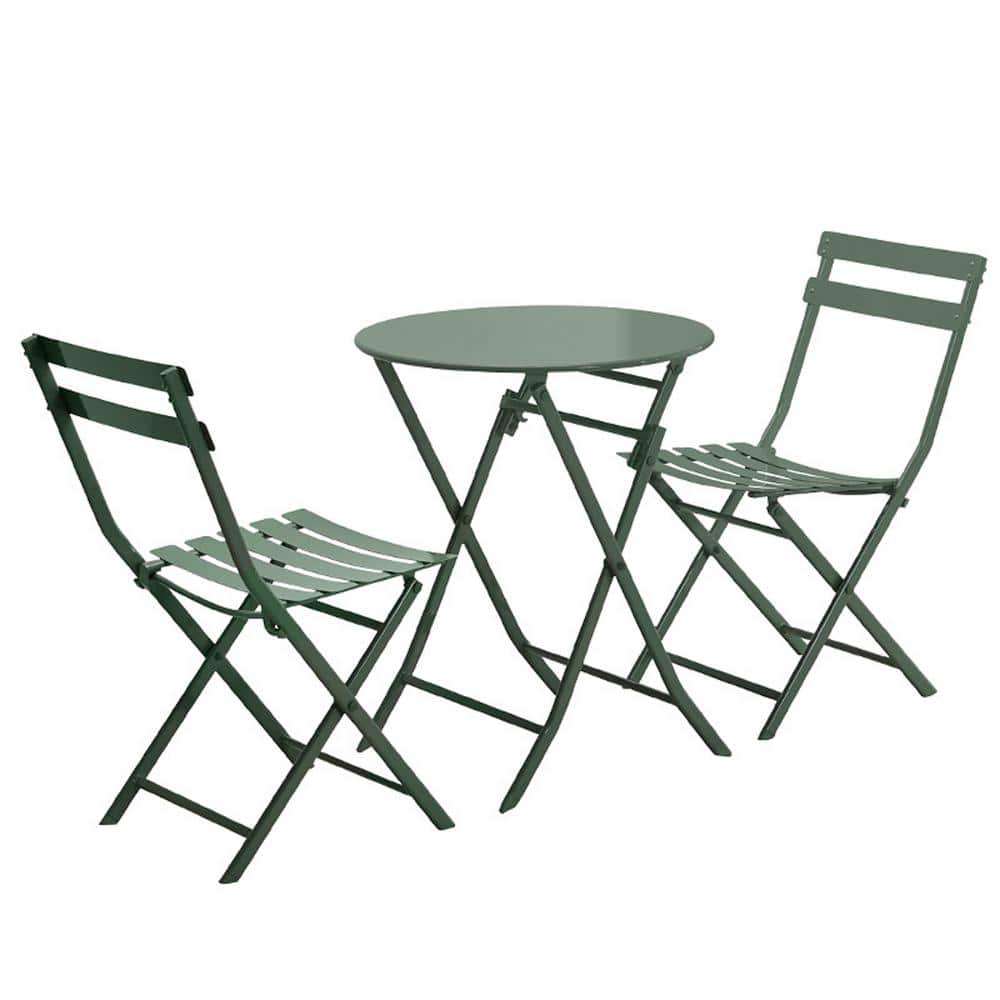
Anvil Dark Green 3-Piece Metal Indoor Outdoor Bistro Set, Patio Foldable Round Table and Chairs Set FY-W1586P143161
Screwdriver
Rag
Husky 10 in. Quick Adjusting Groove Joint Pliers with Curved Jaw 90141
Towel
Absorbs moisture and dries surfaces.
DANCO Repair Kit for Delta W/212SS Ball 86971
The DANCO 11-Piece Repair Kit for Delta helps restore a leaky faucet. Replacing the worn out parts in the faucet will create a better seal and help prevent water leaks. This kit is Ideal for single-handle
Anvil Dark Green 3-Piece Metal Indoor Outdoor Bistro Set, Patio Foldable Round Table and Chairs Set FY-W1586P143161
Enjoy friendly conversation and a cappuccino with the Indoor/Outdoor 3-Piece Bistro Set. This Garden 3-piece folding patio set, featuring 2-dining chairs and 1-dining table. With its simple and practical
Screwdriver
A tool used to turn screws.
Rag
Handy for cleaning or wiping tasks.
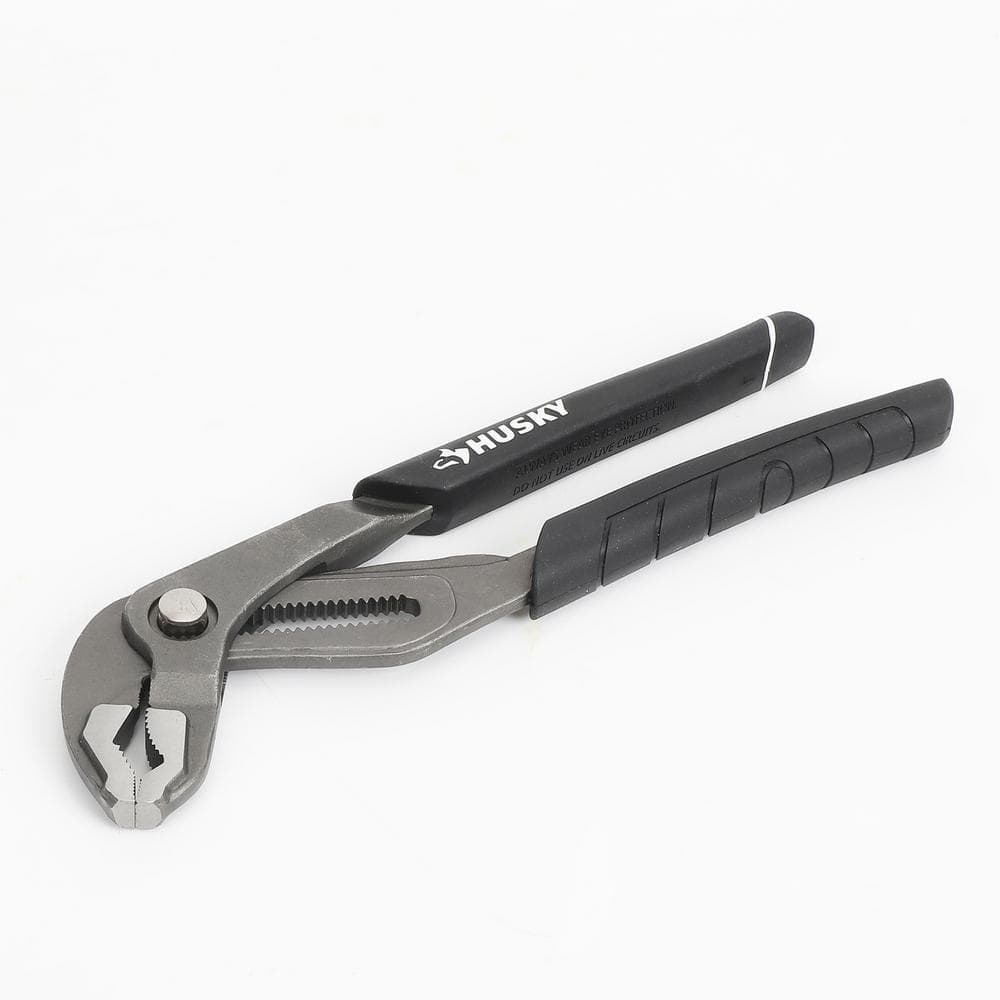
Husky 10 in. Quick Adjusting Groove Joint Pliers with Curved Jaw 90141
The Husky quick adjusting groove joint pliers are easier to adjust for the perfect fit. At the touch of a button, the jaws can be moved to quickly fit a fastener without having to guess which the appropriate
Steps

Shut Off Water Supply & Prepare Workspace
10 minsBefore any disassembly, locate the hot and cold water shutoff valves under the kitchen sink. Turn the handles clockwise until they are fully closed. Then, go back to the faucet and move the handle to the 'on' position in the middle to release any remaining water and pressure in the lines. Place an old towel in the sink basin to catch any water drips and to protect the sink surface. Gather all your tools and the new faucet repair kit.

Remove the Faucet Handle
10 minsLocate the small set screw that holds the handle in place. It's typically hidden under a small decorative cap on the side or back of the handle base. You may need to pry this cap off with a small flathead screwdriver. Insert the correct size Allen wrench into the set screw and turn it counter-clockwise to loosen it. You usually don't need to remove the screw completely. Once loose, lift the handle straight up and off the faucet body.

Remove the Cap and Cam Assembly
10 minsWith the handle removed, you will see a chrome dome-shaped cap. Unscrew this cap by turning it counter-clockwise. It should be hand-tight, but if it's stuck, wrap a rag around it and use adjustable pliers to get a better grip and avoid scratching the finish. Once the cap is off, lift out the plastic cam and the rubber cam seal beneath it. Note their orientation for reassembly.

Replace Ball, Seats, and Springs
15 minsSimply lift the ball valve straight out of the faucet body. It has a slot that aligns with a pin inside the faucet body. Next, look inside the body to see two small rubber seats, each with a spring underneath. Use a small flathead screwdriver or needle-nose pliers to carefully pry out the old seats and springs. Insert the new springs from your repair kit into the holes (wide end down), followed by the new rubber seats on top of them.

Replace Spout O-Rings
15 minsSince the leak was identified at the base of the spout, the O-rings must be replaced. Lift and twist the entire spout to remove it from the faucet body. You will see two or more rubber O-rings around the base. Use a small pick or flathead screwdriver to carefully remove the old O-rings without scratching the metal grooves. Clean the grooves with a rag. Lightly coat the new O-rings from the repair kit with plumber's grease and slide them into place. Re-install the spout onto the faucet body.

Reassemble the Faucet
15 minsReassemble the faucet in the reverse order of disassembly. Place the new ball valve into the socket, ensuring the slot on the ball aligns with the pin in the faucet body. Place the new rubber cam seal and the plastic cam over the ball, aligning the tab on the cam with the notch on the faucet body. Screw the dome cap back on and tighten it by hand, giving it a final quarter-turn with the pliers (using a rag) if necessary, but do not overtighten. Finally, place the handle back on and tighten the set screw with the Allen wrench.

Turn Water On and Test for Leaks
5 minsWith the faucet fully reassembled, you can now test your work. Slowly turn both the hot and cold water shutoff valves counter-clockwise to restore the water supply. Check for any immediate leaks under the sink around the supply lines and valves. Then, turn the faucet handle on and move it around to test both hot and cold water flow. Carefully inspect for leaks around the base of the spout and from under the handle. If everything is dry, the repair is complete.
Common Problems
Leaky Delta faucet parts are expensive.
Solution: If you have a Delta faucet, contact the company about their lifetime warranty to potentially receive free replacement parts.
Without a schematic, you might reassemble the faucet incorrectly or miss crucial parts.
Solution: Look up the schematic for your specific faucet model online to understand the assembly and the location of the parts you need to replace.
Over-tightening the faucet collar can strip threads or crack the faucet body.
Solution: Hand-tightening the collar should be sufficient. Over-tightening with a tool can damage the threads or the faucet body.
Be gentle when prying off the old O-ring to avoid scratching or damaging the brass adapter.
Solution: To avoid this issue: Be mindful of this warning and take appropriate precautions.
A twisted O-ring will cause the faucet to continue leaking.
Solution: Ensure the new O-ring is seated properly in its groove and is not twisted, as this is crucial for a watertight seal.
Faucet leaks occur because the spring is installed upside down.
Solution: The tapered spring should be installed with the wider base at the bottom and the narrow top fitting into the rubber seat.
It can be difficult to get the seat and spring to stay in place if there is still water pressure. Ensure the water is completely off.
Solution: To avoid this issue: Be mindful of this warning and take appropriate precautions.
Frequently Asked Questions
How difficult is this repair for a beginner, and how long should it take?
This repair is rated beginner-friendly, but requires patience and attention to detail. For a first-timer, expect to spend 1-2 hours from start to finish, including gathering tools and testing. The cost is usually just the repair kit, which is significantly cheaper than replacing the entire faucet.
How can I tell if my leaky faucet is a 'ball-valve type' and ensure I buy the correct repair kit?
Ball-valve faucets typically have a single handle that rotates and tilts to control both temperature and flow. To confirm, carefully remove the handle; if you see a cap underneath that unscrews to reveal a metal or plastic ball, seats, and springs, it's a ball-valve type. Always check your faucet's brand and model (often Delta) to find the exact replacement kit, like the 'DANCO Repair Kit for Delta W/212SS Ball 86971'.
What should I do if I can't find the water shut-off valves under my sink, or if they're stuck?
If you can't locate the hot and cold shut-off valves under the sink, you'll need to turn off the main water supply to your entire house, usually located in the basement or near the water meter. If the under-sink valves are stuck, try gently using an adjustable wrench to turn them, but avoid excessive force to prevent damage. If they still won't budge, it's safer to use the main shut-off or call a professional.
I replaced the parts, but my faucet is still leaking. What could be the issue?
First, double-check that all components, especially the new springs, seats, and the ball, are installed correctly and oriented properly according to the repair kit instructions. Ensure the new O-rings are lubricated with plumber's grease and seated perfectly without any twists or pinches. Sometimes, either over-tightening or under-tightening the cap can cause leaks, so adjust carefully.
Why is plumber's grease important for this repair, and where exactly should I apply it?
Plumber's grease, such as 'Oatey 1 oz. Plumber's Grease 30620,' is crucial for lubricating the new O-rings and allowing them to slide into place and seal properly, preventing future leaks and premature wear. Apply a thin, even coat to all new O-rings, the rubber seats, and the moving parts of the ball to ensure smooth operation and a watertight seal.
Do I really need specific tools like the 'Milwaukee 4 in. x 1/4 in. Slotted Flat Head Screwdriver' or can I use alternatives?
While specific tools are recommended for optimal fit and ease of use, standard equivalents will often suffice. The important thing is to use screwdrivers and pliers that fit snugly to avoid stripping screw heads or damaging plastic parts. An adjustable wrench is essential for tasks like loosening or tightening the faucet mounting nut or water supply lines.


