

How to Fix a Leaking Toilet Tank-to-Bowl Gasket
About This Project
This project involves stopping the water supply to the toilet, draining and removing the tank from the bowl, replacing the primary tank-to-bowl gasket as well as the mounting bolts and their associated washers, and then carefully reassembling the toilet and testing for leaks. This is a common repair for toilets that leak water onto the floor specifically when flushed.
Best for advanced DIYers and professionals with basic plumbing knowledge.
Tools & Materials

Unger 6 Gal. Heavy-Duty Plastic Bucket DB02

Towel

Couture Dreams Cozi Gray Square Chunky Wool Knit Down Filled 18 in. W x 18 in. L Throw Pillow C-DP-S

Adjustable Wrench
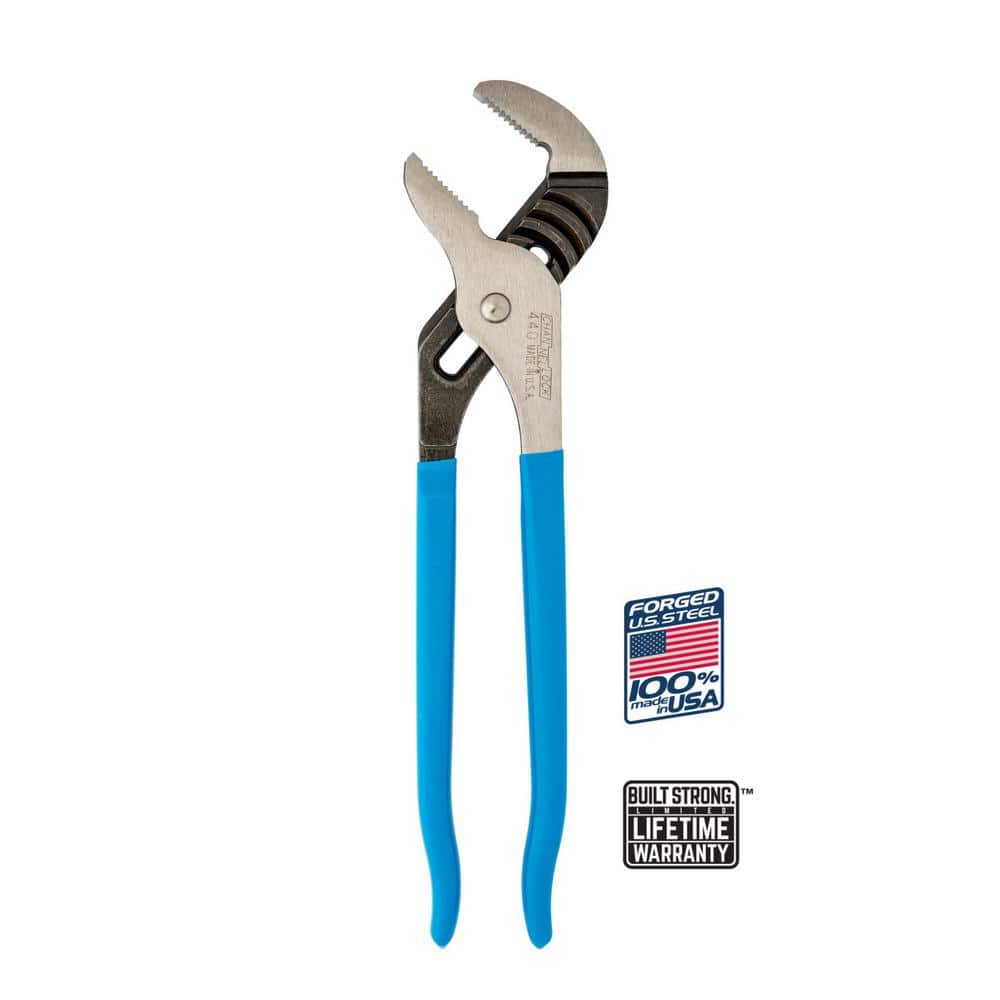
Channellock 12 in. Tongue and Groove Slip Joint Pliers 440
Screwdriver
Unger 6 Gal. Heavy-Duty Plastic Bucket DB02
The Unger 6-Gallon Heavy-Duty Professional Cleaning Bucket holds more than 6 Gal. of liquid. The bucket can accommodate a scrubber up to 14 in. L. This bucket features measurement marks and 2-pour spouts
Towel
Absorbs moisture and dries surfaces.
Couture Dreams Cozi Gray Square Chunky Wool Knit Down Filled 18 in. W x 18 in. L Throw Pillow C-DP-S
Experience pure coziness with our Gray/Ivory/Taupe Knit Pillow! Crafted with lush, thick yarn for a bold and striking appearance. This pillow exudes funkiness, fun, and uniqueness. Its neutral tones and
Adjustable Wrench
Fits various nut and bolt sizes with its adjustable jaw.
Channellock 12 in. Tongue and Groove Slip Joint Pliers 440
The Channellock 12 in. Straight Jaw Tongue and Groove Pliers are constructed with high-carbon C1080 steel. The tool is fashioned with laser heat-treated teeth that clamp down perpendicularly for strong,
Screwdriver
Essential for assembling the cart with screws and installing hardware like gate latches.
Steps

Preparation and Water Shut-off
10 minsBegin by preparing your work area. Lay old towels on the floor around the base of the toilet to absorb any spilled water. Locate the water supply shut-off valve, typically on the wall behind the toilet, and turn the handle fully clockwise until it stops. This will cut off the water supply. Next, flush the toilet to empty as much water as possible from the tank. Since some water will remain at the bottom, use a large sponge or absorbent towel to soak it all up and wring it into a bucket. The tank must be completely empty before you proceed.

Disconnect Water Supply Line
5 minsLocate the water supply line, which is the flexible hose connecting the shut-off valve to the toilet tank. At the point where it connects to the tank, there is a large coupling nut. Using an adjustable wrench or channel-lock pliers, grip this nut and turn it counter-clockwise to loosen and remove it from the fill valve's threaded shank. Have a small towel ready as a small amount of water may drip out.
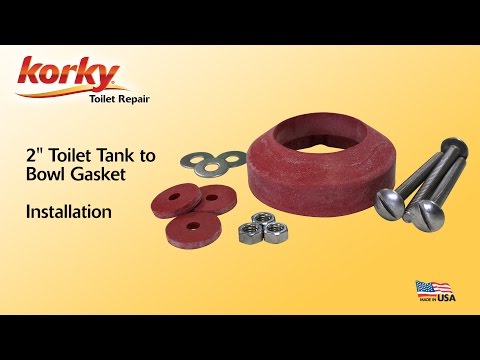
Remove Tank Bolts
20 minsLook underneath the rim of the toilet bowl where the tank sits. You will see the ends of two (or sometimes three) bolts with nuts on them. To remove these, you need to prevent the bolt from spinning inside the tank while you turn the nut below. Use a screwdriver (usually a flat-head) to hold the bolt head stationary inside the tank. With your other hand, use a deep socket wrench or an adjustable wrench to turn the nut counter-clockwise. If the bolts are severely rusted and won't budge, your best option is to use a mini-hacksaw to carefully cut through each bolt in the space between the tank and the bowl.

Remove the Toilet Tank
5 minsOnce the water line and all mounting bolts are removed, the tank is free. Grip the tank firmly on both sides and lift it straight up and away from the toilet bowl. Be mindful that it might be slightly heavier than anticipated. Carefully carry it to the prepared area on the floor and gently set it down on its back on top of the old towels to protect both the tank and the floor.

Replace Gasket and Bolts
15 minsWith the tank resting on its back, you can see the large, old tank-to-bowl gasket (also called a spud washer) around the flush valve assembly. Pull this gasket off. If there are any remaining old bolt heads inside the tank, remove them. Thoroughly clean the area on the bottom of the tank around the flush valve opening, as well as the corresponding surface on top of the toilet bowl, using a putty knife or scraper to remove any old, dried gasket material. Insert the new bolts from your kit through the holes from inside the tank, making sure the new rubber washers are on the inside to create a seal. Finally, press the new, large tank-to-bowl gasket onto the flush valve threads on the outside of the tank. Ensure the tapered side of the gasket faces down, away from the tank, as this side will fit into the opening on the bowl.

Re-install the Tank
15 minsCarefully lift the tank, holding it level, and position it back onto the toilet bowl. Look from the side to guide the newly installed bolts through the corresponding holes in the bowl's rim. Lower the tank slowly until the new gasket rests evenly on the bowl's water inlet. From underneath, install the washers and nuts onto the bolts. The order is typically metal washer, then rubber washer, then nut, but check your kit's instructions. Hand-tighten the nuts first. Then, using a wrench, tighten each nut a little at a time, alternating between them to ensure the tank is pulled down evenly and without stress. Continue until the tank is stable and does not rock.

Reconnect Water and Test
10 minsReconnect the water supply line's coupling nut to the fill valve shank on the bottom of the tank. Screw it on by hand until it is snug, then give it a final quarter-turn with your adjustable wrench. Now, slowly turn the water shut-off valve counter-clockwise to allow water back into the tank. As the tank fills, vigilantly inspect all your new connections: the supply line nut, the base of the new tank bolts underneath the bowl, and the entire seam between the tank and bowl. Once the tank is full and the water stops, flush the toilet several times. After each flush, thoroughly check all connection points for any signs of water. Using a dry paper towel to wipe these areas makes it easy to spot even the tiniest leak.
Common Problems
Make sure the water is completely turned off. If you still hear water running after turning the valve, it may need to be repaired or replaced before proceeding.
Solution: To avoid this issue: Be mindful of this warning and take appropriate precautions.
Tank lid cracks or chips when placed on hard surfaces.
Solution: Placing the tank lid on a towel prevents it from cracking or chipping.
Toilet water spills onto the floor during repair.
Solution: Have a bucket ready to catch any residual water from the supply line and for wringing out the sponge.
Water spills onto the floor when removing the fill valve.
Solution: Using a tray is essential to keep the floor dry, as a fair amount of water will drain from the tank when the fill valve is removed.
Do not overtighten the tank bolts or water supply connection, as this can crack the porcelain or damage the fittings.
Solution: To avoid this issue: Be mindful of this warning and take appropriate precautions.
Tighten the tank bolts evenly on both sides to prevent the tank from sitting crooked, which can cause leaks or stress fractures.
Solution: To avoid this issue: Be mindful of this warning and take appropriate precautions.
Stripped plastic threads from over-tightening the water supply line.
Solution: Hand-tightening the water supply line is often sufficient to prevent leaks without damaging the plastic threads.
Frequently Asked Questions
What tools and materials are absolutely essential for this project, and are there any common household items I can use?
You'll definitely need an adjustable wrench to disconnect the water supply and tighten bolts, a bucket for draining, and a screwdriver. You likely already have a bucket and towels handy. Don't forget safety gloves and a new tank-to-bowl gasket system, which ideally includes new bolts and washers to ensure a secure, leak-free repair.
How difficult is this repair for a beginner, and what's the realistic time commitment?
This is a beginner-friendly project, mainly involving unbolting and re-bolting components. While the estimated time is 3 hours, it could take longer if bolts are seized or you encounter unexpected issues, like a stubborn tank. Taking your time, especially during reassembly and testing, is key to preventing further leaks.
Are all toilet tank-to-bowl gaskets the same, or do I need a specific type for my toilet?
Not all gaskets are universal, so it's important to get the correct type. While many are designed for common brands or have a universal fit, it's best to check your toilet's make and model if you're unsure. A universal gasket system that includes new bolts, like the Fluidmaster option, often provides good compatibility and a complete replacement.
What are the most common mistakes people make when replacing this gasket, and how can I avoid them?
A common mistake is overtightening the tank bolts, which can crack the porcelain bowl or tank. Tighten them evenly and snugly until the tank is stable, then test for leaks; avoid brute force. Also, ensure the gasket is seated perfectly flat and not twisted between the tank and bowl to create a proper watertight seal.
Why do I need to replace the mounting bolts and washers along with the gasket?
It's highly recommended to replace the bolts and washers along with the gasket because they often corrode over time due to constant exposure to water. Corroded bolts can be difficult to remove, weaken, or contribute to future leaks. A new set ensures a strong, uniform seal and a longer-lasting repair.
What should I do if the toilet tank is too heavy or stuck to lift safely?
Ensure the tank is completely drained of water before attempting to lift it, as water adds significant weight. If it still feels too heavy, ask for assistance from another person to avoid injury. Always lift with your legs, not your back, and keep the tank close to your body for better leverage and control.
What if my toilet still leaks after I've replaced the tank-to-bowl gasket?
If the leak persists, first double-check that all tank bolts are evenly tightened and that the new gasket is perfectly seated and not pinched. The leak might be originating from another component, such as the fill valve, flush valve, or the water supply line connection itself. Carefully inspect all connections and components for drips or signs of moisture to pinpoint the exact source.


