
How to Fix a Leaking Toilet Tank-to-Bowl Connection
About This Project
This project involves stopping a water leak between the toilet tank and the bowl. The process includes turning off the water supply, draining the toilet, detaching the tank from the bowl, replacing the old, faulty tank-to-bowl gasket and bolts, and then reassembling the toilet and testing for leaks.
Best for experienced DIYers and homeowners with some experience with basic plumbing knowledge.
Tools & Materials

Unger 6 Gal. Heavy-Duty Plastic Bucket DB02

LR Home Amara Natural Jute Decorative Storage Basket 1550A6984D9348
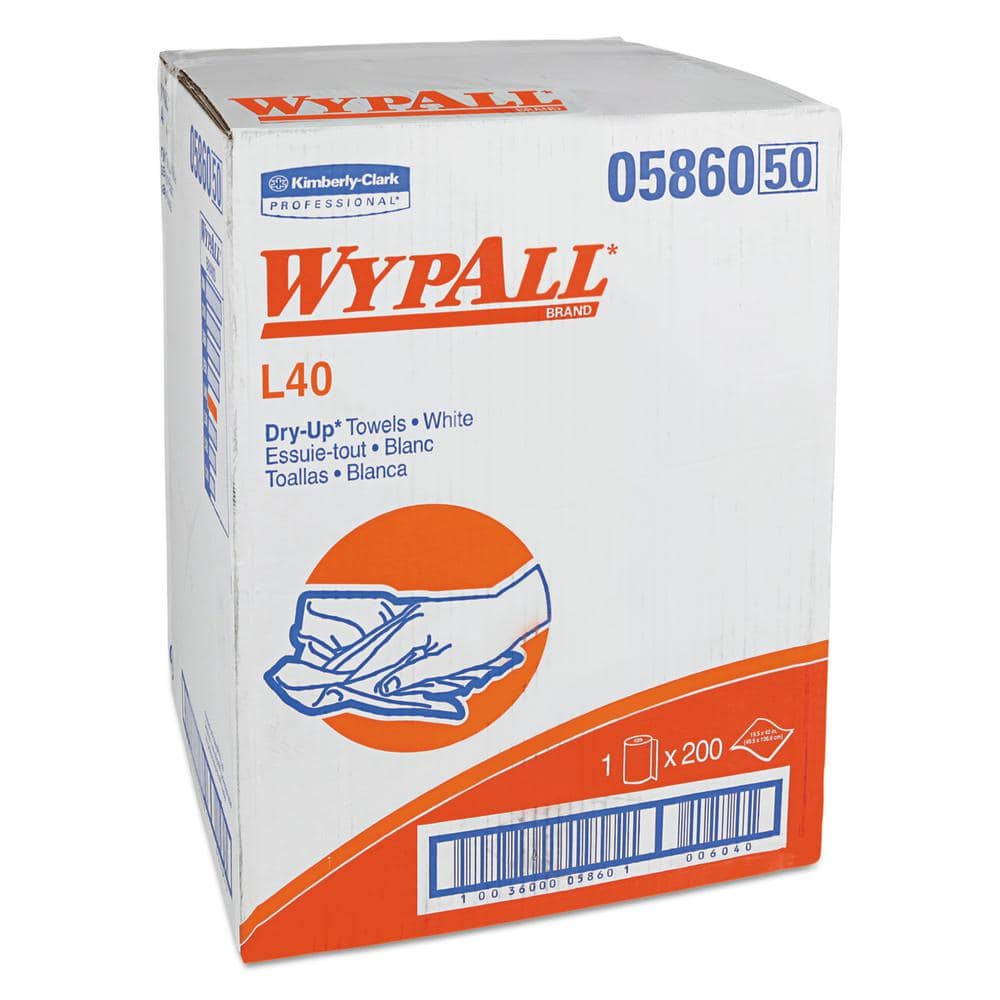
WYPALL L40 Towels, Dry Up Towels, 19-1/2 in. x 42 in., White, 200 Towels/Roll KCC05860
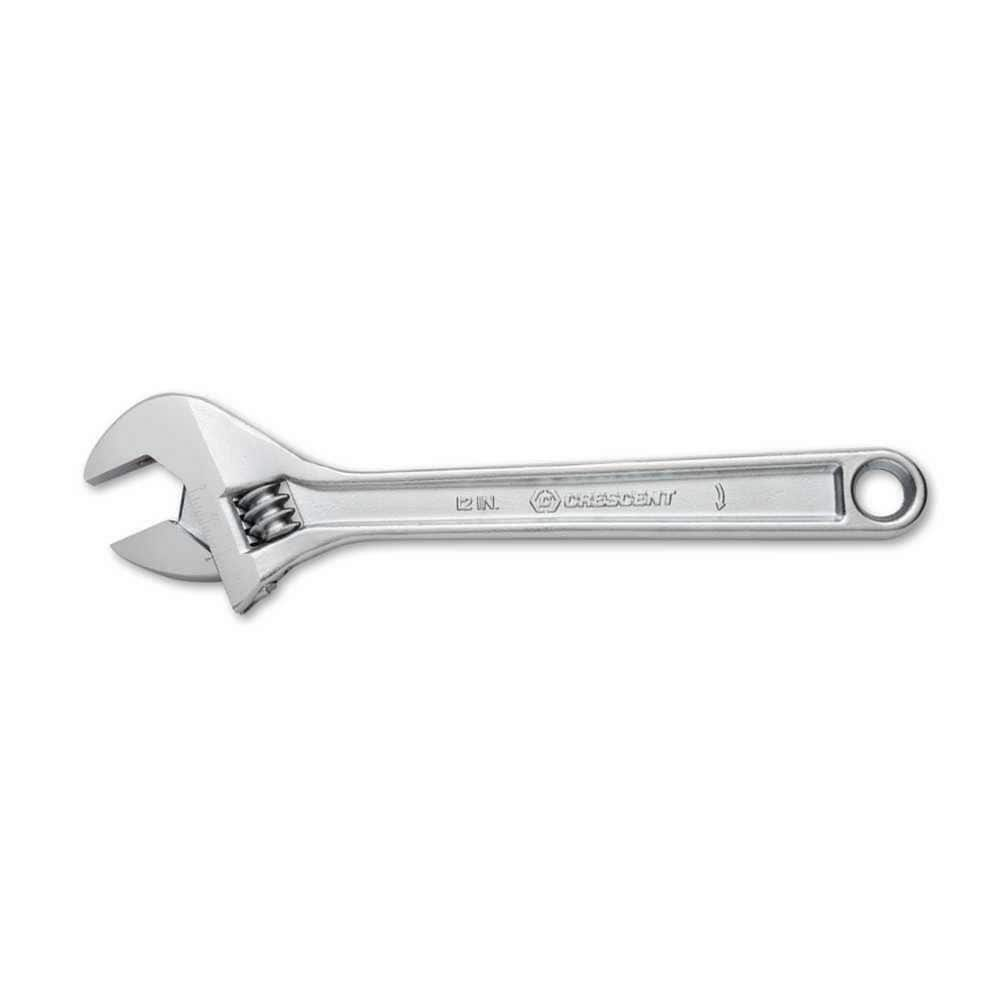
Crescent 12 in. Chrome Adjustable Wrench AC212VS

LA PASTICHE Earthly Green Coconut Bowl, 3.5 in. x 3.5 in. CBMK012G
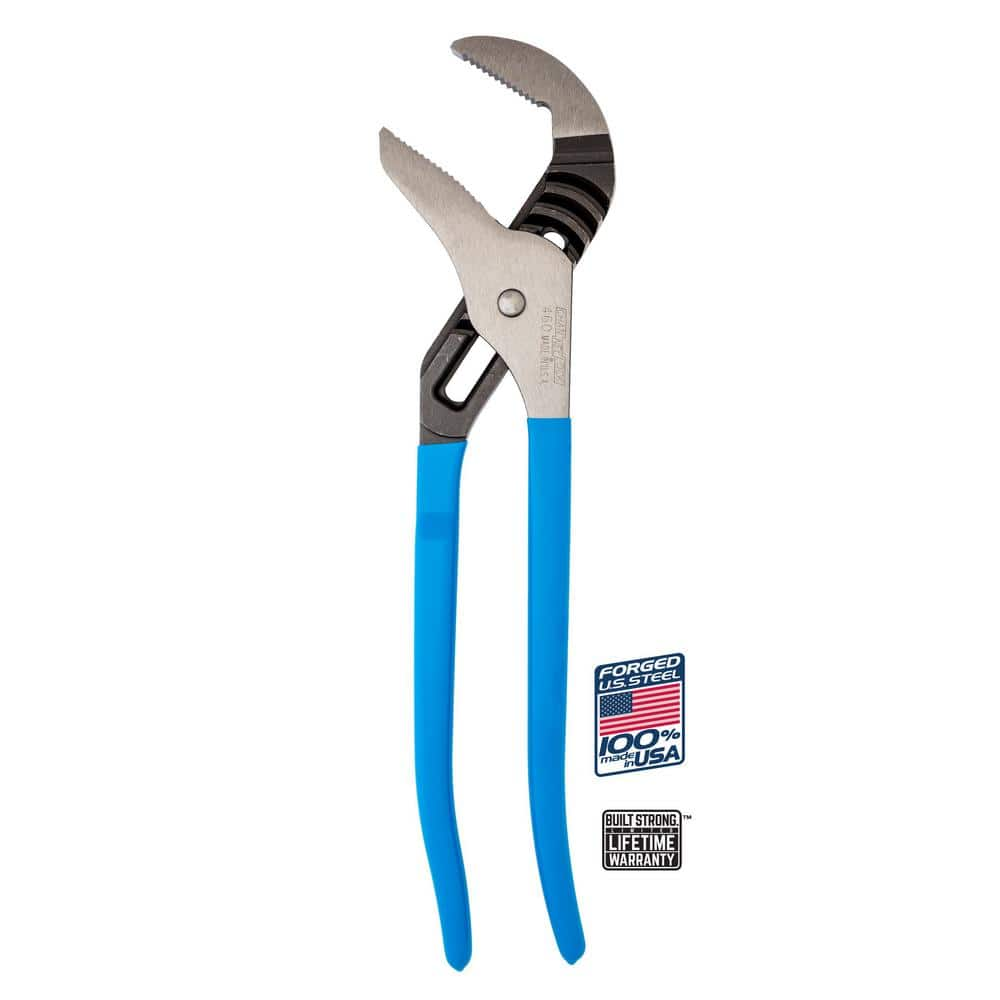
Channellock 16-1/2 in. Tongue and Groove Slip Joint Plier 460
Unger 6 Gal. Heavy-Duty Plastic Bucket DB02
The Unger 6-Gallon Heavy-Duty Professional Cleaning Bucket holds more than 6 Gal. of liquid. The bucket can accommodate a scrubber up to 14 in. L. This bucket features measurement marks and 2-pour spouts
LR Home Amara Natural Jute Decorative Storage Basket 1550A6984D9348
Get organized in style with this lovely indoor basket. Made in India using 100% jute, it is both eco-friendly and durable. This decorative piece adds a hint of nature to any room, while the ample storage
WYPALL L40 Towels, Dry Up Towels, 19-1/2 in. x 42 in., White, 200 Towels/Roll KCC05860
WYPALL L40 Wipers are effective wipers that absorb liquids lightning-fast. These wipes are made of bonded cellulose using DRC (double re-creped) technology for strength, softness and absorbency. As a wiping cloth, it soaks up liquids fast, but all you'll feel is softness, thanks to a plush, touchable outer layer. In fact, it's a popular choice for patient wiping in healthcare industries, for bathing and patient drying. These utility wipes are specially designed to absorb liquids, lubricants and oils (in restaurants for wiping counters, in mechanic shops, industrial and commercial factories and more), yet they're soft enough for use on face and hands. Experience the difference in superior absorbency and cleaning at your home or office today. Towel/Wipe Type: Dry Wipes; Application: Bathrooms; Material(s): Cloth-Like; Number of Plies: 1.
Crescent 12 in. Chrome Adjustable Wrench AC212VS
Since the introduction of the original Crescent wrench in the early 1900s, the Crescent brand has become synonymous with adjustable wrenches. Crescent Adjustable Wrenches feature a large knurl for easy
LA PASTICHE Earthly Green Coconut Bowl, 3.5 in. x 3.5 in. CBMK012G
Reminiscent of the rainforest greens and mossy oaks of our home planet Earthly Green glimmers in a way you have never seen before. Each emerald green piece is hand inlaid with precision and care and surrounded
Channellock 16-1/2 in. Tongue and Groove Slip Joint Plier 460
CHANNELLOCK Straight Jaw Tongue and Groove Pliers are built to last. With a PERMALOCK Fastener to eliminate nut and bolt failure, patented reinforcing edge to minimize stress breakage and laser hardened
Steps

Shut Off Water and Drain Toilet
10 minsThe first and most critical step is to prevent any water flow to the toilet. Locate the water supply shut-off valve, typically on the wall behind the toilet. Turn the valve clockwise until it stops. Next, remove the tank lid and flush the toilet, holding the handle down until as much water as possible has drained from the tank. There will be about an inch of water left in the bottom of the tank. Use a large sponge or absorbent towels to soak up all the remaining water from inside the tank. Place a bucket nearby to wring out the sponge. Ensure the tank is completely dry inside before proceeding.

Disconnect Water Supply Line
5 minsLocate the water supply line, which is the flexible hose connecting the shut-off valve to the bottom of the toilet tank. Place an old towel or a small bowl directly underneath the connection point at the tank to catch any trapped water. Using an adjustable wrench or channel-lock pliers, grip the coupling nut on the supply line where it threads onto the fill valve shank. Turn the nut counter-clockwise to loosen and unscrew it completely. Let any remaining water drain out onto the towel.

Unbolt and Remove the Tank
15 minsLook underneath the toilet bowl platform where the tank sits. You will see two or three nuts securing the tank-to-bowl bolts. To remove them, you'll need to work both inside and outside the tank simultaneously. Place a flathead screwdriver on the head of one of the bolts inside the tank to keep it from spinning. While holding it steady, use a wrench or a deep socket to turn the corresponding nut underneath the bowl counter-clockwise. Once the nut is removed, repeat for the other bolt. After both bolts are undone, carefully grip the tank on both sides, lift it straight up, and off the bowl. Place the tank gently on a protected surface, like a piece of cardboard or a stack of old towels, to prevent damage.
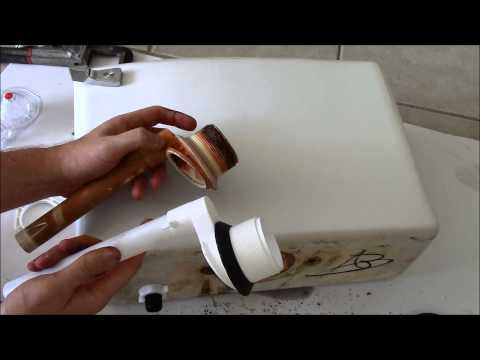
Replace Old Gasket and Bolts
15 minsWith the tank removed, you can now access all the old components. Pull off the large, spongy gasket (often called a spud washer) from the threaded flush valve outlet on the bottom of the tank. Then, pull the old bolts and their rubber washers out from inside the tank. Using a rag and maybe a plastic scraper, thoroughly clean the area on the bottom of the tank around the flush valve outlet and the corresponding surface on the toilet bowl where the gasket sits. Any dirt or residue can prevent a good seal. Take your new bolts from the tank-to-bowl kit, place a new rubber washer on each, and insert them down through the holes from inside the tank. Finally, press the new large tank-to-bowl gasket firmly onto the flush valve outlet on the tank's bottom.

Re-mount and Secure the Tank
15 minsCarefully lift the tank and position it back onto the bowl. Look down through the tank to align the new bolts with the corresponding holes in the back of the toilet bowl. Gently lower the tank until it rests on the bowl, with the new gasket compressed between them. From underneath the bowl, place a metal washer and then a nut onto each bolt. Hand-tighten both nuts until they are snug. Now, using your wrench, begin to tighten the nuts a half-turn at a time, alternating between the left and right sides. This ensures even pressure. Continue until the tank is stable and does not wobble or rock. It should feel secure, but do not apply excessive force.

Reconnect Water and Test
15 minsReconnect the water supply line to the fill valve shank on the bottom of the tank. Thread the coupling nut on by hand until it is snug. Use your adjustable wrench to give it a final quarter-turn to ensure a tight seal, but do not overtighten. Now, slowly turn the water supply valve counter-clockwise to turn the water back on. Watch the connections closely as the tank fills. Look for any drips from the supply line nut or from the new tank-to-bowl bolts. Once the tank is full, flush the toilet several times. After each flush, use a dry paper towel to wipe around the bolts and the seam between the tank and bowl to check for any moisture, which would indicate a leak.
Common Problems
The porcelain tank must be completely dry for the sealant to adhere properly. Use a towel or allow it to air dry for several hours.
Solution: To avoid this issue: Be mindful of this warning and take appropriate precautions.
Water spills on the floor during toilet repair.
Solution: Using a towel or small bucket will prevent water from spilling on the floor.
Tank lid cracks or chips when placed on a hard surface.
Solution: Placing the tank lid on a towel prevents it from cracking or chipping.
Place the ceramic tank lid in a safe place where it will not fall and break.
Solution: To avoid this issue: Be mindful of this warning and take appropriate precautions.
Do not slide or twist the toilet once it is placed on the seal, as this can break the seal and cause a leak.
Solution: To avoid this issue: Be mindful of this warning and take appropriate precautions.
Overtightening the nuts can crack the porcelain base of the toilet.
Solution: To avoid this issue: Be mindful of this warning and take appropriate precautions.
Cracking the porcelain by over-tightening is a common and costly mistake. Tighten just enough to stop the tank from rocking.
Solution: To avoid this issue: Be mindful of this warning and take appropriate precautions.
Frequently Asked Questions
How long will this DIY project take for a beginner, and what's the approximate cost?
This is a beginner-friendly project that typically takes 1-2 hours to complete, depending on your comfort level with plumbing. The main expense is a new tank-to-bowl gasket and bolt set, which usually costs less than $20.
What are the essential tools and materials I'll need for this repair, beyond what's listed?
You'll primarily need an adjustable wrench, like the Crescent 12 in. Chrome Adjustable Wrench, a flat-head screwdriver, a bucket (e.g., Unger 6 Gal. Heavy-Duty Plastic Bucket), and plenty of absorbent rags or towels, such as THE CLEAN STORE Cleaning Terry Towels. Work gloves are also highly recommended for comfort and hygiene.
What are the most common mistakes beginners make when fixing a toilet tank-to-bowl leak?
A common mistake is overtightening the tank bolts, which can crack the porcelain tank or bowl; tighten them only until snug, then give an additional quarter turn. Another error is not properly seating the new gasket, leading to immediate leaks, so ensure it's flat and centered.
Are there any specific safety precautions I should take before starting this project?
Always shut off the water supply to the toilet completely using the shut-off valve behind or beneath the toilet before beginning any work. Ensure you have a bucket ready to catch residual water when disconnecting lines and draining the tank, and wear work gloves to protect your hands.
My toilet still leaks after replacing the gasket and bolts. What should I check next?
First, re-inspect the tank bolts to ensure they are snug and that the new gasket is perfectly seated and not twisted. If the leak persists, the issue might be with the flush valve itself or a hairline crack in the tank or bowl; consider inspecting the entire Everbilt 2 in. Universal Complete Toilet Flush Valve Repair Kit components.
How do I prevent my toilet tank-to-bowl connection from leaking again in the future?
Leaks often occur because rubber gaskets harden and deteriorate over time due to mineral deposits and age. To prevent future leaks, avoid overtightening the tank bolts during installation and consider inspecting the gasket every few years, especially if you notice any subtle moisture around the base of the tank.


