

How to Fix a Leaking Toilet Base by Replacing the Wax Ring
About This Project
This guide provides comprehensive, step-by-step instructions for fixing a leak at the base of a toilet. The process involves shutting off the water, removing the toilet, scraping away the old failed wax ring, inspecting the mounting flange, installing a new wax ring and bolts, and carefully reinstalling the toilet to create a new, watertight seal.
Best for advanced DIYers and professionals with basic plumbing knowledge and familiarity with power tools.
Tools & Materials
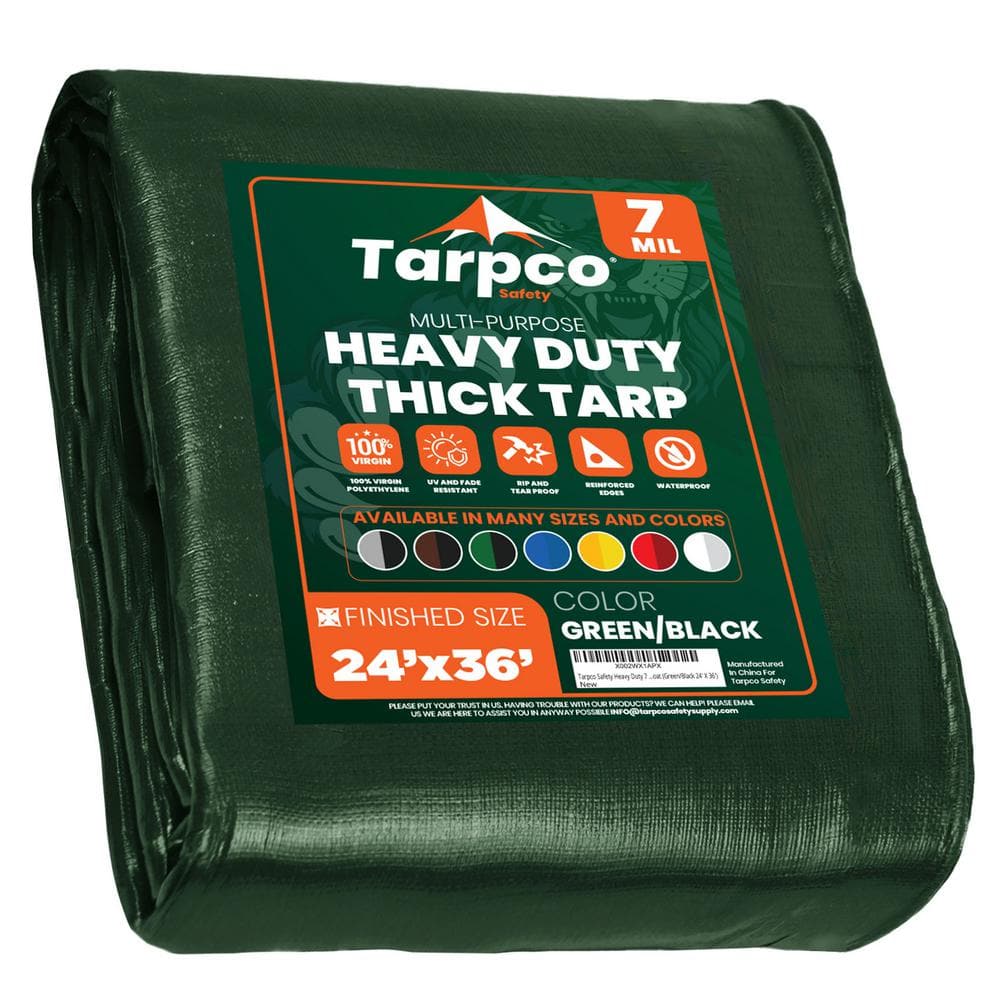
TARPCO SAFETY 24 ft. x 36 ft. Green/Black 7 Mil Heavy Duty Polyethylene Tarp, Waterproof, UV Resistant, Rip and Tear Proof TS-203-24x36

Bucket
Anvil Extra Large 7.5 in. W Polyethylene All Purpose Sponges (3-Pack) 57483

Towel

Safety gloves
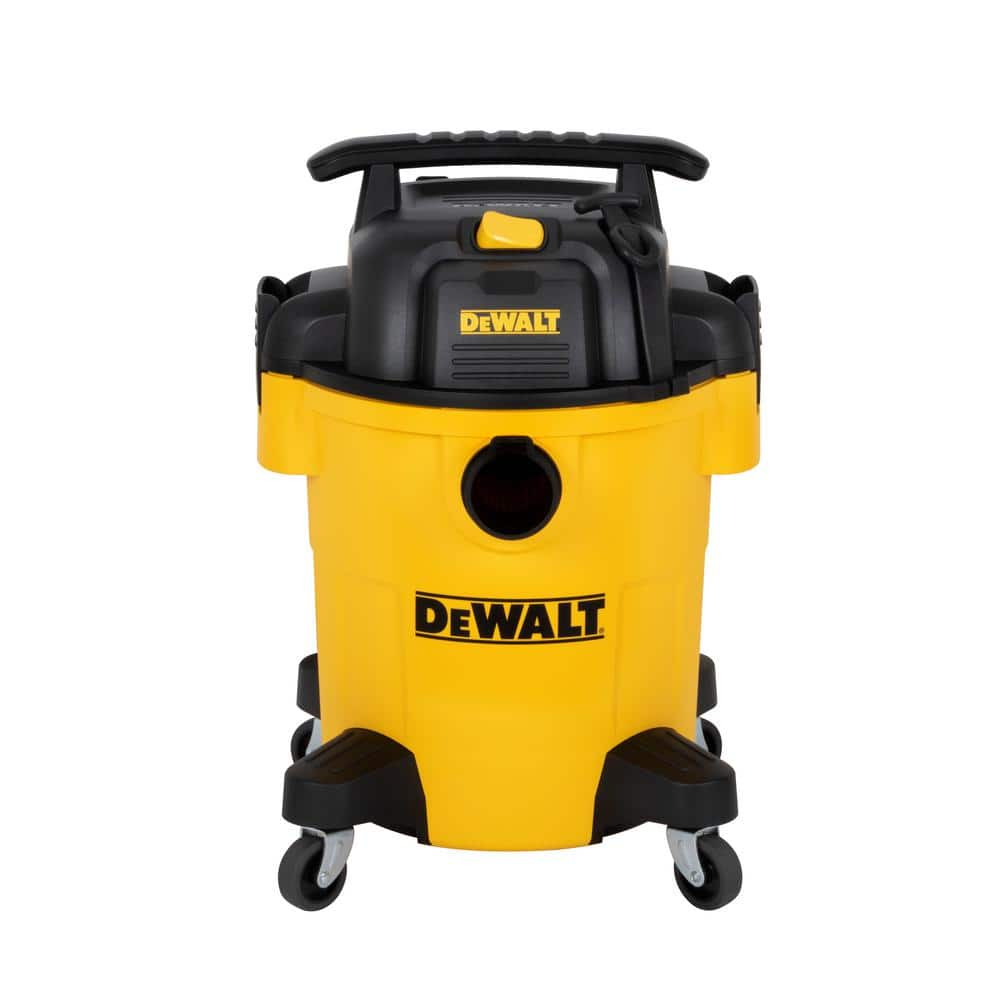
DEWALT 6 Gal. Poly Wet/Dry Vacuum DXV06PL
TARPCO SAFETY 24 ft. x 36 ft. Green/Black 7 Mil Heavy Duty Polyethylene Tarp, Waterproof, UV Resistant, Rip and Tear Proof TS-203-24x36
One tarp, endless possibilities. Tarpco Safety's multi-purpose tarpaulin cover is a must-have item for every household, thanks to its practicality and endless uses. For example, you can use this tarp sheet to cover your car. boat, pool, roof, or outdoor furniture. You can also use the tarp sheet to cover wood logs and building materials, as well as house floors when you want to paint the walls Let's not forget outdoor activities. This waterproof tarp can be used to build a canopy tent or you can use it as a ground blanket to keep your tent safe from sharp rocks and stones. Tarpco Safety has designed the ultimate weatherproof tarp cover. This heavy duty outdoor tarp sheet is built to cover and effectively protect small and large objects from all extreme weather conditions:Is it too sunny and warm outside? This tarp is UV resistant so the sun rays cannot get through it.Is it raining a lot? The protective tarp sheet is 100% waterproof so it will keep your wood logs dry and ready for use.Is it snowing? You can use the tarpaulin cover to keep your vehicle from getting buried under the snow.Is it windy? The heavy duty tarp with the 12 x 10 weave count and 100% virgin polyethylene will not tear or rip.Tying it down is going to be simple and easy. This polyethylene tarp sheet has metal grommets every 36 inches and reinforced edges. These grommets are ultra strong and they will help you tie down the waterproof canopy tarp easily and in a very steady and secure way.
Bucket
Ideal for carrying or storing liquids.
Anvil Extra Large 7.5 in. W Polyethylene All Purpose Sponges (3-Pack) 57483
The 3 pack of Extra Large All Purpose Sponges are the perfect sponges for cleaning grout during tile installation. The sponge is designed with rounded corners to prevent digging out or marring grout joints.
Towel
Absorbs moisture and dries surfaces.
Safety gloves
Shields hands from potential harm.
DEWALT 6 Gal. Poly Wet/Dry Vacuum DXV06PL
The DEWALT 6 Gal. Poly Wet/Dry vacuum is portable and convenient for small clean-up. With a powerful heavy-duty motor for industry-leading performance, this vacuum provides maximum suction power for heavy-duty
Steps

Preparation and Water Shut-off
5 minsBegin by preparing your work area. Lay down old towels or a tarp around the base of the toilet to catch any water spills and protect the floor. Locate the water supply shut-off valve, which is typically on the wall behind the toilet connected to a flexible hose. Turn the valve clockwise until it stops to shut off the water supply. Next, flush the toilet and hold the handle down to drain as much water as possible from the tank.

Drain Remaining Water
10 minsEven after flushing, there will be a significant amount of water left in the bottom of the tank and in the bowl. Use a large, absorbent sponge to soak up all the remaining water from inside the tank and transfer it to a bucket. Then, do the same for the water in the toilet bowl. The goal is to get the toilet as dry as possible to prevent a messy spill when you lift it.

Disconnect Water Supply Line
5 minsPlace a small towel or bucket directly below the water supply line connection at the bottom of the toilet tank to catch any drips. Using an adjustable wrench or channel-lock pliers, grip the coupling nut on the supply line and turn it counter-clockwise to loosen it. Once loose, you should be able to unscrew it the rest of the way by hand.

Remove the Toilet
15 minsAt the base of the toilet, you will find two bolts, one on each side, covered by plastic caps. Use a small flathead screwdriver to pry these caps off. Underneath, you will find a nut and washer. Use an adjustable wrench or a socket set to remove the nuts from the closet bolts by turning them counter-clockwise. Once the nuts are off, gently rock the toilet side-to-side and forward to break the seal of the old wax ring. With a firm grip on the bowl, lift the toilet straight up off the bolts and carefully set it on its side on the prepared towels.

Clean Old Wax and Inspect Flange
15 minsWith the toilet removed, you will see the old wax and the toilet flange. Use a plastic putty knife to scrape all of the old, messy wax off the flange on the floor. Stuff a rag into the drainpipe opening to block sewer gases and prevent tools from falling in. Also, turn the toilet on its side and scrape the old wax from its outlet horn. Clean both the flange and the bottom of the toilet with rags. At this time, carefully inspect the toilet flange for any cracks, breaks, or signs that it is not securely fastened to the floor. If it's damaged, it must be repaired.

Install New Wax Ring and Bolts
5 minsRemove the old closet bolts from the flange. Insert the new T-bolts that came with your wax ring kit into the slots on the flange, with the threaded ends pointing straight up. Slide them so they are parallel to the back wall, positioned at 3 o'clock and 9 o'clock. Most wax rings are designed to be placed directly on the toilet flange. Center the wax ring on the flange, pressing down lightly to make it stick. Ensure the plastic horn (if included) is facing up, away from the floor.

Reset the Toilet
10 minsIMPORTANT: Remove the rag from the drainpipe. Carefully lift the toilet, keeping it level. Stand over the flange and look down to align the holes in the toilet's base with the two new bolts sticking up from the floor. Lower the toilet straight down onto the wax ring. Once it makes contact, press down firmly with your full body weight. Sit on the toilet (with the lid closed) to help compress the wax and create a solid seal. Do not twist or rock the toilet once it is in place, as this will break the new seal.

Secure the Toilet to the Floor
10 minsPlace a plastic retainer washer (if included), a metal washer, and then a nut onto each of the closet bolts. Tighten the nuts by hand first. Then, use your wrench to snug them down, alternating between the left and right sides. Tighten each nut a half-turn at a time to ensure even pressure is applied to the base. The toilet should feel stable and not wobble. Be extremely careful not to overtighten, as this will crack the porcelain. Stop tightening as soon as the toilet is secure.

Reconnect Water and Test for Leaks
10 minsReconnect the water supply line to the bottom of the fill valve on the toilet tank. Hand-tighten the nut first, then use your adjustable wrench to give it a final quarter-turn to ensure it's snug but not overly tight. Now, slowly turn the water supply valve counter-clockwise to turn the water back on. As the tank fills, listen for hissing and check for any leaks at the supply line connection. Once the tank is full and the water stops running, flush the toilet. Carefully inspect the base of the toilet all the way around for any signs of water seepage. Flush 2-3 more times to be certain the seal is good.

Finishing Touches
10 minsIf the new closet bolts are too long and prevent the plastic caps from fitting, use a mini-hacksaw or a multi-tool with a metal-cutting blade to carefully cut them down to size. Be careful not to scratch the toilet's porcelain finish. Once trimmed, press the new plastic bolt caps firmly into place over the washers and nuts. For a clean, finished look, you can apply a bead of bathroom-grade, mildew-resistant caulk around the base of the toilet where it meets the floor. If you do caulk, leave a small 1-inch gap at the very back of the toilet so that if a future leak occurs, the water has a place to escape and you will be able to see it.
Common Problems
Do not overtighten the nuts, as this can crack the ceramic base of the toilet.
Solution: To avoid this issue: Be mindful of this warning and take appropriate precautions.
Once the toilet is placed and the wax ring is compressed, do not lift or twist it, as this will break the seal and require a new wax ring.
Solution: To avoid this issue: Be mindful of this warning and take appropriate precautions.
Toilet wobbles or leaks after wax ring replacement due to improper toilet seating.
Solution: Having a second person is crucial for this step to avoid injury and ensure proper alignment.
If the flange is below the floor level, you might need to use two wax rings, but never use three. The proper fix is to raise the flange.
Solution: To avoid this issue: Be mindful of this warning and take appropriate precautions.
Tighten the closet bolts gradually and evenly. The toilet should be snug and not rock, but overtightening will crack the base.
Solution: To avoid this issue: Be mindful of this warning and take appropriate precautions.
Toilets are heavy and made of porcelain; get help lifting if necessary to avoid injury or breaking the toilet.
Solution: To avoid this issue: Be mindful of this warning and take appropriate precautions.
Uneven toilet seating can cause leaks.
Solution: Rock the toilet gently as you press down to help seat it evenly on the seal.
Frequently Asked Questions
What safety precautions are most important when handling a toilet and dealing with wastewater?
Always wear sturdy work gloves, such as nitrile, to protect against bacteria and grime. Toilets are heavy, so lift with your legs and consider having a helper to prevent back injuries. Ensure the water supply is completely shut off and the tank is drained before attempting to remove the toilet.
How long should I expect this project to take, and what's the typical cost for materials?
This project typically takes 1 to 3 hours for a beginner, assuming no unforeseen issues like a damaged flange. The material cost is quite low, usually ranging from $10-$30, primarily for the new wax ring and bolts, plus any disposable items like gloves or rags.
What are the most common mistakes beginners make when replacing a wax ring, and how can I avoid them?
A common mistake is not thoroughly cleaning the old wax and debris from the flange, which prevents a proper seal. Another is overtightening the toilet bolts, which can crack the porcelain base. Ensure the toilet is seated evenly and firmly without rocking before tightening the nuts.
Should I use a traditional wax ring or consider a wax-free alternative for my toilet?
Traditional wax rings are very reliable and typically the most cost-effective option, offering a watertight seal. Wax-free alternatives, often made of rubber or foam, are reusable if the toilet needs to be reset and can be more forgiving for beginners, as they compress more easily without being messy. Both are effective, so the choice often comes down to personal preference for ease of use and mess.
Do I need any specialized tools beyond a wrench to successfully complete this project?
While an adjustable wrench is essential, a putty knife is crucial for cleanly scraping off the old wax. You'll also need a bucket to catch any residual water, and a large towel or tarp to protect your floor. Having Channellock pliers can also be very helpful for disconnecting and reconnecting the water supply line securely.
What should I do if the toilet still leaks after I've replaced the wax ring?
If the toilet continues to leak, first double-check that the toilet bolts are securely tightened (but not overtightened). The issue might also be a damaged flange, which would require repair or replacement. In rare cases, a hairline crack in the toilet's porcelain base, often hidden, could be the culprit, necessitating toilet replacement.


