

How to Fix a Leak at a Faucet Supply Line Connection
About This Project
This guide provides a comprehensive, step-by-step process for fixing a common leak at the connection point of a faucet supply line. The process involves shutting off the water, removing the old supply line, installing a new one, and testing the connections to ensure a durable, leak-free repair.
Best for experienced DIYers and homeowners with some experience with basic plumbing knowledge.
Tools & Materials

Unger 6 Gal. Heavy-Duty Plastic Bucket DB02
Scott Rags in A Box in White (200-Shop Towels per Box) 75260
Husky 400 Lumens LED Micro Rechargeable Headlamp PVL-HLP-0004

Adjustable Wrench
Better Trends Hugo Collection 17 in. x 24 in. Green 100% Cotton Rectangle Bath Rug BAHG1724SA
TEKTON 10 in. to 17 in. Telescoping 7/8 - 2-1/2 in. Basin Wrench WRN92004
Unger 6 Gal. Heavy-Duty Plastic Bucket DB02
The Unger 6-Gallon Heavy-Duty Professional Cleaning Bucket holds more than 6 Gal. of liquid. The bucket can accommodate a scrubber up to 14 in. L. This bucket features measurement marks and 2-pour spouts
Scott Rags in A Box in White (200-Shop Towels per Box) 75260
When you have tough jobs to tackle, you can trust Scott Rags in a Box, All-Purpose. These white disposable towels are made of cellulose fibers with a latex binder for thickness, absorbency, and strength.
Husky 400 Lumens LED Micro Rechargeable Headlamp PVL-HLP-0004
The Husky 400 Lumens Micro Rechargeable Headlamp packs superior brightness in a compact size. This rechargeable headlamp provides crisp, clean color illumination. The headlamp has 8-light modes, including
Adjustable Wrench
Fits various nut and bolt sizes with its adjustable jaw.
Better Trends Hugo Collection 17 in. x 24 in. Green 100% Cotton Rectangle Bath Rug BAHG1724SA
The epitome of luxury and class goes well with Better Trends and again they are offering you a classy collection of rugs. This collection of Hugo bath rugs have all the qualities and features that anyone
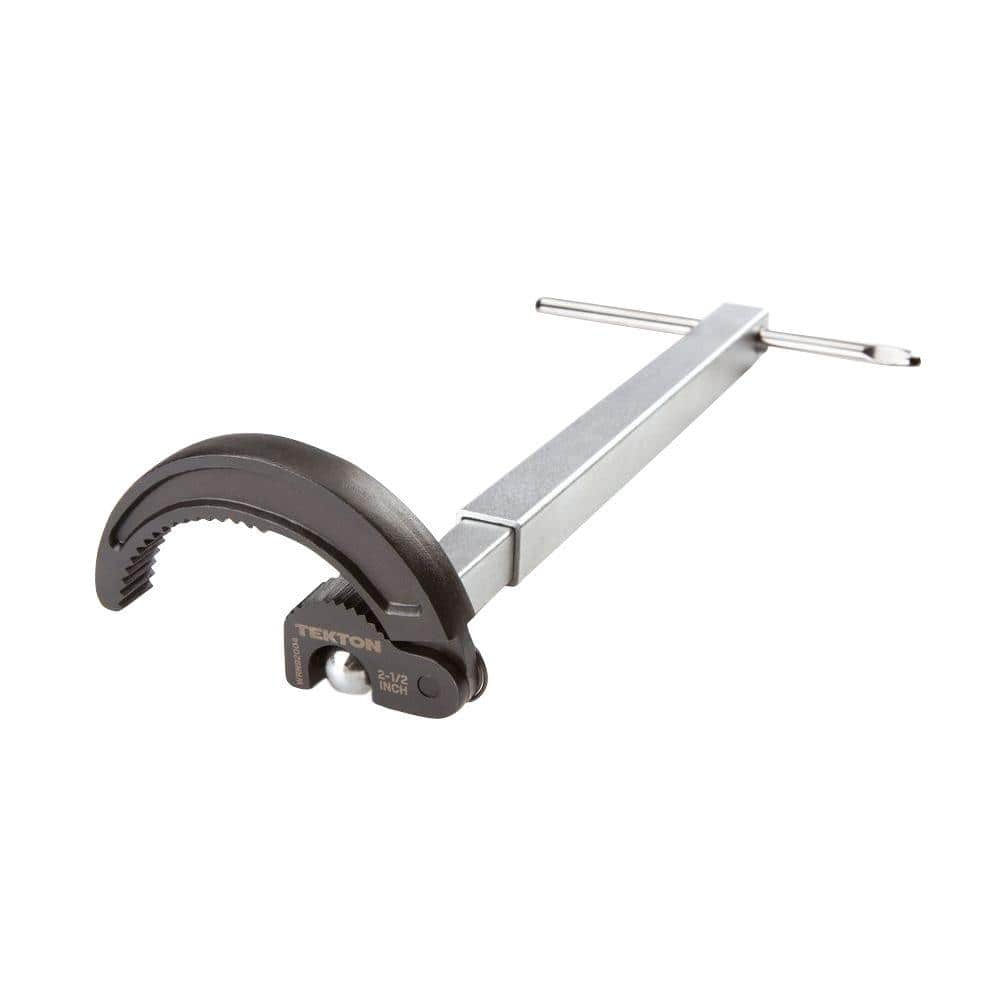
TEKTON 10 in. to 17 in. Telescoping 7/8 - 2-1/2 in. Basin Wrench WRN92004
Uniquely designed for easy, one-handed operation in confined areas, the TEKTON Telescoping Basin Wrench takes the frustration out of under-sink work. Ideal for larger nuts and retaining collars on faucets,
Steps
Prepare Work Area and Shut Off Water
5 minsBegin by completely clearing the cabinet area under the sink to provide ample room to work. Place a small bucket directly under the water supply connections to catch any residual water. Lay down several old towels or rags around the bucket to absorb any splashes. Locate the two water shutoff valves on the wall or floor under the sink—one for hot water and one for cold. Firmly grasp each handle and turn it clockwise (righty-tighty) until it stops. This will shut off the water supply to the faucet. Next, go to the faucet above the sink and turn the handle to the 'on' position in the middle (warm setting). This will release any trapped water pressure and drain the remaining water from the faucet and supply lines into the sink. Let it run until it's just a drip, then turn the faucet off.

Disconnect the Leaking Supply Line
10 minsIdentify the leaking supply line. Since the assumed leak is at the top, start by disconnecting the bottom connection first as it's typically easier to access. Position your adjustable wrench onto the compression nut connecting the supply line to the shutoff valve. Turn the nut counter-clockwise (lefty-loosey) to loosen it. Once it's loose, you should be able to unscrew it the rest of the way by hand. Be prepared for a small amount of water to drain into your bucket. Next, address the top connection at the faucet tailpiece. This is often in a tight, awkward spot. A basin wrench is the ideal tool for this job, as it's specifically designed for these hard-to-reach nuts. Latch the basin wrench's jaw onto the nut and turn counter-clockwise to loosen. If you don't have a basin wrench, you may be able to use an adjustable wrench or channel-lock pliers, but access will be difficult. Once loosened, unscrew the nut completely and remove the old supply line.

Inspect and Clean Connection Threads
5 minsWith the old supply line removed, take a moment to inspect the threaded connection points. Use a clean, dry rag to wipe the male threads on both the shutoff valve and the faucet tailpiece. Look closely for any signs of damage such as cross-threading, deep scratches, or significant corrosion. Also, make sure there is no old plumber's tape, putty, or pieces of a broken rubber gasket remaining on the threads. A clean and smooth surface is essential for the new supply line's gasket to create a watertight seal. If you see heavy mineral buildup, you can use a small wire brush to gently clean the threads, being careful not to damage them.

Install the New Supply Line
10 minsTake your new faucet supply line. It's usually best to attach the top connection first, as it's the most difficult. Carefully thread the nut onto the faucet tailpiece by hand. Ensure it is not cross-threaded by turning it backwards slightly until you feel the threads engage, then turn it clockwise. Hand-tighten until it is snug. Next, connect the other end to the shutoff valve, again, threading it carefully by hand until snug. Once both ends are hand-tightened, use your wrench to give each nut a final quarter to half turn. For the top connection, use the basin wrench or adjustable wrench. For the bottom, use the adjustable wrench. Be very careful not to over-tighten, as this can compress the internal gasket too much and cause it to fail.

Restore Water and Test for Leaks
5 minsBefore turning the water on, double-check that the faucet handle is in the 'off' position. Now, very slowly turn the handle of the shutoff valve counter-clockwise to gradually restore the water supply. Turning it on slowly prevents a sudden 'water hammer' shock to the pipes. As the line fills with water, carefully watch both the top and bottom connection points for any signs of dripping. Use a completely dry paper towel or your finger to check around each nut for moisture. If everything is dry, open the shutoff valve the rest of the way. Turn the faucet on and let the water run for a minute to flush out any air. Turn it off and perform one final inspection of the connections to ensure they are still completely dry. If you detect a small drip, turn the water off and tighten the leaking nut a very small amount (about 1/8 of a turn) and test again. Clean up your tools and remove the bucket and towels.
Common Problems
Ensure the water is completely shut off before disconnecting any lines to prevent flooding.
Solution: To avoid this issue: Be mindful of this warning and take appropriate precautions.
Water may drip from the disconnected line, so place a towel or small bucket underneath.
Solution: To avoid this issue: Be mindful of this warning and take appropriate precautions.
Forcing stuck shut-off valves can break them, leading to water damage.
Solution: If the shut-off valves are stuck, do not force them. You may need to shut off the main water supply to the house.
The valve shown is heavily corroded, which is why the handle breaks. Be prepared for old parts to be brittle or seized.
Solution: To avoid this issue: Be mindful of this warning and take appropriate precautions.
Ensure the water is completely shut off before disconnecting any lines to prevent water damage.
Solution: To avoid this issue: Be mindful of this warning and take appropriate precautions.
The connections on the flexible supply line have rubber seals, so they only need to be snug. Overtightening can damage the seals and cause leaks.
Solution: To avoid this issue: Be mindful of this warning and take appropriate precautions.
Tightening the supply line nut without counter-torquing can twist and damage the faucet's internal components.
Solution: For added stability and to prevent damage to existing plumbing, use a second wrench to hold the pipe fitting steady (counter-torque) while you tighten the supply line nut.
Frequently Asked Questions
How long does a beginner typically need to fix a faucet supply line leak, and what's the most common hold-up?
For most beginners, this project takes about 30-60 minutes. The biggest time-consumer is often preparing the work area, ensuring the water is fully off, and carefully tightening the new connections to avoid overtightening or cross-threading.
The project mentions a 'Braided Polymer Faucet Supply Line.' Are there other types, and how do I ensure I get the right replacement?
Yes, supply lines come in various materials like braided stainless steel or PEX, which are also durable options. The most critical step is to match the length and the connector sizes (e.g., 3/8 in. compression x 1/2 in. FIP) of your new line to your existing one and the connections on your faucet and shut-off valve.
I've replaced the supply line, but it's still leaking slightly after installation. What's the first thing I should check?
First, ensure both nuts are snug but not overtightened; over-tightening can damage internal washers or threads. Confirm the supply line is seated straight without cross-threading, and visually check that the small rubber washer inside the faucet connection is present and intact, as this creates the primary seal.
Is it ever okay to just tighten the old leaky supply line connection instead of replacing the entire line?
You can attempt a slight turn with your wrench to see if it stops the leak, but if it's an older line or already tight, this often isn't a permanent fix and could worsen the leak. Replacing the inexpensive supply line ensures a fresh, reliable seal, especially if the internal washers are worn or compressed.
Should I use Teflon tape or pipe sealant on the threads of the new supply line connections?
For standard faucet supply lines with compression fittings or rubber washers, Teflon tape or pipe dope is generally not recommended and can even hinder a proper seal. The seal is made by the compression of the fitting or the washer itself, not the threads, so adding tape can prevent proper seating or cause over-tightening.
My adjustable wrench isn't getting a good grip, or the old nut is completely stuck. What are my options?
Ensure your adjustable wrench is tightened snugly around the nut to prevent slipping and stripping. For stubborn nuts, apply a penetrating oil (like WD-40) and let it sit for a few minutes. You might also need a basin wrench for hard-to-reach areas or a second wrench to hold the faucet tailpiece steady while turning the supply line nut for leverage.


