
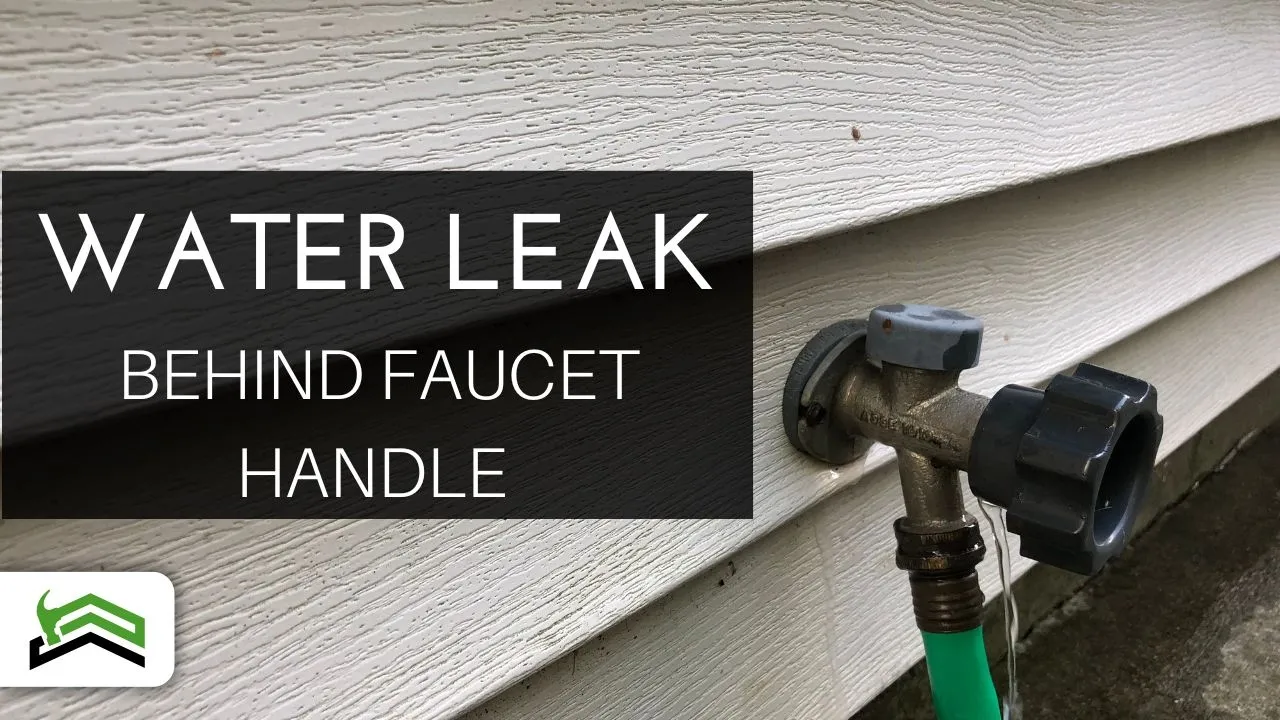
How to Fix a Dripping Frost-Free Outdoor Faucet
About This Project
This guide provides verbose, step-by-step instructions to repair a common drip from a frost-free outdoor faucet, also known as a sillcock or hose bibb. The process involves shutting off the water supply, disassembling the faucet's handle and stem, replacing the worn rubber washers and seals located on the long stem assembly, and then carefully reassembling the unit to restore it to a leak-free condition.
Best for experienced DIYers and homeowners with some experience with basic plumbing knowledge. Requires Adjustable Wrench.
Tools & Materials

Adjustable Wrench
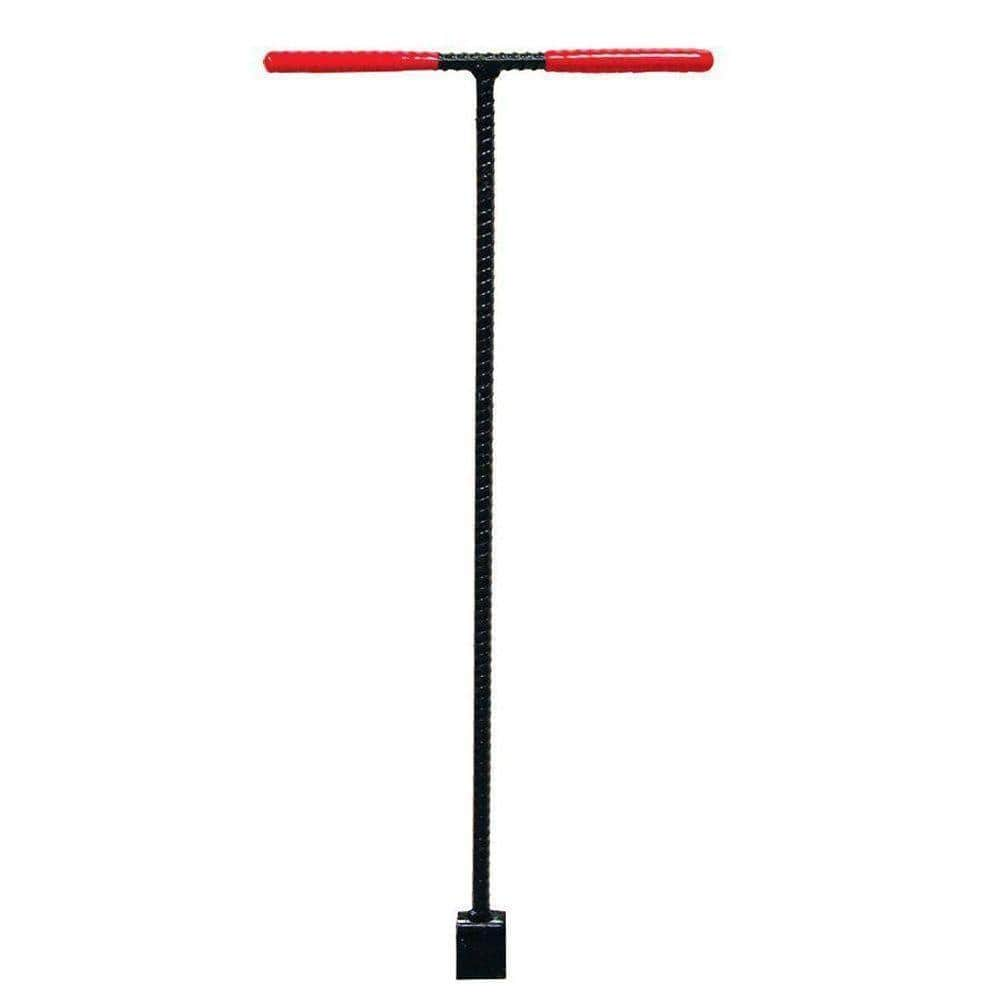
36 in. Solid Steel Water Meter Valve Key with Grips 410-303-0111
Screwdriver
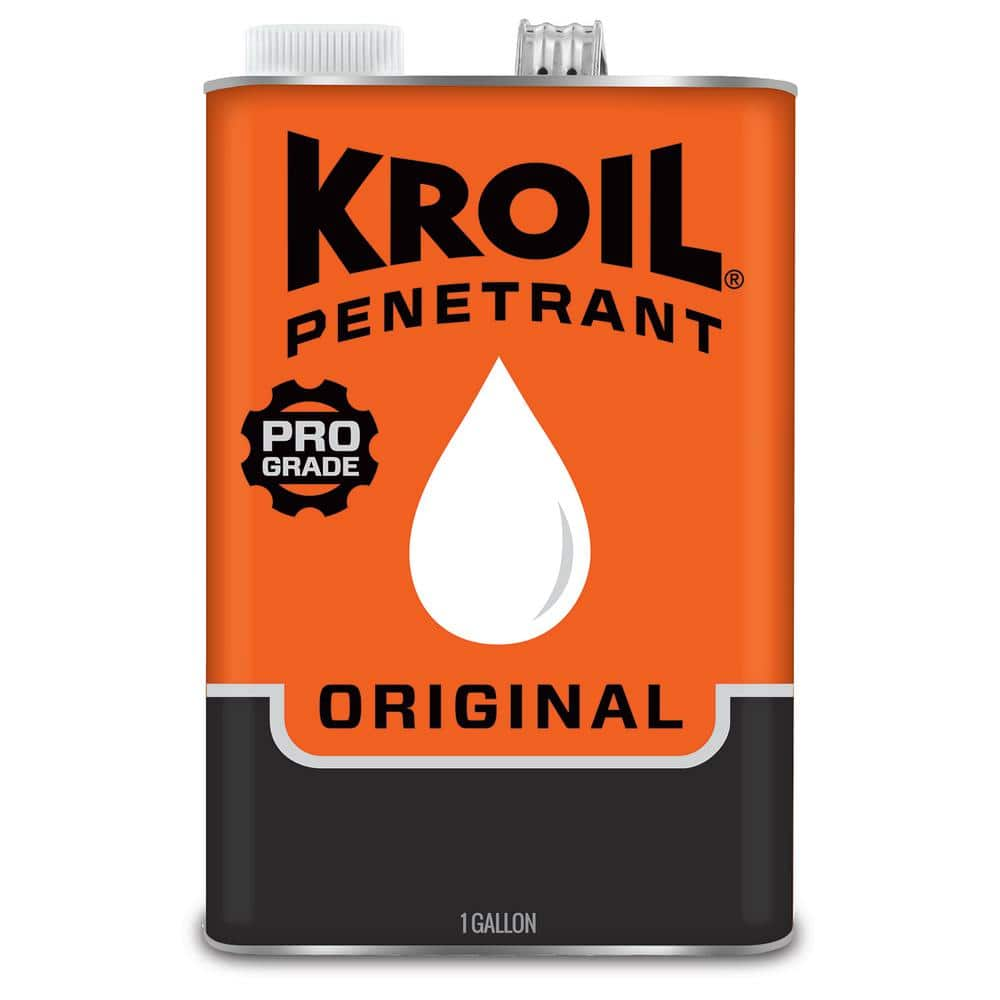
KROIL Penetrating Oil Liquid, Industrial-Grade Penetrant, Multi-Purpose Oil, Liquid, NSF H2,50-State VOC Compliant KL011
DEWALT 8 in. Slip Joint Plier DWHT75403
Pliers
Adjustable Wrench
Fits various nut and bolt sizes with its adjustable jaw.
36 in. Solid Steel Water Meter Valve Key with Grips 410-303-0111
This water meter valve wrench turns on and off the main water supply valve for a house or building. Its extended 36 in. length is ideal for reaching into shallow meter/valve boxes that are less than 30
Screwdriver
A tool used to turn screws.
KROIL Penetrating Oil Liquid, Industrial-Grade Penetrant, Multi-Purpose Oil, Liquid, NSF H2,50-State VOC Compliant KL011
KROIL Penetrant 1 Gal. can is an industrial-strength penetrating oil formulated to quickly penetrate deep into small crevices. KROIL attacks rust and corrosion to help loosen frozen or seized metal fasteners
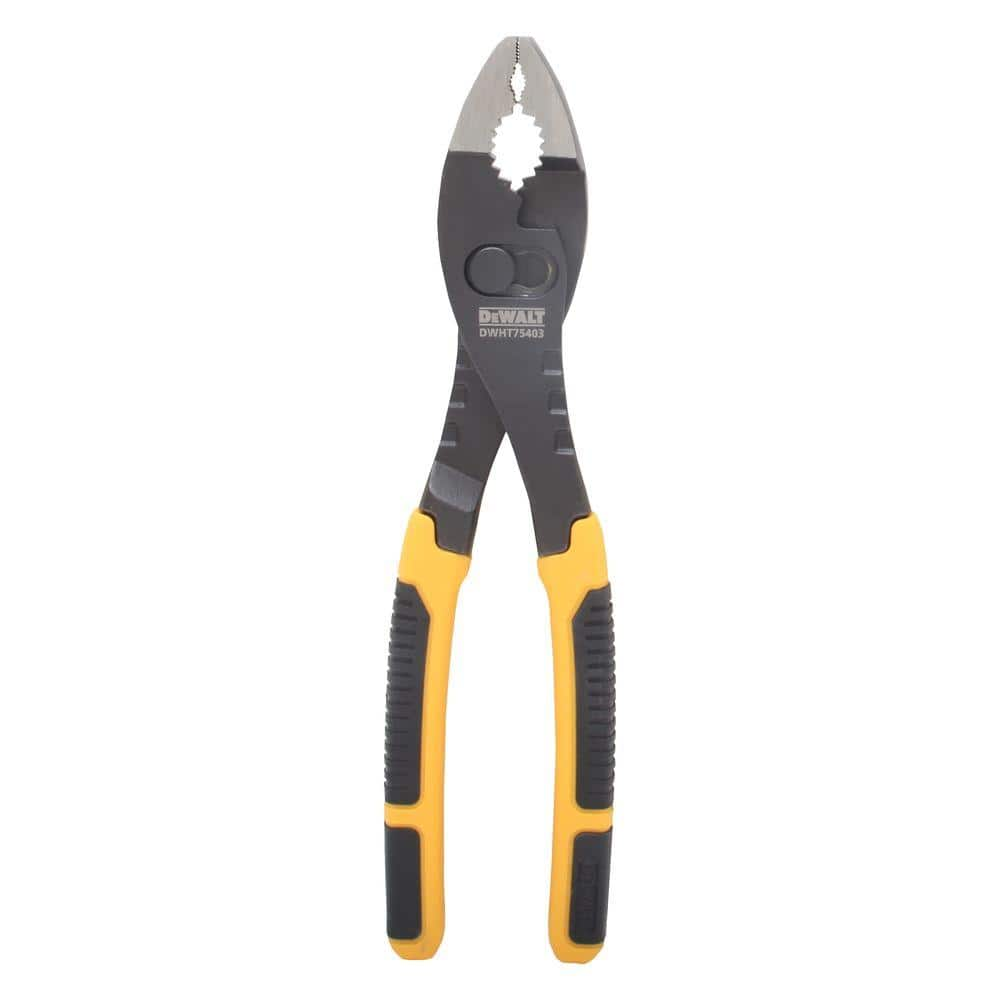
DEWALT 8 in. Slip Joint Plier DWHT75403
The DEWALT Flush Rivet Slip Joint Pliers are designed for maximum grip on fasteners. The flush rivet design provides better accessibility and reduced interference with the environment around it. These
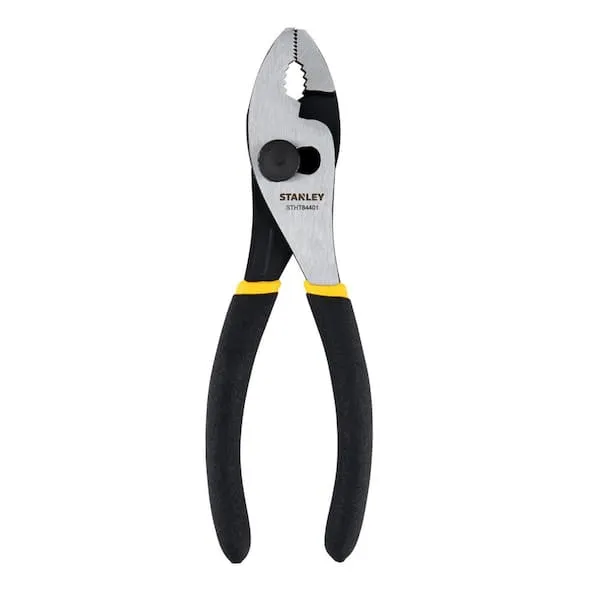
Pliers
Grips and manipulates objects.
Steps

Shut Off Water Supply and Drain the Faucet
10 minsLocate the dedicated shut-off valve for your outdoor faucet. This is typically found inside your home, in the basement, crawl space, or a utility closet, on the pipe that leads directly to the outdoor faucet. The valve will usually have a small, oval-shaped handle or a lever handle. Turn the handle clockwise until it is fully closed. If you cannot find a dedicated valve, you will need to shut off the main water supply to your entire house. Once the valve is closed, go outside and turn the faucet handle counter-clockwise to the 'on' position. This will allow any trapped water in the pipe and faucet body to drain out completely. This step is critical for preventing a watery mess during the repair.

Disassemble the Faucet Handle and Packing Nut
15 minsBegin the disassembly at the handle. Use a Phillips or flathead screwdriver to remove the screw located in the center of the faucet handle. If the screw is rusted, you may need to apply a small amount of penetrating oil and wait a few minutes. Once the screw is out, pull the handle straight off the grooved stem. Sometimes, handles can be stuck due to corrosion; you may need to wiggle it back and forth or gently pry it off from behind. Next, use an adjustable wrench or slip-joint pliers to grip the packing nut, which is the larger nut situated right against the house or faucet body. Turn the packing nut counter-clockwise to loosen and remove it. Be sure to hold the faucet body steady with your other hand or another wrench to prevent twisting the entire pipe.

Remove the Faucet Stem Assembly
5 minsWith the handle and packing nut removed, the entire stem assembly is now free. Grip the threaded end where the handle was attached, you may need pliers for a better grip if it's slippery. Pull the stem straight out of the faucet body. Since this is a frost-free faucet, the stem will be quite long, possibly 4 to 18 inches, depending on the thickness of your wall. Pull slowly and steadily until the entire assembly is clear of the faucet body. This long rod is what connects the outdoor handle to the valve seat washer deep inside the house.

Inspect and Replace Worn Parts
20 minsNow you will replace the parts causing the leak using your faucet repair kit. First, focus on the end of the stem that was deep inside the wall. You will see a brass screw holding a black rubber washer in place. Use a screwdriver to remove this screw and pry off the old, likely compressed or cracked, washer with a small flathead screwdriver or a utility knife. Install the new washer from your kit, ensuring it's seated flat, and reinstall the brass screw, tightening it until it is snug. Next, examine the other end of the stem, near where the handle attaches. You will find one or more O-rings or a packing washer. Use a small screwdriver or pick to carefully remove these old seals. Clean the grooves on the stem with a rag. Lightly coat the new O-rings from your repair kit with plumber's grease to help them seal and prevent tearing during installation. Roll the new O-rings into place. If your faucet uses a packing washer instead of O-rings, simply replace it with the new one from the kit.

Reinstall the Faucet Stem
5 minsWith all the new seals installed on the stem, it's time for reinstallation. Carefully guide the washer-end of the long stem back into the faucet body. Push it in gently and steadily until it is fully seated. You may need to gently rotate the stem to help it align properly with the inside of the faucet body. Push it all the way in until the threaded portion where the packing nut goes is exposed and in its correct position.
Reassemble Faucet and Test for Leaks
15 minsReassemble the faucet in the reverse order of disassembly. First, thread the packing nut back onto the faucet body by hand. Then, use your adjustable wrench to tighten it, but only until it's snug. Do not overtighten. Next, place the handle back onto the end of the stem, aligning it correctly with the grooves. Insert the handle screw and tighten it with your screwdriver. Close the outdoor faucet by turning the handle clockwise until it stops. Now, go back inside and slowly turn the water shut-off valve back on. Listen for any sounds of running water and check the valve itself for any leaks. Finally, go back outside and inspect the faucet spout and handle area for any drips. If there's a slight weep from around the packing nut, give it a very small (1/8th turn) tightening with the wrench until the weeping stops.
Common Problems
Be gentle to avoid breaking the plastic cartridge, which could make removal more difficult.
Solution: To avoid this issue: Be mindful of this warning and take appropriate precautions.
The handle can be very tight. Pull straight up to avoid damaging the valve stem.
Solution: To avoid this issue: Be mindful of this warning and take appropriate precautions.
Make sure the notch on the cam aligns with the tab in the faucet body, otherwise the handle will not operate correctly.
Solution: To avoid this issue: Be mindful of this warning and take appropriate precautions.
Do not overtighten the packing nut, or the handle will be too stiff to operate.
Solution: To avoid this issue: Be mindful of this warning and take appropriate precautions.
Be careful with tools to avoid injury, such as stabbing your hand with a screwdriver.
Solution: To avoid this issue: Be mindful of this warning and take appropriate precautions.
Be careful not to overtighten the stem when using the socket wrench.
Solution: To avoid this issue: Be mindful of this warning and take appropriate precautions.
Small faucet parts get lost during repair.
Solution: Place all small parts like screws and caps in a container or the sink drain (with the stopper closed) to avoid losing them.
Frequently Asked Questions
What's the most common reason my frost-free outdoor faucet is dripping, and how does this repair fix it?
Most drips from frost-free outdoor faucets are caused by worn-out rubber washers or seals located on the long stem assembly inside. This project guides you through replacing these degraded components, which restores the watertight seal and stops the drip. You'll typically find these parts in a faucet repair kit.
I'm new to plumbing; how difficult is this project, and how long should I expect it to take?
This repair is rated as beginner-friendly, primarily requiring careful disassembly and reassembly. For most first-timers, it typically takes 1-2 hours to complete, assuming parts aren't excessively corroded. Patience and careful attention to the steps are more important than prior experience.
What are the most crucial tools or materials I should ensure I have before starting, especially if parts are stuck?
Beyond a screwdriver and adjustable wrench, ensure you have penetrating oil (like KROIL) on hand to loosen stubborn nuts or screws. A specific faucet repair kit for your faucet model is essential, as is plumber's grease or silicone grease (e.g., Super Lube) to lubricate new seals and threads during reassembly.
What is the most critical safety precaution I need to take before starting this repair?
The absolute most critical step is to shut off the main water supply to your house or the specific outdoor faucet line before you begin any disassembly. After shutting off the water, open the faucet to drain any remaining water pressure and prevent unexpected leaks or flooding during the repair process.
What's a common mistake beginners make during this repair, and how can I avoid it?
A frequent mistake is using excessive force, which can strip screws, round off nuts, or even damage the faucet stem, leading to more complex repairs. Always use the correct tool sizes, apply penetrating oil to stuck components, and work slowly and methodically. Taking photos during disassembly can also aid correct reassembly.
What should I do if I replace the parts, but the faucet still drips, or I can't find the correct repair kit?
If the drip persists, recheck that all new seals are correctly seated and that the stem assembly is tightened properly, without overtightening. If you cannot find the right repair kit or suspect damage to the faucet body itself, replacing the entire frost-free outdoor faucet may be the next necessary step. Consider consulting a professional plumber for further assessment.


