

How to Cut and Prepare Copper Pipe for a Perfect Joint
About This Project
This guide provides a comprehensive, step-by-step process for accurately cutting and meticulously preparing copper pipe and fittings to ensure a strong, leak-free soldered joint. The process covers measuring, cutting, deburring, and cleaning, which are the foundational skills for professional copper plumbing work.
Best for homeowners and DIY enthusiasts with basic plumbing knowledge. Requires Safety Glasses and MCR Safety BearKat Safety Glasses MCSCRWBK110 and Work Gloves.
Tools & Materials
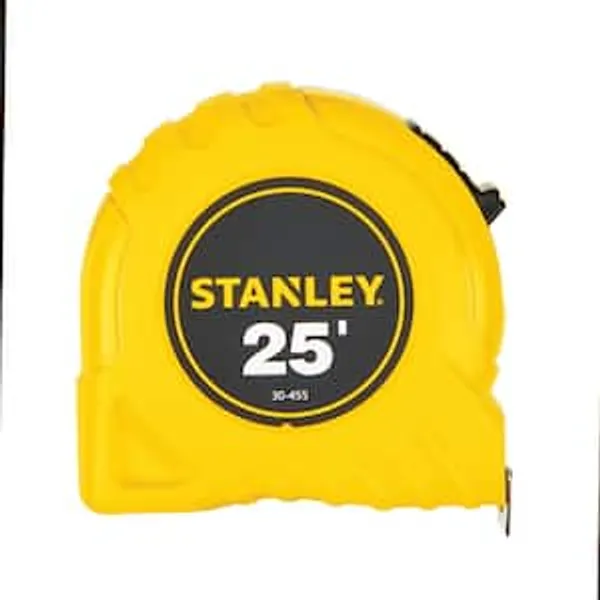
25 ft. Tape Measure
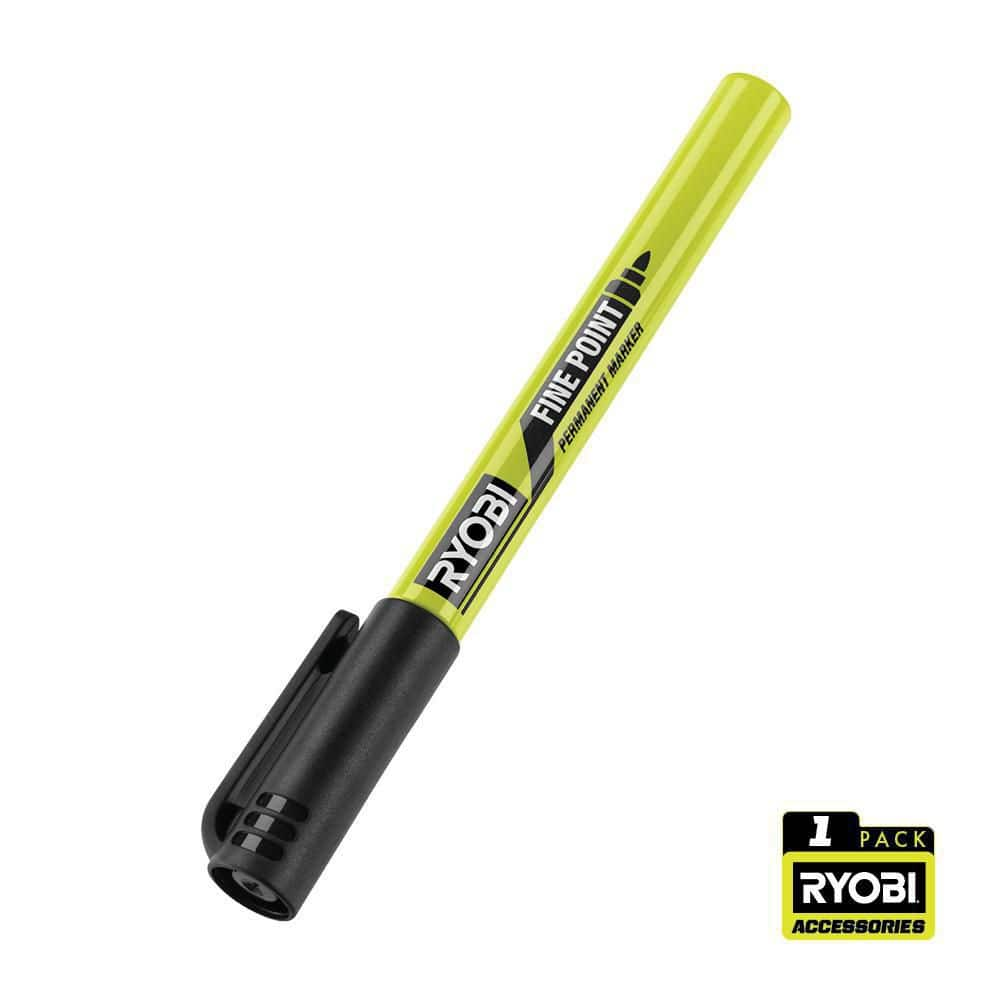
RYOBI Black Fine Point Permanent Workshop Marker RPM121
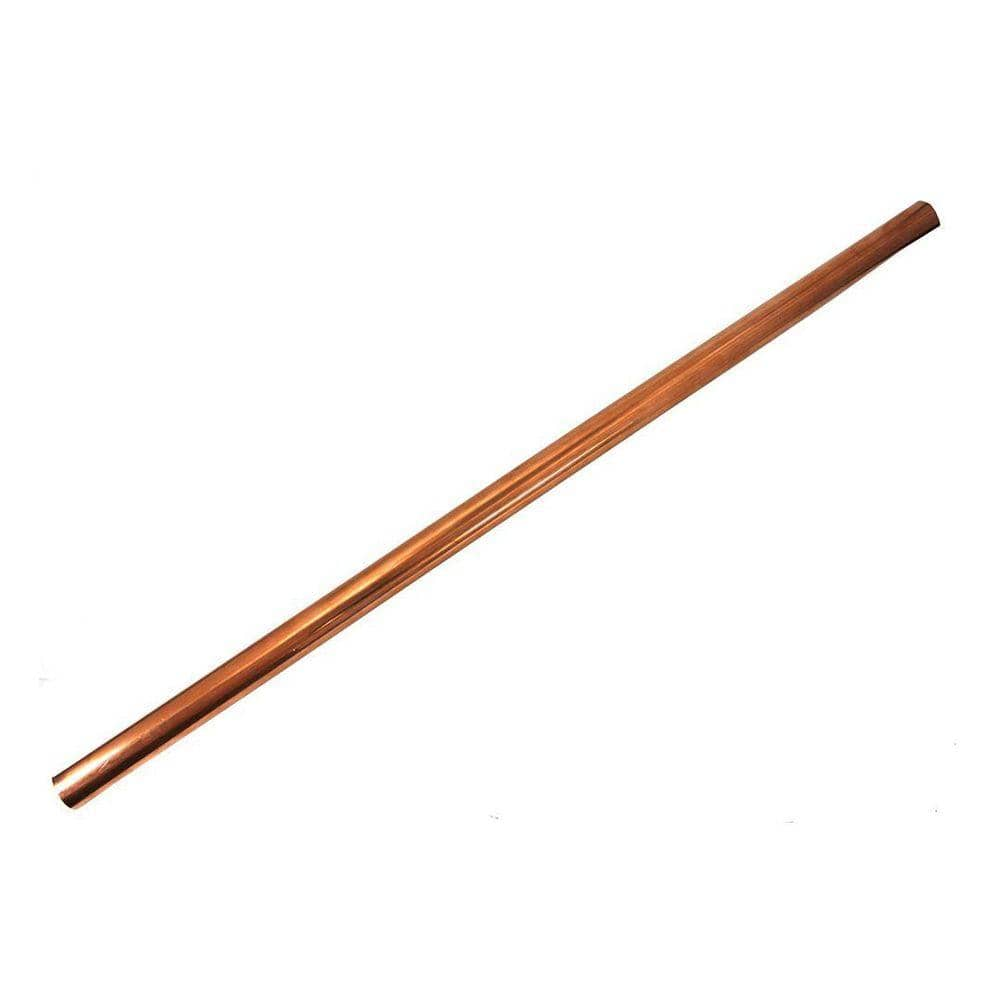
Cerro 1/2 in. x 5 ft. Copper Type L Hard Straight Pipe PSLE-500L005
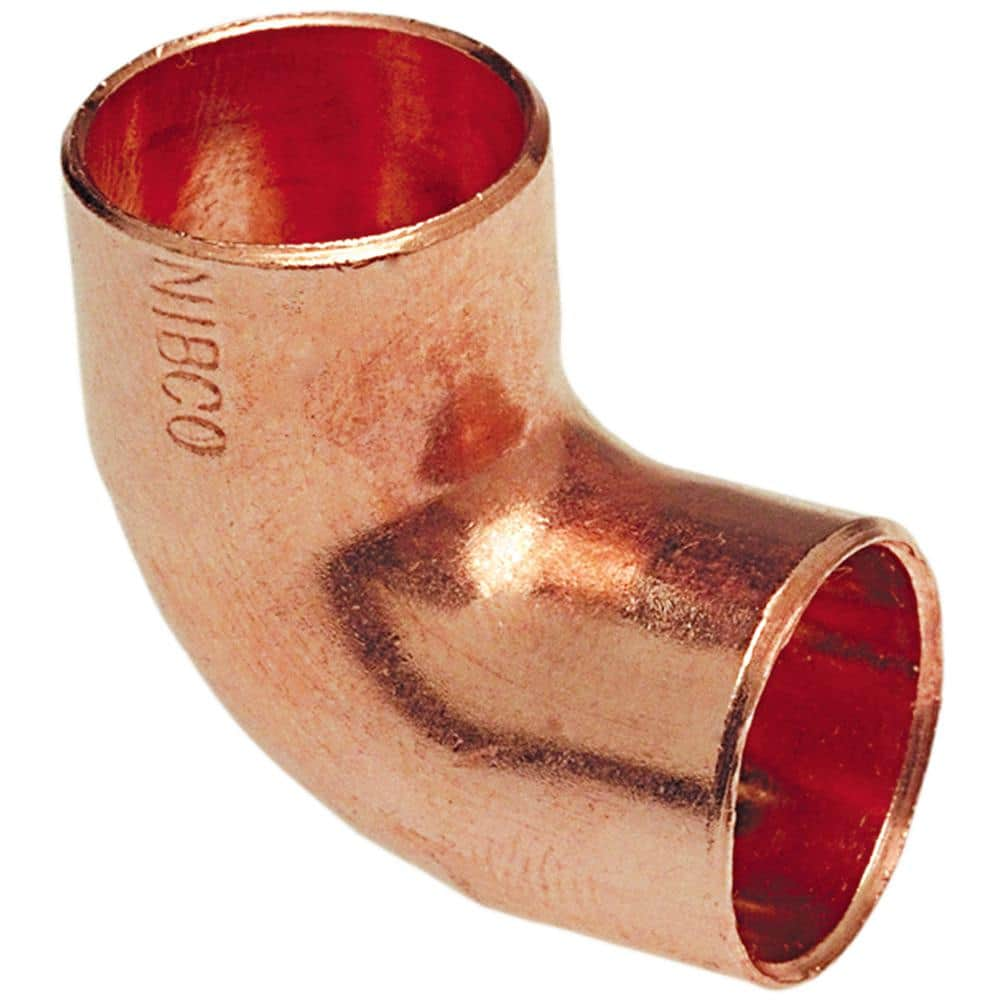
Everbilt 3/4 in. Wrot Copper 90-Degree Cup x Cup Elbow Fitting Pro Pack (25-Pack) MPP607HD34
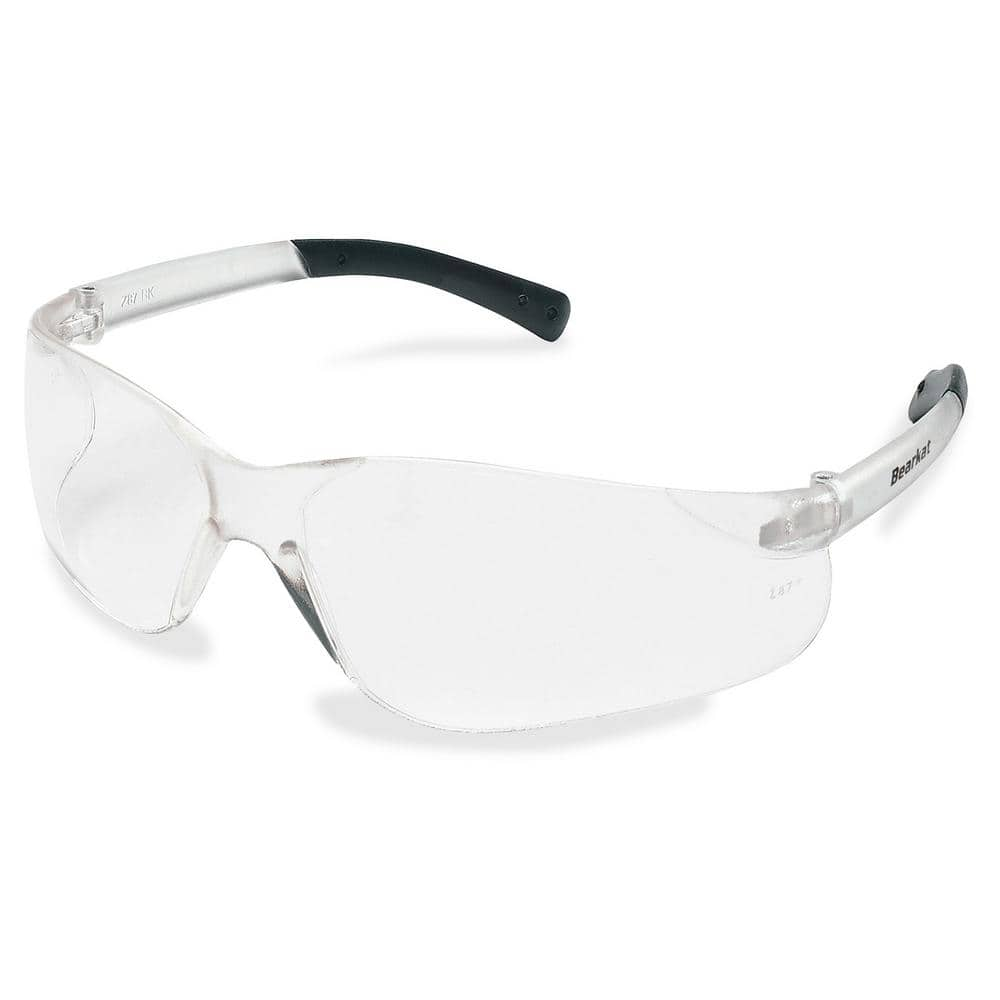
MCR Safety BearKat Safety Glasses MCSCRWBK110
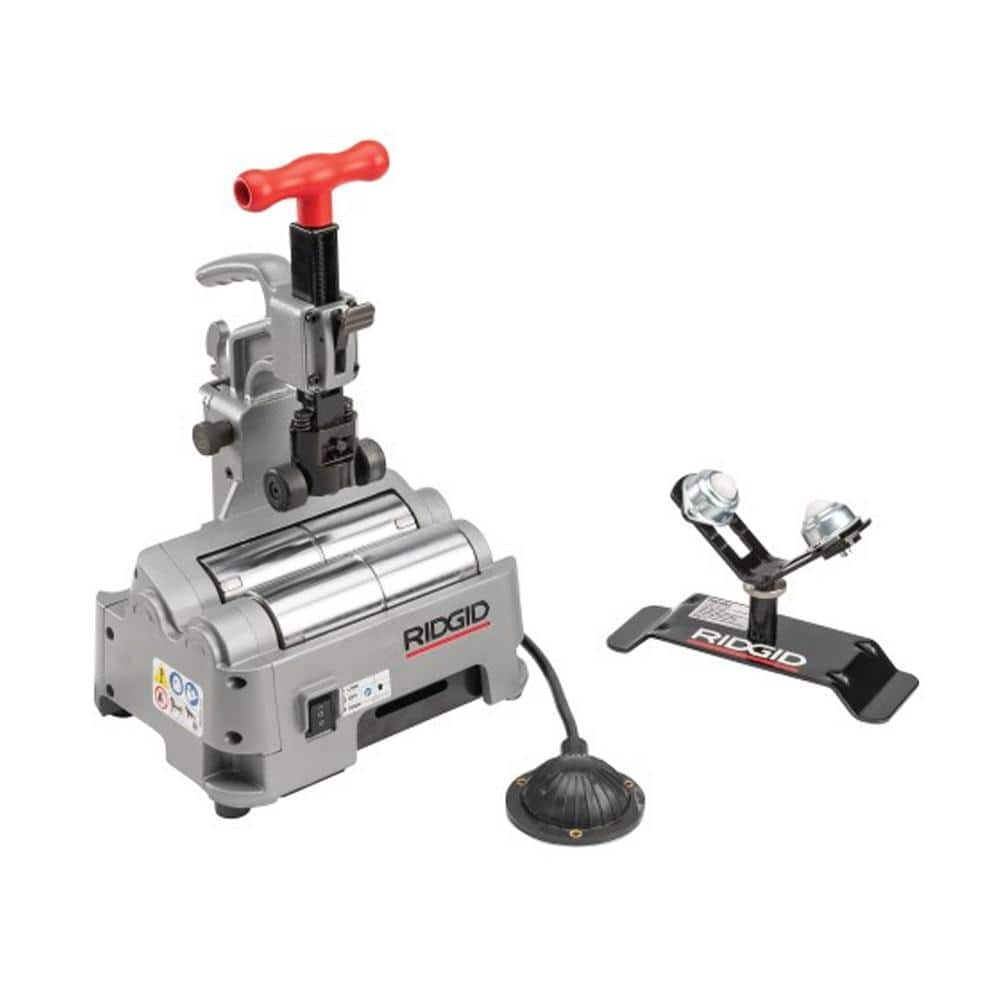
RIDGID 1/2 in. to 4 in. PTC-400 Stainless Steel, Carbon Steel, Copper, Aluminum and Plastic Pipe and Tube Cutter 66138
25 ft. Tape Measure
Measure with precision and ease.
RYOBI Black Fine Point Permanent Workshop Marker RPM121
The RYOBI Black Fine Point Permanent Marker provides precise, clean marks on most materials. This marker is perfect for your workshop or the jobsite because of its durability. Its high quality ink is easily visible on rough surfaces. Common surfaces include wood, plastic, tile, and metal. The marker also features a hang clip for easy storage and accessibility. This pack includes one Black Fine Point Permanent Workshop Marker.
Cerro 1/2 in. x 5 ft. Copper Type L Hard Straight Pipe PSLE-500L005
The Cerro's 1/2 in. x 5 ft. Copper Type L Straight pipe is made of type L copper to be maintenance-free. This type of pipe is corrosion-resistant and noncombustible. It is ideal for general plumbing and
Everbilt 3/4 in. Wrot Copper 90-Degree Cup x Cup Elbow Fitting Pro Pack (25-Pack) MPP607HD34
The lead-free wroth copper solder pressure 90 close rough elbow is used in residential and commercial systems such as potable water, air conditioning and refrigeration. Options also include cleaned and
MCR Safety BearKat Safety Glasses MCSCRWBK110
Safety glasses feature a well thought-out construction that combines the best in safety, comfort and affordability. Your vision is unobstructed by the 1-piece wraparound lens which, by its tight fit, provides for maximum safety. Flexible temples enhance your comfort during extended use. Nonslip rubber head grips are notched for a clip-on breakaway cord.
RIDGID 1/2 in. to 4 in. PTC-400 Stainless Steel, Carbon Steel, Copper, Aluminum and Plastic Pipe and Tube Cutter 66138
The RIDGID PTC-400 Power Tubing Cutter is an efficient, portable, durable and reliable professional tubing cutting machine. Quickly cut stainless steel, carbon steel, copper aluminum, and plastic. The
Steps

Measure and Mark the Pipe
2 minsUsing a tape measure, carefully determine the required length of the copper pipe for your installation. Account for the 'fitting socket depth'—the length of pipe that will slide into the fitting. Mark the precise cutting line on the pipe's surface using a permanent marker. A clear, all-around mark ensures you can keep the cut straight.

Cut the Copper Pipe
3 minsPosition the tubing cutter on the pipe so the cutting wheel aligns perfectly with your marked line. Lightly tighten the knob until the wheel makes firm contact. Rotate the cutter around the pipe, following the mark. After each full rotation, give the knob a small turn (about a quarter-turn) to increase pressure. Continue this rotate-and-tighten process smoothly and evenly. Do not overtighten, as this can deform the pipe. The pipe will snap off cleanly when the cut is complete.
Deburr the Pipe Interior and Exterior
2 minsThe cutting process creates a small ridge, or 'burr', on the inside edge of the pipe. This must be removed to ensure proper water flow and prevent turbulence. Use a deburring tool, the triangular reamer on the back of many tubing cutters, or a round file. Insert the tool into the pipe opening and twist it several times to shave off the burr, creating a smooth, beveled inner edge. Also, lightly file the outside edge to remove any sharpness or external burrs.

Clean the Pipe Exterior
2 minsFor solder to adhere, the copper surface must be perfectly clean and free of oxidation. Use a dedicated pipe cleaning brush or a strip of sanding cloth (emery cloth) to thoroughly clean the outside of the pipe end. Sand the surface for a distance slightly greater than the depth of the fitting socket. The goal is to remove the dull outer layer until the copper is bright, shiny, and salmon-colored. Wipe away any dust with a clean, dry rag.
Clean the Fitting Interior
1 minJust as with the pipe, the inside of the copper fitting must also be perfectly clean. Use a fitting brush, which is a wire brush sized specifically for the fitting's diameter. Insert the brush into the fitting's socket and twist it vigorously back and forth several times. Inspect the inside to ensure it is also bright, shiny, and free from any dirt, grease, or oxidation.
Common Problems
Measure twice, cut once. An incorrect cut can lead to leaks or prevent a proper connection.
Solution: To avoid this issue: Be mindful of this warning and take appropriate precautions.
Pipes cut too short result in unusable gaps for a secure joint.
Solution: Measure twice, cut once. It's better to cut the gap slightly smaller and trim if needed than to make it too large.
Plastic pipe cut with the wrong tool will have jagged edges, preventing a proper seal.
Solution: Use a universal saw or hacksaw to cut plastic pipe.
Inaccurate pipe cuts lead to leaky joints.
Solution: Measure twice, cut once. An accurate cut is essential for a leak-free connection.
Deburring the pipe after cutting is important to prevent debris from catching in the drain and to ensure the washer seats properly.
Solution: To avoid this issue: Be mindful of this warning and take appropriate precautions.
Joints won't seal properly if copper isn't clean and fluxed.
Solution: A clean, well-fluxed joint is essential for solder to wick properly into the connection.
Leaky joints due to rough or dirty pipe surfaces.
Solution: A smooth, clean surface is essential for a proper seal on a compression fitting.
Frequently Asked Questions
Why is proper cleaning and deburring so important for copper pipe joints?
Thorough cleaning and deburring are critical for creating a strong, leak-free soldered joint. Burrs inside the pipe can restrict water flow and prevent the fitting from seating correctly, while exterior burrs and contaminants inhibit the solder from flowing smoothly and bonding properly with the copper.
Do I really need all the specialized tools listed, like the tube cutter and reamer?
Yes, for professional and reliable results, specialized tools are highly recommended. A dedicated tube cutter ensures straight, clean cuts without deforming the pipe, and a reamer is crucial for removing internal burrs that could restrict water flow and compromise the fitting connection. Substitutes often lead to poor quality joints and potential leaks.
What are the most common mistakes beginners make when cutting and preparing copper pipe, and how can I avoid them?
Common mistakes include rushing the cleaning and deburring steps, making inaccurate measurements, and crooked cuts. To avoid these, take your time, double-check all measurements before cutting, and ensure the pipe cutter is square to the pipe for a clean, straight cut. Practice on scrap pieces first.
What safety precautions should I take when working with copper pipe?
Always wear safety glasses to protect your eyes from metal shavings and debris. Consider wearing gloves when handling freshly cut pipe or using emery cloth to prevent cuts and abrasions. Ensure your work area is stable and well-lit to prevent accidents.
How precise do my measurements need to be for a good copper pipe joint?
Your measurements need to be extremely precise. Even a small error can result in a joint that is either too tight, putting stress on the system, or too loose, making it difficult for the solder to bridge the gap and creating a high risk of leaks. 'Measure twice, cut once' is key here.
Are there alternatives to soldering if I'm nervous about that step, even after preparing the pipe?
Yes, if soldering seems daunting, push-to-connect fittings (like SharkBite) or press fittings offer solder-free alternatives for joining copper pipe. While potentially more expensive than traditional soldered joints, they can significantly simplify the connection process for DIYers, bypassing the need for heat and open flame.


