

How to Convert a 3-Handle Shower Faucet to a Single-Handle Valve
About This Project
This project involves replacing an outdated three-handle (hot, cold, diverter) shower and tub faucet with a modern single-handle, pressure-balancing valve. The process requires accessing the plumbing within the wall, removing the old valve body, re-plumbing the hot and cold water lines to a new valve, and then repairing the wall and installing the new faucet trim.
Best for advanced DIYers and professionals with basic plumbing knowledge and familiarity with power tools. Requires HDX Over the Glass Indoor Safety Glasses VS-265 and StoneBreaker X-Large Operator Work Gloves SB_AM_OPE_BR_XL and MCR Safety BearKat Safety Glasses MCSCRWBK110.
Tools & Materials
RSI 7.8 ft. x 12 ft. Blue 88% Shade Protection Knitted Privacy Cloth PF-812-BLUE

Safety Glasses
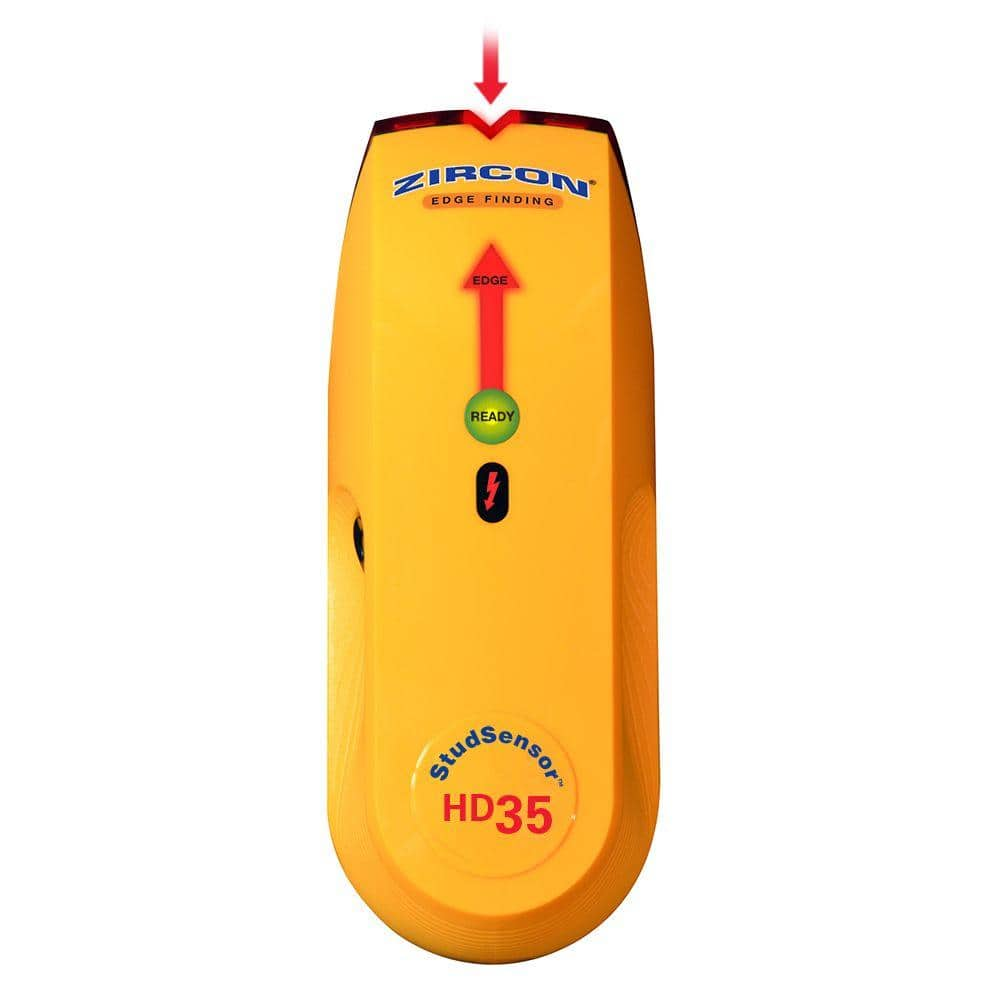
Zircon StudSensor HD35 Stud Finder 65944
Level
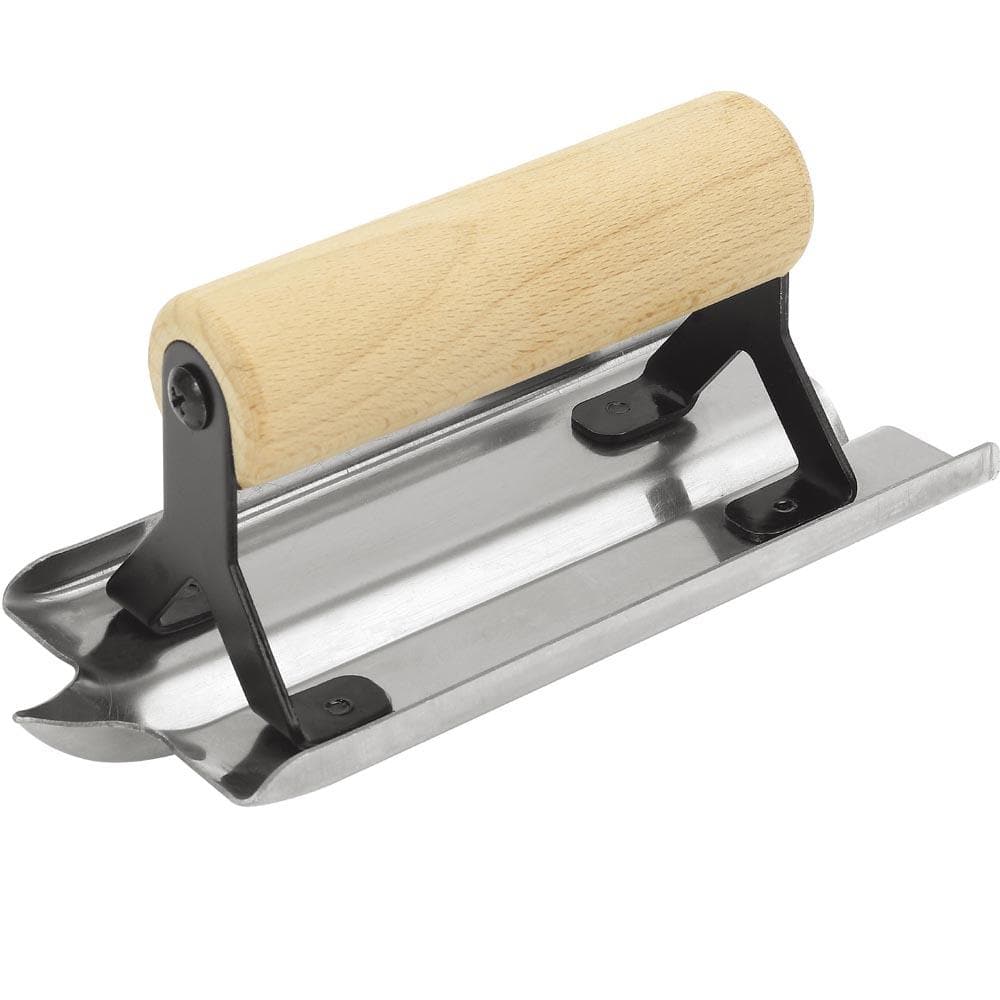
Anvil 6 in. x 3 in. Hand Groover 57502

RIDGID 4 in. Continuous Diamond Blade HD-CT40CP
RSI 7.8 ft. x 12 ft. Blue 88% Shade Protection Knitted Privacy Cloth PF-812-BLUE
The Riverstone line of privacy shade cloths is designed to offer easy to use, shade producing cloth that is UV stable and will last for several years in the hottest environments. All our knitted shade
Safety Glasses
Keeps eyes safe from potential hazards.
Zircon StudSensor HD35 Stud Finder 65944
The StudSensor HD35 stud finder features a bright, easy-to-understand interface. A wide, contoured grip for comfort and ease of use, provides optimized visibility and a secure hold at any angle. Find the edges of wood and metal studs to securely anchor pictures, mirrors, and shelves to the wall while also avoiding live AC electrical wiring.
Level
Ensures surfaces are just right.
Anvil 6 in. x 3 in. Hand Groover 57502
The 6 in. x 3 in. Hand Groover is a high-quality professional groover. Designed to meet the needs of any job, this groover has a smooth surface to create crisp, sharp grooves. The groover is weighted for optimal performance, and it has a comfortable, classic wood handle.
RIDGID 4 in. Continuous Diamond Blade HD-CT40CP
RIDGID Continuous Rim Diamond Blades are engineered to cut tile, marble, granite, and other natural stone. The continuous rim design achieves precise, clean cuts helping you work quickly and effectively.
Steps

Preparation and Water Shutdown
15 minsBefore starting, ensure the work area is safe and you are prepared. Locate the main water shutoff valve for your home (often in the basement, a crawlspace, or near the water meter) and turn it clockwise until it is fully closed. To drain the lines, open the hot and cold handles of the shower faucet you are replacing, as well as a faucet on a lower floor, like a basement sink. Lay a drop cloth in the tub or shower base to protect it from scratches and debris. Put on your safety glasses.

Create Plumbing Access
45 minsTo access the valve, you must create an opening in the wall. Since we assume there is no access panel, you'll need to cut through the tiled shower wall. First, use a stud finder to locate the studs on either side of the existing valve. Using a pencil and a level, mark a rectangular opening that is large enough to comfortably work within (e.g., 12x12 inches). Put on a dust mask. Use an angle grinder equipped with a diamond blade to carefully and slowly cut along your marked lines through the tile and backer board. Remove the cut-out section.

Remove Old Faucet and Valve
30 minsFirst, from the front, use a screwdriver to remove the three faucet handles and the trim plates (escutcheons). Now, working through the access hole, identify the hot, cold, and shower riser pipes connected to the old valve. Since the pipes are copper, use a compact tubing cutter to make clean cuts on the straight sections of the pipes leading into the old valve body. Leave as much pipe as possible to work with. Once all pipes are cut, the old valve body should be loose. If it is screwed to a support block, remove the screws and pull the old valve out of the wall.
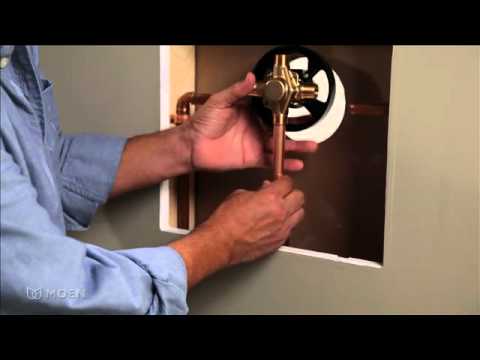
Install and Plumb New Valve
90 minsSecurely mount the new single-handle valve body inside the wall. Most valves must be attached to a wood support block (a 2x4) running between the studs. Cut a piece of 2x4 to fit snugly between the studs and screw it into place. Position the new valve body so that its center aligns with the hole you cut, and crucially, at the correct depth. The valve instructions will include a plastic guard or guide showing the correct depth relative to the finished wall surface. Secure the valve to the 2x4 support with screws. Now, prepare the pipes. The old separate hot and cold lines that went to the side handles need to be capped off. Cut them back and install push-to-connect caps. You will then run new 1/2-inch copper pipe from the main hot and cold lines to the new valve's inlets. Use your tubing cutter to cut new pieces of copper pipe as needed to connect the existing hot, cold, and shower riser pipes to the new valve. Use a deburring tool on the inside and outside of every cut pipe end to ensure a smooth surface for a watertight seal.

Test for Leaks
20 minsThis is a crucial verification step. Ensure the new valve is in the closed/off position. Go back to the main water shutoff and turn it on slowly. Listen for the sound of rushing water filling the pipes. Return to the shower and use a flashlight and a dry paper towel to meticulously inspect every new fitting and connection. Wipe each joint with the paper towel; any moisture will be immediately obvious. If all joints are dry, turn the faucet handle on, directing water to the tub spout first, then use the diverter to send water to the shower head. Cycle between full hot and full cold. Check all joints again for leaks while the water is running. If any leak is detected, turn off the main water supply immediately, release pressure, and remake the leaking connection.

Repair the Wall
30 minsWith the plumbing confirmed to be leak-free, it's time to close the wall. Since we are using a remodel plate, the goal is to create a solid, flat surface for it to mount against. You can attach pieces of wood or metal strapping inside the wall around the hole to serve as a backing. Then, cut the piece of tile you removed to fit tightly around the new valve body. Secure it back in place using a strong construction adhesive or epoxy against the backing you installed. This doesn't need to be a perfect, waterproof tile job, as the large remodel plate will cover the entire area and its seams.

Install New Faucet Trim
30 minsFollow the manufacturer's instructions for your specific faucet model to install the final trim pieces. Slide the foam gasket and the large remodel plate over the valve and press it against the wall. Screw it securely in place. Slide the handle sleeve over the valve stem, then attach the handle with the provided set screw, which is often tightened with an Allen wrench. Ensure the handle is oriented correctly (e.g., pointing down for 'off'). Screw on the new tub spout, using a small amount of plumber's putty or Teflon tape on the threads for a good seal. Finally, screw on the new shower head.
Common Problems
Hold on to the valve when making the last cut so it doesn't drop.
Solution: To avoid this issue: Be mindful of this warning and take appropriate precautions.
Cutting too close to fittings risks damaging pipes and making valve installation impossible.
Solution: For copper pipes, cut midway between the valve and any elbow fittings to leave enough pipe for the new installation.
Use two wrenches working in opposite directions to avoid twisting and damaging the water pipes inside the wall.
Solution: To avoid this issue: Be mindful of this warning and take appropriate precautions.
Double-check that the water is completely off before cutting any pipes. Open a lower-level faucet to drain the lines.
Solution: To avoid this issue: Be mindful of this warning and take appropriate precautions.
Water spills onto the floor when pipes are disconnected.
Solution: Have a bucket or towels ready to catch any residual water in the pipes.
Carefully follow the manufacturer's instructions to ensure the valve is set at the proper depth. If it's too deep or too shallow, the trim will not fit correctly.
Solution: To avoid this issue: Be mindful of this warning and take appropriate precautions.
The shower valve won't work if the tub drop outlet isn't 1/2' copper pipe.
Solution: The tub drop outlet must be 1/2' copper pipe for the valve to function properly.
Frequently Asked Questions
How challenging is this conversion for an intermediate DIYer, and what's a realistic time frame?
This project is rated intermediate due to the necessary plumbing and wall repair. While feasible for a dedicated DIYer, expect it to take a full weekend or several evenings, especially if you encounter unexpected plumbing configurations or need to learn new techniques. Adequate planning and preparation can significantly reduce the overall time.
What critical safety precautions should I take when working on this plumbing project?
Always shut off the main water supply to your house before starting any work to prevent flooding. Wear eye protection when cutting pipes or using power tools. Before cutting into walls, use a stud finder and potentially a non-contact voltage tester to avoid electrical wires or hidden pipes, which could cause injury or damage.
What are common pitfalls or mistakes DIYers make, and how can I avoid them during this valve conversion?
A common mistake is not fully draining the lines after shutting off water, leading to unexpected drips. Another is failing to adequately test for leaks before repairing the wall, which can cause significant damage later. Ensure all new connections are tight, test the system thoroughly for at least an hour before closing up the wall, and double-check pipe routing for any potential strain.
The project mentions specific tools and materials like push-to-connect fittings. Are these highly recommended, and what are their benefits?
Yes, specific tools like the GEARWRENCH Mini Tubing Cutter and Husky Reamer are crucial for clean copper pipe work. Push-to-connect fittings (e.g., QUICKFITTING) are highly recommended as they significantly simplify plumbing connections, eliminating the need for soldering tools and skills. This makes the project much more accessible and faster for DIYers while providing reliable seals.
How should I best approach creating the wall access opening to minimize damage and ensure future repairability?
Plan your opening carefully by locating the studs around the existing valve and making a precise, rectangular cut, ideally between two studs. Aim for an opening large enough to comfortably work within, but no bigger than necessary, as you'll need to repair it later. Consider framing out the opening with 2x4 lumber for an access panel for future maintenance.
Is it possible to use PEX piping instead of copper for connecting the new single-handle valve, and what tools would I need?
Yes, PEX piping is an excellent alternative to copper for this type of plumbing and is often easier for DIYers to work with due to its flexibility. If using PEX, you would need a PEX crimp tool or an expansion tool, along with the appropriate PEX fittings instead of copper fittings. Ensure compatibility with your chosen valve body.
What are the key advantages of upgrading to a single-handle, pressure-balancing valve over an old three-handle system?
The primary advantages are enhanced safety, comfort, and modern aesthetics. A pressure-balancing valve prevents sudden temperature changes (scalding or freezing bursts) if someone flushes a toilet or turns on another faucet elsewhere in the house. It also offers easier, single-control operation for both water flow and temperature, and a sleeker look.


