
How to Convert a 3-Handle Shower Faucet to a Single-Handle Valve
About This Project
This project involves the complete removal of an old three-handle shower faucet system and replacing it with a modern, single-handle pressure-balancing or thermostatic valve. The process requires opening the wall behind the faucet, modifying the existing hot and cold water supply lines, installing the new valve body, and then repairing the wall and installing the new trim.
Best for advanced DIYers and professionals with basic plumbing knowledge and familiarity with power tools. Requires Safety Glasses and HDX Dust Mask 5 Pack E101W and 3M 8210 N95 Drywall Sanding Performance Disposable Respirator (2-Pack) 8210DA1-A.
Tools & Materials

Bucket
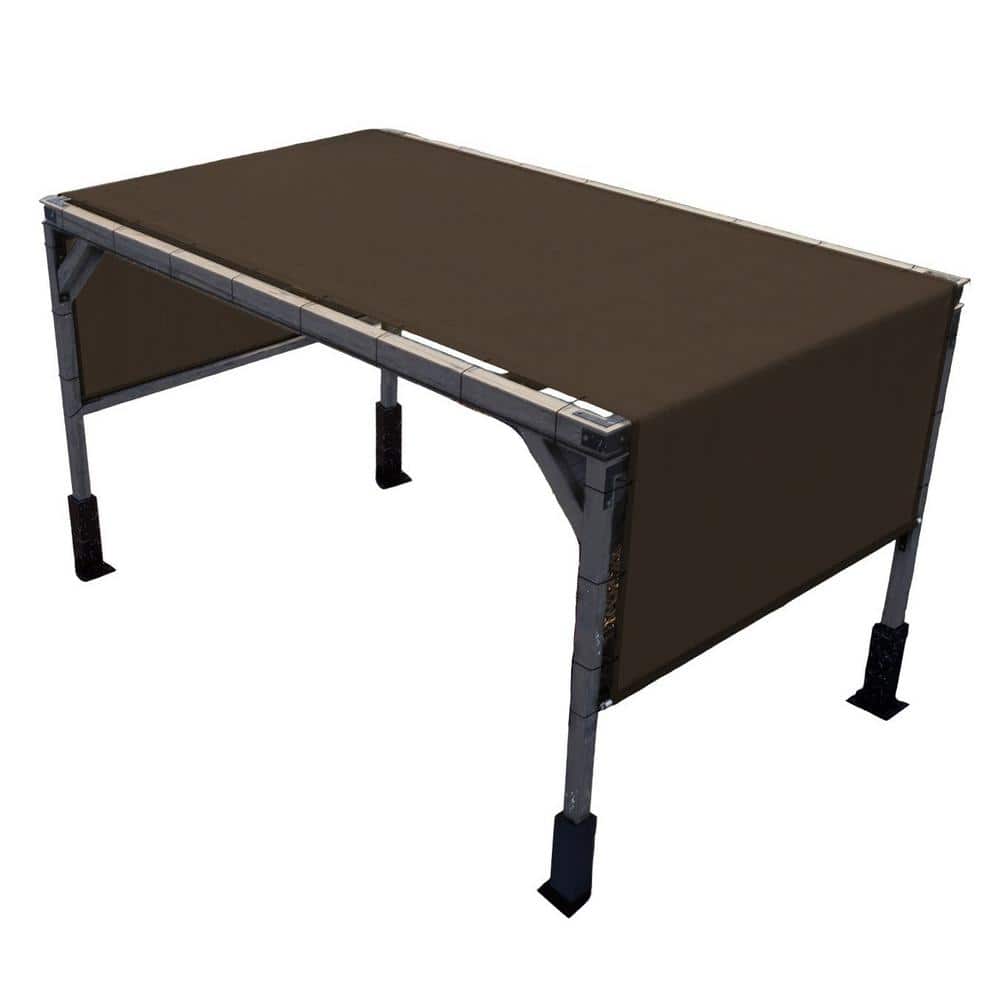
COLOURTREE 12 ft. x 20 ft. Brown Fabric Sun Shade Cloth with Grommets 95% Shade Pergola Cover Canopy(Stainless Steel Weighted Rods) TMP1220-10
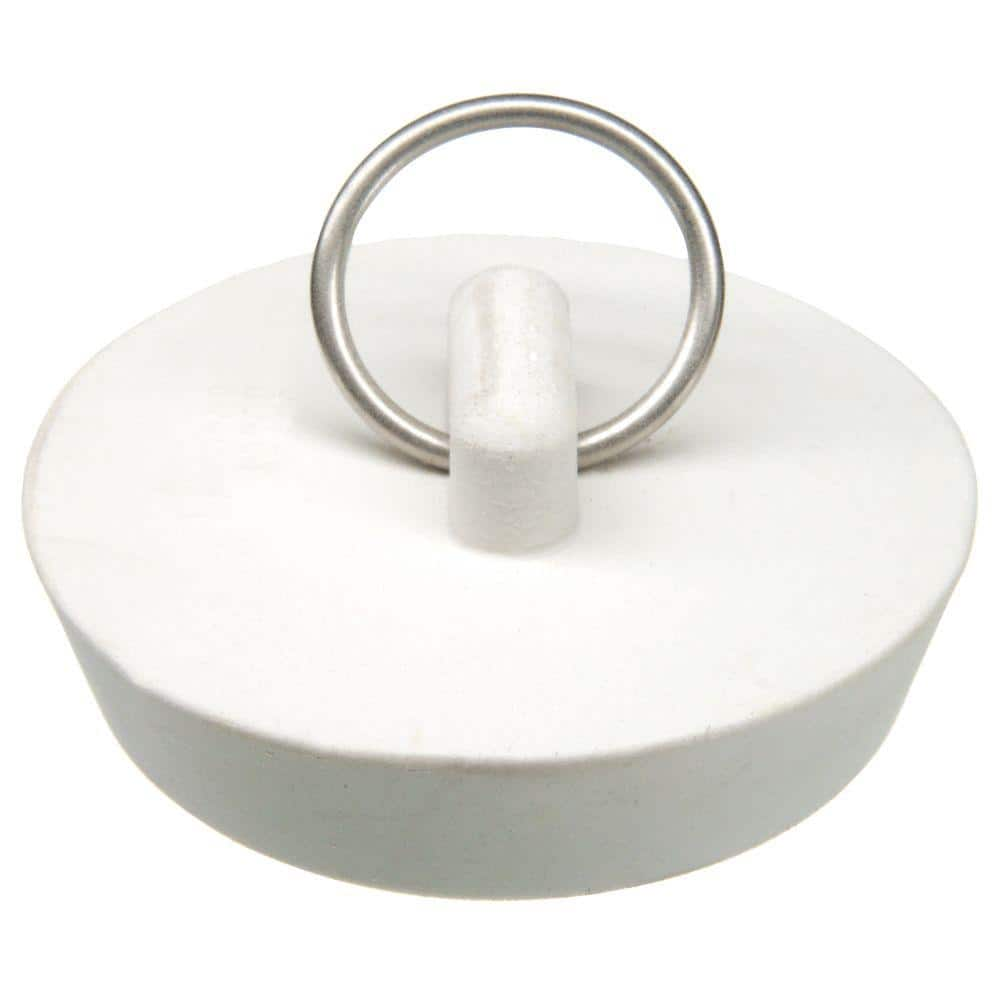
DANCO 1-3/4 in. Kitchen Sink Stopper in White 88272
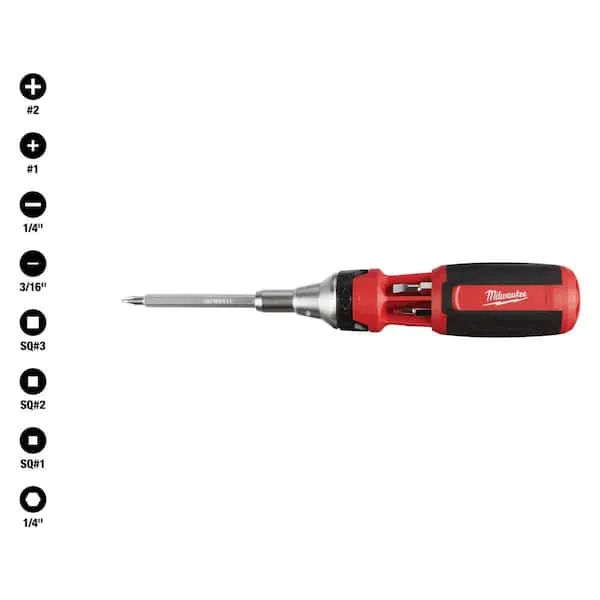
Screwdriver (Multi)
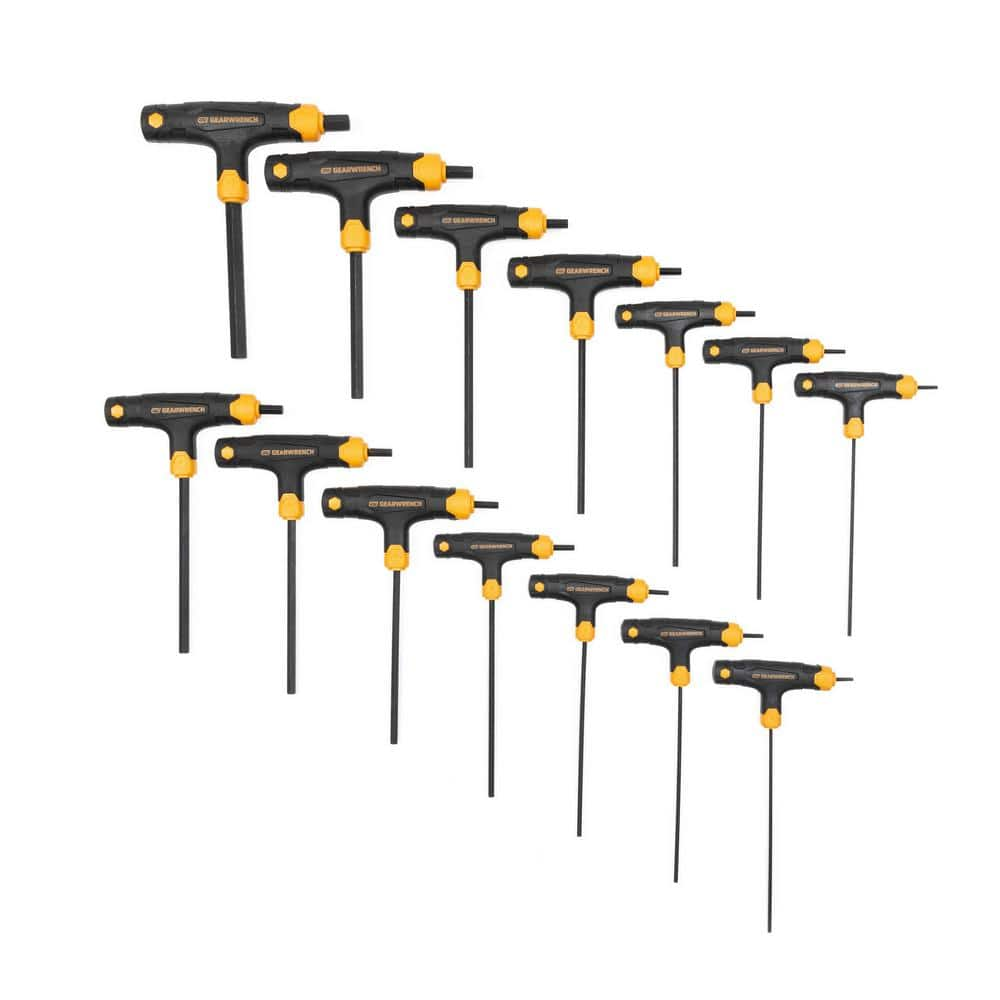
GEARWRENCH SAE & Metric T-Handle Hex Key Set (14-Piece) 83514
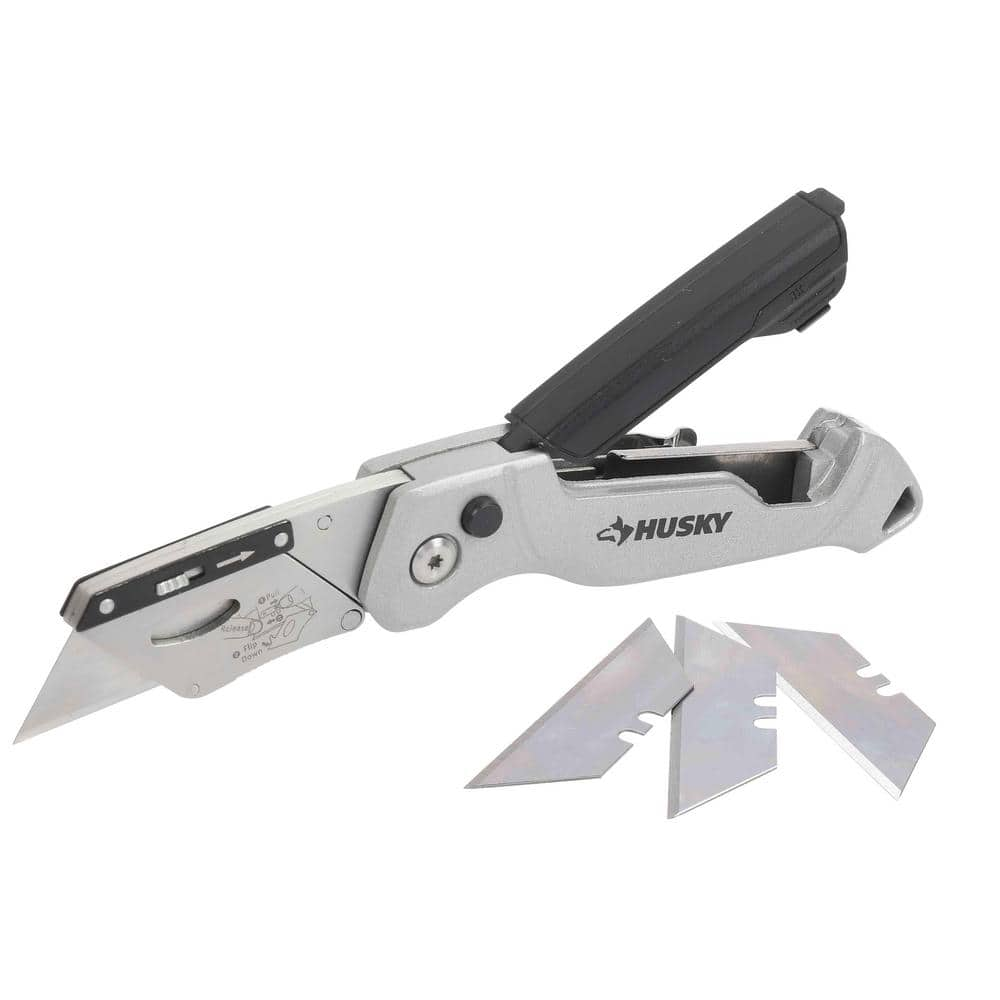
Husky Pro Utility Knife 00004
Bucket
Ideal for carrying or storing liquids.
COLOURTREE 12 ft. x 20 ft. Brown Fabric Sun Shade Cloth with Grommets 95% Shade Pergola Cover Canopy(Stainless Steel Weighted Rods) TMP1220-10
Rejuvenate your pergola/gazebo with the COLOURTREE USA 260 GSM pergola shade cloth canopy cover. Constructed from heavy-duty 260 GSM HDPE, our pergola shade fabrics are tear-resistant, mold/mildew resistant
DANCO 1-3/4 in. Kitchen Sink Stopper in White 88272
The DANCO 1-3/4 in. Rubber Drain Stopper is designed for use in kitchen or bathroom sinks, as well as indoor or outdoor sinks. It is designed to keep objects and debris out of your drain so water will
Screwdriver (Multi)
Multiple bits for versatile use.
GEARWRENCH SAE & Metric T-Handle Hex Key Set (14-Piece) 83514
The GEARWRENCH 14-Piece SAE/Metric T-handle hex key set includes hex keys made from alloy steel to deliver maximum strength and resist rotational distortion. Chamfered edges help slide the hex keys easily
Husky Pro Utility Knife 00004
Offering a precise cut every time, Husky Pro Folding Utility Knife lets you easily adjust the blade to multiple angles to tackle a wide range of jobs. Aluminum die casting handle with plastic spraying
Steps

Preparation and Water Shut-off
20 minsBegin by turning off the water to the entire house. Locate your main water shut-off valve, which is often in a basement, crawl space, or near the water meter, and turn it clockwise until it stops. Open the shower faucet and the lowest faucet in your house (e.g., a basement sink) to completely drain the water from the supply lines. Place a drop cloth in the bottom of the tub or shower to protect the surface from scratches and falling debris.

Access the Plumbing
60 minsRemove the faucet handles, typically held by a set screw, and the surrounding trim plates (escutcheons). Unscrew the shower arm and head. Since we're assuming no rear access panel, you must create an opening from the front. Use a utility knife to score the grout around the tiles you need to remove. An oscillating multi-tool with a grout removal blade is ideal for this. Carefully cut an opening in the tile and backer board large enough to access the valve and surrounding pipes, usually around 12x12 inches centered on the valve body. Always wear safety glasses and a dust mask during cutting.

Remove the Old Valve
30 minsWith the valve body exposed, identify the hot supply, cold supply, and the shower riser pipe. Using a tubing cutter, make clean, straight cuts on all three pipes, leaving several inches of pipe extending from the wall connections to work with. Be prepared for a small amount of residual water to spill out. Once the pipes are cut, the old valve assembly can be pulled out of the wall cavity.

Install New Single-Handle Valve
90 minsSecure a 2x4 wood block horizontally between the wall studs to serve as a sturdy mounting point for the new valve. Position the new single-handle valve body on the block, ensuring it's set at the correct depth according to the manufacturer's instructions (a plastic guard is usually included for this). Prepare the existing copper pipes and new fittings by cleaning the ends with a pipe cleaning brush and emery cloth. Apply a thin layer of soldering flux to all cleaned surfaces. Cut and dry-fit new sections of 1/2-inch copper pipe and fittings (like 90-degree elbows) to connect the hot, cold, and shower riser pipes to the new valve. Once the fit is perfect, remove the valve's plastic cartridge to protect it from heat, and solder all joints using a propane torch and lead-free solder.

Test for Leaks
20 minsOnce the soldered joints have completely cooled, reinstall the valve cartridge. Make sure the valve is in the 'off' position. Go to the main shut-off valve and turn the water back on slowly. Return to the shower and meticulously inspect every new pipe connection and solder joint for any signs of dripping or weeping water. Use a flashlight for a clear view. If a leak is found, you must shut off the water, drain the system, and re-solder the faulty joint. Once you're confident there are no leaks, turn the valve on to test both hot and cold water flow and the diverter function.

Repair the Wall
45 minsWith the plumbing confirmed to be leak-free, you can now repair the wall. Cut a piece of cement backer board to perfectly fit the access hole you created. Secure the patch to the wood studs or blocking using corrosion-resistant backer board screws. Apply fiberglass mesh tape to all the seams between the patch and the existing wall. Use a trowel to apply a layer of thin-set mortar over the tape and the entire patch, feathering the edges to make it flush with the surrounding backer board. Allow the mortar to cure fully as per the product's directions before proceeding to tile.

Install New Trim Kit
30 minsAfter the wall is repaired and retiled (or if you are using a remodel plate over the existing wall), install the final trim. Slide the large escutcheon or remodel plate over the valve, pressing it flush against the wall. Install the handle onto the valve stem, tightening the set screw with an Allen wrench. Reinstall the shower arm and showerhead using new Teflon tape on the threads. To create a watertight seal, apply a neat bead of 100% silicone caulk around the entire perimeter of the escutcheon plate where it meets the wall. Smooth the bead with a wet finger for a clean finish.
Common Problems
Use caution with the utility knife to avoid scratching the finish of the plate or the shower surround.
Solution: To avoid this issue: Be mindful of this warning and take appropriate precautions.
Lost screws down the drain.
Solution: Place a rag over the drain to catch any dropped screws.
Ensure the shower arm is angled correctly downwards before final tightening.
Solution: To avoid this issue: Be mindful of this warning and take appropriate precautions.
Leaking pipes due to improperly sealed threads.
Solution: Wrap Teflon tape 3-4 times in a clockwise direction. Wrapping it this way prevents the tape from unwrapping as you tighten the pipe.
Water damage behind the shower wall due to trapped moisture.
Solution: Leave the bottom of the escutcheon uncaulked to allow any water that gets behind it to drain out.
Caulk smears and sticks to fingers, ruining the seal.
Solution: The glass cleaner trick works because it acts as a lubricant, preventing the caulk from smearing or sticking to your finger.
Loose tub spout causes leaks behind the wall.
Solution: Properly securing the tub spout is critical. If it moves, it can break the seal behind the wall, leading to leaks.
Frequently Asked Questions
How difficult is it to convert a 3-handle shower faucet to a single-handle, and how much time should I allocate?
This project is rated 'intermediate' due to the need to open walls, modify existing plumbing lines, and ensure proper sealing. You should allocate at least 1-2 full days for the plumbing and wall repair steps, not including time for thinset curing or final trim installation. It's a significant undertaking requiring precision and patience.
Are specialized tools like the oscillating multi-tool with diamond blades truly necessary for this conversion?
Yes, an oscillating multi-tool with diamond blades (e.g., Milwaukee 49-25-2272 or Genesis GAPCS353) is highly recommended. These tools allow for clean, precise cuts through existing tile, grout, or cement board to access the plumbing behind the wall. Using them significantly streamlines the process, reduces damage to surrounding areas, and is often more efficient than traditional methods.
What are the most critical safety precautions to take when opening walls and modifying plumbing lines?
Always shut off the main water supply to your home before starting any plumbing work and verify with a faucet. Wear appropriate personal protective equipment (PPE), including safety glasses, work gloves, and a dust mask, especially when cutting walls or pipes. Before cutting into walls, use a stud finder and be mindful of potential electrical lines or hidden pipes.
What are the most common pitfalls during this conversion, especially regarding leaks, and how can I avoid them?
The most common mistake is improper pipe connections (soldering, PEX crimping), leading to leaks. Ensure all connections are clean, dry, and properly sealed before testing the system under pressure. Another pitfall is inadequate support for the new valve body; secure it firmly to framing using mounting brackets to prevent future movement and leaks. Always perform a thorough leak test before closing up the wall.
Can I use regular drywall for the wall repair around the new shower valve instead of cement board?
No, it is critical to use cement board, like the James Hardie HardieBacker 220023, in wet areas like showers. Regular drywall will quickly degrade when exposed to moisture, leading to mold, mildew, and structural failure. Cement board provides a stable, water-resistant, and tile-ready substrate essential for shower environments.
Before I begin, how can I ensure my existing plumbing is suitable for a single-handle valve conversion?
First, identify your existing pipe material (copper, PEX, galvanized). Most can be adapted, but copper and PEX are generally easiest to work with. Ensure you have sufficient space behind the wall to accommodate the new valve body and make necessary pipe modifications without interfering with studs or other structures. Review the new valve's specific rough-in dimensions and requirements.
Beyond the valve itself, what are the hidden costs I should budget for when converting my shower faucet?
In addition to the new single-handle valve and trim kit, budget for essential materials like cement board, thinset mortar, fiberglass mesh tape, and potentially new piping and fittings (copper, PEX, or adaptors). Don't forget consumables like plumbing solder, flux, or PEX crimps. Consider potential rental costs for specialized tools if you don't own them, and unexpected wall repairs can also add to the overall expense.


