
How to Convert a 3-Handle Shower Faucet to a Single-Handle Valve
About This Project
This project involves the complete removal of an outdated three-handle (hot, cold, diverter) shower faucet system and replacing it with a modern, single-handle pressure-balancing or thermostatic valve. The process requires opening the shower wall, re-plumbing the hot and cold water lines to the new valve, installing the new valve body, testing the system, and then repairing the wall and installing the new trim kit.
Best for advanced DIYers and professionals with basic plumbing knowledge and familiarity with power tools. Requires Safety Glasses and HDX Dust Mask 5 Pack E101W and Sunnydaze Flaming Ball 30 in. x 36 in. Round Steel Wood Burning Fire Pit in Black with Cover KF-FBB.
Tools & Materials

Bucket
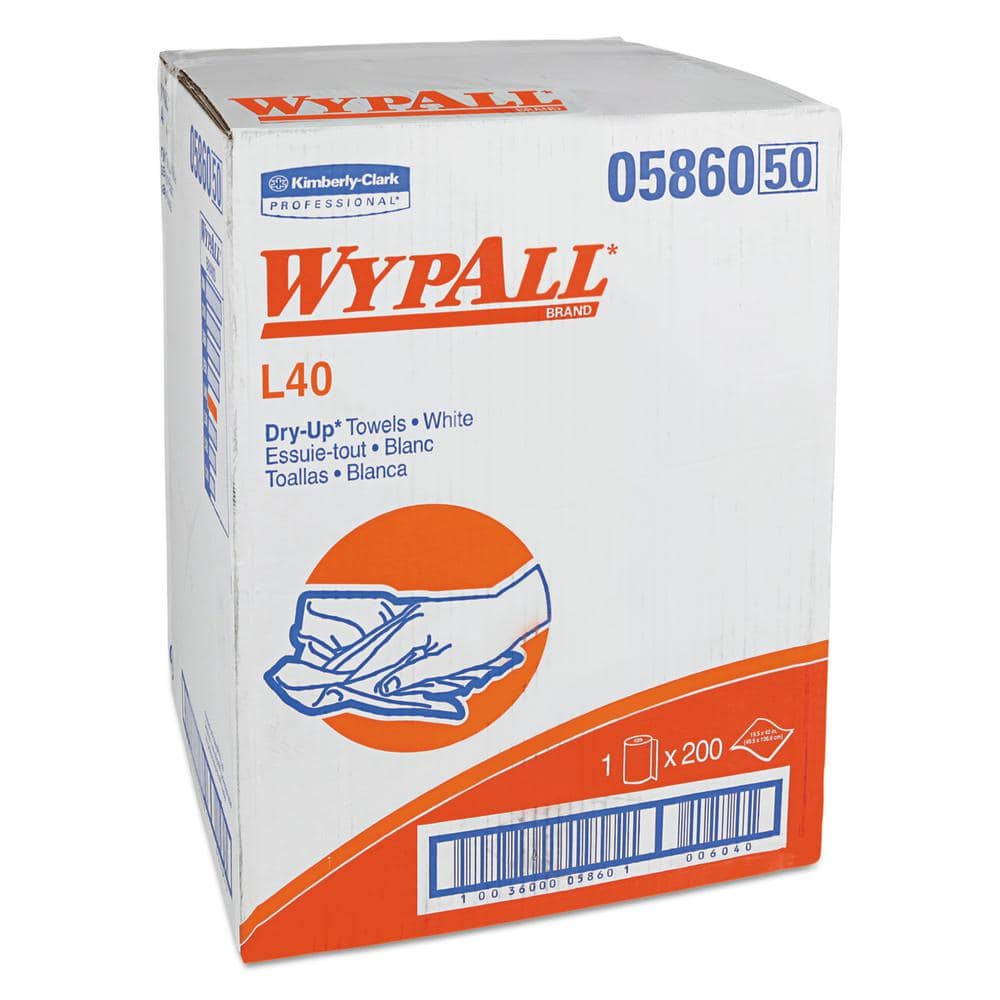
WYPALL L40 Towels, Dry Up Towels, 19-1/2 in. x 42 in., White, 200 Towels/Roll KCC05860
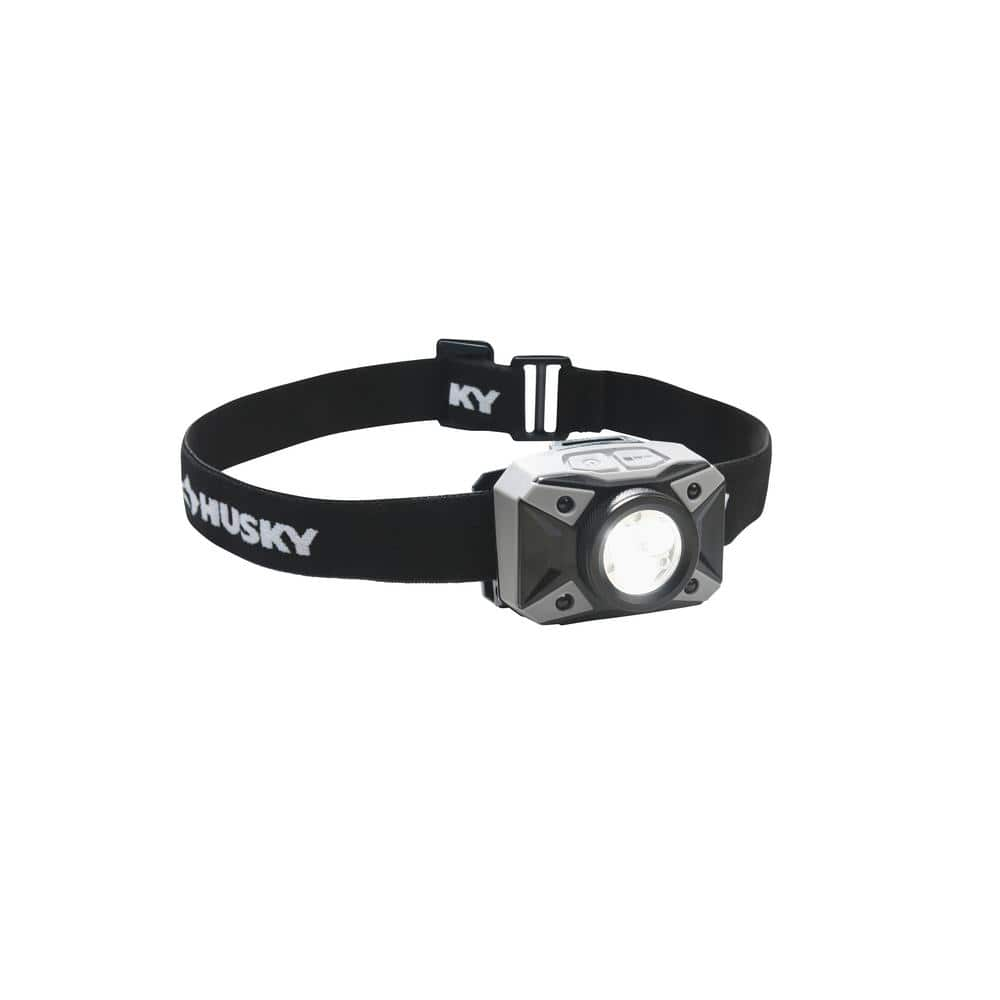
Husky 500-Lumens Dual Beam LED Headlamp 5 modes Impact and Water Resistant with Batteries HSK1PK500LHL

Anvil Phillips Screwdriver Set (8-Piece) 99673

Alpulon 3-Piece Cast Aluminum Patio Table Chairs Furniture Outdoor Bistro Set ZMWV295
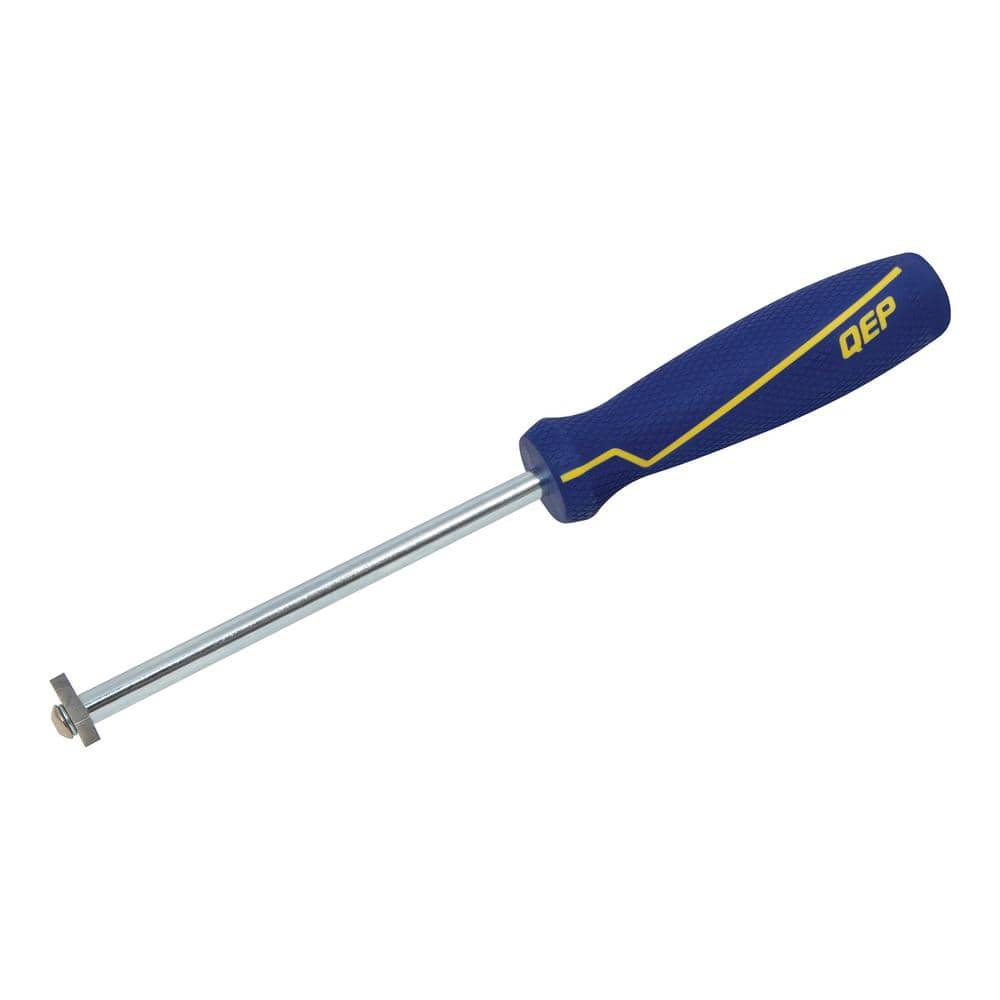
QEP Grout Removal Tool with 3 Durable Carbide Tips 10020
Bucket
Ideal for carrying or storing liquids.
WYPALL L40 Towels, Dry Up Towels, 19-1/2 in. x 42 in., White, 200 Towels/Roll KCC05860
WYPALL L40 Wipers are effective wipers that absorb liquids lightning-fast. These wipes are made of bonded cellulose using DRC (double re-creped) technology for strength, softness and absorbency. As a wiping cloth, it soaks up liquids fast, but all you'll feel is softness, thanks to a plush, touchable outer layer. In fact, it's a popular choice for patient wiping in healthcare industries, for bathing and patient drying. These utility wipes are specially designed to absorb liquids, lubricants and oils (in restaurants for wiping counters, in mechanic shops, industrial and commercial factories and more), yet they're soft enough for use on face and hands. Experience the difference in superior absorbency and cleaning at your home or office today. Towel/Wipe Type: Dry Wipes; Application: Bathrooms; Material(s): Cloth-Like; Number of Plies: 1.
Husky 500-Lumens Dual Beam LED Headlamp 5 modes Impact and Water Resistant with Batteries HSK1PK500LHL
The husky 500-lumen dual beam LED headlamp offers both brightness and functionality. It is equipped with multi-color dual beams for any situation. The dual beam switches from flood to spot with a dual
Anvil Phillips Screwdriver Set (8-Piece) 99673
The ANVIL 8-piece Screwdriver Set includes 3 slotted screwdrivers, 3 Phillips screwdrivers and 2 offset screwdrivers. The ergonomic hexagonal handle shape provides additional torque and more comfort. These screwdrivers are the perfect assortment for any tool box.
Alpulon 3-Piece Cast Aluminum Patio Table Chairs Furniture Outdoor Bistro Set ZMWV295
Our bistro dining table sets are made of solid cast aluminum with a smooth surface that is waterproof and rust-resistant for extended use. An umbrella hole is designed in the middle of the table to protect
QEP Grout Removal Tool with 3 Durable Carbide Tips 10020
The QEP Grout Removal Tool is perfect for eliminating unwanted grout, thinset or mortar during tile installation. It features a comfortable grip to help reduce fatigue, even on large jobs. The head features
Steps

Shut Off Water and Prepare Workspace
15 minsThe first and most critical step is to ensure the water supply is completely turned off to prevent flooding. Locate the main water shut-off valve for your house, which is typically found in the basement, a crawl space, or near the water meter. Turn the valve clockwise until it stops. Then, open faucets at the highest and lowest points in your house to relieve pressure and drain the remaining water from the pipes. Place a bucket inside the tub or shower stall to catch any residual water that will drip out when you begin disassembling the old faucet.
Remove Old Trim and Access the Valve
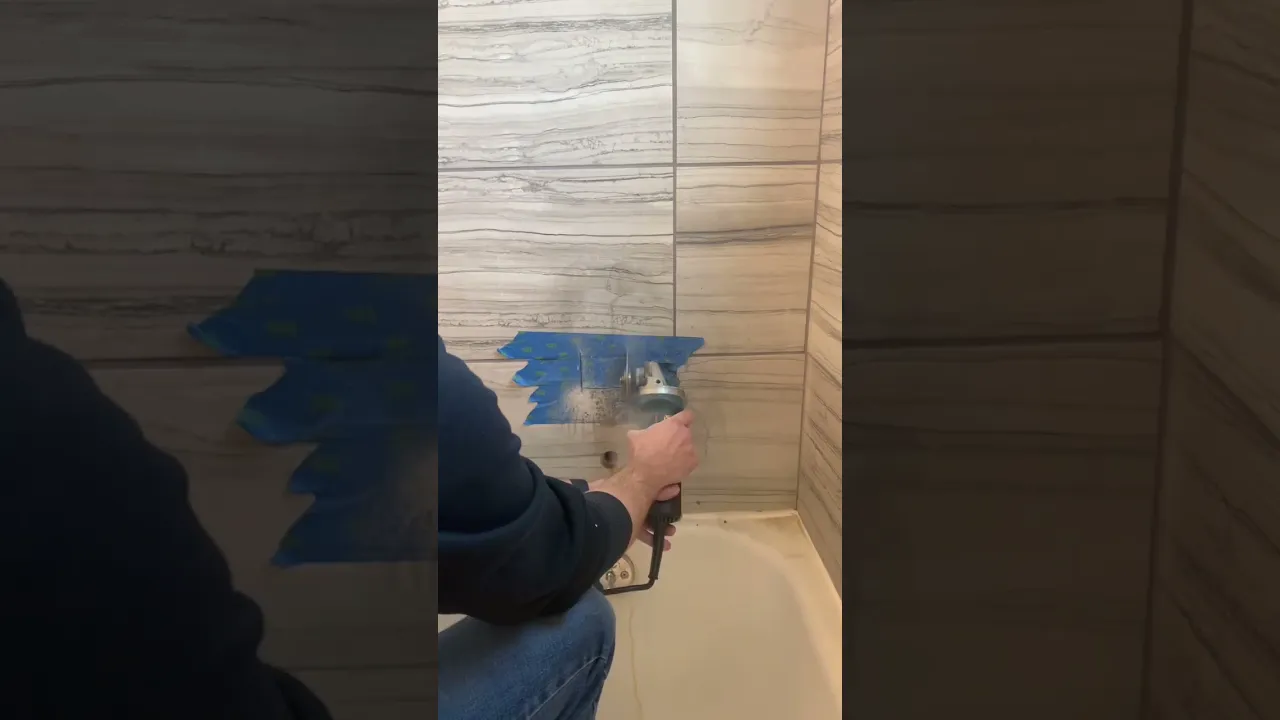
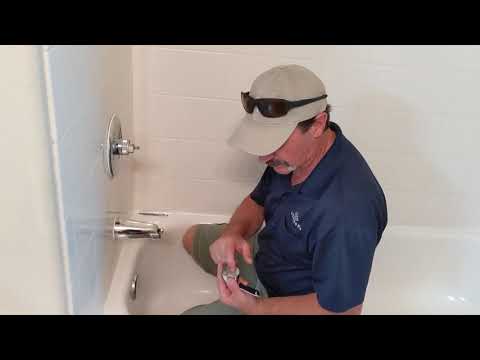
1 minFirst, remove the old faucet trim. This includes unscrewing the three handles and the escutcheon plates behind them. You may need a Phillips head or flathead screwdriver and possibly an Allen wrench. The tub spout might unscrew or have a set screw on the underside. Next, you must create an opening in the wall large enough to access and work on the valve body and pipes. For a tiled wall, use a grout removal tool to score the grout lines in a rectangular shape around the three valves. Then, use an angle grinder with a diamond blade or an oscillating multi-tool with a tile blade to carefully cut the tile and backer board along the scored lines. The opening should be large enough to comfortably fit your hands and tools, typically around 12 inches wide by 10 inches high. Wear safety glasses and a dust mask.

Cut Out and Remove the Old Valve
30 minsWith the valve exposed, you need to disconnect it from the house plumbing. You will see the hot and cold water supply lines connected to the bottom of the two outer valves, and two pipes coming from the central diverter valve: one going up to the shower head (shower riser) and one going down to the tub spout. Using a mini tubing cutter, cut the hot and cold copper pipes below the valve body. Then, cut the shower riser pipe above the valve body and the tub spout pipe below it. Once all four pipes are cut, the old valve assembly can be removed from the wall cavity. It may be screwed to a wood brace; if so, remove those screws.

Prepare Piping and Mount New Valve
1 minNow you must re-route the plumbing to fit the new single-handle valve. This is the most complex part. You will need to use new sections of copper pipe and various fittings (like 90-degree elbows) to bring the hot and cold lines from their original wide positions to the narrow inputs on the new valve. Use a tape measure to determine the lengths of pipe needed. Dry-fit all your new pipe pieces and fittings first to ensure everything lines up correctly. The new valve must also be mounted securely to a new wood brace (e.g., a 2x4) placed between the wall studs. Crucially, you must follow the manufacturer's instructions for the valve's 'setback'—the distance from the front of the valve to the front of the finished wall. A plastic depth guard is often included with the new valve for this purpose.

Solder the New Connections
1 minOnce everything is dry-fitted, disassemble the connections. Thoroughly clean the outside of the pipe ends and the inside of the fittings using a pipe cleaning brush and emery cloth until the copper is shiny. Apply a thin layer of water-soluble flux to all surfaces to be joined. Reassemble the pipes and fittings. Using a propane or MAPP gas torch, heat the joint evenly. When the flux sizzles, touch the lead-free solder to the opposite side of the joint from the flame. The heat will draw the solder into the joint, creating a seal. You will see a silver ring appear when the joint is full. Repeat for all connections: hot in, cold in, shower riser out, and tub spout out. Use a flame shield to protect the wood framing from the torch flame. Make sure the valve's cartridge is removed before soldering, as the heat can damage it.

Test for Leaks
30 minsThis is a moment of truth. Re-install the valve cartridge that you removed before soldering. Ensure the test cap that came with the valve is securely installed on the valve body. Slowly and carefully, turn the main water supply back on. Return to the shower and meticulously inspect every single soldered joint for any signs of dripping or moisture. Use a dry paper towel to wipe each joint, which will make even the smallest drop of water visible. Check the hot, cold, shower riser, and tub spout connections. If you find any leaks, you must shut off the water, drain the system, and re-solder the leaking joint.

Repair the Wall
1 minOnce you are 100% certain there are no leaks, you can repair the wall. You cannot simply re-install the tile you removed, as the new faucet trim (escutcheon) is much smaller than the hole. This is where a 'Remodel Plate' (also called a 'Goof Plate' or 'Smitty Plate') is essential. It's a thin piece of stainless steel or plastic that is larger than your hole but smaller than the new decorative escutcheon will cover. You will install a new piece of moisture-resistant drywall or cement board to patch the majority of the hole, leaving an opening for the valve. Then, apply a waterproof membrane over the patch. The remodel plate is then installed over this, providing a solid, flat surface. Finally, you can tile over the patch and plate, or if using a very large plate, seal it directly to the surrounding tile with 100% silicone caulk.

Install New Faucet Trim
30 minsWith the wall repaired and sealed, you can install the final trim pieces. Remove the test cap and plastic depth guard from the valve. Slide the trim sleeve (if included) over the valve body, followed by the large decorative escutcheon plate. Seal the top and sides of the escutcheon with a bead of silicone caulk, but leave a small gap at the very bottom to allow any water that gets behind it to escape. Attach the handle according to the manufacturer's instructions; this usually involves a small set screw. Finally, screw on the new shower head (use Teflon tape on the threads of the shower arm) and install the new tub spout. If it's a slip-on type, slide it on and tighten the set screw. If it's a screw-on type, apply Teflon tape to the pipe threads and screw it on tightly. Turn the water on and test the function of the handle, diverter, shower head, and tub spout.
Common Problems
Difficulty accessing and replacing the old shower valve without an access panel.
Solution: Having an access panel simplifies the removal of the old valve and installation of the new one immensely.
Lost screws and small parts during disassembly will halt your project.
Solution: Keep all screws and small parts in a container so they don't get lost.
Small parts get lost during faucet conversion.
Solution: Place all small parts like screws and the handle cap in a safe place, such as a small bowl or the sink drain (with the stopper closed), to avoid losing them.
Use caution with the utility knife to avoid scratching the finish of the plate or the shower surround.
Solution: To avoid this issue: Be mindful of this warning and take appropriate precautions.
Lost screws down the drain during faucet conversion.
Solution: Place a rag over the drain to catch any dropped screws.
Failure to remove the valve cartridge before soldering will result in melting the internal components, destroying the valve.
Solution: To avoid this issue: Be mindful of this warning and take appropriate precautions.
Soldering creates high heat and fumes. Work in a well-ventilated area and use proper safety gear, including gloves and safety glasses. Keep a fire extinguisher nearby.
Solution: To avoid this issue: Be mindful of this warning and take appropriate precautions.
Frequently Asked Questions
How difficult is it to convert a 3-handle shower to a single-handle, and what kind of time and cost commitment should I expect?
This is an intermediate-level plumbing project that requires opening the wall, re-plumbing, and soldering, making it more involved than simple fixture replacement. Expect it to take a dedicated DIYer 1-2 full days, allowing for unforeseen issues, drying times for wall materials, and thorough testing. Costs can vary significantly based on the new single-handle valve kit's brand and features, plus materials for wall repair.
What specialized tools or skills are absolutely essential for this conversion beyond basic hand tools?
You will need plumbing skills like soldering copper pipes, which requires a propane torch, solder, and flux, along with a tube cleaning brush. An oscillating multi-tool is invaluable for cleanly cutting out the old valve and opening the wall. For wall repair, especially if tiled, a diamond saw blade for cutting cement backer board is necessary, along with general tools for finish work.
What are the most important safety precautions to take when undertaking this plumbing and wall modification project?
Always shut off the main water supply to your home before starting any plumbing work to prevent flooding. When soldering, ensure proper ventilation, have a fire extinguisher nearby, and use heat shields to protect surrounding studs and wiring from the torch flame. Wear appropriate personal protective equipment, including safety glasses and gloves, especially when cutting walls or handling pipes.
What are common mistakes DIYers make during the re-plumbing and soldering phase, and how can they be avoided?
A common mistake is inadequate pipe preparation before soldering, which can lead to leaks; ensure all pipe ends are thoroughly cleaned with a tube cleaning brush and sandpaper, then apply flux evenly. Another error is applying too little or too much heat during soldering, so practice on scrap pieces to achieve strong, leak-free joints. Double-check all connections before turning the water back on.
After installing the new valve, what should I consider when repairing the shower wall to ensure it's waterproof and durable?
Proper waterproofing is critical to prevent mold and structural damage. Use a cement backer board, such as HardieBacker with HydroDefense Technology, and seal all seams and screw heads with alkali-resistant mesh tape and thin-set mortar or a liquid waterproofing membrane. Ensure the wall surface is plumb and level for proper tile installation, if applicable, to create a lasting finish.
Why is a pressure-balancing or thermostatic valve recommended for this upgrade, and are there alternatives to extensive re-plumbing?
Pressure-balancing or thermostatic valves maintain a consistent water temperature, preventing sudden scalding or freezing when other fixtures are used, thus providing a safer and more comfortable shower. Unfortunately, converting from a 3-handle system almost always requires opening the wall and re-plumbing due to the fundamentally different valve body designs and pipe configurations. There isn't a simple 'adapter' for this type of conversion.
When is the best time to test for leaks, and what is the recommended procedure after the new valve is installed?
The most crucial time to test for leaks is immediately after all new plumbing connections are soldered and the valve is mounted, but *before* you repair and close up the wall. Slowly turn the main water supply back on, then thoroughly inspect every new joint for any signs of drips or wetness. Operate the new faucet through all its hot, cold, and mixed settings to ensure all connections hold under pressure.


