
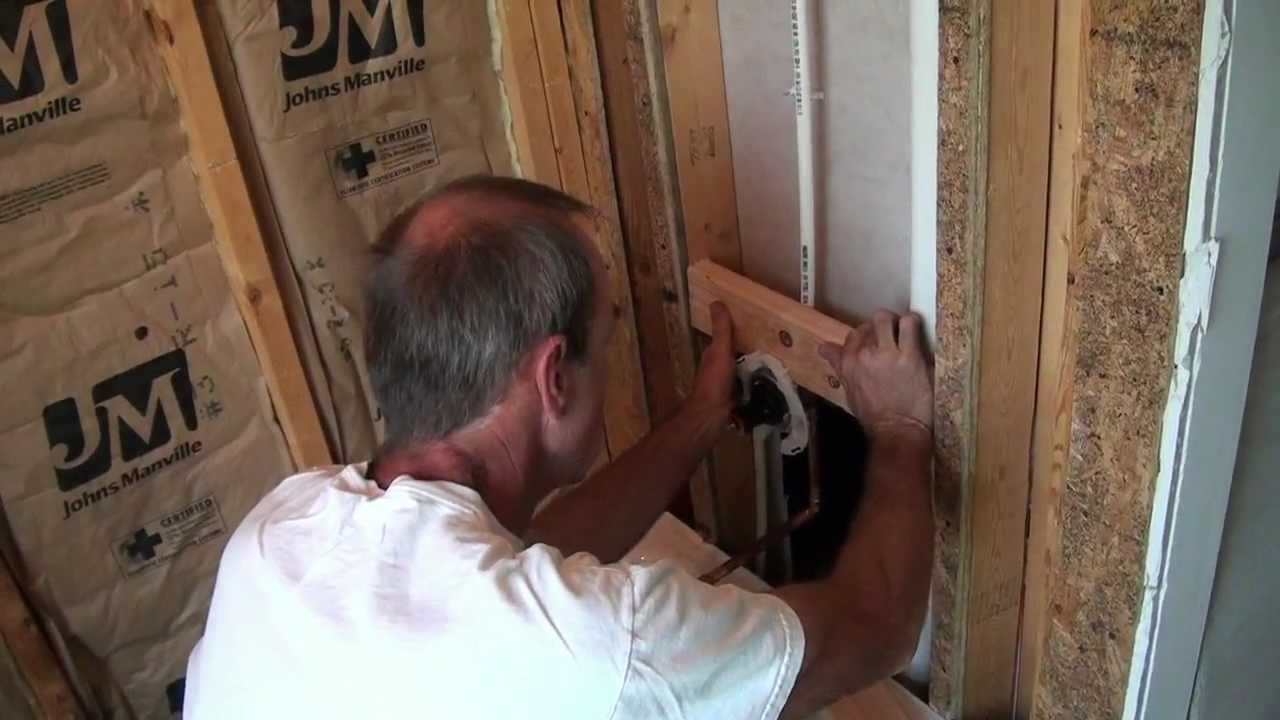
How to Convert a 3-Handle Shower Faucet to a Single-Handle Valve
About This Project
This project involves the complete removal of an outdated three-handle shower faucet system and replacing it with a modern, single-handle pressure-balancing valve. The process requires accessing the plumbing within the wall, cutting and re-routing the hot and cold water supply lines, installing new structural support for the valve, connecting the new valve, and then repairing the wall opening before installing the new trim.
Best for advanced DIYers and professionals with basic plumbing knowledge and familiarity with power tools. Requires Fire Gone 16 oz. A:B:C Multiple Use Fire Extinguisher Spray Suppressant fg-007-102 and Safety Glasses and HDX N95 Disposable Adult Respirator Mask (10-Pack) H950.
Tools & Materials
Bucket
RSI 7.8 ft. x 12 ft. Blue 88% Shade Protection Knitted Privacy Cloth PF-812-BLUE
Husky Pro Utility Knife 00004
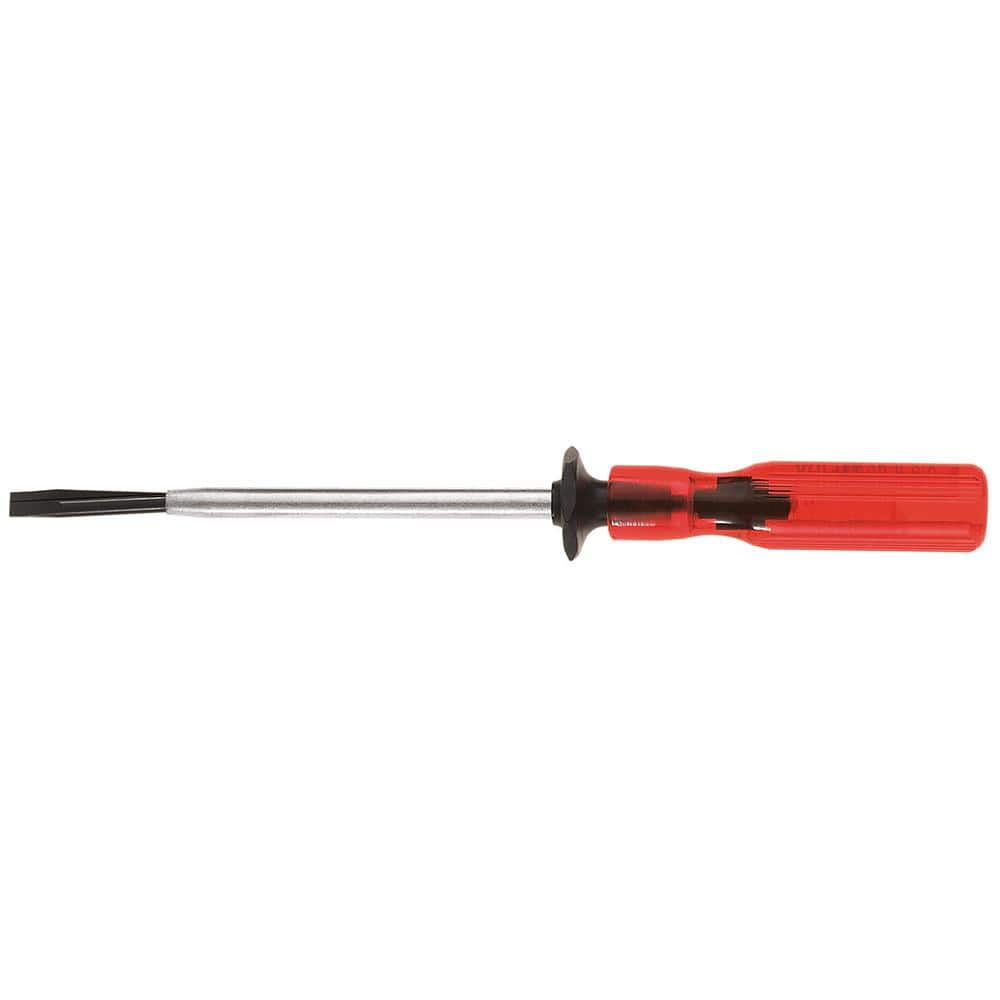
Klein Tools 3/16 in. Slotted Screw-Holding Flat Head Screwdriver with 3 in. Round Shank K23
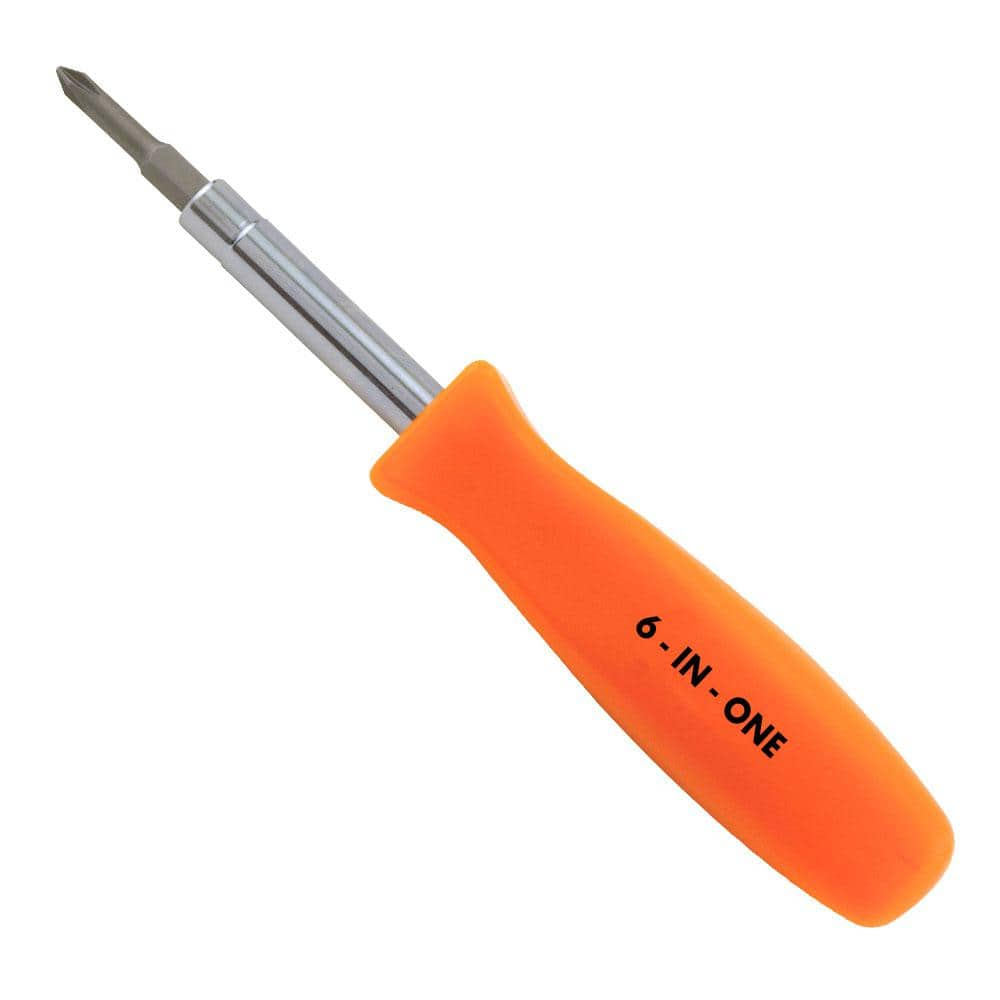
HDX 3-1/4 in. 6-in-1 Screwdriver 120SD12D

DEWALT 1-1/2 in. Stud Finder DW0150
Bucket
Ideal for carrying or storing liquids.
RSI 7.8 ft. x 12 ft. Blue 88% Shade Protection Knitted Privacy Cloth PF-812-BLUE
The Riverstone line of privacy shade cloths is designed to offer easy to use, shade producing cloth that is UV stable and will last for several years in the hottest environments. All our knitted shade
Husky Pro Utility Knife 00004
Offering a precise cut every time, Husky Pro Folding Utility Knife lets you easily adjust the blade to multiple angles to tackle a wide range of jobs. Aluminum die casting handle with plastic spraying
Klein Tools 3/16 in. Slotted Screw-Holding Flat Head Screwdriver with 3 in. Round Shank K23
Getting that screw to stay put while you get it in place is much easier with Klein's Slotted Screw-Holding screwdriver. Positive gripping action holds, starts, and drives slotted screws in awkward, hard-to-reach
HDX 3-1/4 in. 6-in-1 Screwdriver 120SD12D
The HDX 3-1/4 in. 6-in-1 Screwdriver features double-sided bits with the four most common screwdriver tip styles, including a #1 Phillips bit, a #2 Phillips bit, a 3/16 in. flathead bit and a 1/4 in. flathead bit. Both ends of the shaft can be used as 1/4 in. nut drivers when the bits are removed, offering convenient, versatile use. The high-visibility orange handle makes the handy tool easy to find on a job site or in a toolbox.
DEWALT 1-1/2 in. Stud Finder DW0150
This Center Sensor Stud Finder has a detection depth of 1-1/2 in. for wood and metal. Traditional stud sensors locate the edge of the stud, but our new product locates the center for a more efficient read, even when held at an angle. Plus, it is constantly calibrating to save time during use. An audible alert and directional LED arrows clearly notify you once the stud is located and you can easily mark the center of the stud with the center marking channel.
Steps

Preparation and Water Shut-Off
15 minsThe first and most critical step is to ensure a safe work environment. Locate the main water shut-off valve for your home, typically found in the basement, a crawlspace, or near the water meter. Turn the valve clockwise until it is fully closed. To drain the remaining water from the pipes, open a faucet at the lowest level of your home (like a basement sink) and the shower faucet you are working on. Allow water to drain completely into a bucket. Lay down a drop cloth in the tub or shower base to protect the surface and catch debris.

Remove Old Faucet Trim
20 minsBegin by removing the external components of the old faucet. Use a utility knife to carefully score the caulk seal around the escutcheons (the trim plates behind the handles). The handles are typically held on by a small set screw, often hidden under a decorative cap that can be pried off with a small flathead screwdriver. Use an Allen wrench or screwdriver to loosen the set screw and pull the handle off. Once the handles are removed, unscrew the escutcheons. Finally, unscrew the shower diverter spout from the wall pipe.

Access the In-Wall Plumbing
75 minsTo replace the valve, you must create an opening in the wall. Use a stud finder to locate the studs on either side of the plumbing. Mark out a rectangular area large enough to comfortably work in and to fit the new valve body, typically about 12 inches wide by 10 inches high. Put on safety glasses and a dust mask. Use an angle grinder with a diamond blade to carefully cut through the tile along your marked lines. Then, switch to an oscillating multi-tool with a plunge-cut blade to cut through the cement backer board behind the tile. Carefully pry off and remove the cut section of tile and backer board to expose the old valve assembly and pipes.

Remove Old 3-Handle Valve Body
30 minsWith the valve exposed, identify the hot water pipe, cold water pipe, and the shower riser pipe leading up to the shower head. Using a compact tubing cutter, cut each of these three copper pipes, leaving several inches of pipe extending from the wall fittings to work with. If the old valve is secured to a wood block, unscrew it. Once the pipes are cut and any mounting screws are removed, the entire 3-handle valve assembly can be pulled out of the wall cavity.

Prepare for New Valve Installation
60 minsThe new single-handle valve requires a solid mounting point. Cut a piece of 2x4 or 2x6 lumber to fit snugly between the wall studs. Secure this wood blocking in place with wood screws, positioning it so the new valve will be centered in the opening and at the correct depth. The old hot and cold pipes are too far apart, so they must be re-routed. This involves cutting new short pieces of 1/2 inch copper pipe and using 90-degree copper elbows to bring the plumbing lines inward to align with the new valve's hot and cold inlets. Dry-fit all these pieces to ensure a perfect layout.

Install New Single-Handle Valve
60 minsThis is the most technical step. Start by thoroughly cleaning the ends of all copper pipes and the inside of all fittings using an emery cloth and wire fitting brush. Apply a thin layer of plumbing flux to all cleaned surfaces. Assemble the pipes and fittings onto the new valve body. Using a propane torch, heat each joint until it is hot enough to melt lead-free solder, allowing the solder to be drawn into the joint to create a permanent, watertight seal. Work quickly and confidently. Once all connections are soldered, mount the valve body to the wood blocking you installed, ensuring it is at the correct depth relative to the finished wall surface (use the plastic plaster guard included with the valve as a guide). The hot supply connects to the 'H' side, cold to the 'C' side, the top outlet goes to the shower riser, and the bottom outlet (for a tub spout) must be capped with a soldered cap or threaded plug if this is a shower-only installation.

Test for Leaks
15 minsBefore closing up the wall, it is imperative to test your work. Ensure the new valve is in the closed (off) position. Go back to the main water shut-off valve and turn it on slowly. Listen for the sound of pipes filling. Return to the shower and use a flashlight to meticulously inspect every single new solder joint and connection for any signs of moisture or dripping. Let the system sit under pressure for at least 10-15 minutes. If any leak is detected, shut off the main water supply again, drain the pipes, and correct the faulty joint.

Repair the Wall with a Remodel Plate
20 minsWith the plumbing confirmed to be leak-free, it's time to close the wall. The easiest method is to use a faucet remodel plate. These oversized escutcheon plates are specifically designed to cover the hole you created and the original locations of the old hot and cold handles. Apply a thick bead of 100% silicone caulk around the back perimeter of the remodel plate. Slide the plate over the new valve body and press it firmly against the tile wall. The pressure and the caulk will hold it in place and create a waterproof seal. The new faucet trim will further secure it later.

Install New Faucet Trim
20 minsThe final step is to install the decorative trim for your new single-handle faucet. Follow the manufacturer's specific instructions. This generally involves sliding a trim sleeve over the valve body, installing the main escutcheon plate (if separate from the remodel plate), attaching the handle adapter to the valve stem, and then securing the handle with a set screw. Apply plumber's tape to the threads of the shower arm before screwing on the new shower head. Your conversion is now complete.
Common Problems
Hold on to the valve when making the last cut so it doesn't drop.
Solution: To avoid this issue: Be mindful of this warning and take appropriate precautions.
Cutting too close to fittings when removing the old valve makes connecting the new one difficult.
Solution: For copper pipes, cut midway between the valve and any elbow fittings to leave enough pipe for the new installation.
Dripping water prevents proper soldering, leading to leaks.
Solution: If water is dripping, the pipe will not get hot enough to melt the solder. Ensure the system is fully drained.
Incorrect tub drop outlet size prevents the single-handle valve from functioning.
Solution: The tub drop outlet must be 1/2' copper pipe for the valve to function properly.
Improper valve placement can lead to showerhead height issues.
Solution: The center of the valve should be positioned 32 inches from the tub floor.
Rigid pipe connections make aligning hot, cold, and shower risers difficult.
Solution: Use half-inch copper slip couplings for the hot, cold, and shower riser connections to provide more flexibility during installation.
Incorrect pipe lengths or angles can lead to a misaligned or non-functional single-handle shower valve.
Solution: Temporarily placing the assembly against the wall before final installation can help confirm that all your pipe lengths and angles are correct.
Frequently Asked Questions
This project is rated 'intermediate' and 12 hours. What makes it so complex and time-consuming for a DIYer?
The complexity comes from accessing in-wall plumbing, which often requires opening up the shower wall, and then accurately cutting, re-routing, and connecting new hot and cold supply lines to the single-handle valve. The time includes not just the plumbing, but also crucial steps like structural support installation, rigorous leak testing, and repairing the wall opening before final trim installation.
I'm worried about cutting and soldering copper pipes for the new valve. Are there alternatives or specific safety precautions I should take?
Yes, if you're not comfortable with soldering, you can use PEX piping with crimp or expansion fittings, which might be easier for some DIYers to learn. If you do solder, ensure excellent ventilation, have a fire extinguisher nearby, and protect surrounding materials with a heat shield. Always wear appropriate safety goggles and gloves.
What's the most challenging part of accessing the in-wall plumbing, and how can I avoid damaging existing pipes or electrical wires?
The most challenging part is carefully opening the wall without hitting hidden pipes, electrical lines, or structural elements. Use a stud finder (like the DEWALT DW0150 listed) to identify framing and potential wiring paths, and make small exploratory cuts first. Always shut off water and power to the area before beginning work.
Why is it important that the new single-handle valve is a 'pressure-balancing' type, and what does it do?
A pressure-balancing valve is crucial because it maintains a consistent water temperature by compensating for sudden pressure changes in either the hot or cold water supply. This prevents scalding if someone flushes a toilet or freezing if another faucet is turned on. It's often required by plumbing codes for safety.
After installing the new valve, how can I ensure the wall repair looks good and is durable, especially if I don't want a visible patch?
For a seamless look, you'll need to cut and patch the drywall precisely, using drywall compound and sanding for a smooth finish, followed by painting or tiling. A remodel plate (like those often included with new shower trims) can offer a quicker, though sometimes visible, solution for covering the opening and securing the new valve trim if aesthetics aren't a top priority.
What are the most common mistakes DIYers make when converting a three-handle to a single-handle shower, and how can I prevent them?
Common mistakes include improper pipe connections leading to leaks, misaligning the new valve, and failing to adequately support the new valve within the wall. To prevent these, perform thorough dry-fits before making final connections, use a level to ensure the valve is plumb, and secure the valve firmly to blocking or a sturdy remodel plate to prevent movement.
Do I absolutely need all the specialized tools listed, such as a torch or an oscillating multi-tool, or can I rent or substitute some?
While owning these tools is convenient, you can often rent specialized items like a torch kit or a high-powered drill if you don't anticipate frequent use. For an oscillating multi-tool, a jab saw or drywall saw might suffice for initial cuts, but the multi-tool offers greater precision and versatility for various materials and tight spaces during wall repair and plumbing access.


