
How to Convert a 3-Handle Shower Faucet to a Single-Handle Valve
About This Project
This project involves the complete removal of an old three-handle shower faucet system and replacing it with a modern, single-handle pressure-balancing valve. The process requires opening the wall behind the faucet, modifying the existing copper plumbing by cutting and soldering, installing the new valve, and then repairing and finishing the wall before installing the new trim kit.
Best for advanced DIYers and professionals with basic plumbing knowledge and familiarity with power tools. Requires MCR Safety BearKat Safety Glasses MCSCRWBK110 and Flame King 340,000 BTU Propane Torch Self Igniting with Turbo Blast Trigger and Flow Valve YSN340K.
Tools & Materials

Unger 6 Gal. Heavy-Duty Plastic Bucket DB02
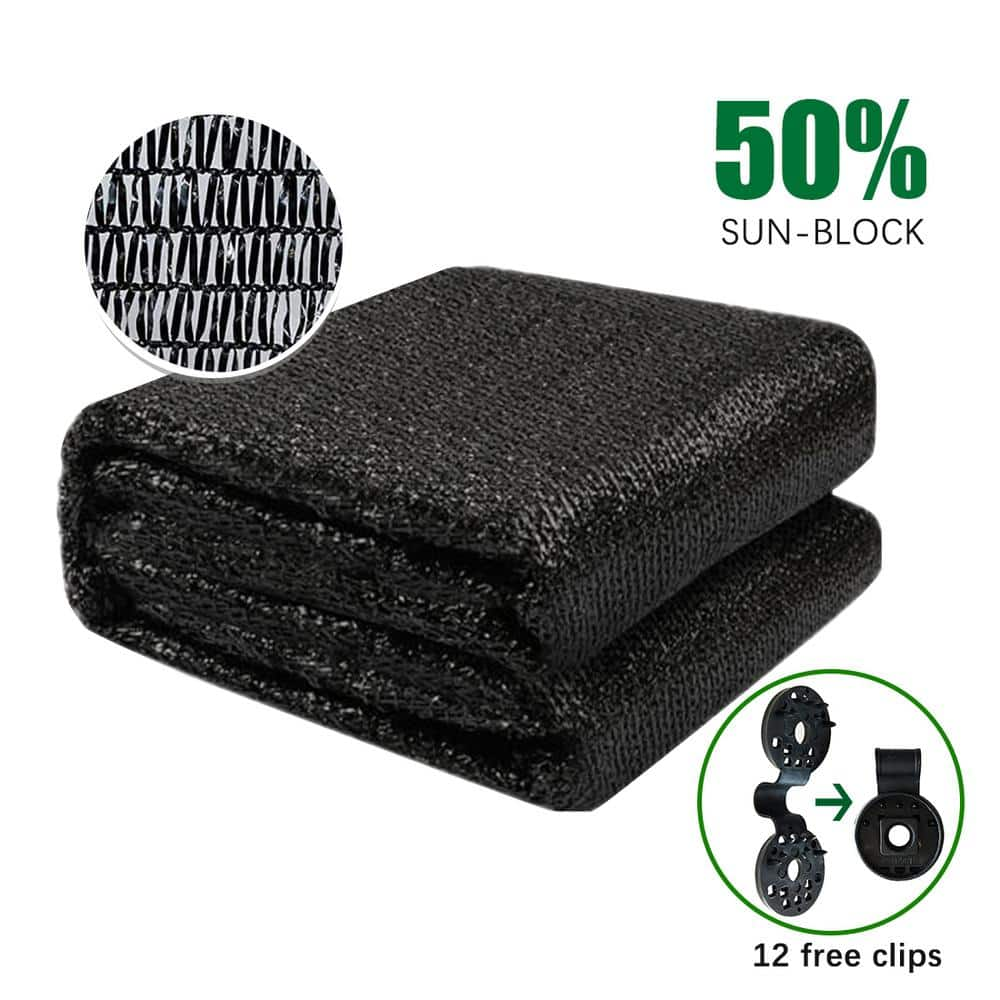
Agfabric 10 ft. x 20 ft. 50% Shade Cloth Sunblock Fabric Cut Edge with Free Cilps UV Resistant for Garden Plants Cover, Black E5SDR1020B
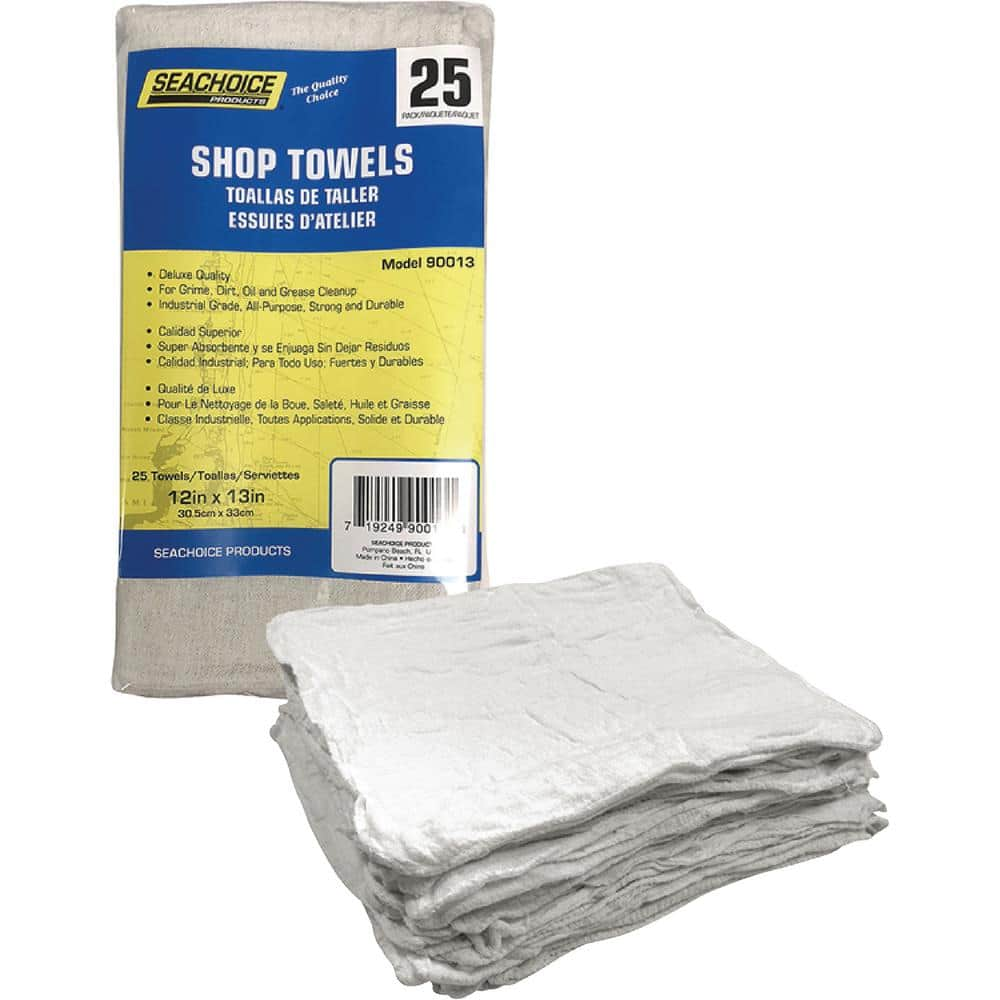
Seachoice Shop Towels, 25 per Bag 90013
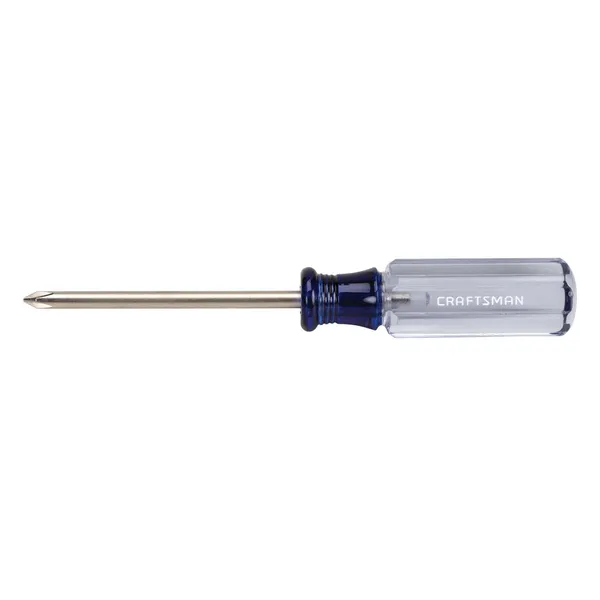
Phillips head screwdriver
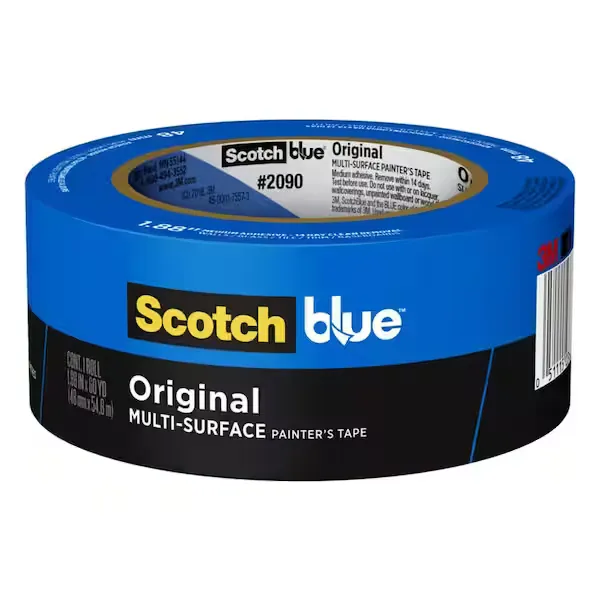
Painters Tape
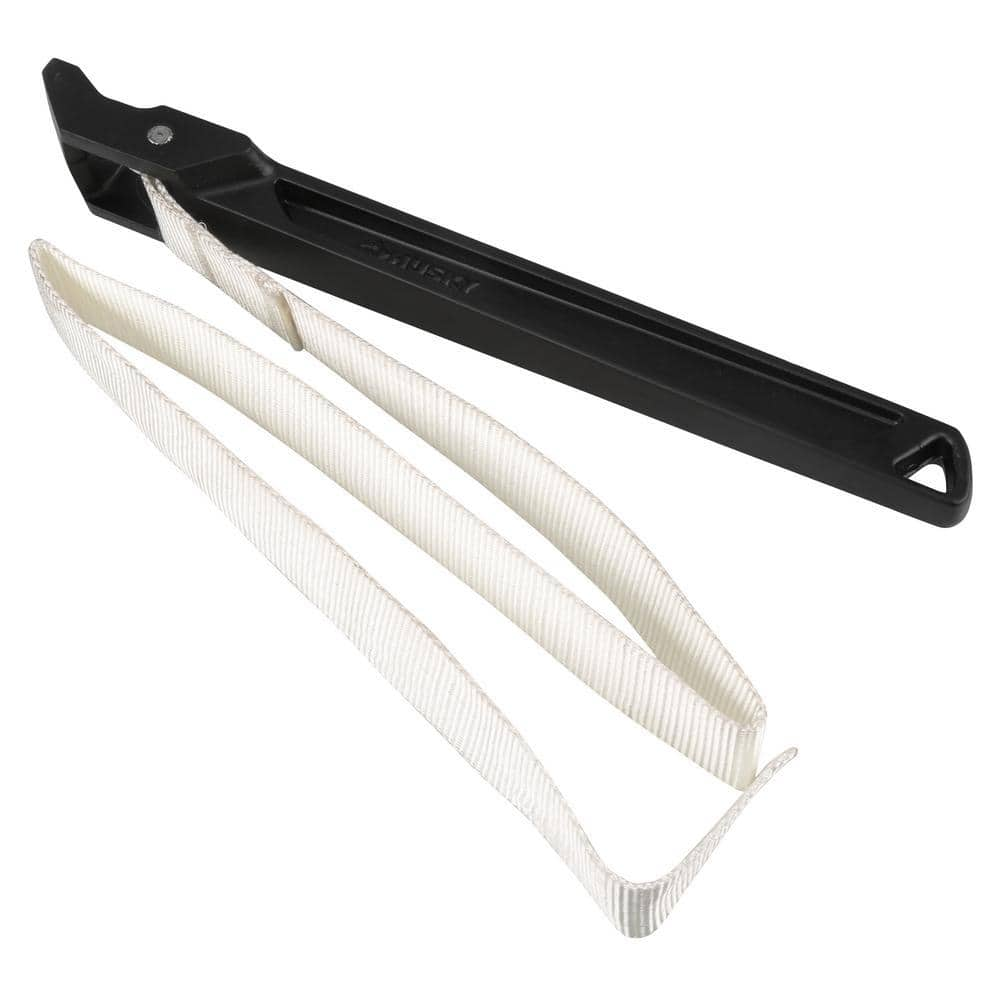
Husky 34 in. Strap Wrench with 3-1/2 in. Capacity 80-544-111
Unger 6 Gal. Heavy-Duty Plastic Bucket DB02
The Unger 6-Gallon Heavy-Duty Professional Cleaning Bucket holds more than 6 Gal. of liquid. The bucket can accommodate a scrubber up to 14 in. L. This bucket features measurement marks and 2-pour spouts
Agfabric 10 ft. x 20 ft. 50% Shade Cloth Sunblock Fabric Cut Edge with Free Cilps UV Resistant for Garden Plants Cover, Black E5SDR1020B
Black shade cloth adopt UV resistant material, lightweight and durable. 50% shade rate, mesh design, It will have no affect for photosynthesis. It is breathable and more suitable for blocking the sunlight
Seachoice Shop Towels, 25 per Bag 90013
Deluxe quality. For grime, dirt, oil and grease cleanup. Industrial-grade, all-purpose. Strong and durable.
Phillips head screwdriver
This is a type of screwdriver that has a cross-shaped tip.
Painters Tape
Masks areas for precision painting.
Husky 34 in. Strap Wrench with 3-1/2 in. Capacity 80-544-111
This 34 in. Strap Wrench boasts a woven polyester strap that provides a strong grip on polished pipe surfaces without marring or scratching. The wrench grips pipes up to 2 in. and tubes up to 3-1/2 in.
Steps

Preparation and Water Shut-Off
15 minsBegin by ensuring a safe and clean work environment. Locate the main water shut-off valve for your house and turn it completely off. To drain the remaining water from the system, open the faucet you are working on, as well as a faucet on a lower floor (like a basement sink). Place a protective drop cloth over the tub or shower floor to prevent scratches and to catch debris. Have a bucket ready to catch any residual water from the pipes.

Remove Old Faucet Trim
20 minsCarefully remove the existing faucet trim. This includes the hot handle, cold handle, and the central diverter handle. These are typically held on by a small set screw (requiring an Allen wrench) or a Phillips head screw hidden under a decorative cap. Once the handles are off, unscrew the surrounding trim plates, called escutcheons. Finally, unscrew the tub spout; you may need a strap wrench or pliers (with the jaws wrapped in tape to prevent scratching the finish) if it's tight.

Access the Plumbing
45 minsTo access the plumbing, you will need to cut an opening in the wall. First, use a stud finder to locate the studs on either side of the existing plumbing. Mark the area you need to cut. The opening should be large enough to comfortably work on the plumbing and will be centered on the valves. For a tiled wall, use an angle grinder with a diamond blade to carefully cut through the tile and grout along your marked lines. Then, switch to an oscillating multi-tool or drywall saw to cut through the drywall or cement board behind the tile. Be extremely careful not to cut too deep and damage any pipes or electrical wires inside the wall.

Remove Old Valve Body
30 minsWith the old valve assembly exposed, identify the hot and cold water supply lines and the shower riser pipe leading to the shower head. Using a tubing cutter, make clean, square cuts on these three pipes to disconnect the old valve body. A mini-tubing cutter may be necessary for pipes in tight spaces. Once the pipes are cut, carefully maneuver the old valve assembly out of the wall cavity.

Prepare for New Valve Installation
30 minsPrepare the cut ends of the existing copper pipes for the new valve. Use a deburring tool to smooth the inside and outside edges of the cut pipes. Then, use sand cloth or emery cloth to thoroughly clean the outside of the pipes until they are shiny. This is crucial for a good solder joint. Next, prepare a mounting support for the new valve. Cut a piece of 2x4 lumber to fit snugly between the wall studs. Secure this wood block in place with screws, positioned so the new valve will be at the correct height and depth as specified by the manufacturer's instructions.

Install New Single-Handle Valve
60 minsThis is the most critical step. First, remove the plastic cartridge from the new valve body to protect it from the heat of soldering. Secure the new single-handle valve to the 2x4 wood block. Dry-fit all the necessary 1/2 inch copper pipe pieces and fittings (like elbows and couplings) to connect the hot inlet, cold inlet, and shower riser outlet of the new valve to the existing pipes. The bottom outlet for the tub spout must be capped with a 1/2 inch copper cap, as single-handle valves typically use the same outlet for both tub and shower, controlled by the diverter on the tub spout. Once everything fits perfectly, disassemble, apply a thin layer of flux to all pipe ends and inside all fittings. Reassemble and use a propane torch to heat each joint, applying lead-free solder until it flows completely around the joint. Use a flame shield behind the pipes to protect the wood stud and block.

Test for Leaks
20 minsBefore closing the wall, you must test your work for leaks. Re-install the valve cartridge that you removed earlier. Go back to the main water shut-off and turn it on very slowly to allow the pipes to fill without causing water hammer. Return to the shower and carefully inspect every solder joint with a flashlight and a dry paper towel. Look for even the smallest drips. If a leak is found, you will need to shut the water off, drain the system, and re-solder the faulty joint.

Repair the Wall
20 minsOnce you have confirmed there are no leaks, you can close up the wall. The simplest method is to use a remodel plate or cover plate. These are specifically designed to cover the large opening and the old handle holes, providing a clean, finished look. Place the foam gasket (if included) on the back of the remodel plate, position it over the opening, ensuring the hole for the new valve stem aligns correctly. Secure the plate to the wall or to the wood blocking using the provided screws. Apply a bead of 100% silicone caulk around the entire perimeter of the plate to create a waterproof seal against the tile wall.

Install New Faucet Trim
30 minsThe final step is to install the new faucet's decorative trim. Slide the escutcheon plate over the valve stem and secure it to the valve body or remodel plate with screws. Install the handle onto the valve stem, securing it with its set screw. Next, wrap the threads of the shower arm with plumber's tape and screw it into the fitting in the wall. Attach the new shower head to the arm. Finally, apply plumber's tape to the threads of the tub spout pipe nipple and screw on the new tub spout. Turn on the water and test the function of the handle and the diverter on the tub spout.
Common Problems
Soldering creates high heat and open flames. Take extreme caution and have a fire extinguisher nearby.
Solution: To avoid this issue: Be mindful of this warning and take appropriate precautions.
Failure to remove the valve cartridge before soldering will result in melting the internal components, destroying the valve.
Solution: To avoid this issue: Be mindful of this warning and take appropriate precautions.
A jagged or uneven pipe end prevents the push-to-connect fitting from sealing, causing leaks.
Solution: A square cut is essential for ensuring the push-to-connect fitting seals properly.
Triple-check that the water is off before making any cuts.
Solution: To avoid this issue: Be mindful of this warning and take appropriate precautions.
Pipes are too far back for the saw blade.
Solution: A longer reciprocating saw blade can help reach pipes tucked deep inside the wall cavity.
Escutcheon plate warps or doesn't sit flush if screws are tightened unevenly.
Solution: Tighten the escutcheon plate screws alternately to ensure the plate sits flush against the shower wall without warping.
Threads may leak if plumber's tape unravels when screwing in the shower arm.
Solution: Wrap plumber's tape clockwise on the threads so it doesn't unravel when you screw the arm in.
Frequently Asked Questions
Given the 'intermediate' difficulty, what's the most challenging part of this conversion, and can I realistically finish it in 12 hours?
The most challenging aspects are accurately cutting and soldering copper pipes for the new valve, and then skillfully repairing the wall to a professional finish. While 12 hours is an estimate for experienced DIYers, expect it to take longer if you're new to soldering or drywall work, especially accounting for drying times for joint compound.
What are the essential safety precautions I must take when cutting and soldering plumbing, and opening up a wall?
Always shut off your home's main water supply completely before starting any plumbing work. When soldering, ensure good ventilation, wear eye protection, and keep a fire extinguisher nearby. Be extremely careful when cutting into the wall to avoid hidden electrical wires, gas lines, or other pipes.
The required tools list includes items like an awning and weatherstripping. Are these really necessary for this specific plumbing project?
Some items in the provided list, such as the awning, weatherstripping, and wall switch, appear to be irrelevant for converting a shower faucet. Focus on essential plumbing tools like a pipe cutter, reamer, soldering torch, copper fittings, flux, and solder, alongside basic carpentry tools for wall repair, and a drill/driver for mounting.
What's the most common mistake DIYers make when soldering copper pipes, and how can I avoid leaks?
A frequent mistake is not properly cleaning and fluxing the pipe ends and fittings before heating, which prevents a strong capillary bond. Ensure surfaces are shiny clean, apply flux evenly, heat the fitting (not the solder) until the solder flows into the joint, and avoid moving the joint until it cools to prevent pinhole leaks.
Are there any simpler, solder-free alternatives for connecting the new single-handle valve to existing copper pipes?
Yes, alternatives like 'SharkBite' push-to-connect fittings can provide a solder-free connection, often simplifying the process for beginners. While generally quicker, ensure they are compatible with your existing copper pipes and note they can be more expensive than traditional solder joints, though they offer convenience.
After opening the wall to access the plumbing, what's the best way to ensure the repair is strong and looks professional?
Cut the drywall neatly and frame out the opening with new 2x4 lumber for solid backing. Use drywall screws to secure new drywall patches firmly to the studs, then apply multiple thin coats of joint compound, sanding lightly between coats, to achieve a smooth, seamless finish before priming and painting to match the surrounding wall.


