
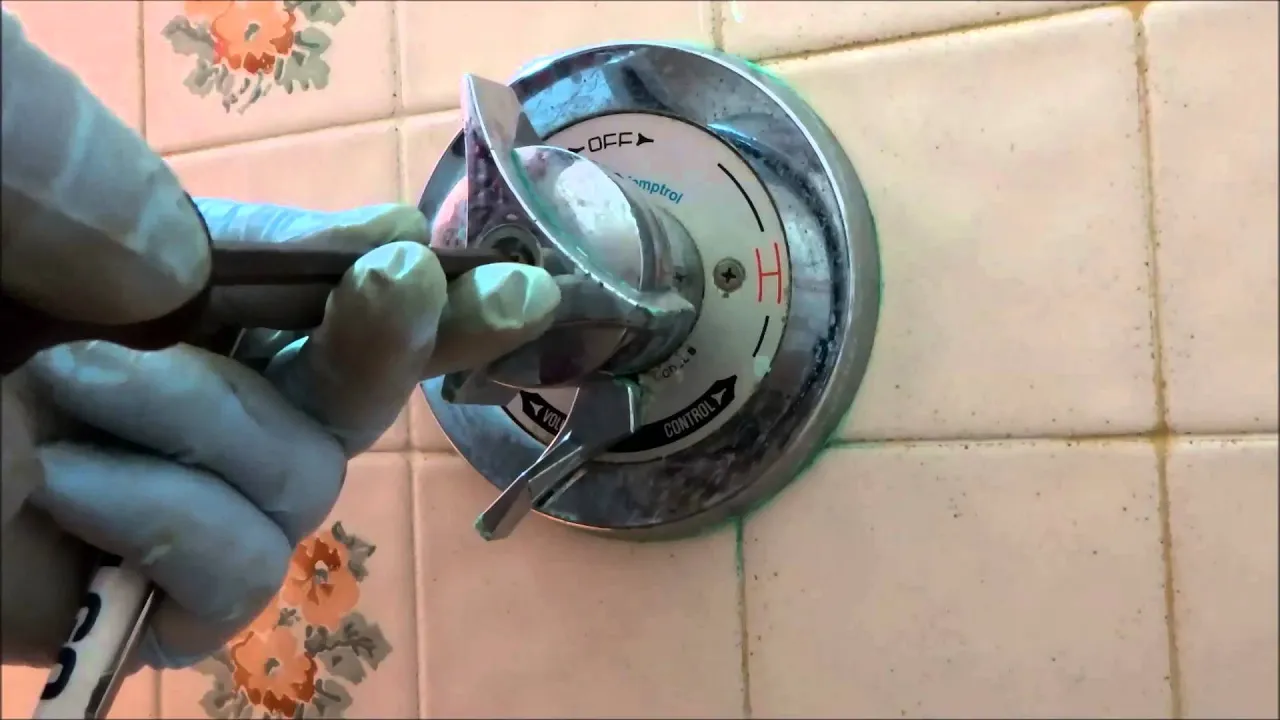
How to Convert a 3-Handle Shower Faucet to a Single-Handle Valve
About This Project
This project involves converting an older three-handle (hot, cold, and diverter) shower faucet system to a modern, more convenient single-handle, pressure-balancing valve. The process requires accessing the plumbing behind the shower wall, removing the old valve assembly, installing a new wood brace for mounting, connecting the new single-handle valve, testing for leaks, repairing the wall, and finally installing the new faucet trim kit.
Best for advanced DIYers and professionals with basic plumbing knowledge and familiarity with power tools. Requires Husky 4-in-1 Combination Water Meter Valve Tool, 10.4 in. Length 410-409-0111.
Tools & Materials
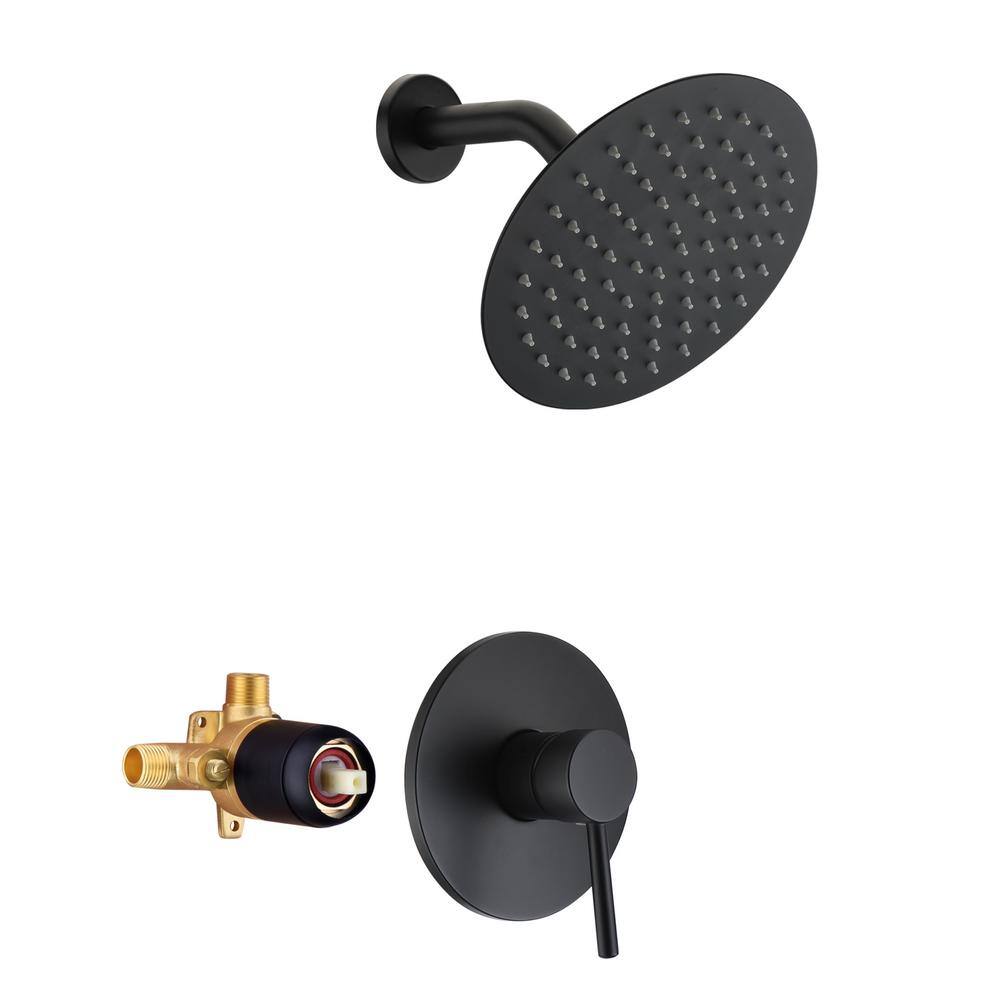
SUMERAIN Single Handle 1-Spray Shower Faucet 1.8 GPM with Pressure Balance in Matte Black (Valve Included) S3221DI-B-HD
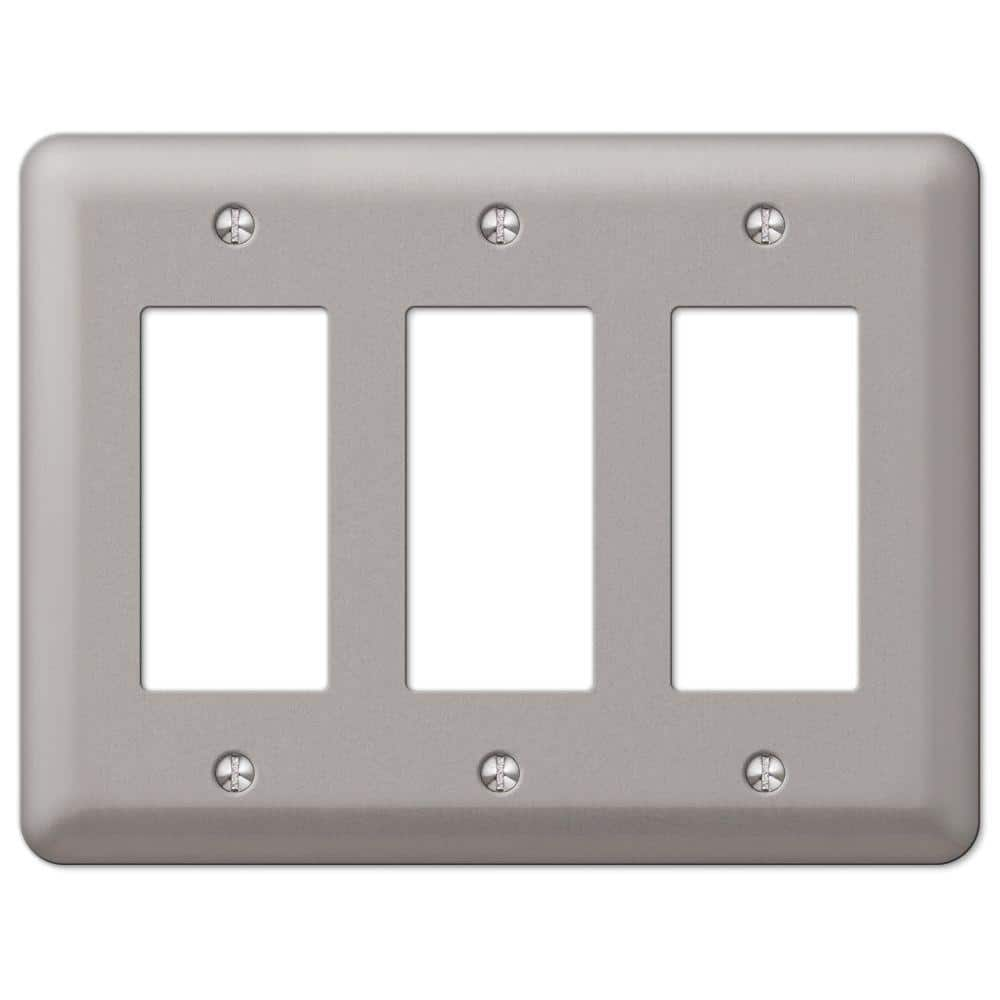
AMERELLE Declan 3 Gang Rocker Steel Wall Plate - Pewter 2RRRPW
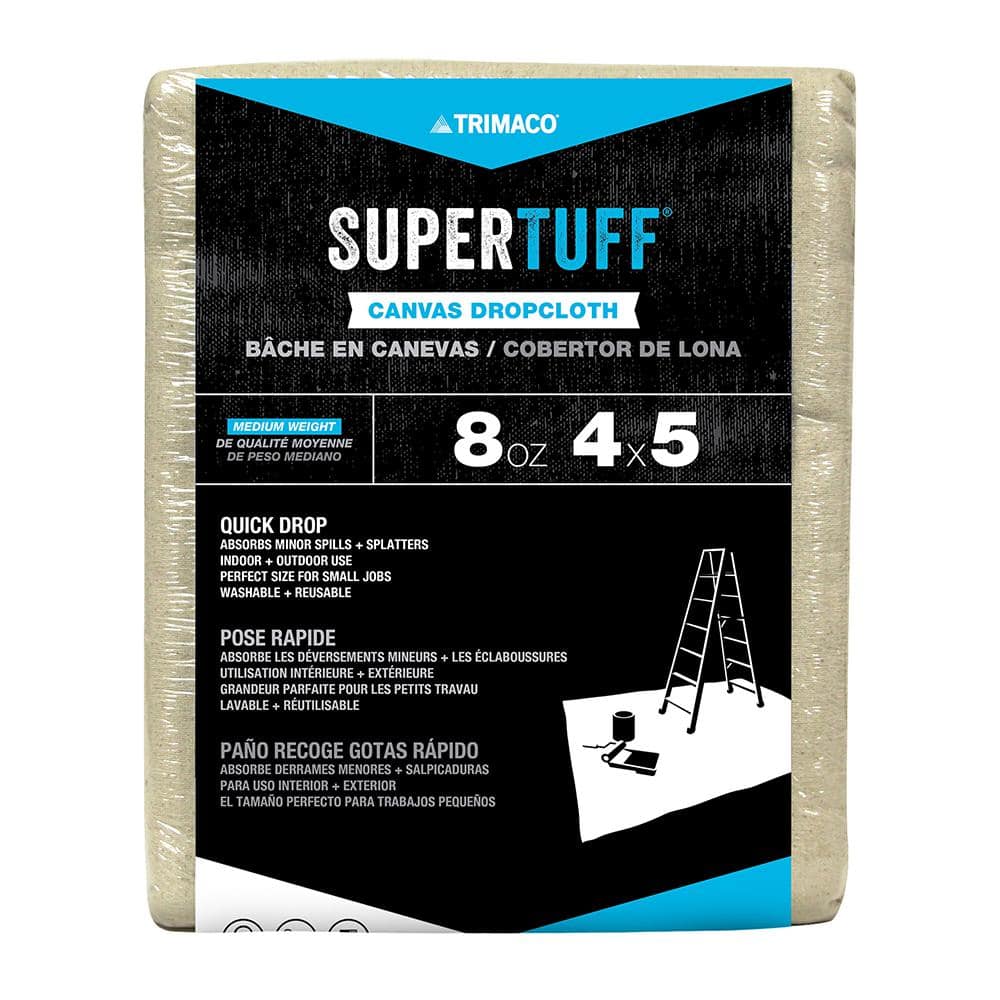
TRIMACO 8 oz. 4 ft. x 5 ft. Heavyweight Canvas Drop Cloth 58905
Husky 4-in-1 Combination Water Meter Valve Tool, 10.4 in. Length 410-409-0111
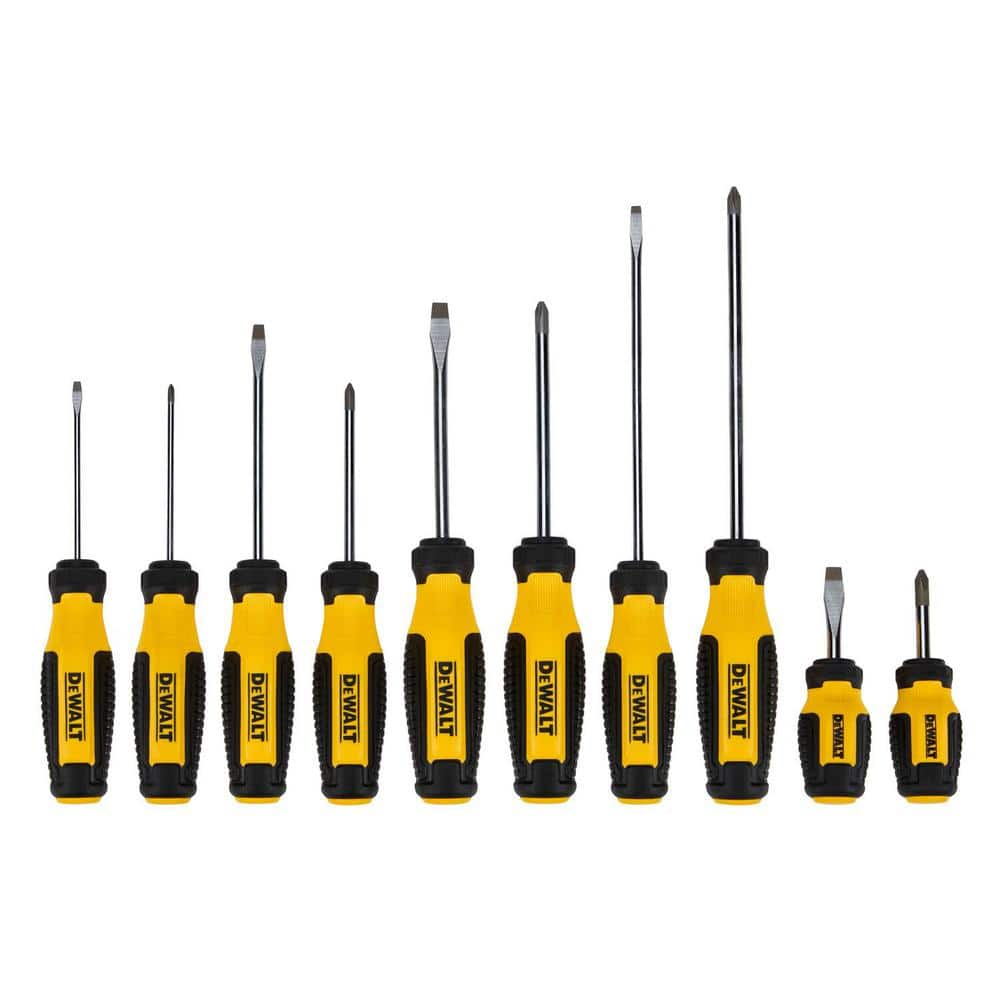
DEWALT Phillips Screwdriver Set (10-Piece) DWHT65201
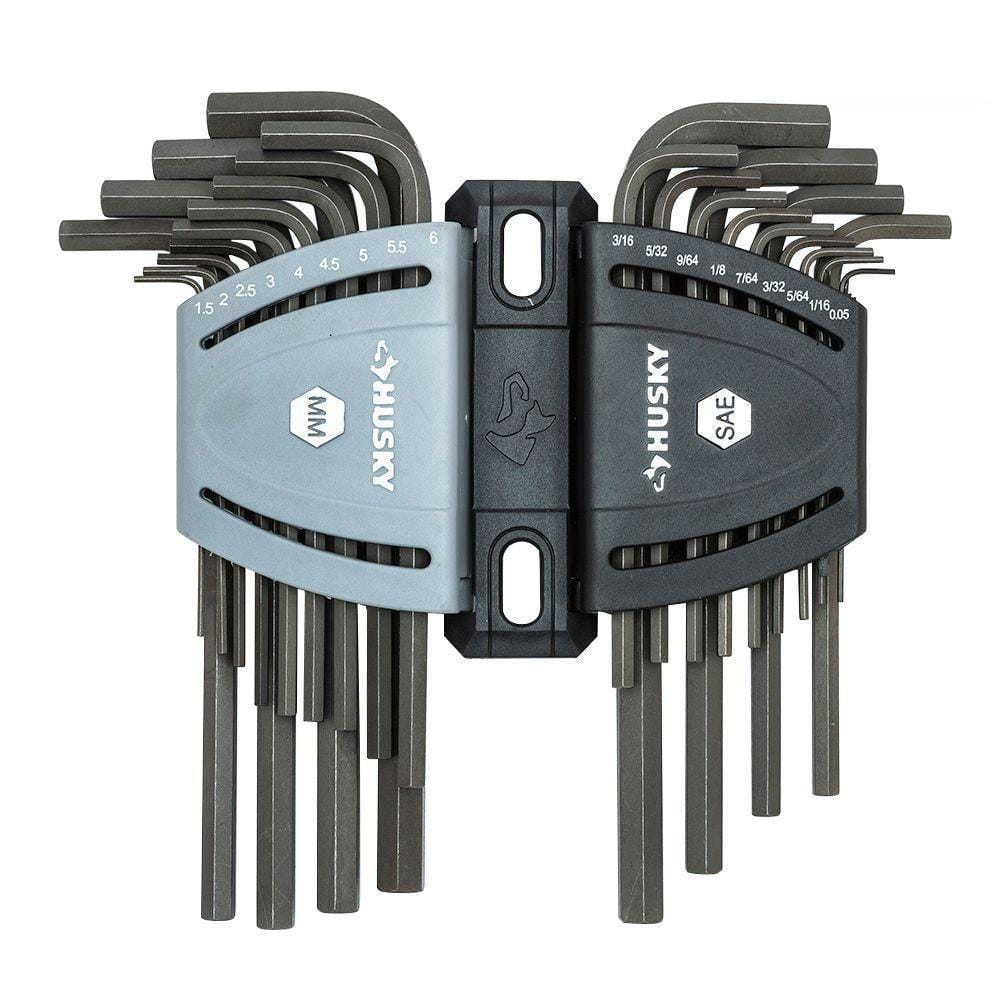
Husky SAE/Metric Long Arm Hex Key Set (26-Piece) HLAHKSM26PC
SUMERAIN Single Handle 1-Spray Shower Faucet 1.8 GPM with Pressure Balance in Matte Black (Valve Included) S3221DI-B-HD
With the clean lines and dramatic geometric forms, SUMERAIN pressure balance shower faucet brings a refreshed modern look to your home with simple lines and contemporary style. Classical and standard American rain shower system with the thickened solid brass cast valve and anti-scalding pressure balance cartridge, especially designed for American users. Rough-in valve with pressure regulating valves in its cold and hot water inlets, avoids the big pressure difference between cold and hot water, so the mixing water can be continuous supplied. Rain shower head with silicone nozzles allows you to wipe away mineral deposits with the swipe of a finger. Single lever handle for ease of temperature and flow control.Model: S3221DI-B-HDProduct Name: Pressure Balance Shower FaucetFinish: Matte BlackFeatures: Anti-scalding pressure balance cartridge Pressure regulating valves With non-return check valves.
AMERELLE Declan 3 Gang Rocker Steel Wall Plate - Pewter 2RRRPW
Manufactured by Amerelle, the leader in decorative wall plates and hardware. Made from durable stamped steel, this stylish wall plate does more than just cover electrical boxes, adding a simple elegance
TRIMACO 8 oz. 4 ft. x 5 ft. Heavyweight Canvas Drop Cloth 58905
Trimaco's 8oz SuperTuff Heavyweight Canvas Drop Cloth is super absorbent, washable and reusable. 8oz canvas dropcloths are great for painting, wallpaper removal, cleaning, furniture protection, leaf collecting
Husky 4-in-1 Combination Water Meter Valve Tool, 10.4 in. Length 410-409-0111
The 4-in-1 Combination Meter Valve Tool features four tools in one. The pry bar helps to loosen stuck valves or open water main covers. The built-in wrench can be used to shut off or turn on water main.
DEWALT Phillips Screwdriver Set (10-Piece) DWHT65201
The DEWALT 10 pieas. Screwdriver Set includes a variety of handle sizes and tip types to help you complete a number of fastening projects. The steel bars are chrome-plated for corrosion resistance, while
Husky SAE/Metric Long Arm Hex Key Set (26-Piece) HLAHKSM26PC
The Husky 26-Piece Hex Key Set includes 13 SAE and 13 Metric hex keys made from alloy steel for long-lasting wear. The hex keys feature a chamfered-end design to help guide the key into the fastener. The Allen wrenches resist rotational distortion and come in a variety of SAE and metric sizes. The finish provides resistance to corrosion while the included caddies help you keep them organized. Keys are also stamped with sizes for easy identification in your work environment. The two color coded caddies also connect so you can keep all of your Hex Keys in one place.
Steps

Preparation and Planning
30 minsBegin by shutting off the main water supply to your home to prevent any water flow. Open a faucet on a lower floor to drain any remaining water from the plumbing lines. Protect the shower or tub floor with old towels or a drop cloth. Gather all your tools, the new single-handle valve kit, and the remodel plate so they are readily accessible. Carefully review the instructions that came with your new valve, paying close attention to the required setback depth from the finished wall.
Accessing the Plumbing
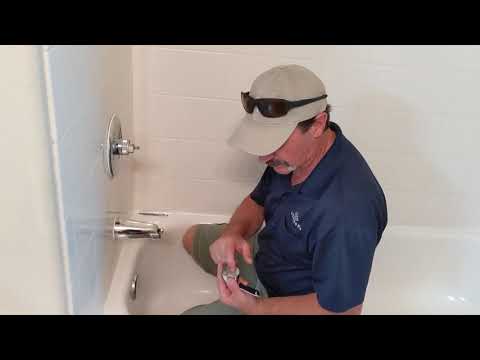
1 minStart by removing the old faucet handles, which are typically held on by a set screw or a screw under a decorative cap. Unscrew the surrounding trim plates (escutcheons). To access the valve body, you will need to cut into the wall. Use an oscillating multi-tool with a grout removal blade or diamond tile blade to carefully cut the grout around the tiles you need to remove. Pry off the tile, then cut through the backer board to create an opening large enough to work on the plumbing. The opening should ideally be covered by the new remodel plate.
Removing the Old Valve
30 minsWith the valve body fully exposed, identify the hot supply, cold supply, and the riser pipe going to the shower head. Use a compact tubing cutter to make clean cuts on the copper pipes, leaving enough pipe extending from the wall fittings for the new connections. You may need to use two pipe wrenches working in opposite directions to loosen any large threaded nuts holding the old valve body in place. Once all pipes are cut and connections are loosened, carefully maneuver the old three-valve assembly out of the wall cavity.

Installing a Mounting Brace
45 minsThe new single-handle valve requires a solid mounting surface. Measure the distance between the wall studs inside the wall cavity. Cut a piece of 2x4 or 2x6 lumber to fit snugly between them. This is called a stringer or cross-brace. Position the stringer at the correct height for your new valve and secure it by driving deck screws through the studs into the ends of the stringer. After the brace is installed, use a deburring tool and emery cloth to clean the inside and outside of the cut copper pipe ends. This is crucial for creating a leak-proof seal with the new fittings.
Installing the New Valve
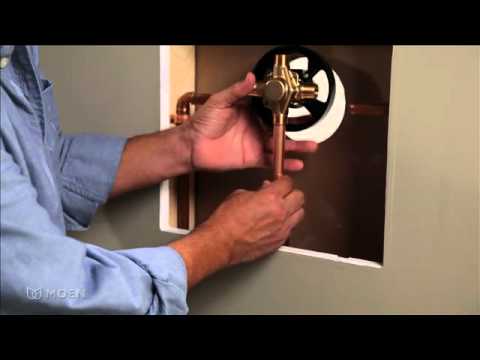
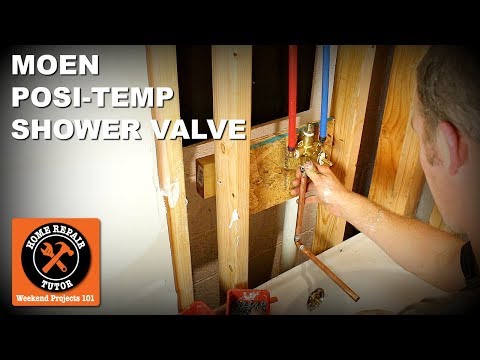
1 minSecure the new valve body to the wood brace using the provided mounting holes and screws. Now, reroute the plumbing. You will likely need short pieces of new 1/2-inch copper pipe and several push-to-connect fittings (like couplings and 90-degree elbows) to connect the existing hot, cold, and shower riser pipes to the new valve. Ensure the hot water line connects to the port marked 'H' and the cold water line connects to 'C'. Push the fittings firmly onto the cleaned pipes until they click or are fully seated according to the manufacturer's guide. If your valve has a tub spout outlet and you don't need it, make sure to cap it off as instructed. If you do have a tub spout, connect it now.

Leak Testing
30 minsBefore closing the wall, it is critical to test your work. Remove the faucet cartridge if required by the manufacturer for flushing, or leave it in if specified. Slowly turn the main water supply back on. Use a flashlight to meticulously inspect every new fitting and joint for any signs of dripping or seepage. Wrap a dry paper towel around each joint to reveal even the smallest leaks. Turn the valve on to pressurize the entire system, letting water flow through the shower head arm (cap it or attach the shower head). Turn the valve off and inspect all connections again. If a leak is found, turn off the water supply, relieve pressure, and remake the connection.
Wall Repair
2 minsWith the plumbing confirmed to be leak-free, you can now repair the wall. Cut a piece of cement backer board to fit the opening you created. Secure it to the studs and the wood brace using backer board screws. For a fully waterproof installation, apply a fiberglass mesh tape over the seams and cover them with a layer of thin-set mortar or apply a paint-on waterproofing membrane over the entire patch. Allow everything to cure completely according to the manufacturer's directions. This step provides the substrate for the remodel plate or new tile.

Installing the Trim Kit
30 minsOnce the wall repair is fully cured, you can install the final trim. First, slide the large remodel plate over the valve stem and center it to cover the old handle holes and your patch work. Next, slide the faucet's decorative escutcheon over the remodel plate and secure it to the valve. Install the valve cartridge if you removed it earlier. Attach the faucet handle, tightening it with its set screw using an Allen wrench. Wrap Teflon tape around the threads of the shower arm and tub spout pipe, then screw on the new shower head and tub spout. Apply a small bead of plumber's putty to the back of the tub spout flange before tightening it against the wall to create a seal.
Common Problems
Turn the water on slowly to avoid a sudden surge of pressure which could cause a leak at a loose connection.
Solution: To avoid this issue: Be mindful of this warning and take appropriate precautions.
Turn the water on slowly to avoid a sudden surge of pressure that could cause a weak connection to fail.
Solution: To avoid this issue: Be mindful of this warning and take appropriate precautions.
Do not forget to slide the escutcheon plate onto the shower arm before installing the shower head.
Solution: To avoid this issue: Be mindful of this warning and take appropriate precautions.
Water trapped behind the escutcheon plate can cause rot and mold.
Solution: Caulking only the top and sides of the escutcheon plate allows any water that gets behind it to drain out the bottom.
Leaking connections due to tape unwrapping during tightening.
Solution: Wrap Teflon tape 3-4 times in a clockwise direction. Wrapping it this way prevents the tape from unwrapping as you tighten the pipe.
Do not skip this step. Finding and fixing a leak after the wall is finished is significantly more difficult and expensive.
Solution: To avoid this issue: Be mindful of this warning and take appropriate precautions.
Water trapped behind the escutcheon can cause mold and damage.
Solution: Leave the bottom edge of the escutcheon plate unsealed to allow any water that gets behind it to drain out.
Frequently Asked Questions
Given the 16-hour estimate, what makes this an 'intermediate' project, and what are the primary challenges that could extend the time or increase the difficulty?
This project is intermediate primarily due to the plumbing work involved, requiring connections to existing water lines, and potentially soldering or using PEX/push-fit fittings. Accessing the plumbing behind the wall, precisely fitting the new valve, and ensuring watertight connections are critical. Unexpected issues like rerouting pipes, damaged studs, or matching existing tile for wall repair can also significantly increase complexity and time.
The tool list includes some unusual items; what are the absolute essential plumbing and demo tools I'll need for this conversion, beyond basic hand tools?
You'll definitely need a pipe cutter (for copper) or PEX crimper/SharkBite fittings (if using PEX), and potentially a torch and solder for copper connections. A reciprocating saw or oscillating multi-tool is crucial for opening the wall. Ensure you have proper personal protective equipment (PPE) like safety glasses and gloves, and a reliable flashlight for working in tight, dark spaces. Items like a bistro set or wall plate are not relevant for this project.
What are the most critical safety precautions and common mistakes to avoid when converting a 3-handle to a single-handle shower valve?
Always shut off the main water supply to your home before starting any plumbing work and drain the lines by opening a lower faucet. The most common mistake is failing to adequately secure the new valve to a wooden brace, leading to instability. Also, ensure all connections are leak-free before closing up the wall, as even a small drip can cause significant water damage over time.
Is there an alternative to cutting open the shower wall to replace the valve, or are there 'no-cut' conversion kits for this type of upgrade?
For a complete conversion from a 3-handle system to a modern single-handle pressure-balancing valve, accessing the plumbing behind the wall is almost always necessary. This is because the old valve body needs to be entirely removed and a new, larger valve body installed and securely braced. Most 'no-cut' kits primarily replace the trim and handles, not the fundamental valve mechanism that provides pressure balancing and single-handle operation.
How thoroughly should I leak test the new valve and connections before patching the wall, and what's the best method to ensure there are no hidden leaks?
Leak testing is paramount. After connecting the new valve, turn the main water supply back on slowly and check all connections visually and by touch for any drips or moisture. Run the shower for several minutes, manipulating the handle to activate both hot and cold water, and also divert to the showerhead. Place paper towels or a rag around the connections and leave them for at least an hour, checking periodically with a flashlight for any signs of water before proceeding with wall repair.
Why is it important to choose a pressure-balancing valve for this upgrade, and what are the main benefits over an older 3-handle system?
A pressure-balancing valve is crucial for safety and comfort, as it maintains a consistent water temperature by compensating for sudden pressure drops in either the hot or cold supply. This prevents scalding if someone flushes a toilet or uses water elsewhere in the house while you're showering. Additionally, it offers the convenience of single-handle operation, blending hot and cold water with one control.
The project mentions HardieBacker; what specific considerations should I keep in mind for repairing the shower wall, especially if it's tiled?
When repairing a tiled shower wall, you'll need to cut the HardieBacker to precisely fit the opening, ensuring a sturdy and level surface for new tile. Pay close attention to waterproofing by properly sealing joints with silicone caulk or specific waterproof tape, and use appropriate thin-set mortar for tile adhesion. If you can't match existing tiles, consider creating a contrasting accent area or replacing all surrounding tiles for a cohesive look.


