
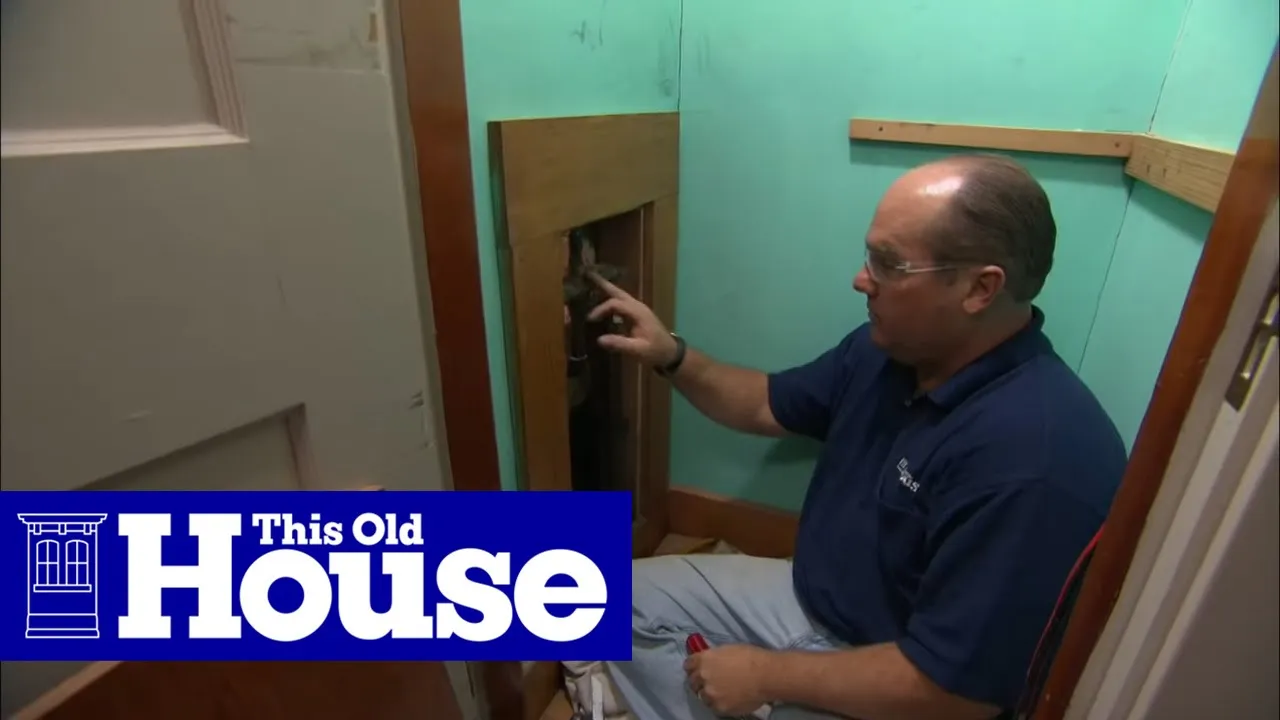
How to Convert a 3-Handle Shower Faucet to a Single-Handle Valve
About This Project
This guide details the process of removing an outdated three-handle shower and tub faucet system and replacing it with a modern, single-handle pressure-balancing valve. This involves accessing the plumbing behind the wall, cutting out the old valve body, soldering in the new valve, and then repairing the wall and installing the new trim kit.
Best for advanced DIYers and professionals with basic plumbing knowledge and familiarity with power tools. Requires Oatey 9 in. x 12 in. Hands-Free Solder Heat Shield 314002 and First Alert General Purpose Fire Extinguisher 1-A:10-B:C - in Red FE1A10GOA and Safety Glasses.
Tools & Materials

Unger 6 Gal. Heavy-Duty Plastic Bucket DB02
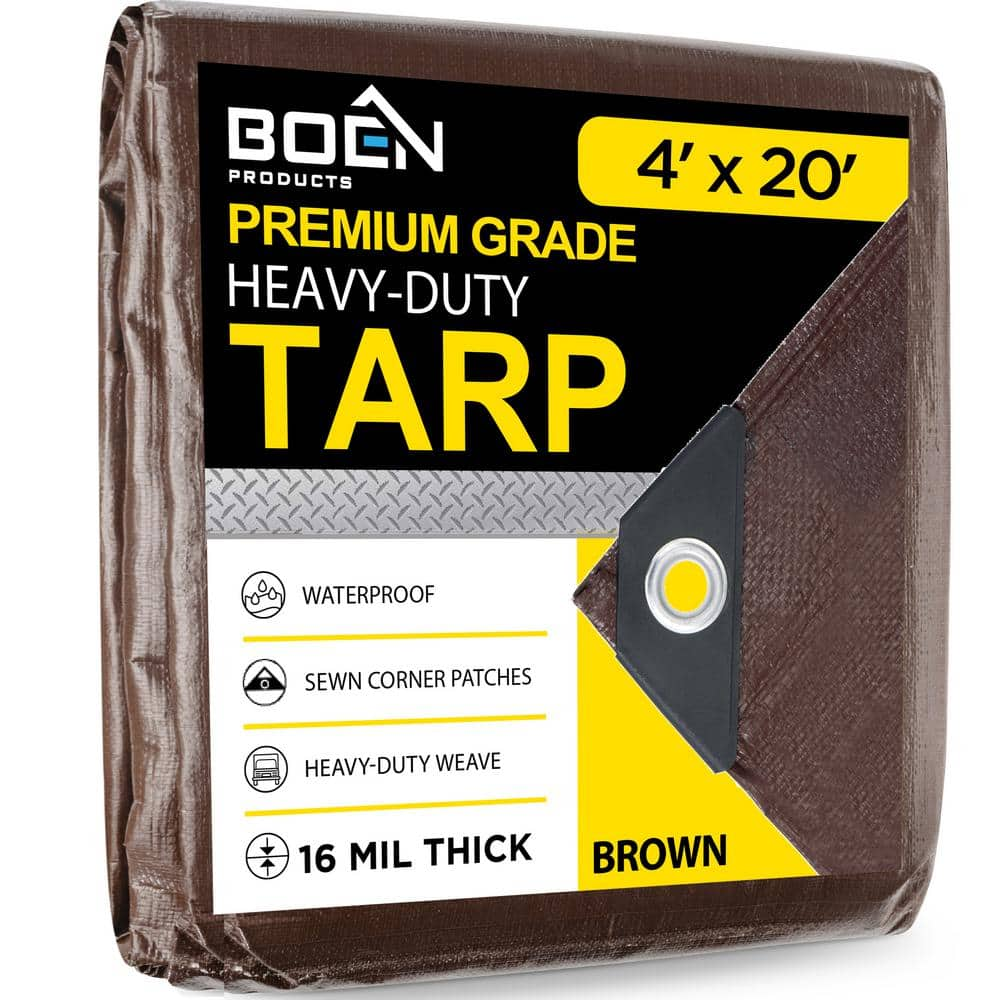
BOEN Ultra Heavy-Duty Brown Tarps 4 ft. x 20 ft. Waterproof and UV Resistant, 16 Mil Thick BR16T-420

DEWALT 3/4 in. Stud Finder and 9 in. Torpedo Level DW0100W43003
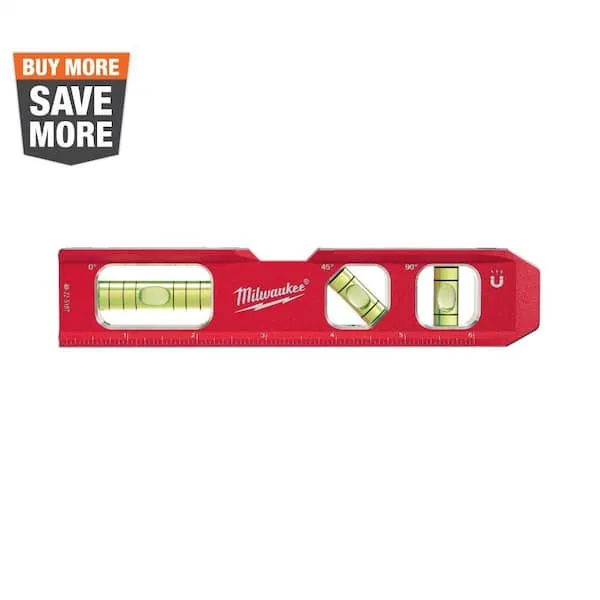
Level
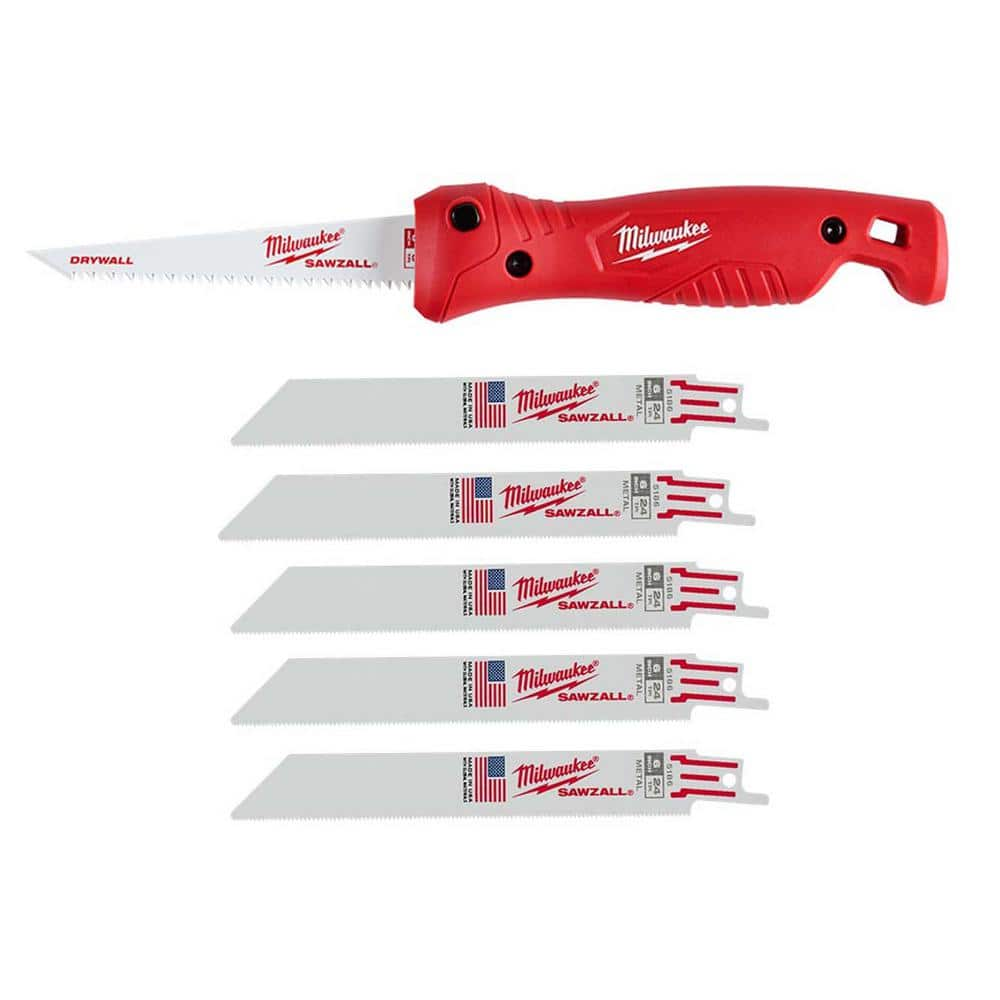
Milwaukee Folding Jab Saw with 6 in. 8TPI SAWZALL Drywall Blade with Thin Metal Cutting SAWZALL Reciprocating Saw Blades (7-Piece) 48-22-0307-48-00-5186
25 ft. Tape Measure
Unger 6 Gal. Heavy-Duty Plastic Bucket DB02
The Unger 6-Gallon Heavy-Duty Professional Cleaning Bucket holds more than 6 Gal. of liquid. The bucket can accommodate a scrubber up to 14 in. L. This bucket features measurement marks and 2-pour spouts
BOEN Ultra Heavy-Duty Brown Tarps 4 ft. x 20 ft. Waterproof and UV Resistant, 16 Mil Thick BR16T-420
For all general uses, with increased durability and high-density polyethylene, Heavy-Duty Tarps provide a secure and protective shelter for all residential and commercial applications. BOEN manufactures
DEWALT 3/4 in. Stud Finder and 9 in. Torpedo Level DW0100W43003
Eliminate the guesswork with this new Center Sensor Stud Finder that has a detection depth of 3/4 in. for wood and metal. While traditional stud sensors locate the edge of the stud, this 1 locates the
Level
Ensures surfaces are just right.
Milwaukee Folding Jab Saw with 6 in. 8TPI SAWZALL Drywall Blade with Thin Metal Cutting SAWZALL Reciprocating Saw Blades (7-Piece) 48-22-0307-48-00-5186
Our Milwaukee Folding Jab Saw fits all 6 in. Sawzall blades for quick cutting into multiple materials. The slide lock design offers the fastest blade change to increase productivity on the jobsite. The
25 ft. Tape Measure
Measure with precision and ease.
Steps
Preparation and Safety
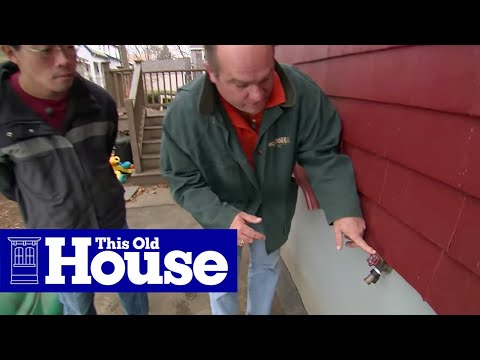
20 minsBegin by shutting off the main water supply to your entire house. Open the hot and cold handles on the existing shower faucet, as well as another faucet at a lower level in the house, to drain as much water as possible from the pipes. Place a bucket under the shower spout to catch any residual water. Lay down an old blanket or drop cloth in the tub or shower base to protect the surface from scratches from dropped tools or parts.

Create Wall Access
30 minsGo to the wall directly behind the shower valve. Use a stud finder to locate the studs on either side of the plumbing pipes. Mark a rectangle for your access panel, typically about 12-16 inches wide and tall enough to give you ample room to work. Use a level to ensure your lines are straight. Carefully cut along the marked lines using a drywall saw. Remove the cut piece of drywall and set it aside; you can reuse it to patch the hole later.
Remove Old Faucet Trim
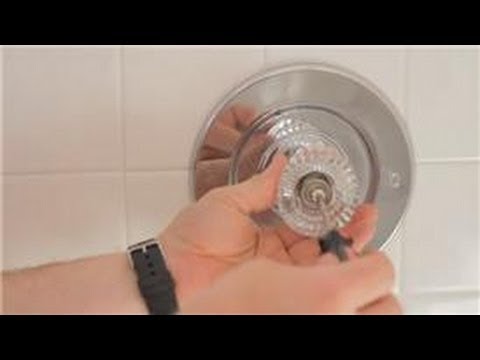
20 minsFrom the front side of the shower, remove the three faucet handles. They are typically held on by a small set screw, which may be hidden under a decorative cap. Pry off the caps with a small flathead screwdriver and loosen the screws. If the handles are stuck, use a specialized handle puller tool. Once the handles are off, unscrew the surrounding decorative plates, called escutcheons, to expose the valve stems.

Demolish Old Valve
45 minsWorking from your access panel, identify the hot and cold supply lines and the pipes leading to the shower head and tub spout. Using a tubing cutter, cut the hot and cold pipes below the old valve body, and cut the shower riser and tub spout pipes above and below the valve assembly. Be prepared for some water to spill out. Once all four pipes are cut, the old three-handle valve assembly should be loose and can be removed from the wall cavity. Wear safety glasses during this step.

Prepare for New Valve Installation
60 minsConsult the new valve's instructions for the correct installation depth. This is crucial and is measured from the front of the valve to the face of the finished wall (tile or shower surround). Install a new piece of 2x4 lumber horizontally between the wall studs to serve as a secure mounting bracket for the new valve. Measure and cut the existing pipes as needed to align with the new valve's ports. Clean the outside of all pipe ends and the inside of your new fittings using a pipe cleaning brush and sand cloth until they are shiny and free of oxidation.

Solder the New Valve
60 minsDisassemble the new valve, removing the plastic cartridge to prevent heat damage during soldering. Apply a thin, even layer of flux to all cleaned pipe ends and fittings. Assemble the pipes and fittings onto the new valve body, ensuring the 'UP' or 'SHOWER' port faces up. Position your heat shield to protect the wood framing. Heat the joint with the propane torch, moving the flame constantly. Once hot enough, touch the lead-free solder to the joint opposite the flame; the solder should be drawn into the joint by capillary action. Repeat for all four connections: hot in, cold in, shower out, and tub spout out. Allow the joints to cool completely without being disturbed.

Test for Leaks
30 minsOnce the solder joints have completely cooled, reinstall the valve cartridge according to the manufacturer's directions. Place a rag or small bucket inside the wall under the valve. Go to the main water shutoff and turn it on SLOWLY. Listen for the sound of pipes filling. Return to the access panel and meticulously inspect every solder joint for any drips or beads of water. If you find a leak, you will need to shut off the water, drain the system, and re-solder the faulty joint. Also, test the valve function by turning the handle to run water to the tub spout and shower head.
Repair the Access Wall
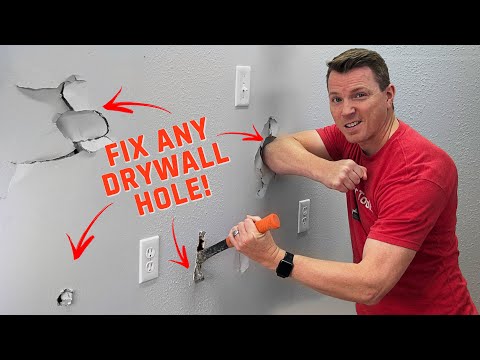
90 minsAfter confirming there are no leaks, you can repair the access wall. Re-insert the piece of drywall you cut out earlier. Secure it by screwing it to the studs or by adding small wood backing strips for support if it's not between studs. Apply drywall tape over the seams, then spread a thin layer of joint compound over the tape with a putty knife. Allow it to dry completely as per the manufacturer's instructions. Apply two to three more coats, sanding lightly between each coat, until the patch is smooth and flush with the surrounding wall. Prime and paint to match.

Install New Trim Kit
40 minsNow for the final step. Slide the new, large escutcheon plate over the valve, which will cover the old handle holes. Secure it to the wall or valve body as per the instructions. Install the new handle, usually by sliding it on and tightening a small set screw with an Allen wrench. Wrap the threads of the shower arm with Teflon tape and screw on the new shower head. For the tub spout, apply plumber's putty to the back edge if it's a slip-on type, or Teflon tape to the threads if it's a screw-on type, and install it. Remove the protective film from the new trim and enjoy your new shower.
Common Problems
Failure to turn off the water supply will result in water spraying out of the valve once the cartridge is removed.
Solution: To avoid this issue: Be mindful of this warning and take appropriate precautions.
Lost parts down the drain during shower faucet conversion.
Solution: Plugging the drain is a simple step that can save you the major headache of losing a small part.
Triple-check that the water is off before making any cuts.
Solution: To avoid this issue: Be mindful of this warning and take appropriate precautions.
Pipes are too deep for the saw blade.
Solution: A longer reciprocating saw blade can help reach pipes tucked deep inside the wall cavity.
Residual water can cause leaks or damage when the new valve is installed.
Solution: Opening and closing the valve a few times can help ensure all the water is drained out.
Failure to turn off power and water can lead to electric shock and water damage.
Solution: To avoid this issue: Be mindful of this warning and take appropriate precautions.
Ensure the water is fully shut off before cutting the pipe.
Solution: To avoid this issue: Be mindful of this warning and take appropriate precautions.
Frequently Asked Questions
This project is rated 'intermediate.' What specific skills or prior experience are essential for successfully converting a three-handle shower faucet?
An intermediate rating means you should be comfortable with basic plumbing tasks, including cutting pipes and making secure connections. Experience with soldering copper pipes is crucial, as the new valve typically requires soldered connections. You'll also need basic carpentry skills for opening and repairing the access wall.
The estimated time is 16 hours. What aspects of this conversion project take the most time, and can it be completed in a single weekend?
The 16-hour estimate accounts for significant stages like creating wall access, carefully removing the old valve, precisely soldering the new one, and thorough leak testing. Repairing and finishing the access wall also adds considerable time. While possible to do in a weekend, spreading it over a few days allows for drying times and meticulous work, especially for leak checks.
What are the critical safety considerations, especially regarding soldering and working with plumbing behind the wall?
Always turn off the main water supply before starting. When soldering, ensure excellent ventilation to disperse fumes and have a fire extinguisher nearby; protect surrounding studs with a heat shield. Wear appropriate PPE, including safety glasses and gloves. Thoroughly drain pipes to avoid steam buildup during soldering.
What are the most common mistakes DIYers make during this type of shower valve conversion, and how can they be avoided?
A common mistake is improper soldering, leading to leaks. Ensure pipes are clean, flux is applied correctly, and joints are heated evenly. Another error is not thoroughly leak testing before closing the wall; pressurized water should run for several hours. Also, double-check the new valve's orientation and depth before securing it.
Do I have to use soldering for the new valve installation, or are there alternative connection methods for DIYers less comfortable with a torch?
While soldering is a common and durable method, some modern valves are available with PEX crimp connections or SharkBite-style push-to-connect fittings. These alternatives can simplify the installation for those uncomfortable with soldering, but they may have different long-term reliability or cost implications. Always check your local plumbing codes for approved methods.
What's the best way to create wall access for the plumbing work, especially if I want to minimize damage to existing tile or drywall?
Ideally, access from the opposing side of the wall (e.g., a closet or another room) is best if possible, as it avoids disturbing the shower's finished surface. If direct access from the shower wall is necessary, carefully cut drywall with a utility knife or use a tile saw for tile. Plan your opening to be slightly larger than needed for comfortable access, as you'll patch it later.


