
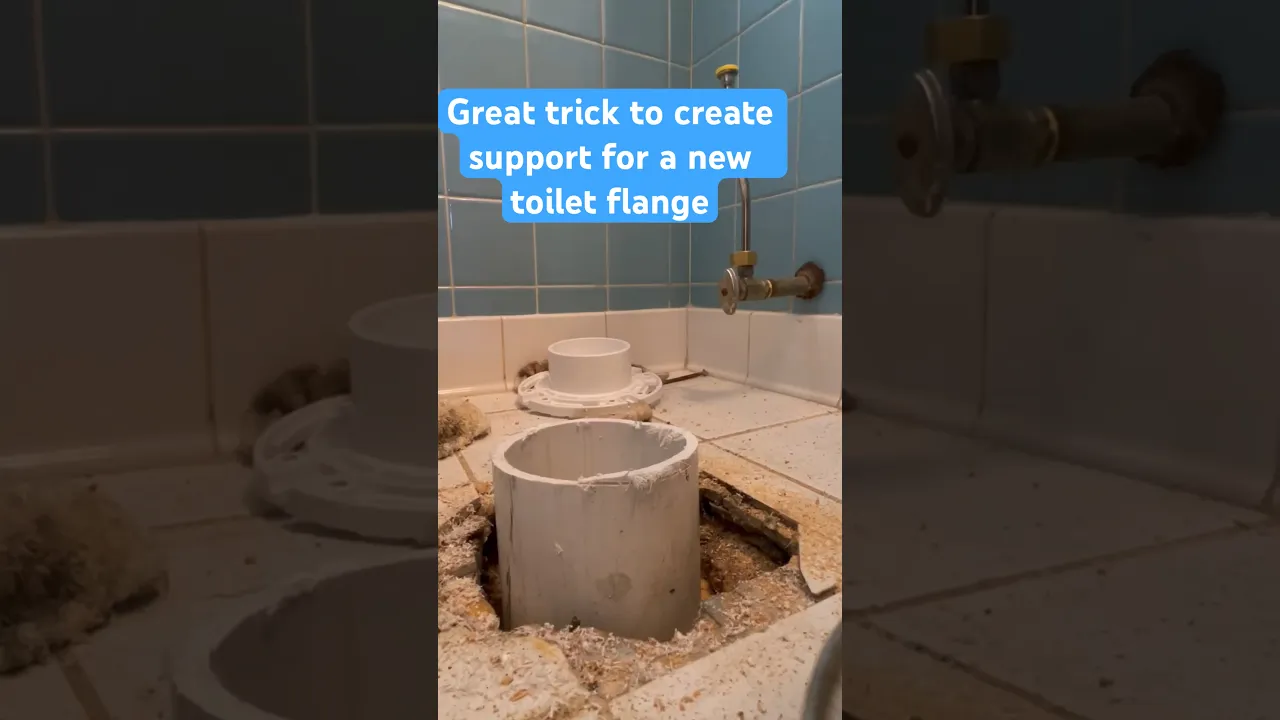
How to Connect a PVC Drain to a Cast Iron Pipe
About This Project
This guide provides detailed instructions for safely cutting an existing cast iron drain pipe and connecting a new PVC drain pipe using a shielded flexible coupling. The process involves preparing the work area, supporting the pipe, making a clean cut, deburring the pipe ends, and properly installing and tightening the coupling for a durable, leak-free connection.
Best for advanced DIYers and professionals with basic plumbing knowledge and familiarity with power tools. Requires Pipe and Safety Glasses and Safety gloves.
Tools & Materials

Unger 6 Gal. Heavy-Duty Plastic Bucket DB02
Agfabric 10 ft. x 20 ft. 50% Shade Cloth Sunblock Fabric Cut Edge with Free Cilps UV Resistant for Garden Plants Cover, Black E5SDR1020B
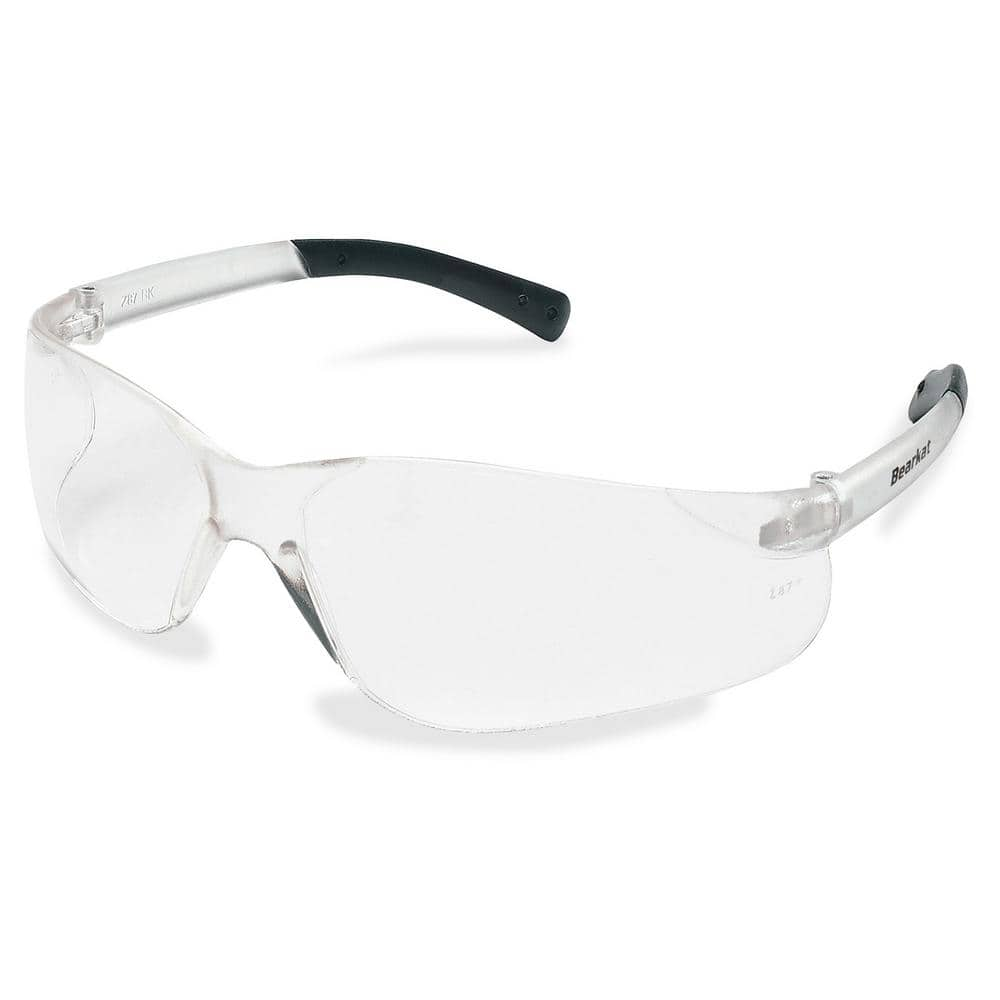
MCR Safety BearKat Safety Glasses MCSCRWBK110
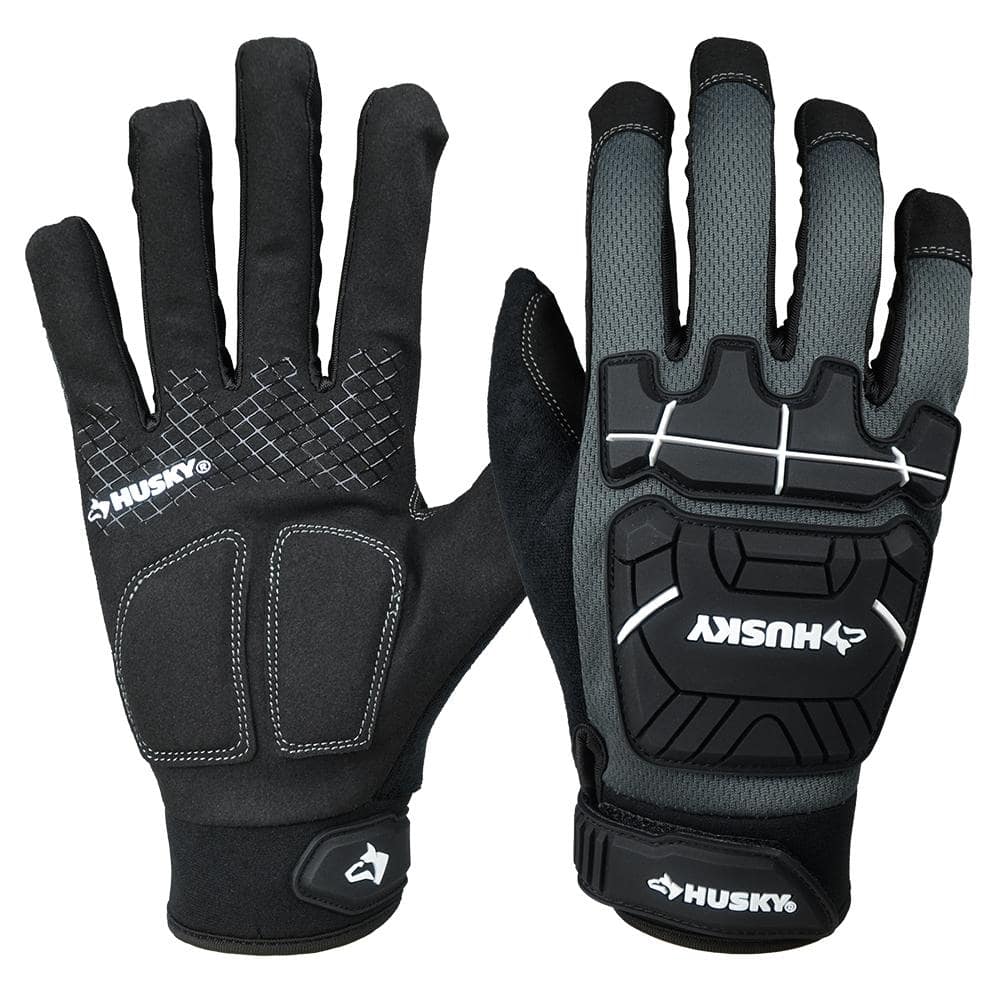
Husky Large Heavy Duty Glove 67812-06
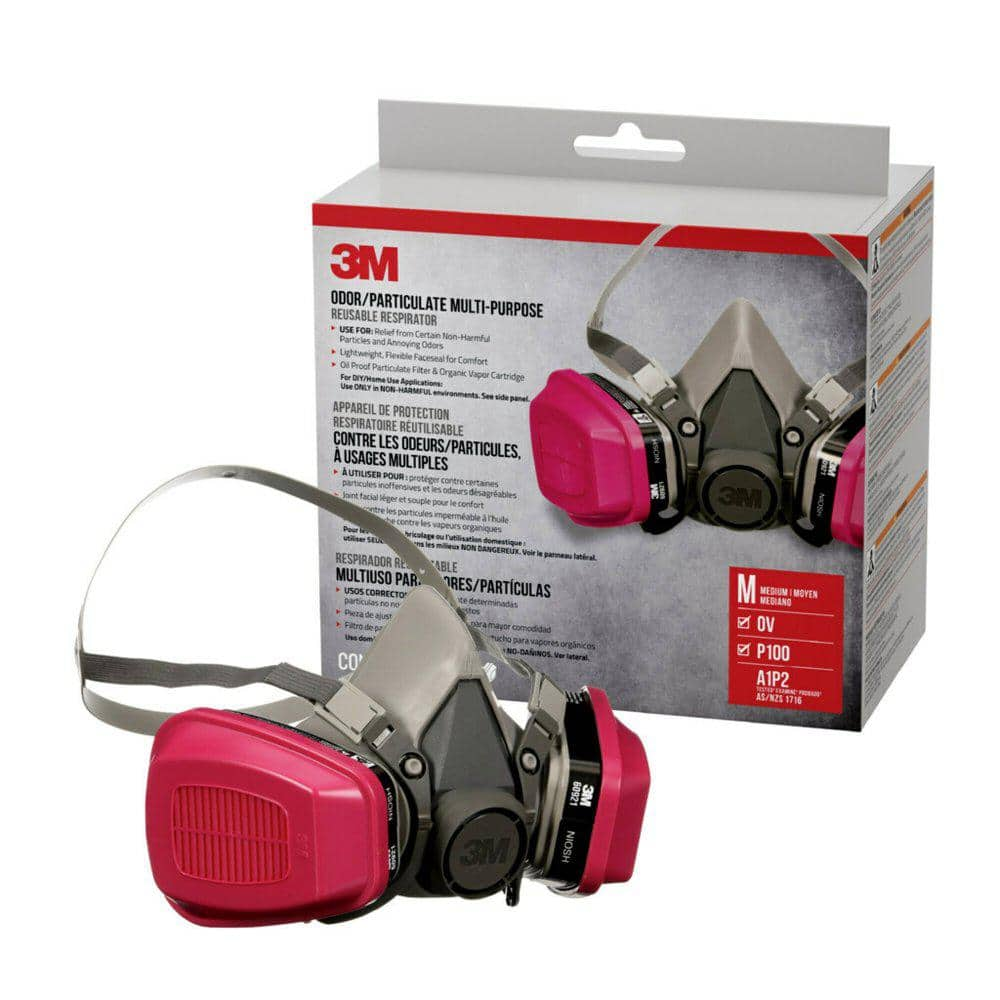
3M P100 Household Respirator 65021HA1-C
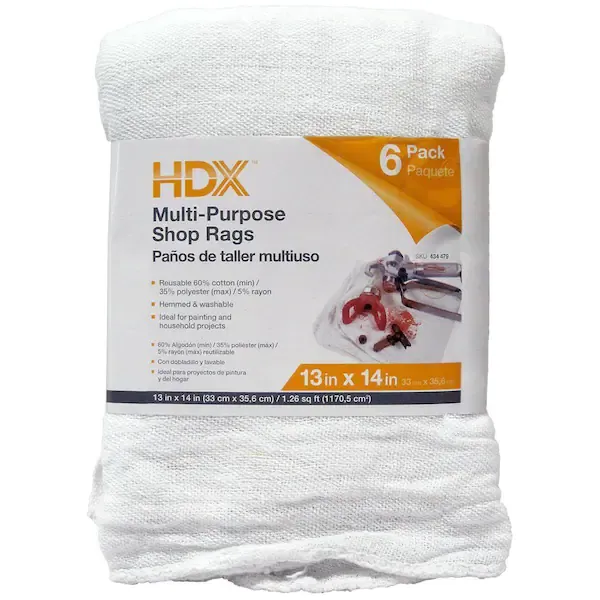
Rag
Unger 6 Gal. Heavy-Duty Plastic Bucket DB02
The Unger 6-Gallon Heavy-Duty Professional Cleaning Bucket holds more than 6 Gal. of liquid. The bucket can accommodate a scrubber up to 14 in. L. This bucket features measurement marks and 2-pour spouts
Agfabric 10 ft. x 20 ft. 50% Shade Cloth Sunblock Fabric Cut Edge with Free Cilps UV Resistant for Garden Plants Cover, Black E5SDR1020B
Black shade cloth adopt UV resistant material, lightweight and durable. 50% shade rate, mesh design, It will have no affect for photosynthesis. It is breathable and more suitable for blocking the sunlight
MCR Safety BearKat Safety Glasses MCSCRWBK110
Safety glasses feature a well thought-out construction that combines the best in safety, comfort and affordability. Your vision is unobstructed by the 1-piece wraparound lens which, by its tight fit, provides for maximum safety. Flexible temples enhance your comfort during extended use. Nonslip rubber head grips are notched for a clip-on breakaway cord.
Husky Large Heavy Duty Glove 67812-06
Husky Heavy Duty Mechanic Gloves are form-fitting and highly breathable while offering maximum protection. The knuckle and back of hand padding is designed to offer natural hand movement with maximum protection. The synthetic leather palm provides superior durability, and also has printed non-slip silicone for a secure grip. The glove also features a double reinforced neoprene padded palm that protects from both abrasions and vibration fatigue.
3M P100 Household Respirator 65021HA1-C
The 3M Odor/Particulate Multi-Purpose Reusable Respirator 65021 helps filter out the particles and certain odors, while providing comfort with adjustable features. The cartridges sit swept back for a larger field of view, and the reusable design can last from one project to the next. Give yourself the 3M Odor/Particulate Multi-Purpose Reusable Respirator 65021 for projects on your to-do list.
Rag
Handy for cleaning or wiping tasks.
Steps

Safety and Preparation
15 minsBegin by preparing your work environment to ensure safety and cleanliness. Lay down a drop cloth to protect the floor from dust, debris, and water. As a safety precaution against unexpected water flow, it's wise to shut off the main water supply to the house. Don your personal protective equipment (PPE): safety glasses to protect your eyes from flying debris, heavy-duty gloves to protect your hands from sharp metal edges, and a dust mask or respirator to prevent inhalation of cast iron dust. Keep a bucket and rags nearby to manage any residual water or waste that may spill from the drainpipe once it's cut.

Mark the Cut Lines
5 minsPrecisely mark the section of the cast iron pipe that needs to be removed. Use a tape measure to determine the length of the damaged section. Use a permanent marker or a silver paint pen to draw two clear, straight cutting lines around the circumference of the pipe. Ensure these lines are as square as possible to the pipe's length to facilitate a clean fit for the new PVC section. A wrap-around pipe marking tool or even a piece of paper wrapped tightly around the pipe can serve as a guide for a perfectly straight line.

Support the Pipe
20 minsBefore cutting, you must support the heavy cast iron pipe to prevent it from dropping or pinching the saw blade. Place secure supports on both sides of the section you intend to cut out. You can use plumber's metal strap secured to overhead joists, or build temporary supports using wood blocks (2x4s). The supports must be snug against the pipe and capable of bearing its full weight. This step is critical for safety and for preventing damage to the remaining plumbing.

Cut the Cast Iron Pipe
30 minsWith the pipe securely supported and your PPE on, you can now cut the pipe. Insert a carbide-tipped or diamond grit reciprocating saw blade into your saw; these are specifically designed for cutting hard materials like cast iron. Begin by making a small scoring cut along your marked line to create a groove. Then, proceed with the full cut, applying steady, light pressure and letting the tool do the work. Keep the saw's shoe pressed firmly against the pipe to minimize vibration. Water can be sprayed on the blade to keep it cool and reduce dust. Once the first cut is complete, repeat the process on the second mark to remove the damaged pipe section.

Clean and Deburr Pipe Ends
15 minsThe newly cut ends of the cast iron pipe will be rough and have burrs. For the coupling to seal properly, these ends must be cleaned and smoothed. Use a half-round metal file to smooth the sharp edges on both the inside and outside of the pipe ends. Afterward, take a wire brush and vigorously clean the outer surface of the pipe for at least two inches back from the cut. Remove all rust, scale, paint, and grime. The surface where the rubber gasket will sit must be perfectly clean and smooth.

Measure and Prepare PVC Pipe
10 minsMeasure the exact distance between the two ends of the cast iron pipe. Using this measurement, cut a new piece of Schedule 40 PVC pipe to fit the gap. A ratchet-style PVC cutter provides a clean, quick cut. Alternatively, a hacksaw or miter saw can be used. After cutting, it's important to deburr the PVC pipe. Use a deburring tool or a simple utility knife to shave off any plastic burrs from the inside and outside edges of the cut. This ensures the pipe seats fully into the coupling without catching or tearing the rubber gasket.
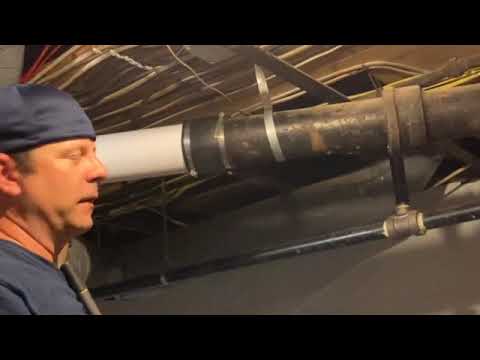
Install the Shielded Flexible Coupling
10 minsTake your shielded flexible coupling and confirm it is the correct transition size (e.g., 3" Cast Iron to 3" PVC). The outside diameters are different, so a specific transition coupling is required. Loosen the band clamps on the coupling with a nut driver or wrench. Slide the entire coupling assembly, including the metal shield and rubber gasket, completely onto one of the existing cast iron pipe ends. Next, fit the newly cut PVC pipe section into the gap, aligning its ends with the cast iron pipes. Finally, slide the flexible coupling back over the joint, positioning it so the rubber gasket is centered and covers both the PVC and cast iron pipe ends equally.
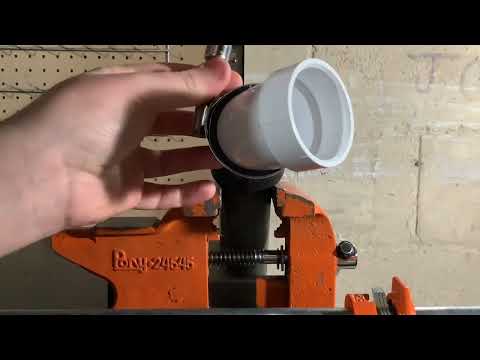
Tighten the Coupling Bands to Spec
10 minsThis step is critical for a long-lasting, leak-proof seal. Using a torque wrench fitted with the correct size socket (usually 5/16" or 8mm), tighten the stainless steel band clamps. Refer to the coupling itself for the manufacturer's recommended torque specification, which is typically 60 inch-pounds (in-lbs). Tighten the clamps in an alternating pattern to apply even pressure across the gasket. Continue tightening until your torque wrench clicks, indicating you have reached the specified torque. Do not guess or simply tighten until it feels 'tight enough,' as this can lead to leaks or damage.

Test the Connection for Leaks
10 minsWith the connection fully assembled and tightened, the final step is to test your work. If you turned off the main water supply, turn it back on now. Go to a fixture upstream from your repair (like a sink or toilet on the same floor or a floor above) and run a significant amount of water through the drain. While the water is running, carefully inspect the new connection at the coupling. Look closely at the top, sides, and especially the bottom for any signs of dripping or seepage. Wiping the joint with a dry paper towel is an excellent way to detect even the smallest leaks. If it remains dry, the job is complete.
Common Problems
Cutting too deep into cast iron can damage the fitting.
Solution: Using just the blade gives you more control and feel for when you are about to cut into the fitting.
PVC shavings will be ejected from the pipe; ensure safety glasses are worn.
Solution: To avoid this issue: Be mindful of this warning and take appropriate precautions.
Wear safety glasses to protect your eyes from plastic shavings.
Solution: To avoid this issue: Be mindful of this warning and take appropriate precautions.
Jagged, uneven cuts on cast iron pipe.
Solution: Apply gentle, steady pressure. Let the tool do the work to avoid a jagged cut.
Drill bit may bind or chip cast iron if spun counter-clockwise.
Solution: Always move the drill in a clockwise direction to ensure the cutter works efficiently and safely.
Forcing the tool can damage the PVC or cast iron pipe.
Solution: Apply steady, gentle outward pressure. Do not force the tool; let the blade's rotation do the work.
Difficulty cutting cast iron or damaging the cutting wheel.
Solution: Oiling the cutting wheel makes cutting easier and extends the life of the tool.
Frequently Asked Questions
What are the most important safety precautions when cutting cast iron pipe?
When cutting cast iron, always wear 3M Professional Chemical Splash/Impact Safety Goggles, MCR Safety BearKat Safety Glasses, and a 3M P100 Household Respirator to protect against dust and debris. Cast iron is heavy, so ensure the pipe is well-supported with 2 in. x 4 in. dimensional lumber before and during cutting to prevent injury or damage.
Do I need a special blade for cutting cast iron with a reciprocating saw?
Yes, a standard reciprocating saw blade will not work effectively on cast iron. You will need a Milwaukee 12 Amp SAWZALL Reciprocating Saw equipped with a DIABLO 9 in. Diamond Grit Reciprocating Saw Blade for Cast Iron Cutting. This specialized blade is designed to cut through the hard material efficiently and safely.
How do I properly support the cast iron pipe to prevent it from falling after I cut it?
Before making your cut, use 2 in. x 4 in. dimensional lumber to create temporary supports on both sides of the cut line. Secure these supports to a stable surface, ensuring they can bear the pipe's weight and prevent any movement, cracking, or collapse during the cutting process.
Why is a shielded flexible coupling recommended for connecting PVC to cast iron, and how do I install it correctly?
A shielded flexible coupling creates a durable, leak-free seal between cast iron and PVC, accommodating slight differences in pipe diameter and vibration. Ensure both pipe ends are clean and deburred before installing the coupling, then tighten the stainless steel bands evenly to the manufacturer's specified torque using a TEKTON 7/16 in. Nut Driver.
What are common mistakes beginners make when connecting PVC to cast iron, and how can they be avoided?
Common mistakes include not adequately supporting the pipe, making an uneven cut, or failing to properly deburr the pipe ends. Always double-check pipe support, take your time with the cut, and thoroughly clean and deburr the cast iron pipe with a Crescent Nicholson 6 in. Bastard File and wire brush for a secure, leak-free connection.
The project is rated 'beginner' but involves cutting cast iron. Is the 6-hour estimated time realistic for a beginner?
While rated beginner, cutting cast iron can be challenging and time-consuming for a first-timer. The 6-hour estimate includes preparation, support setup, multiple cutting passes, deburring, and final assembly. It's realistic if you follow the steps carefully; however, allocate extra time, especially for thorough safety measures and precise cuts, to ensure a successful, leak-free result.


