
How to Connect a Dishwasher Drain to a Garbage Disposal
About This Project
This guide provides detailed instructions for safely connecting a dishwasher's drain hose to a garbage disposal unit. The process involves turning off power, removing the disposal's knockout plug, creating a high loop with the drain hose to prevent backflow, securely attaching the hose with a clamp, and testing the connection for leaks.
Best for experienced DIYers and homeowners with some experience with basic plumbing knowledge.
Tools & Materials

Bucket

Towel
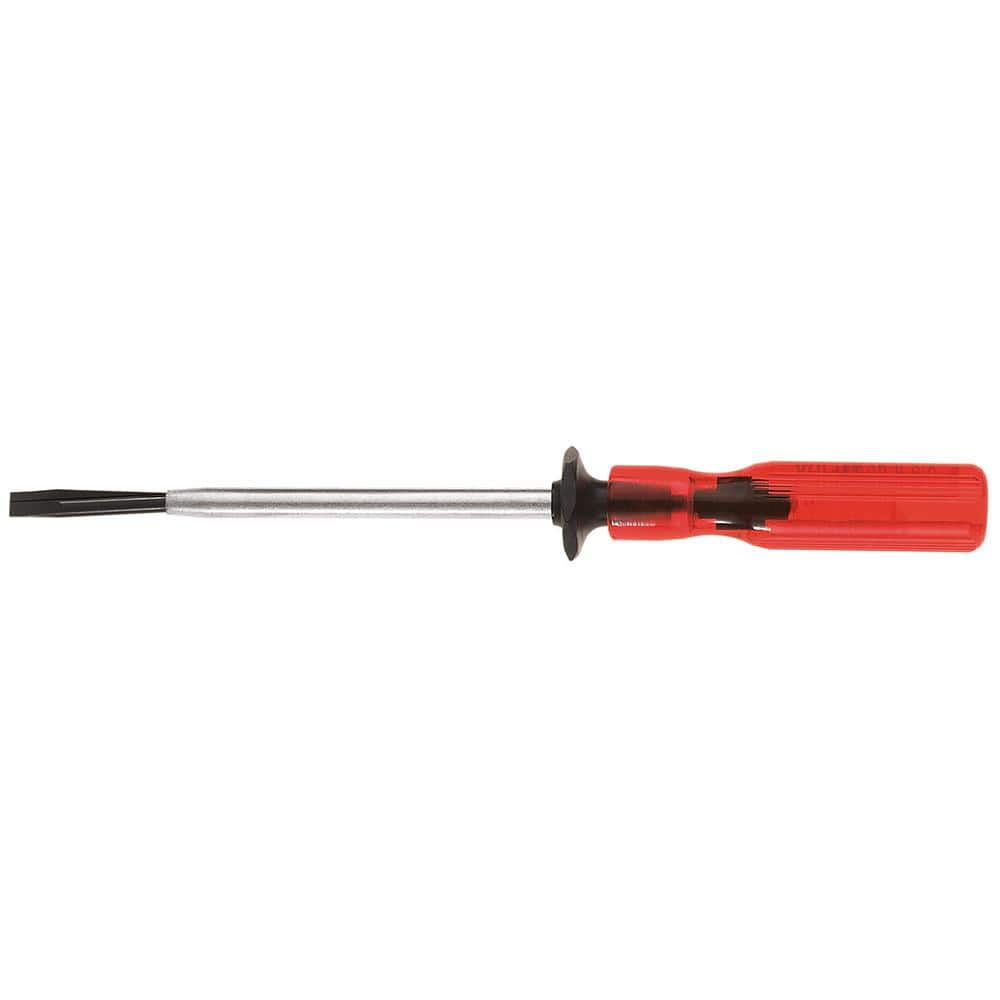
Klein Tools 3/16 in. Slotted Screw-Holding Flat Head Screwdriver with 3 in. Round Shank K23
Hampton Bay Danetree 72 in. Indoor/Outdoor Natural Iron Ceiling Fan with Hand Carved Wood Blades and Remote Control Included N243B-NI
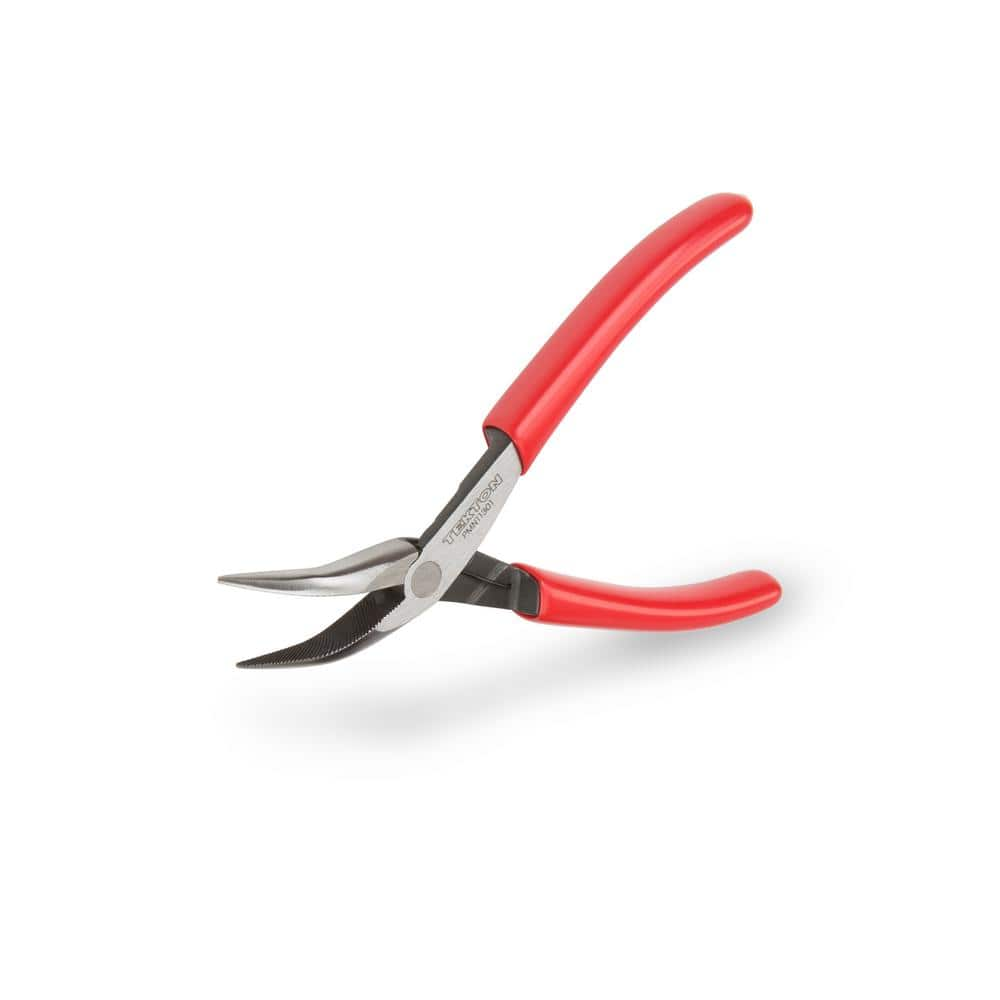
TEKTON Mini Bent Long Nose Pliers PMN11301

NITECORE 4000 Lumens USB-C LED Rechargeable Tactical Flashlight P20iX
Bucket
Ideal for carrying or storing liquids.
Towel
Absorbs moisture and dries surfaces.
Klein Tools 3/16 in. Slotted Screw-Holding Flat Head Screwdriver with 3 in. Round Shank K23
Getting that screw to stay put while you get it in place is much easier with Klein's Slotted Screw-Holding screwdriver. Positive gripping action holds, starts, and drives slotted screws in awkward, hard-to-reach
Hampton Bay Danetree 72 in. Indoor/Outdoor Natural Iron Ceiling Fan with Hand Carved Wood Blades and Remote Control Included N243B-NI
The Danetree 72 in. Indoor/Outdoor Ceiling Fan from Hampton Bay has 5 beautifully styled real wooden hand carved blades. The fan can be installed both indoor or covered outdoor living spaces. Perfect for large spaces that don't require additional light sources. The DC motor has 9 speeds and the included remote controls the power and speed functions. DC motor fans are 70% more energy efficient than AC motor fans (when comparing efficiency (CFM/W) of DC vs AC motors in published FTC Energy Guides for ceiling fans).
TEKTON Mini Bent Long Nose Pliers PMN11301
Bent to 45 degrees to reach around obstructions, the long, tapered, finely tipped nose grasps, twists, and pulls tiny wires and small parts with the uniform contact and sure grip of fine, crosscut teeth.
NITECORE 4000 Lumens USB-C LED Rechargeable Tactical Flashlight P20iX
The NITECORE P20iX is unrivaled when it comes to performance. NITECORE took the beloved P20i frame and maintained the compact size, ergonomics and doubled the power with 4 LEDs. This Xtreme high lumen
Steps

Safety First and Workspace Preparation
5 minsBegin by ensuring your safety and preparing the work area. Go to your home's main electrical panel and turn off the circuit breakers that supply power to the garbage disposal and the dishwasher. To confirm the power is off, try flipping the disposal's wall switch. Clear out the cabinet under the sink to give yourself ample room to work. Place a bucket and several old towels directly beneath the garbage disposal to catch any spills or debris.

Remove the Disposal Knockout Plug
10 minsLocate the horizontal inlet nipple on the upper side of the garbage disposal body; this is where the dishwasher hose will connect. If a dishwasher has never been connected, this inlet is sealed by a 'knockout plug'. Insert the tip of a flathead screwdriver into the inlet nipple until it rests against the plug. Firmly tap the end of the screwdriver handle with a hammer to dislodge the plug, which will fall into the disposal's grinding chamber. Reach into the disposal from the sink drain above and retrieve the plastic plug. If you cannot grab it with your fingers, use needle-nose pliers.

Create a High Loop
10 minsTo prevent dirty water from the sink from flowing back into the dishwasher, you must create a 'high loop'. Take the dishwasher drain hose and route it from the dishwasher appliance up towards the underside of the countertop. The highest point of the hose should be as high as possible within the sink cabinet, ideally touching the bottom of the counter. Secure the hose at this high point to the back of the cabinet wall or the counter itself using a pipe strap or a heavy-duty zip tie. From this peak, the hose should then slope continuously downward to the garbage disposal inlet.

Attach the Drain Hose
5 minsPrepare the final connection. If not already on the hose, slide a metal hose clamp over the end of the dishwasher drain hose. Firmly push the hose onto the now-open inlet nipple of the garbage disposal. Ensure the hose is seated all the way on, covering the entire nipple for a secure fit. Position the hose clamp over the part of the hose that is covering the nipple, about 1/4-inch from the end of the hose. Use a flathead or hex-head screwdriver to tighten the clamp until it is snug and the hose cannot be pulled off by hand.

Restore Power and Test for Leaks
10 minsWith the connection made, it's time to test your work. Remove all tools and the bucket from the cabinet. Return to the electrical panel and restore power to the dishwasher and garbage disposal by flipping the breakers back to the 'ON' position. Close the dishwasher door and select a 'Rinse Only' or 'Drain' cycle to run. As the dishwasher begins to pump out water, use a flashlight to carefully inspect the hose connection at the garbage disposal for any drips or leaks. Once the cycle is complete, run some cold water into the sink and turn on the garbage disposal for a few seconds to ensure its normal operation and that the vibrations do not cause a leak.
Common Problems
Grease clogs in the drain line when hot water is used with the garbage disposal.
Solution: Always run cold water when using your disposal, not hot. Hot water can liquefy grease, which may then solidify and clog the drain further down the line.
Garbage disposal clogs and dishwasher backups occur.
Solution: Always run cold water before, during, and for a short time after using the garbage disposal to help flush waste through the pipes.
Grease and fats clog the dishwasher drain when the disposal is run without cold water.
Solution: Always run cold water when operating the garbage disposal to help solidify grease and fats, allowing them to be chopped up and flushed away.
Check for leaks immediately after turning on the water. If a leak is found, turn off the power and water and tighten the leaking connection.
Solution: To avoid this issue: Be mindful of this warning and take appropriate precautions.
The garbage disposal is heavy and can fall unexpectedly. Ensure it is well-supported before and during the disconnection process.
Solution: To avoid this issue: Be mindful of this warning and take appropriate precautions.
Difficulty reassembling plumbing after dishwasher drain installation.
Solution: Taking a picture of the plumbing configuration before you start can be a helpful reference for reassembly.
Ensure power is disconnected to avoid risk of electric shock.
Solution: To avoid this issue: Be mindful of this warning and take appropriate precautions.
Frequently Asked Questions
What's the most common mistake people make when connecting a dishwasher to a garbage disposal, and how can I avoid it?
The most common mistake is forgetting to remove the knockout plug from inside the garbage disposal's dishwasher inlet, or not removing it completely. This will prevent your dishwasher from draining. To avoid this, ensure you use a punch or sturdy screwdriver and a hammer to fully dislodge the plug, then reach into the disposal and retrieve the plastic or metal piece before connecting the hose.
Why is creating a 'high loop' for the dishwasher drain hose so important?
The high loop is crucial for preventing dirty water from the sink or garbage disposal from flowing back into your clean dishwasher, which can lead to unsanitary conditions and foul odors. It creates an air gap effect, ensuring proper one-way drainage. Secure the highest point of the loop firmly to the underside of your counter using a hose clamp or cable tie.
After connecting everything, my dishwasher isn't draining. What's the first thing I should check?
The primary cause for a dishwasher not draining after this installation is almost always the knockout plug in the garbage disposal. Double-check that it was completely removed and isn't still blocking the inlet. Also, ensure the high loop isn't kinked or too restrictive, and that the drain hose itself isn't pinched anywhere.
How much time should a beginner expect to spend on this project?
For a beginner, this project typically takes about 30 minutes to an hour from start to finish, including preparation and testing. Much of the time is spent on ensuring safety, carefully following instructions, and making secure connections. Having all your tools and materials ready beforehand will help streamline the process.
Are there any essential tools or materials not explicitly listed that I might need?
While the listed tools cover the basics, a sturdy punch or a sacrificial flathead screwdriver (to use with a hammer) is often needed to remove the knockout plug from the disposal. A small bucket and several towels are also essential for catching any residual water when disconnecting hoses or opening the disposal. Ensure your hose clamp is correctly sized for your dishwasher drain hose.
What are the most critical safety precautions I must take before starting this DIY plumbing project?
The absolute most critical step is to turn off the power to your garbage disposal (and ideally the dishwasher too) at the circuit breaker before touching any wiring or making any connections. This prevents accidental activation and electric shock. Additionally, keep a bucket and towels handy to manage any water spills, and wear protective eyewear if you're concerned about debris when removing the knockout plug.


