
How to Clear a Grease-Clogged Kitchen Drain
About This Project
This guide provides a comprehensive, step-by-step approach to clearing a kitchen drain clogged with grease, fat, and oil. The process begins with simple, non-invasive methods like using boiling water and dish soap, then progresses to more mechanical solutions such as plunging, cleaning the P-trap, and using a drain snake if necessary. The instructions are designed for a typical homeowner to follow safely and effectively.
Best for experienced DIYers and homeowners with some experience with basic plumbing knowledge and familiarity with power tools. Requires BBQ Dragon Extreme Heat Resistance BBQ Gloves BBQD240 and HDX Over the Glass Indoor Safety Glasses VS-265.
Tools & Materials
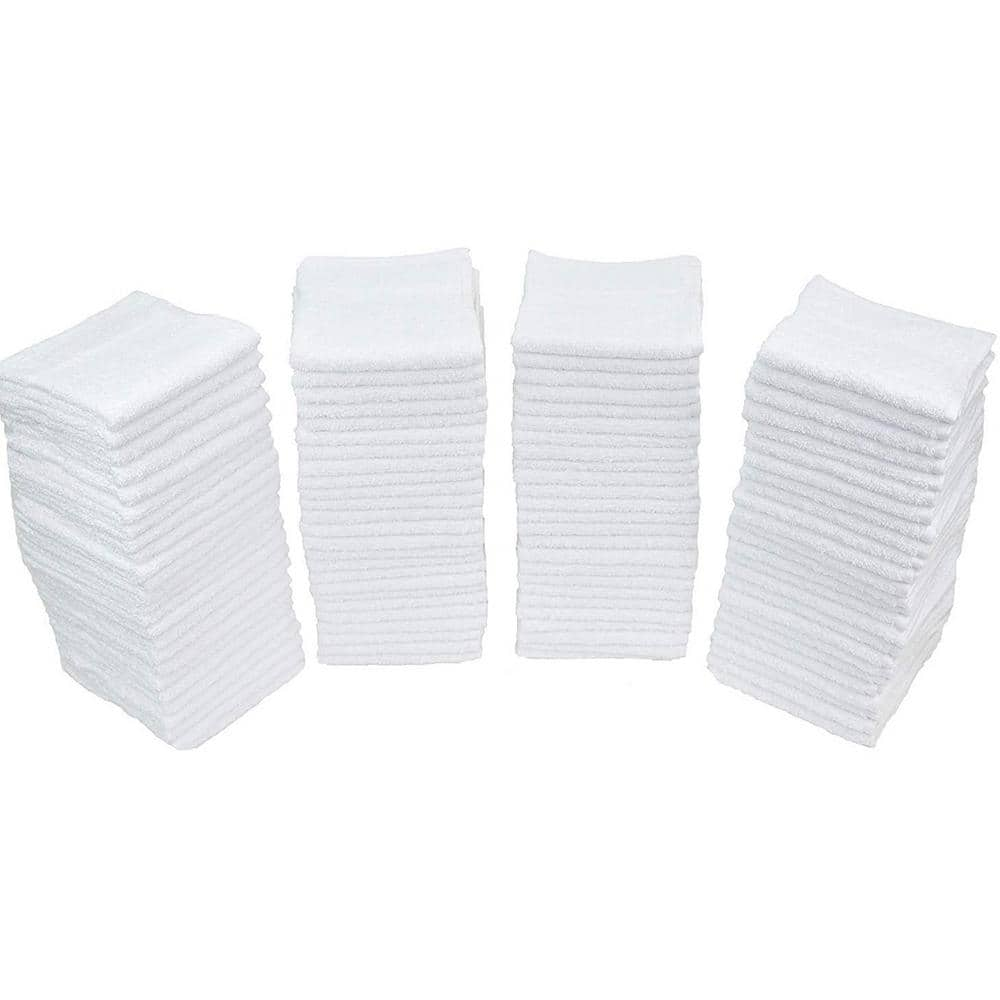
THE CLEAN STORE Cleaning Terry Towels (50-Pack) 171
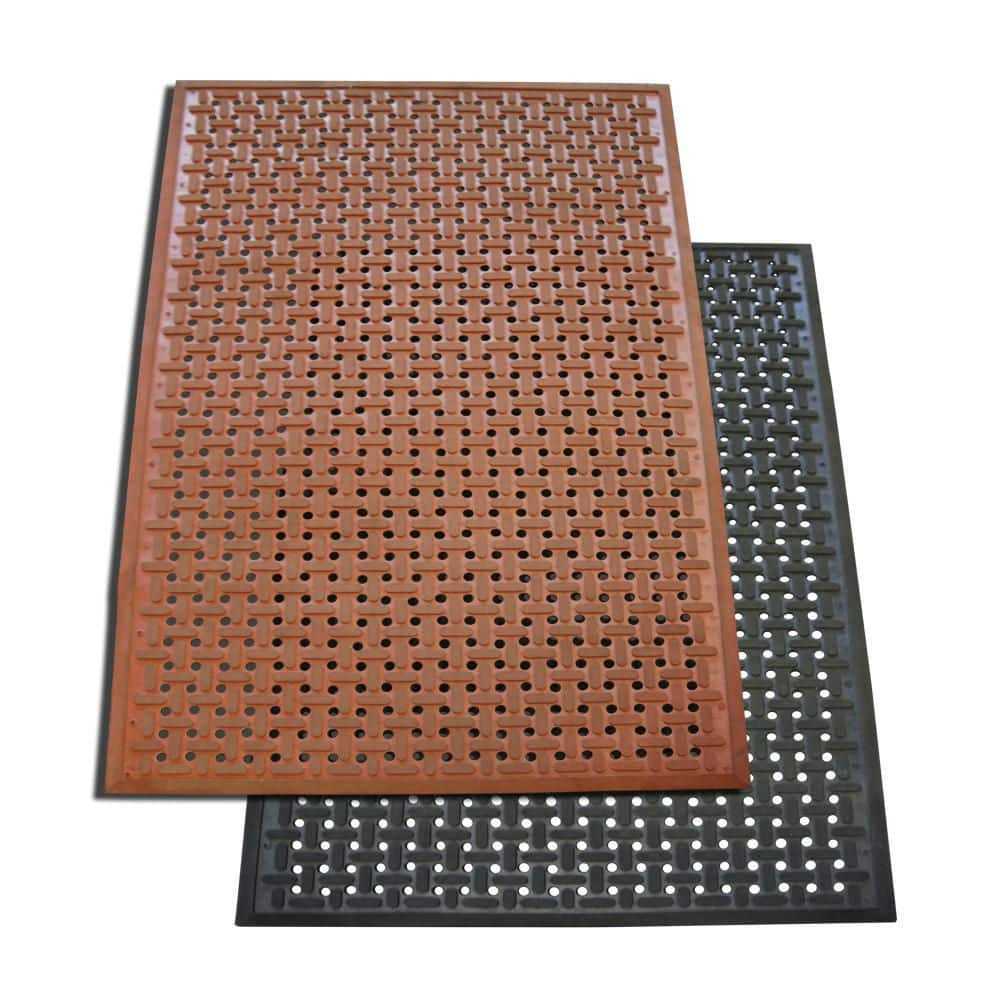
Rubber-Cal
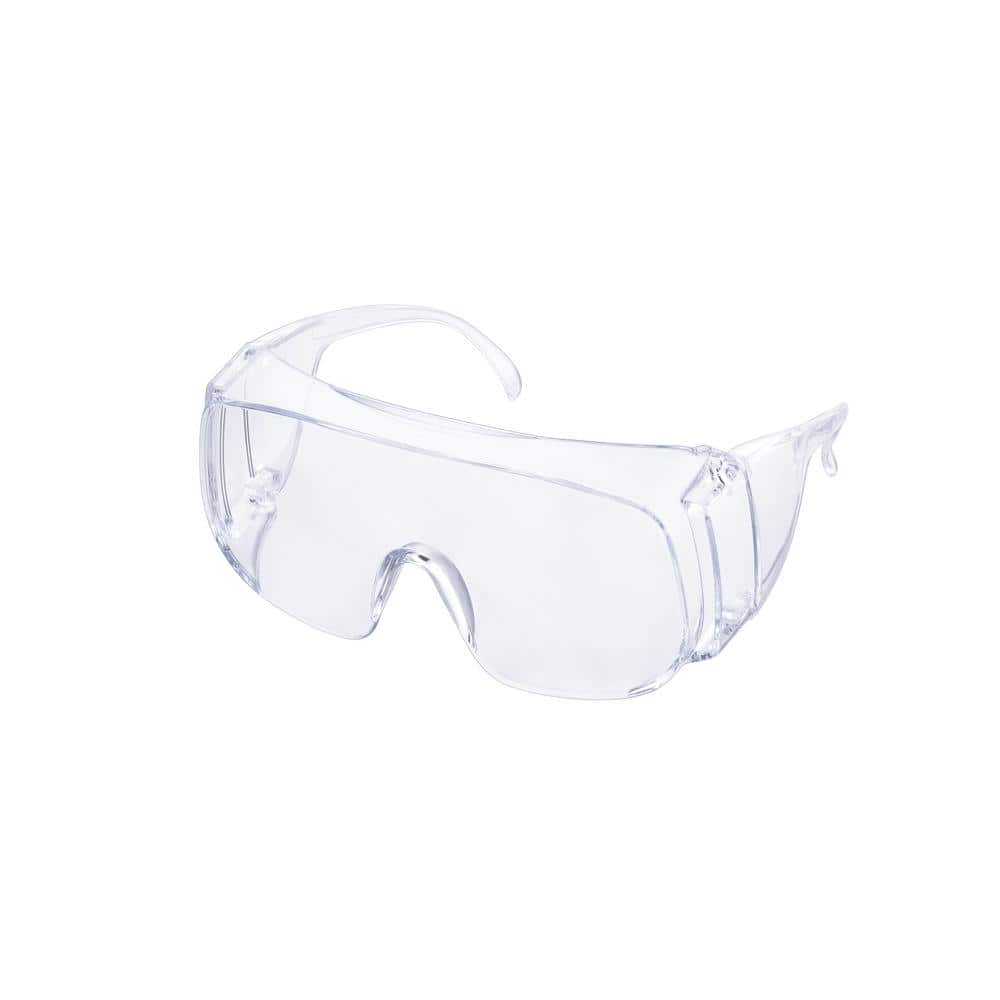
HDX Over the Glass Indoor Safety Glasses VS-265
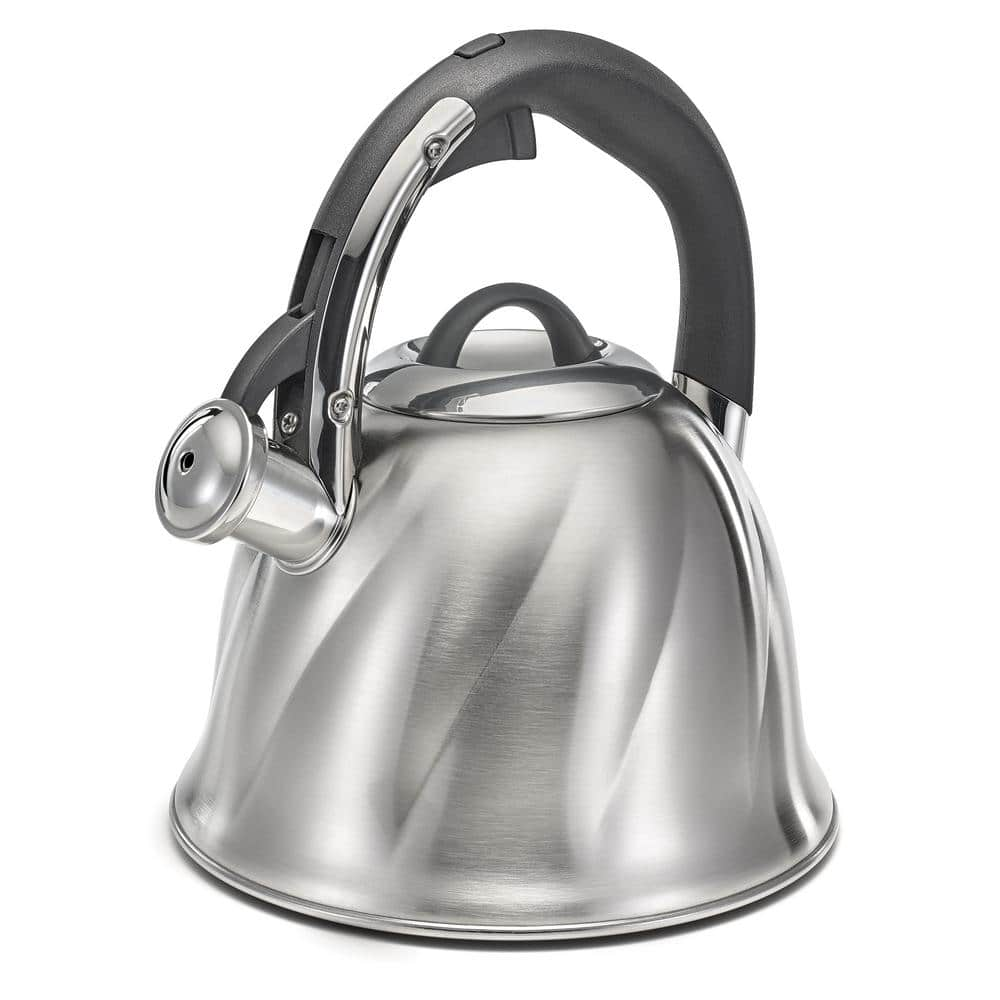
Polder 10-Cup Bell Stainless Steel Tea Kettle KTH-133-47RM

Elexnux Portable Single Burner 7.6 in. Red Infrared Ceramic Electric Stove 1200-Watt Electric Hot Plate FYDQESXY3101CR
Water
THE CLEAN STORE Cleaning Terry Towels (50-Pack) 171
Bulk Pack with 50 Towels is Ideal for Commercial Businesses, Home, Restaurants, Offices and More, Towels are Size: 12 in. x 12 in. Offers an Ideal Solution for Restaurants, Hotels, Bars, Home, Offices,
Rubber-Cal
Commercial kitchen floors can potentially be a dangerous place a restaurant. Rubber-Cal's
HDX Over the Glass Indoor Safety Glasses VS-265
Impact and scratch-resistant lenses absorb UV light Single piece polycarbonate frame suitable for use over prescription spectacles. Best suited for indoor applications Protects the eyes from particles,
Polder 10-Cup Bell Stainless Steel Tea Kettle KTH-133-47RM
The fast heating Bell Whistling Kettle combines function and style in an iconic brushed stainless-steel design. This kettle features a non-slip handle and integrated spout trigger. A great addition to
Elexnux Portable Single Burner 7.6 in. Red Infrared Ceramic Electric Stove 1200-Watt Electric Hot Plate FYDQESXY3101CR
Make your life easy and portable with our cooking plate. This handy and portable appliance offers exceptional convenience in a dorm room, apartment, while traveling, or as an extra cooking aide in your
Water
Essential for life and countless tasks.
Steps
Prepare the Work Area
5 minsBegin by clearing everything from the cabinet under the kitchen sink to give yourself ample room to work. Lay down old towels or rags on the cabinet floor to absorb any water that will inevitably spill. Put on your safety glasses to protect your eyes from splashes and a pair of rubber gloves to keep your hands clean and protected.

Apply Boiling Water
15 minsBoil a full kettle or a large pot of water. Once boiling, very carefully and slowly pour the entire amount of water directly into the clogged drain. Pouring slowly gives the hot water time to work on melting the solidified grease. Wait about 10-15 minutes, then test the drain with hot tap water. If the water starts to drain, even slowly, repeat the process with another pot of boiling water to flush more of the grease away.

Use a Plunger
10 minsIf boiling water didn't work, the next step is to use a plunger. For a double sink, securely block one of the drains with a wet rag or a sink stopper. This ensures all the pressure is directed at the clog. If you have a garbage disposal, you will be plunging the disposal side. Fill the other side of the sink with a few inches of water to create a good seal around the plunger cup. Place the cup plunger over the drain, press down to create a seal, and then vigorously pump up and down for 20-30 seconds. Pull the plunger away quickly to see if the water drains.
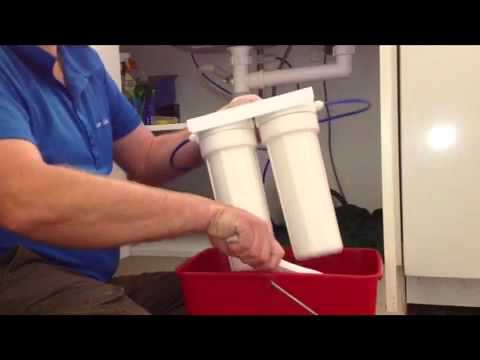
Disassemble and Clean the P-Trap
20 minsIf the clog persists, it's likely concentrated in the P-trap (the U-shaped pipe under the sink). Ensure your bucket is positioned directly under the trap. The trap is held in place by two large slip nuts. Loosen these nuts by turning them counter-clockwise. They should be hand-tight, but you may need channel-lock pliers for stubborn metal nuts. Once loose, gently wiggle the P-trap free and lower it into the bucket, draining the trapped water and gunk. Take the trap to another sink or outside and clean it thoroughly with a bottle brush, a bent coat hanger, and hot, soapy water. The clog is often a solid mass of greasy sludge that you can pull out.

Snake the Drain Line
25 minsIf the P-trap was clean or cleaning it didn't solve the problem, the clog is further down the line. With the P-trap still removed, insert the end of a manual drain snake (or auger) into the drain pipe that goes into the wall (the stub-out). Push the snake in until you feel resistance. This is likely the clog. Tighten the setscrew on the snake's handle and turn the handle clockwise while simultaneously pushing forward and pulling back slightly. This motion will either break up the clog or hook onto it so you can pull it out. Retract the snake, clean the end, and repeat if necessary. You may need to feed out several feet of cable.

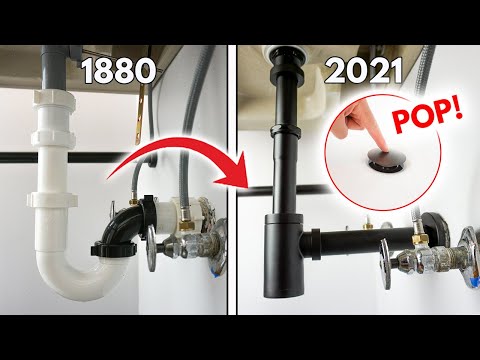
Reassemble and Test the Drain
10 minsOnce you believe the clog is cleared, carefully reassemble the P-trap, making sure the slip nuts are properly threaded and the plastic washers are seated correctly. Hand-tighten the nuts firmly. Place your dry towels back under the reassembled trap. Turn on the hot water tap and let it run for several minutes. Watch all the connections you touched for any signs of dripping. If you see a leak, you may need to tighten the slip nut a little more (no more than a quarter-turn with pliers). Once you've confirmed the drain is flowing freely and there are no leaks, you can clean up your tools and put everything back under the sink.
Common Problems
Lack of organization under the sink leads to wasted time and difficulty accessing tools.
Solution: Having an organized under-sink area makes this job much faster and easier.
Small parts can fall down the drain, making retrieval difficult.
Solution: Covering the drain is a crucial first step to avoid the frustration of losing small parts.
Failure to turn off power and water can lead to electric shock and water damage.
Solution: To avoid this issue: Be mindful of this warning and take appropriate precautions.
Water will flood your kitchen floor when disassembling drain housings.
Solution: A towel and bucket are essential to catch the water that will come out of the housings.
As the narrator mentioned breaking his pipe, be gentle. Plastic fittings can crack if you apply too much force. Hand-tight plus a quarter turn with pliers is often enough for reassembly.
Solution: To avoid this issue: Be mindful of this warning and take appropriate precautions.
Water spills out when removing the P-trap, creating a mess.
Solution: Have a bucket and rags ready before loosening the P-trap, as there will always be water inside it.
Do not pull down with excessive force, as this could damage the plumbing connections.
Solution: To avoid this issue: Be mindful of this warning and take appropriate precautions.
Frequently Asked Questions
What essential safety gear and precautions should I take before starting this project, especially when dealing with hot water and drain components?
Always wear heavy-duty latex gloves and safety glasses to protect against hot water splashes and drain grime. Lay towels or a bucket under the P-trap before disassembling to catch spills. Ensure good ventilation if using very hot water, and never pour boiling water directly into a porcelain sink as it can crack.
Can I use any dish soap for clearing a grease clog, or is a specific type more effective?
While any dish soap can help, a heavy-duty degreasing formula like Dawn Professional is most effective. Its powerful grease-cutting agents work to emulsify and break down the solidified fat and oil, allowing the hot water to flush it away more easily. Avoid using automatic dishwasher detergent, which is not designed for this purpose.
How will I know if the boiling water and dish soap method has worked, and when should I move on to more mechanical solutions like plunging or snaking?
You'll know it's worked if the water begins to drain freely and quickly. If the water still drains slowly or not at all after 2-3 attempts with boiling water and dish soap, it's time to progress to using a plunger. If plunging is ineffective, move to disassembling the P-trap, and finally snaking the drain as outlined in the steps.
What is the typical timeframe for completing this project, and how difficult is it for a beginner?
This project is rated as 'beginner' difficulty. Simple clogs addressed by boiling water and soap might take 30 minutes, while deeper clogs requiring P-trap cleaning or snaking could extend the project to 1-2 hours. Having all required tools and materials ready beforehand helps speed up the process considerably.
What are the most common mistakes beginners make when clearing a grease-clogged drain, and how can I avoid them?
A common mistake is using chemical drain cleaners, which can damage pipes and are dangerous. Another is overtightening P-trap connections when reassembling, leading to stripped threads or cracks. Always use proper safety gear, and only tighten P-trap connections by hand or with channel locks just enough to be snug, not overly tight.
What steps can I take to prevent grease clogs from forming in my kitchen drain in the future?
The best prevention is to never pour cooking grease, fat, or oil down the drain; always let it cool and dispose of it in the trash. Use a drain strainer to catch food particles, and regularly flush your drain with hot water and a squirt of dish soap to help break down any accumulating residue and keep your pipes clear.


