

How to Clear a Clogged Plumbing Vent Stack on Your Roof
About This Project
This guide provides a comprehensive, step-by-step process for safely accessing your roof, identifying the plumbing vent stack, and using common tools like a garden hose and a drain auger to clear blockages such as leaves, twigs, or animal nests. The process emphasizes safety precautions for working at heights and includes methods for testing the plumbing system afterward to ensure the clog is resolved.
Best for advanced DIYers and professionals with basic plumbing knowledge. Requires XTEND+CLIMB 12.5 ft. Aluminum Telescoping Extension Ladder (16.5 Reach Height), 250 lbs. Load Capacity ANSI Type 1 Duty Rating 770P+ and Ladder and Work Gloves.
Tools & Materials

Husky Large Heavy Duty Glove 67812-06

Shoes For Crews Men's Everlight Slip Resistant Athletic Shoes - Soft Toe - Black Size 11.5 (M) 22149-S11H
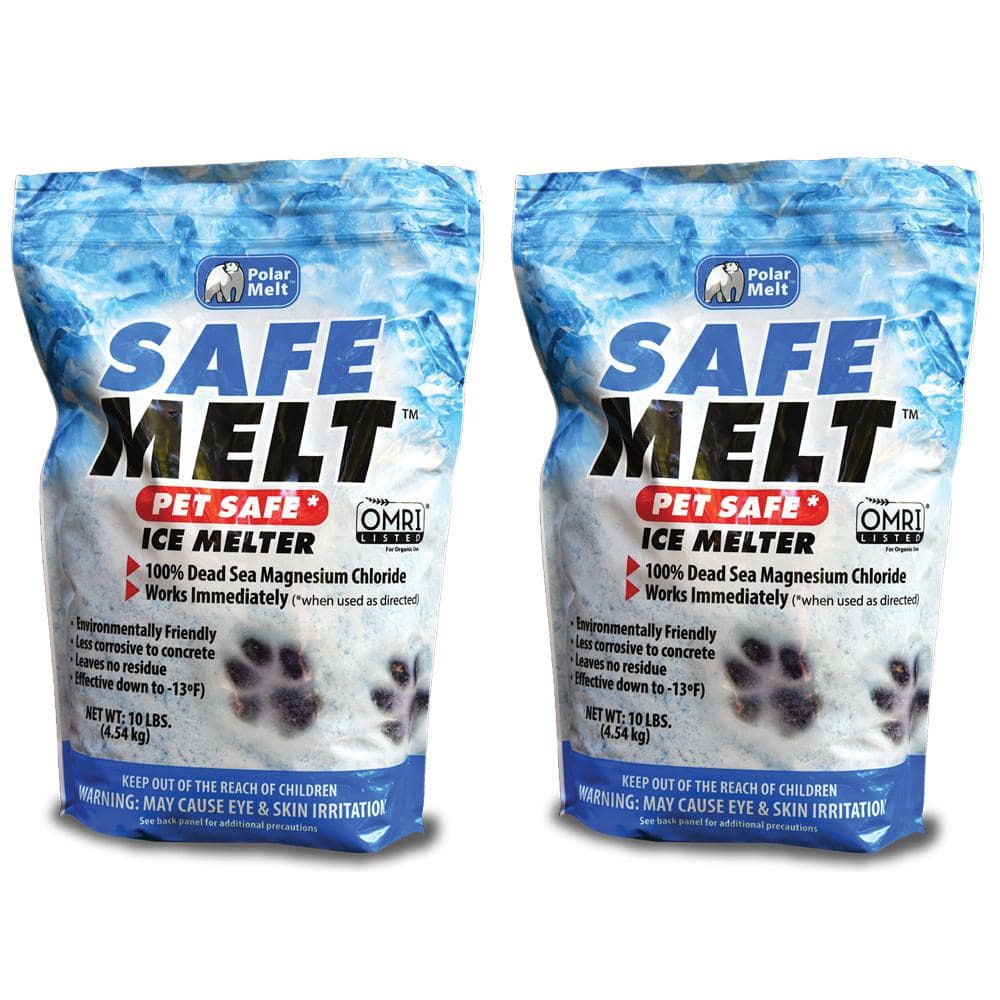
Harris 10 lbs. Safe Melt Ice Melter (2-Pack) 2SAFEMELT-10
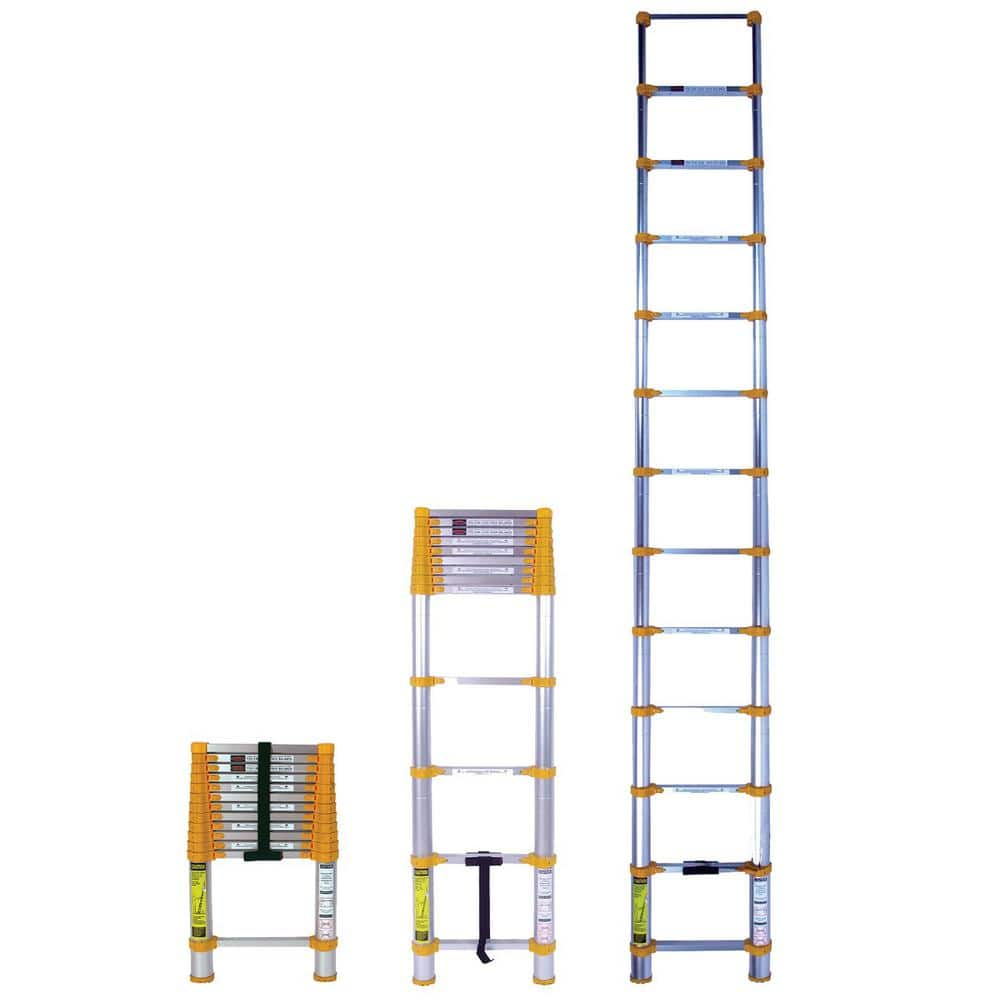
XTEND+CLIMB 12.5 ft. Aluminum Telescoping Extension Ladder (16.5 Reach Height), 250 lbs. Load Capacity ANSI Type 1 Duty Rating 770P+
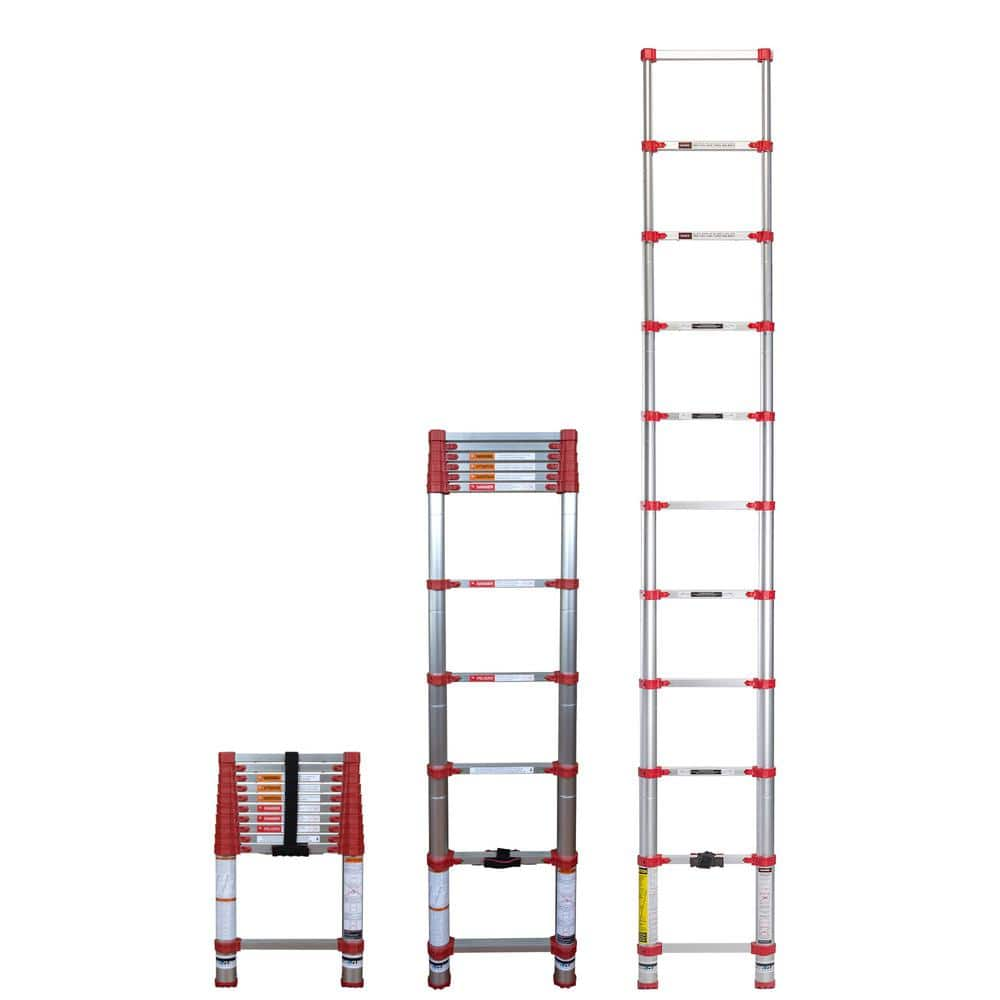
XTEND+CLIMB 10.5 ft. Aluminum Telescoping Extension Ladder (14.5 Reach Height), 250 lbs. Load Capacity ANSI Type 1 Duty Rating 760P+

XPOSE SAFETY 16 mil 15 ft. W x 15 ft. L Brown Super Heavy Duty Tarp BHD-1515-A
Husky Large Heavy Duty Glove 67812-06
Husky Heavy Duty Mechanic Gloves are form-fitting and highly breathable while offering maximum protection. The knuckle and back of hand padding is designed to offer natural hand movement with maximum protection. The synthetic leather palm provides superior durability, and also has printed non-slip silicone for a secure grip. The glove also features a double reinforced neoprene padded palm that protects from both abrasions and vibration fatigue.
Shoes For Crews Men's Everlight Slip Resistant Athletic Shoes - Soft Toe - Black Size 11.5 (M) 22149-S11H
The EVERLIGHT shoe is breathable and lightweight, giving you a lift as you speed through your workday. EVERLIGHT features our patented Easy Clean slip-resistant outsole technology. Keeping you safe on
Harris 10 lbs. Safe Melt Ice Melter (2-Pack) 2SAFEMELT-10
Harris 10 lbs. Safe Melt Ice Melter (2-Pack) instantly melts ice on driveways, sidewalks, steps, balconies, patios, walkways, roadways and more. The magnesium chloride formula makes it effective at low
XTEND+CLIMB 12.5 ft. Aluminum Telescoping Extension Ladder (16.5 Reach Height), 250 lbs. Load Capacity ANSI Type 1 Duty Rating 770P+
The Xtend+Climb 770P+ is safe, durable, and provides portable productivity. Elevate getting the job done with Xtend+Climb patented True Telescoping Technology allowing this ladder to extend smoothly and
XTEND+CLIMB 10.5 ft. Aluminum Telescoping Extension Ladder (14.5 Reach Height), 250 lbs. Load Capacity ANSI Type 1 Duty Rating 760P+
The Xtend+Climb 760P+ is safe, durable, and provides portable productivity. Elevate getting the job done with Xtend+Climb patented True Telescoping Technology which allows this ladder to extend smoothly
XPOSE SAFETY 16 mil 15 ft. W x 15 ft. L Brown Super Heavy Duty Tarp BHD-1515-A
Keep everything you own safe with Xpose Safety. Our extra heavy duty brown poly tarps will be a much-needed addition to your home or business for all sorts of safety and general protection necessities.
Steps

Prepare for Roof Safety
20 minsBefore any work begins, your absolute priority is safety. Check the weather forecast to ensure a clear, dry, and calm day. Position a sturdy extension ladder on firm, level ground, extending it at least 3 feet above the roofline for safe access. Ask a helper to act as a spotter to hold the ladder steady. Wear appropriate safety gear, including heavy-duty work gloves to protect your hands and sturdy, non-slip, soft-soled shoes or boots for maximum grip on the roof surface. If your roof has any significant pitch, a safety harness anchored to a secure point is strongly recommended.

Locate the Vent Stack
10 minsCarefully climb the ladder and step onto the roof. Move slowly and deliberately. Locate the plumbing vent stack, which is a vertical pipe protruding from the roof. It is typically made of PVC (white plastic) or cast iron (black metal) and is usually 1.5 to 4 inches in diameter. Vents are often positioned directly above a bathroom or kitchen area. There may be more than one vent stack on your roof.

Inspect and Clear Surface Debris
10 minsOnce at the vent stack, perform an initial inspection. If there is a cap, it may need to be twisted or pried off. Look down into the pipe opening, using a flashlight if necessary to see deeper. Often, the clog is near the top. Wearing your work gloves, manually remove any visible debris like leaves, twigs, animal nests, or other foreign objects. Be cautious, as there could be insects or startled animals inside.

Flush with Garden Hose
20 minsFor clogs deeper in the pipe, a garden hose can be effective. Have your helper on the ground connect a garden hose to a spigot and bring the other end up to you on the roof. Attach a spray nozzle set to a 'jet' or high-pressure stream. Insert the hose a few feet into the vent stack. Signal your helper to turn the water on at full pressure for 15-20 second bursts. The force of the water can often dislodge and flush down common clogs. Have a third person inside (or your helper) listen for the gurgling sounds to stop and for water to flow freely down the pipe.

Use Drain Auger for Stubborn Clogs
30 minsIf the garden hose fails to clear the blockage, the next step is to use a drain auger, also known as a plumber's snake. Insert the tip of the auger into the vent stack and begin feeding it down the pipe. Continue pushing until you feel resistance, which indicates you've reached the clog. Once you hit it, lock the auger cable and turn the handle clockwise. This motion will either break the clog into smaller pieces or allow the auger's corkscrew tip to hook onto the debris so you can pull it out. Work the auger back and forth to thoroughly clear the obstruction. Be careful not to be overly aggressive, which could damage the pipe, especially if it is older PVC.

Test the Plumbing System
15 minsAfter you believe the clog has been cleared, you must test the system. Have your helper go inside and flush the toilets and turn on the faucets in the sinks and tubs that were previously draining slowly. They should report back whether the gurgling has stopped and if the water is draining quickly and smoothly. For a final confirmation, you can use the garden hose to run water down the vent stack for a minute or two to ensure it flows freely without backing up. Once confirmed, replace the vent cap if there was one, clean up your tools, and carefully make your way off the roof.
Common Problems
Never work on a roof during a storm or when lightning is present. The risk of a fatal accident is extremely high.
Solution: To avoid this issue: Be mindful of this warning and take appropriate precautions.
Clog in inaccessible hose prevents faucet use.
Solution: This is a great last-resort technique before deciding to replace the entire faucet, as the clog is often in an inaccessible part of the hose.
Stand clear of the drain opening, as there is a possibility of water and debris splashing back out of the pipe.
Solution: To avoid this issue: Be mindful of this warning and take appropriate precautions.
Clog remains, causing continued drainage issues and potential backups.
Solution: You will likely hear or feel when the clog gives way. Let the water run for a few more seconds to ensure the line is fully flushed.
Clog remains, causing slow drains and sewer gas odors.
Solution: You may hear a 'whoosh' or notice the hose jerking, which can indicate the clog has been successfully dislodged.
Be prepared for some water to potentially splash back. Stand clear and operate the faucet carefully.
Solution: To avoid this issue: Be mindful of this warning and take appropriate precautions.
Working on a roof is dangerous. Use proper safety precautions, such as a sturdy ladder and appropriate footwear, or hire a professional to perform this check.
Solution: To avoid this issue: Be mindful of this warning and take appropriate precautions.
Frequently Asked Questions
What are the most critical safety precautions I need to take before getting on my roof to clear the vent stack?
Prioritize a stable ladder placement on level ground and always use non-slip footwear, like the Shoes For Crews listed, to prevent falls. Avoid working on wet, icy, or extremely windy days, and consider having a helper spot your ladder and assist. Wear heavy-duty work gloves to protect your hands from debris and potential sharp edges.
How can I be sure I've identified the correct plumbing vent stack on my roof?
Plumbing vent stacks are typically 1.5 to 4 inches in diameter and usually located directly above bathrooms, kitchens, or laundry rooms. If unsure, have someone run water in a sink or flush a toilet while you listen near the vent pipe on the roof for gurgling or suction sounds that indicate it's connected to that fixture. You can also trace visible pipes in the attic if accessible.
Do I really need a specialized drain auger, or can I clear the clog with just a garden hose?
A garden hose with a high-pressure nozzle is often effective for clearing minor clogs like leaves or small nests. However, for stubborn blockages, such as compacted debris or animal nests deeper within the pipe, the THEWORKS 3/8 in. x 25 ft. Drain Auger is essential. It allows you to physically break apart and retrieve the obstruction that water alone can't dislodge.
What should I do if flushing with the garden hose doesn't clear the clog?
If the garden hose method doesn't work, it's time to use the drain auger. Carefully insert the auger into the vent pipe, feeding it down until you meet resistance. Gently crank the auger to break up the clog, then slowly pull it back, hopefully retrieving the obstructing material. Repeat as needed, flushing with water periodically.
How difficult is this project really, and when should I consider calling a professional?
This project is rated as intermediate, primarily due to the inherent risks of working at heights on a roof. If you are uncomfortable with ladders, have a steep roof pitch, or the weather conditions are poor, it's safer to call a professional plumber. Also, if the auger doesn't clear the clog after several attempts, the obstruction might be more severe, warranting expert intervention.
After clearing the vent, what can I do to prevent future clogs?
To prevent future clogs, consider installing a vent cap, such as the Master Flow 3 in. Vent Cap, over your vent stack to keep out leaves, twigs, and small animals. Regularly inspect your roof and clear away any accumulated debris, especially after storms. A simple visual check a few times a year can save you from repeat issues.


