

How to Clean Out a Bathroom Sink P-Trap
About This Project
This guide provides comprehensive, step-by-step instructions for removing, cleaning, and reinstalling a bathroom sink P-trap to clear a clog or slow drain. The process involves preparing the area, loosening the trap's connections, cleaning out accumulated debris, and carefully reassembling the unit to ensure a leak-free seal.
Best for homeowners and DIY enthusiasts with basic plumbing knowledge. Requires Heavy Duty Latex Gloves.
Tools & Materials

Unger 6 Gal. Heavy-Duty Plastic Bucket DB02
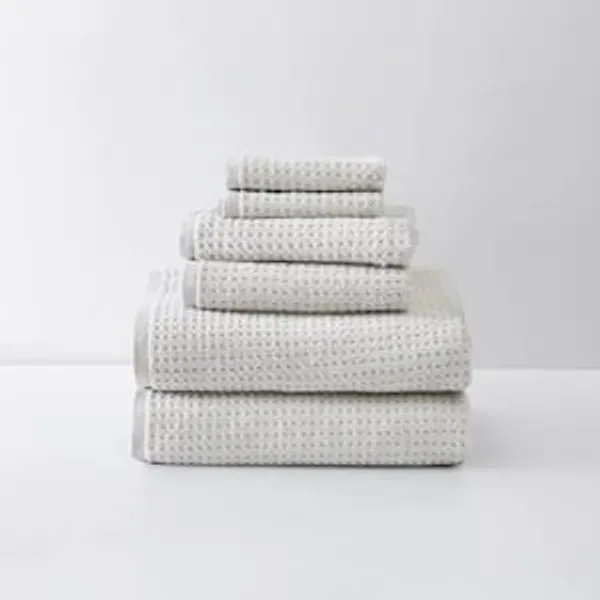
Towel
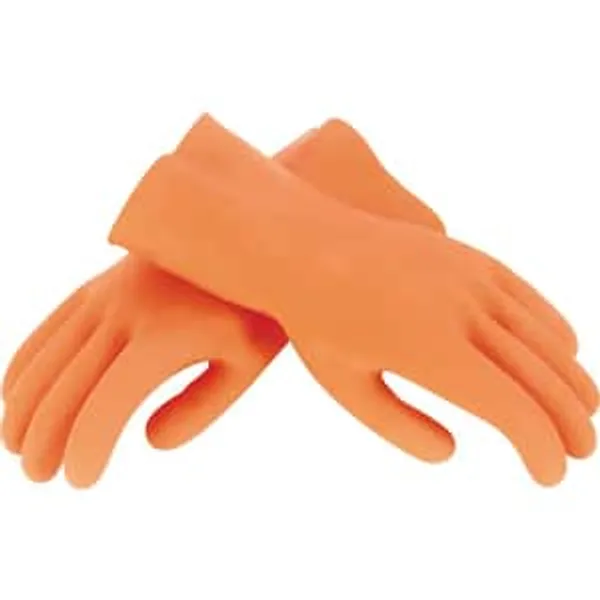
Heavy Duty Latex Gloves
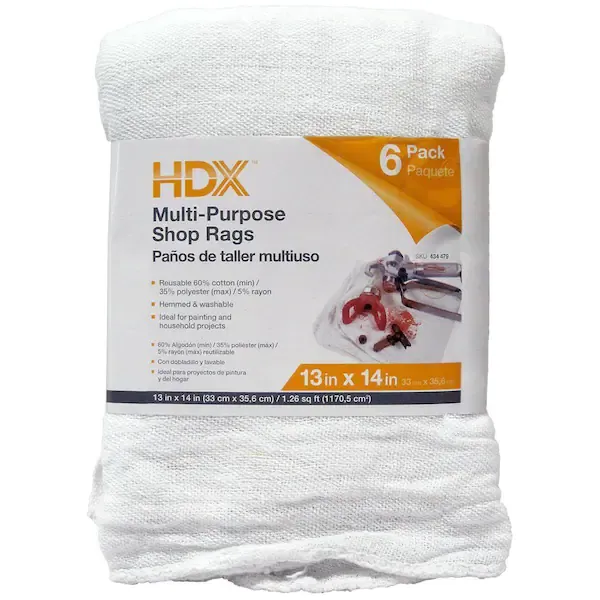
Rag

Channellock 10 in. Tongue and Groove Plier 430
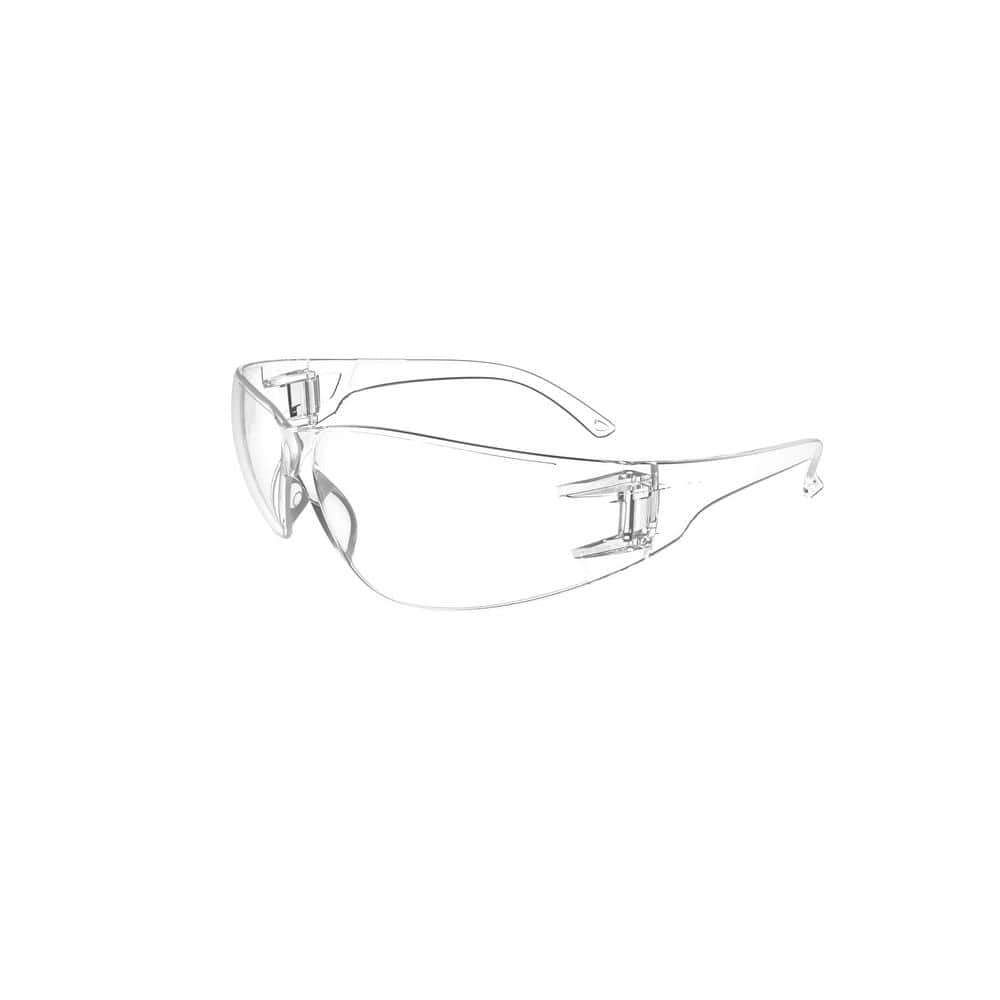
HDX Indoor Safety Glasses Clear (1-Pack) VS-9300, clear
Unger 6 Gal. Heavy-Duty Plastic Bucket DB02
The Unger 6-Gallon Heavy-Duty Professional Cleaning Bucket holds more than 6 Gal. of liquid. The bucket can accommodate a scrubber up to 14 in. L. This bucket features measurement marks and 2-pour spouts
Towel
Absorbs moisture and dries surfaces.
Heavy Duty Latex Gloves
Protection during intense tasks.
Rag
Handy for cleaning or wiping tasks.
Channellock 10 in. Tongue and Groove Plier 430
The Channellock 10 in. Straight Jaw Tongue and Groove Pliers are constructed with high-carbon steel and fashioned with laser heat-treated teeth for strong, nonslip jaw action. Undercut tongue-and-groove
HDX Indoor Safety Glasses Clear (1-Pack) VS-9300, clear
Indoor safety glasses with anti-scratch lenses absorb UV lights and protect the eyes from particles, airborne debris and most commonly encountered eye hazards. Strong wraparound, light weight PC lens offer great and comfortable eye protection for indoor projects. Meet the requirements of ANZI Z87.1.
Steps

Prepare the Workspace
5 minsBegin by completely clearing out the cabinet area beneath the bathroom sink to give yourself ample room to work. Place a bucket directly under the U-shaped bend of the P-trap. This bucket is essential for catching the water and debris that will spill out when you disconnect the trap. For extra protection against splashes, you can lay down a few old towels around the base of the bucket. Finally, put on a pair of waterproof gloves to protect your hands from the dirty water and gunk inside the pipe.

Loosen the Slip Nuts
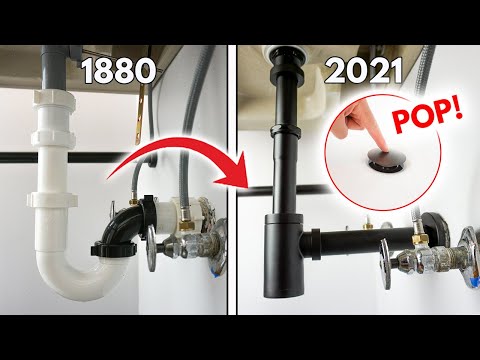
5 minsIdentify the two large slip nuts that hold the P-trap in place. One nut connects the trap to the sink's vertical tailpiece, and the other connects it to the horizontal pipe going into the wall (the trap arm). Attempt to loosen both nuts by turning them counter-clockwise (lefty-loosey) with your hands. If they are too tight, use a pair of channel-lock pliers. When using pliers on plastic nuts, it's a good practice to wrap a rag around the nut first to prevent the tool's teeth from scarring or damaging the plastic.
Remove and Empty the P-Trap
5 minsOnce both slip nuts are sufficiently loosened, they should slide freely on the pipes. Carefully pull the U-shaped trap straight down to detach it from the tailpiece and the trap arm. As you lower it, guide it over the bucket. The water and any loose debris inside the trap will immediately spill out into the bucket. Empty the entire contents of the trap into the bucket.
Clean the Components
10 minsTake the removed P-trap piece to a utility sink, or use a garden hose outside, to clean it thoroughly. Use a flexible bottle brush to scrub the interior walls of the trap, removing all the built-up hair, soap scum, and gunk. A straightened wire coat hanger with a small hook bent at the end can be very effective for pulling out stubborn clumps of hair. Rinse the trap with hot water until it is completely clean. Before reinstalling, use a rag or the brush to quickly clean the end of the sink's tailpiece and the opening of the wall pipe, removing any accessible debris.

Reassemble the P-Trap
5 minsSlide the P-trap back into its original position, aligning it with the tailpiece and the trap arm. Ensure that the plastic or rubber slip joint washers are in place on both pipes. The tapered side of the washer should face the flared end of the connecting pipe to create a proper seal. Thread the slip nuts back on by hand, turning them clockwise. Hand-tightening first prevents cross-threading. Once they are snug, you can use channel-lock pliers to give them a final quarter-turn to secure them. Do not over-tighten.

Test for Leaks
5 minsKeep the bucket and towels in place under the newly reassembled trap. Turn on the hot water at the sink faucet and let it run for at least one full minute. This action will fill the P-trap with water, establishing the water seal that prevents sewer gases from entering the room, and will thoroughly test your connections under pressure. While the water is running, carefully observe and feel around both slip nut connections for any signs of dripping or moisture. If a leak is detected, turn off the water and try tightening the leaking nut slightly. If it persists, you may need to disassemble that joint to check the washer's seating and the pipe alignment. Once you have confirmed there are no leaks, you can remove the bucket and towels and clean up your work area.
Common Problems
Leaky P-trap connections go unnoticed.
Solution: Use a dry paper towel to wipe around the connections; it will make even the smallest drop of water easy to spot.
The pop-up stopper won't engage with the drain rod.
Solution: When re-inserting the pop-up stopper, make sure the hole at the bottom faces the back of the sink so the pivot rod can pass through it.
Check carefully for leaks at all connections after turning the water back on.
Solution: To avoid this issue: Be mindful of this warning and take appropriate precautions.
An improperly seated or dirty washer is the most common cause of leaks after reassembly. Double-check their condition and orientation.
Solution: To avoid this issue: Be mindful of this warning and take appropriate precautions.
Stuck P-trap nuts won't budge without a wrench.
Solution: The rag provides the extra grip needed to break the seal on a hand-tightened nut without using a wrench.
Leaking P-trap connections due to loose or overtightened nuts.
Solution: Hand-tighten the nuts first. If there are any drips after testing, use channel-lock pliers to give them a slight quarter-turn, but be careful not to overtighten and crack the plastic.
Be careful not to over-tighten the locknut, which could damage the gaskets or the strainer.
Solution: To avoid this issue: Be mindful of this warning and take appropriate precautions.
Frequently Asked Questions
What essential safety gear should I use when cleaning a bathroom sink P-trap?
Always wear safety gloves and eye protection to shield yourself from dirty water, potential splashes of grime, and any old cleaning agents that might still be present. This project can be messy, so protecting your hands and eyes is crucial for hygiene and safety.
How long does this P-trap cleaning project typically take for a beginner, and what's the approximate cost?
This project is rated for beginners and typically takes about 90 minutes. The cost is minimal if you already own basic tools like pliers and a bucket; you might only need to purchase new slip nuts and washers if the old ones are worn, which are inexpensive.
Do I need specialized plumbing tools for this, or can I use basic household items?
While basic items like a bucket and towels are essential, you will need specific tools such as Channellock Tongue and Groove Pliers to loosen the slip nuts effectively. A flexible bottle brush is also highly recommended for thoroughly cleaning out debris inside the P-trap.
What are common mistakes to avoid during reassembly to prevent leaks after cleaning the P-trap?
The most common mistakes are misaligning the flanged washers or overtightening/undertightening the slip nuts. Ensure the washers are correctly seated, hand-tighten the slip nuts first, then use pliers for a final snug turn without stripping the threads. Always run water and test for leaks immediately afterward.
What should I do if the P-trap is extremely difficult to loosen or if it appears old and damaged?
If the slip nuts are seized, try applying penetrating oil and letting it sit before attempting to loosen them with your Channellock pliers. If the P-trap itself shows signs of cracking, corrosion, or significant damage, it's often more effective and safer to replace it entirely with a new unit like the PermaFLOW ABS Slip Joint P-Trap.
Why is it important to have a bucket and plenty of towels ready before I start this project?
Preparing your workspace with a bucket directly beneath the P-trap and having towels on hand is critical to catch residual water and accumulated sludge that will drain out once the trap is loosened. This prevents water damage and keeps your bathroom clean during the process.


