
How to Adjust a Water Pressure Reducing Valve (PRV)
About This Project
This procedure outlines the process of testing and adjusting a home's water pressure reducing valve (PRV) to ensure the water pressure is within a safe and optimal range (typically 50-60 PSI). This involves using a pressure gauge, locating the valve, and making small, incremental adjustments.
Best for homeowners and DIY enthusiasts with basic plumbing knowledge.
Tools & Materials
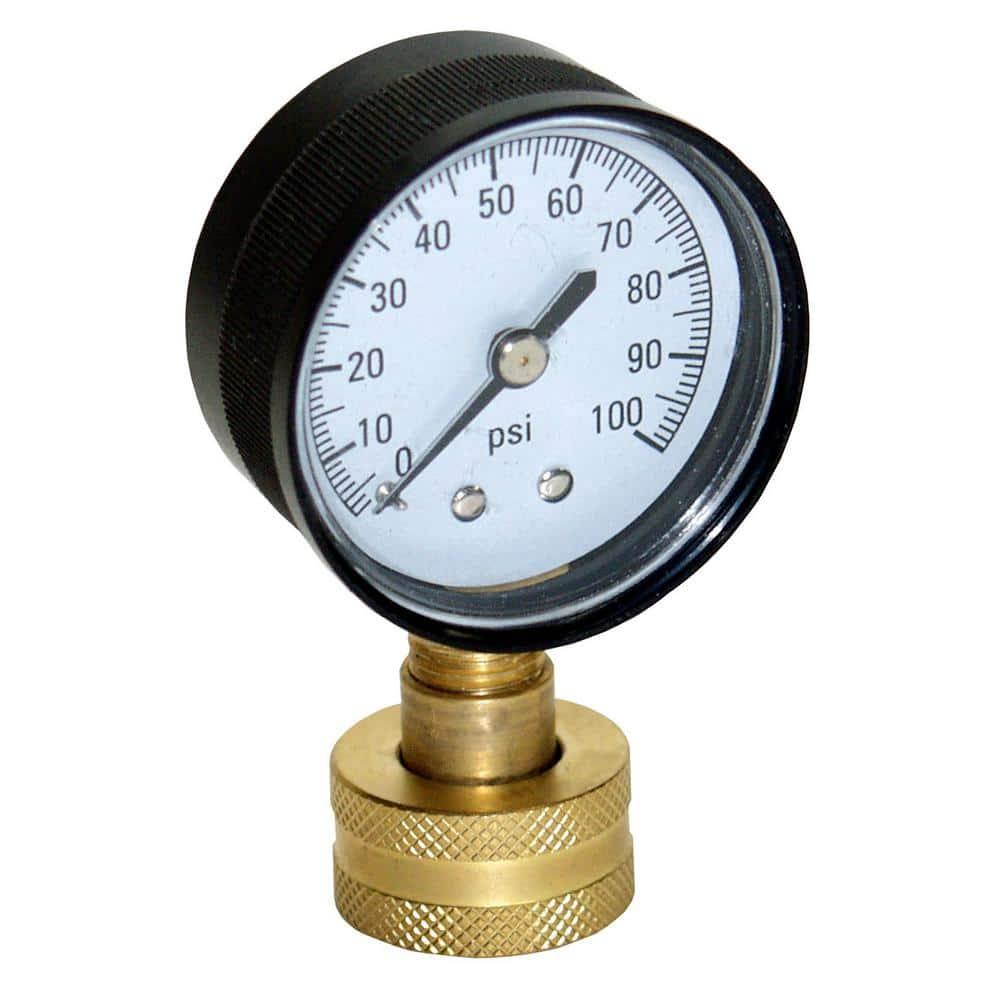
Water Source Water Test Pressure Gauge WSPGH100

Adjustable Wrench
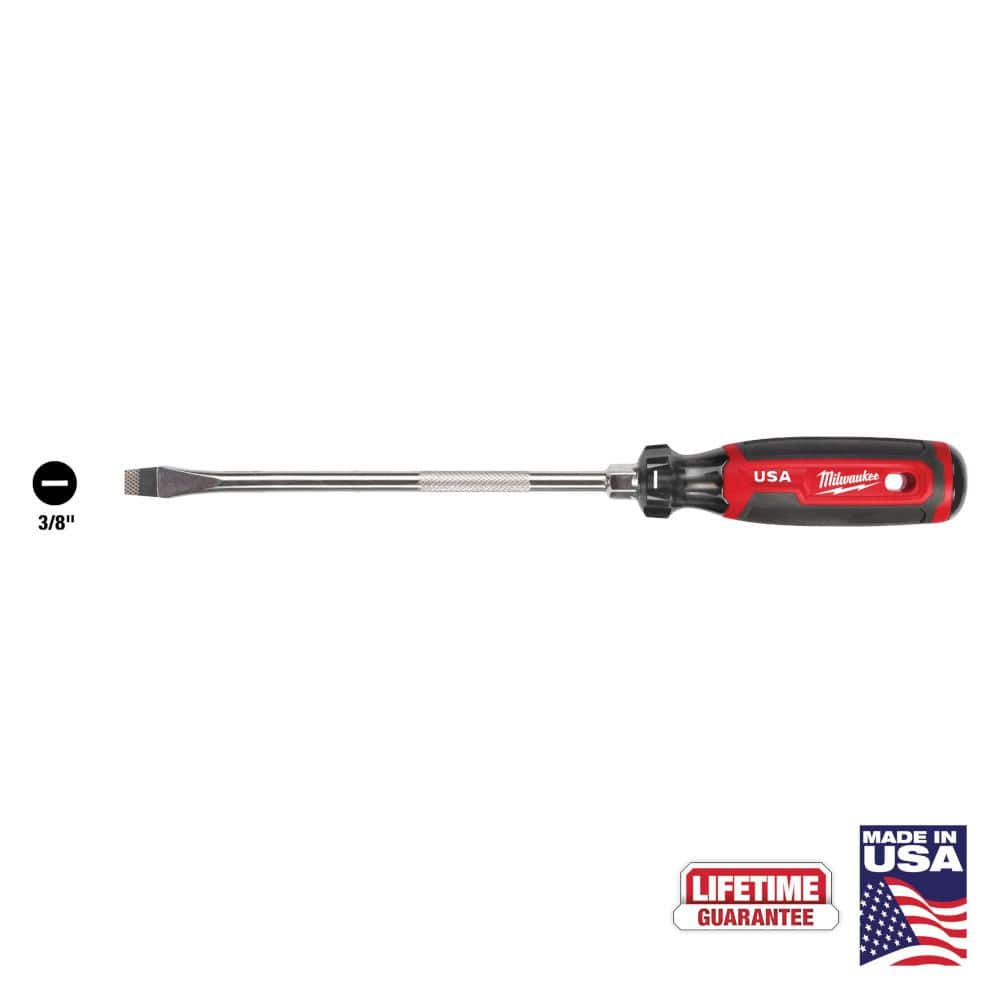
Milwaukee 8 in. x 3/8 in. Slotted Flat Head Screwdriver with Cushion Grip MT209
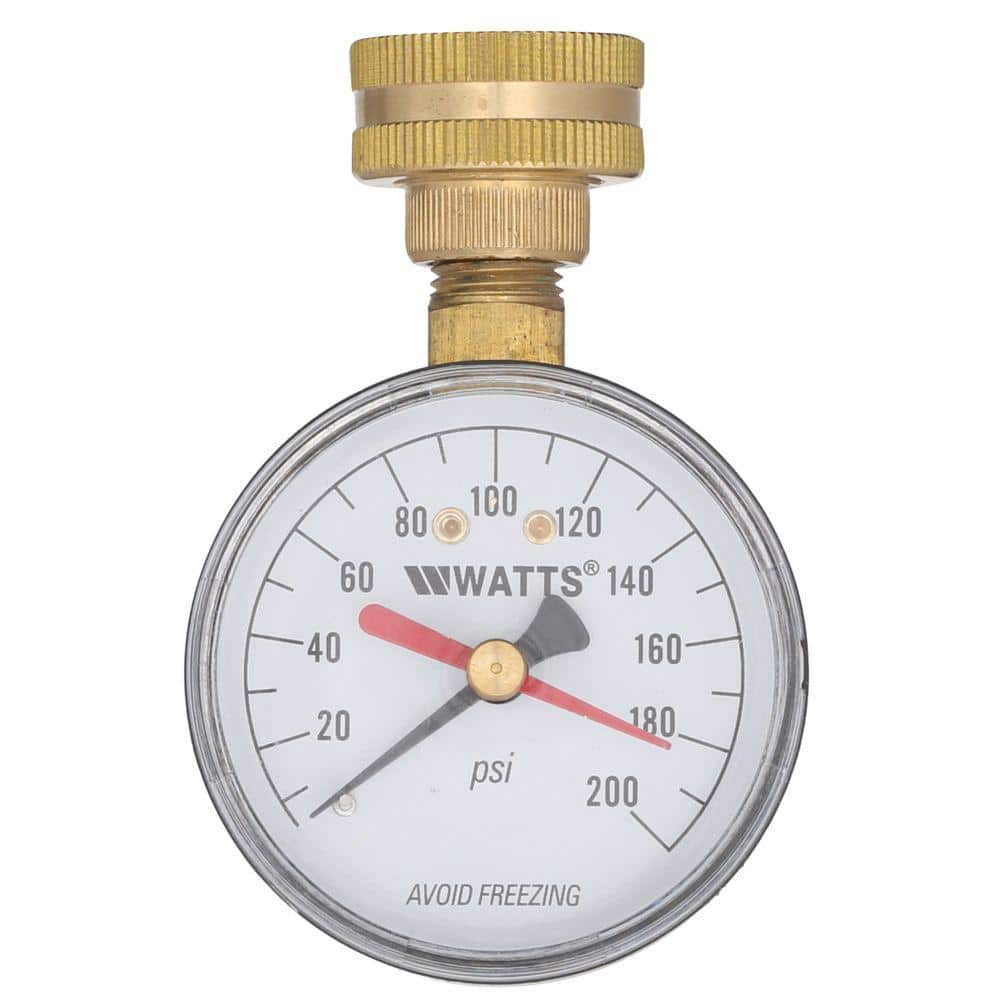
Watts 3/4 in. Plastic Water Pressure Test Gauge DP IWTG
DANCO 5/8 in. Hose Washers (10-Pack) 80787
Milwaukee 4 in. x 1/4 in. Slotted Flat Head Screwdriver with Cushion Grip MT206
Water Source Water Test Pressure Gauge WSPGH100
This 100 psi Water Pressure Test Gauge attaches to a garden hose bib to verify water pressure or check for leaks in the system. Glass casing provides an easy to read display. It's easy to install.
Adjustable Wrench
Fits various nut and bolt sizes with its adjustable jaw.
Milwaukee 8 in. x 3/8 in. Slotted Flat Head Screwdriver with Cushion Grip MT209
The Milwaukee® 3/8" Slotted 8" Cushion Grip Screwdrivers (USA) are manufactured to give the professional the best-fitting screwdriver with max grip. These screwdriver tips are custom machined to deliver
Watts 3/4 in. Plastic Water Pressure Test Gauge DP IWTG
When you choose this hose connection gauge, you can rest assured that you're getting a quality product to test water supply pressures within a distribution system. Its red indicator hand holds at the highest reading registered for detection of thermal expansion pressure surges. Rubber garden hose washer included. Easy to install, no tools are required.
DANCO 5/8 in. Hose Washers (10-Pack) 80787
These Danco round rubber hose washers are ideal for replacing worn-out washers when a hose is leaking. Rubber washers help prevent leaking water by providing a solid seal. When repairing your washing machine or garden hose, these washers are the right part for the repair project. They are constructed of a long-lasting and corrosion resistant durable rubber.
Milwaukee 4 in. x 1/4 in. Slotted Flat Head Screwdriver with Cushion Grip MT206
The Milwaukee® 1/4" Slotted 4" Cushion Grip Screwdrivers (USA) are manufactured to give the professional the best-fitting screwdriver with max grip. These screwdriver tips are custom machined to deliver
Steps

Preparation and Tool Gathering
5 minsBefore beginning, ensure you have all the necessary tools. This prevents interruptions during the process. You will need a water pressure gauge to measure the pressure, an adjustable wrench to handle the locknut, and a flathead screwdriver for the adjustment screw. Check that your pressure gauge is in good working order and that its threads are clean.

Test Initial Water Pressure
5 minsTo get an accurate baseline, you must test the system's static pressure. First, ensure no water is running anywhere in the house—turn off all faucets, and make sure appliances like washing machines or dishwashers are not in use. Locate an outdoor hose bib or the cold water connection for your washing machine. Screw the water pressure gauge tightly onto the threads by hand. Open the faucet or valve fully. The needle on the gauge will jump up and settle on the current static pressure reading. Note this number. A typical residential pressure should be between 40-80 PSI.

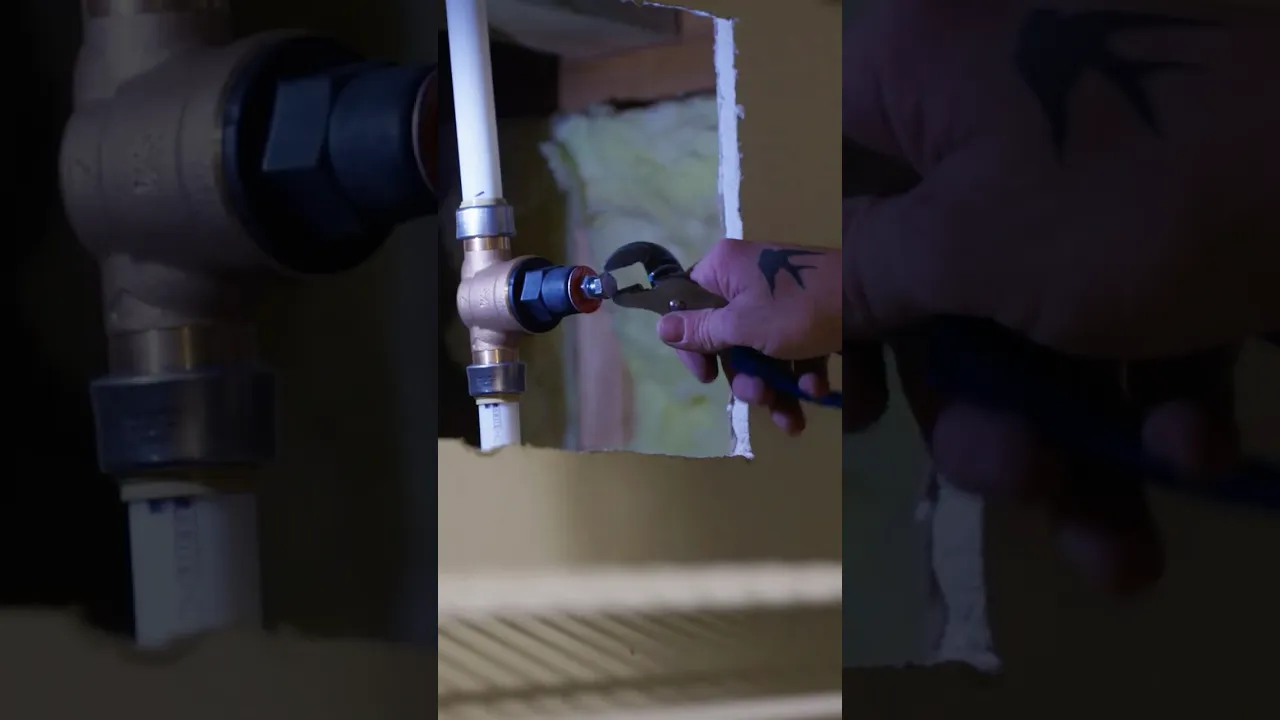
Loosen the PRV Locknut
5 minsLocate the water pressure reducing valve. It is a brass, bell-shaped device installed on the main water line, typically just after the main shutoff valve and water meter. On top of the 'bell' housing, you will find the adjustment mechanism, which consists of a long threaded screw (the adjustment screw) and a nut at its base (the locknut). Using your adjustable wrench, turn the locknut counter-clockwise to loosen it. You only need to loosen it a few turns to allow the adjustment screw to move freely.

Adjust the Pressure Screw
5 minsWith the locknut loose, you can now adjust the pressure. Use a flathead screwdriver to turn the adjustment screw. To DECREASE the pressure (as per our assumed goal), turn the screw COUNTER-CLOCKWISE. To INCREASE the pressure, you would turn it CLOCKWISE. Make only a small adjustment, such as a one-quarter to one-half turn, at a time. This prevents drastic changes and allows for fine-tuning.

Test and Re-adjust
10 minsAfter making an adjustment, you need to test the new pressure setting. Go to a faucet inside or outside the house (it can be the same one the gauge is on) and open it for 15-30 seconds. This allows the water to flow, equalizing the pressure in the system to the new setting on the PRV. Close the faucet and check the reading on your water pressure gauge. If the pressure is still too high or you've gone too low, repeat Step 4 and this step until you achieve your desired pressure. The ideal range for most homes is 50-60 PSI.

Secure the Adjustment and Finalize
5 minsOnce you have successfully set the water pressure to your desired level (50-60 PSI), you must lock in the setting. Use the flathead screwdriver to hold the adjustment screw perfectly still so it doesn't turn. While holding it, use the adjustable wrench to tighten the locknut by turning it CLOCKWISE until it is snug against the bell housing of the valve. Do not over-tighten, but ensure it is secure enough to prevent the adjustment screw from vibrating or moving over time. Once tightened, remove the pressure gauge and close the faucet.
Common Problems
Lowering pressure has an extra step: you must have a faucet cracked open to relieve the existing pressure in the lines for the adjustment to take effect.
Solution: To avoid this issue: Be mindful of this warning and take appropriate precautions.
Over-adjusting the PRV can lead to inconsistent or damaging water pressure.
Solution: Make small, incremental adjustments and check the gauge frequently.
PRV adjustments are inaccurate without water flow.
Solution: To accurately set the pressure, a faucet should be slightly open somewhere in the house while you make adjustments.
Incorrectly turning the PRV screw leads to either too low or too high water pressure.
Solution: Turning the adjusting screw clockwise compresses the internal spring, which results in higher downstream pressure.
Do not increase pressure above the maximum recommended PSI for your home's plumbing and appliances, which is typically 80 PSI.
Solution: To avoid this issue: Be mindful of this warning and take appropriate precautions.
Always make small adjustments and check the gauge frequently to avoid over-pressurizing the system.
Solution: To avoid this issue: Be mindful of this warning and take appropriate precautions.
PRV adjusted too aggressively, causing inconsistent or incorrect water pressure.
Solution: Make small, quarter-turn adjustments and re-test the pressure after each adjustment.
Frequently Asked Questions
Why is it important to use a water pressure gauge for this project?
A water pressure gauge is crucial because it provides an accurate reading of your home's current water pressure. Without it, you cannot precisely determine if your pressure is too high or too low, making proper adjustment impossible. It ensures you meet the recommended 50-60 PSI range and helps prevent damage to your plumbing system.
What are the potential risks if I don't adjust my water pressure to the recommended range?
Ignoring incorrect water pressure can lead to significant problems. High pressure can cause pipes to burst, damage expensive appliances like water heaters and dishwashers, and wear out faucets prematurely. Low pressure, conversely, can lead to frustratingly weak showers and slow filling times for fixtures, impacting daily comfort and efficiency.
How long does it typically take to adjust a PRV, and is it truly a beginner-friendly DIY task?
Adjusting a PRV usually takes 15-30 minutes, especially if the valve is easily accessible. This project is considered beginner-friendly because it primarily involves locating the valve, using a simple pressure gauge, and making small, controlled adjustments with basic tools. Patience and incremental changes are key to success.
My water pressure isn't changing after I've turned the adjustment screw. What could be the issue?
First, ensure the locknut on the PRV is fully loosened before attempting to turn the adjustment screw. If the pressure still doesn't change after several turns in either direction, the PRV itself might be faulty or stuck. In such cases, the valve may need to be repaired or replaced by a professional plumber.
Do I need to turn off my main water supply before adjusting the water pressure reducing valve?
Generally, you do not need to turn off the main water supply to simply adjust a PRV. The adjustment screw operates internally to change the pressure setting without interrupting the main flow. However, it's always wise to know the location of your main shut-off valve in case of an unexpected issue or if future replacement is needed.
Are there specific tools I need, or can I use alternatives for the listed adjustable wrench and screwdrivers?
While specific brands are listed as recommendations, the essential tools are an adjustable wrench for the locknut and a flat head screwdriver for the adjustment screw. Ensure your adjustable wrench can grip the locknut securely, and your screwdriver fits the adjustment screw head properly to avoid stripping. A reliable water pressure gauge is non-negotiable for accurate results.


