
How to Adjust a Water Pressure Reducing Valve (PRV)
About This Project
This guide provides comprehensive, step-by-step instructions for testing and adjusting a residential water pressure reducing valve (PRV). The process involves measuring the existing water pressure, locating the PRV, making incremental adjustments to its settings, and re-testing until the desired pressure level is achieved.
Best for homeowners and DIY enthusiasts with basic plumbing knowledge.
Tools & Materials
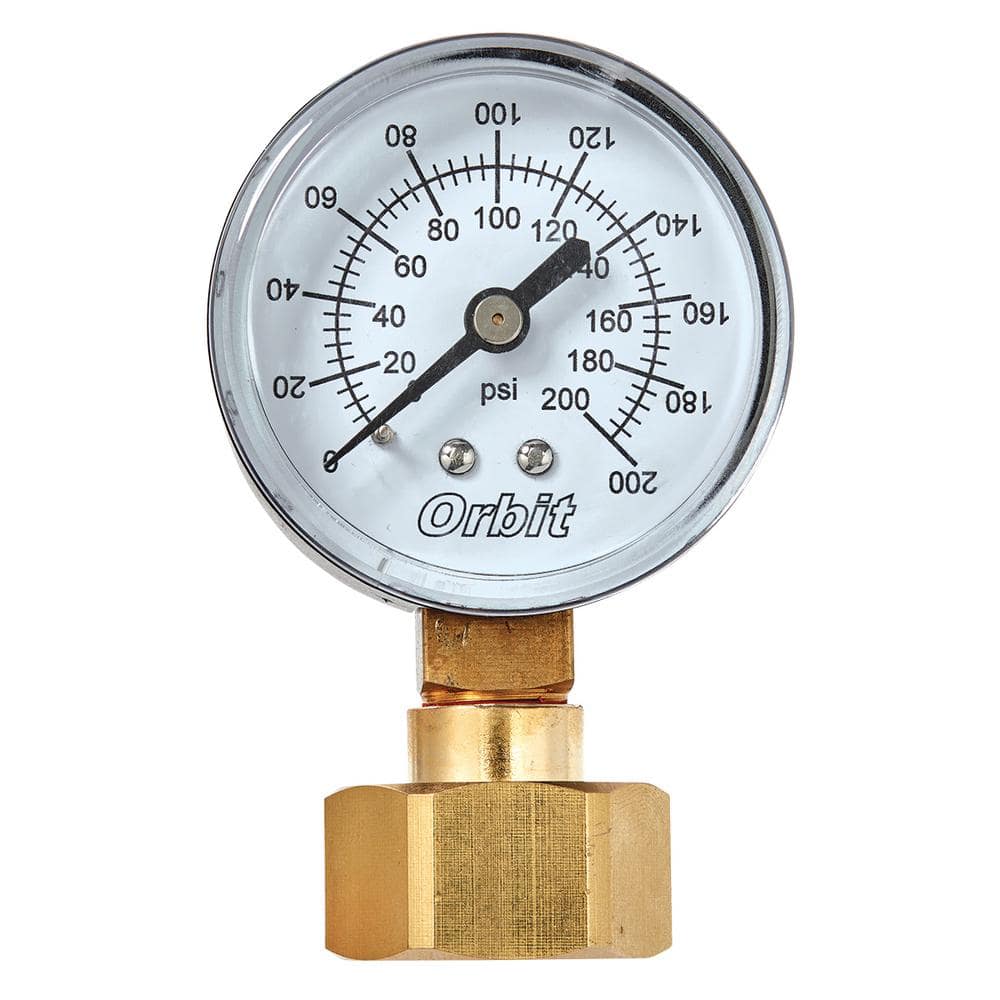
Orbit Pressure Gauge 91130
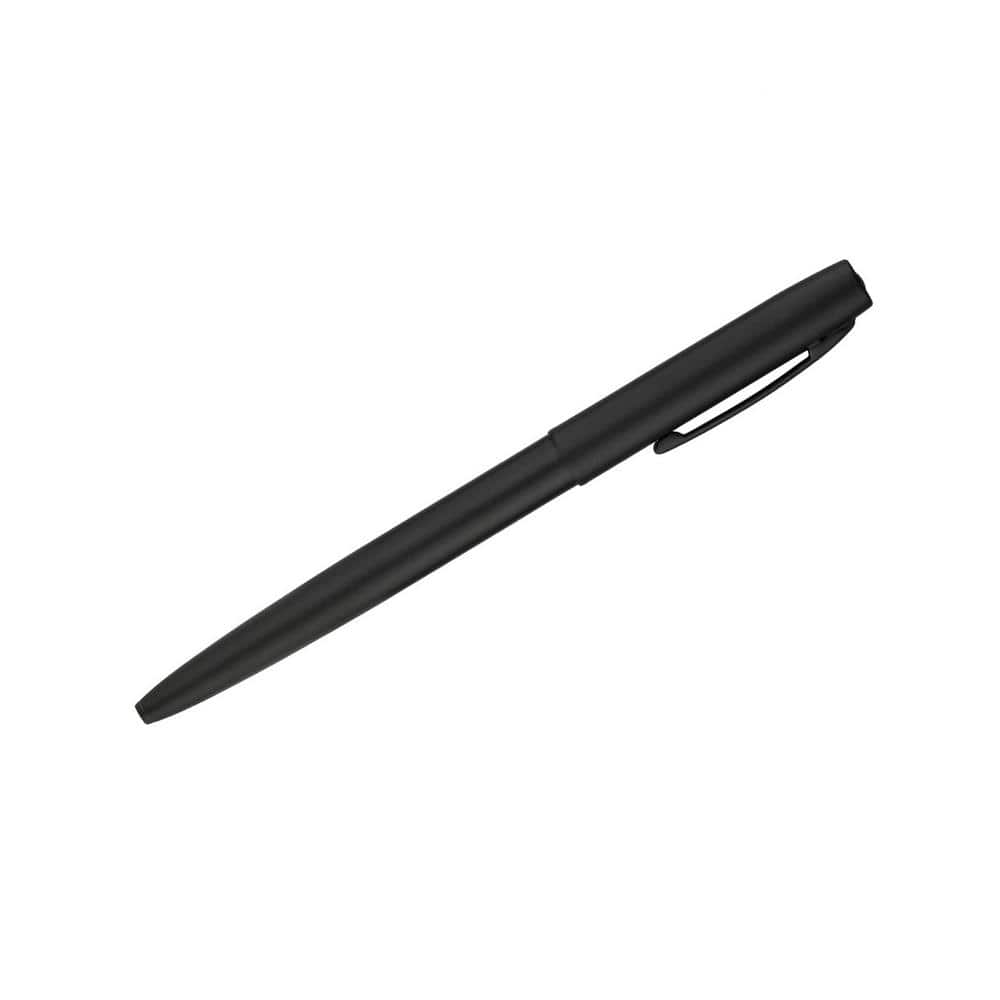
Rite in the Rain Weatherproof Black Metal Clicker Pen, Black Ink (2-Pack) 97-2

Adjustable Wrench
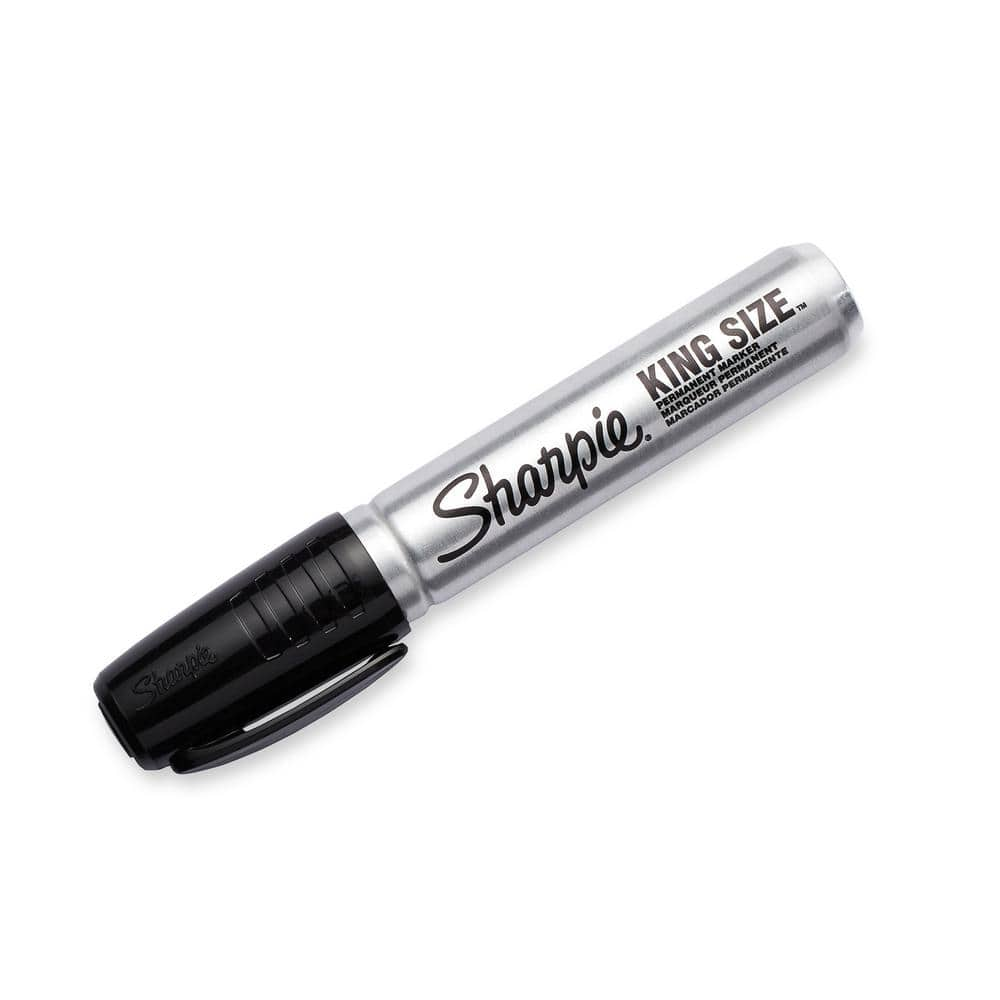
Sharpie King Size Black Permanent Marker (3 per Pack) 2003570
Channellock 12 in. Tongue and Groove Slip Joint Pliers 440
HDX 3-1/4 in. 6-in-1 Screwdriver 120SD12D
Orbit Pressure Gauge 91130
The Orbit 3/4 in. female hose thread (FHT) pressure gauge is engineered to measure water pressure up to 200 psi. It is constructed from high-quality materials, including a metal case, plastic face, precision
Rite in the Rain Weatherproof Black Metal Clicker Pen, Black Ink (2-Pack) 97-2
Pencils will work great on Rite in the Rain All-Weather Paper but sometimes you need a pen. This All-Weather Plastic Clicker Pen writes on wet paper and upside down, the pressurized ink cartridge performs
Adjustable Wrench
Fits various nut and bolt sizes with its adjustable jaw.
Sharpie King Size Black Permanent Marker (3 per Pack) 2003570
Pro King Size permanent markers by Sharpie provide the industrial strength needed for the toughest applications. The markers feature an incredibly durable chisel tip that can use on a variety of surfaces.
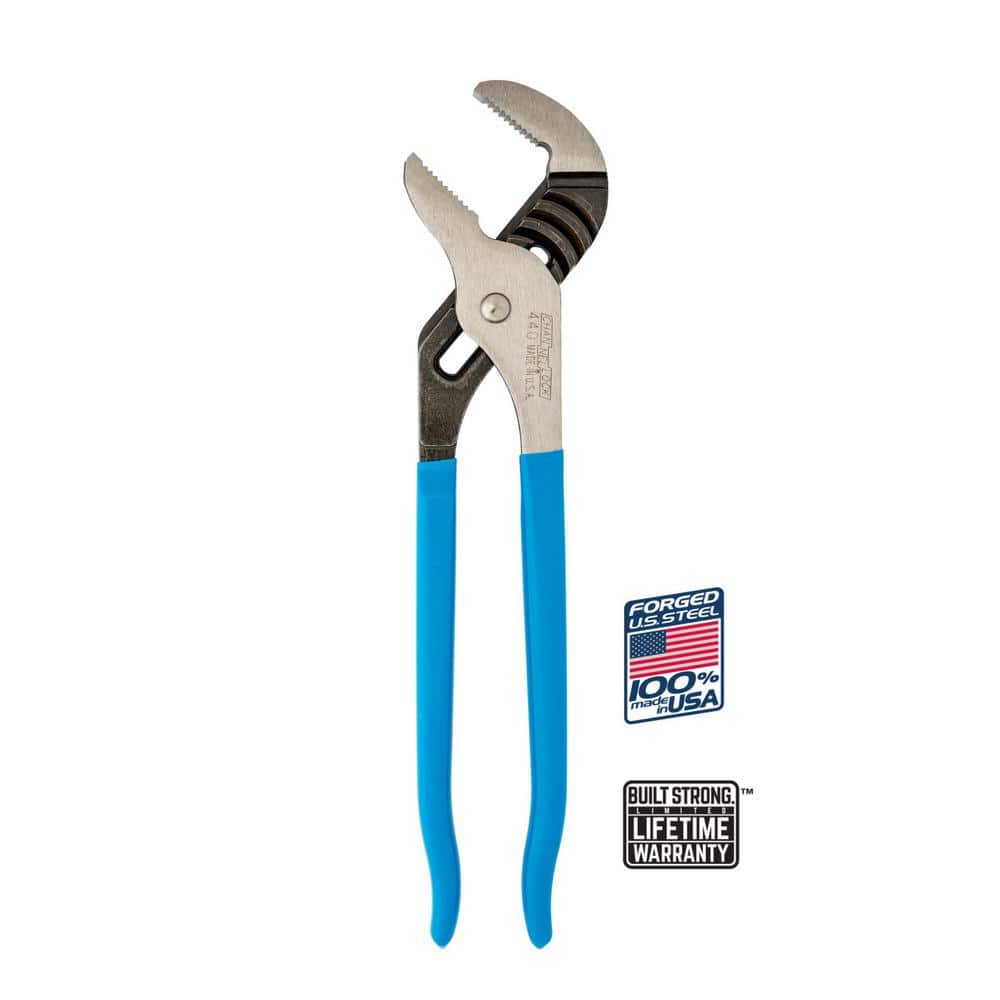
Channellock 12 in. Tongue and Groove Slip Joint Pliers 440
The Channellock 12 in. Straight Jaw Tongue and Groove Pliers are constructed with high-carbon C1080 steel. The tool is fashioned with laser heat-treated teeth that clamp down perpendicularly for strong,
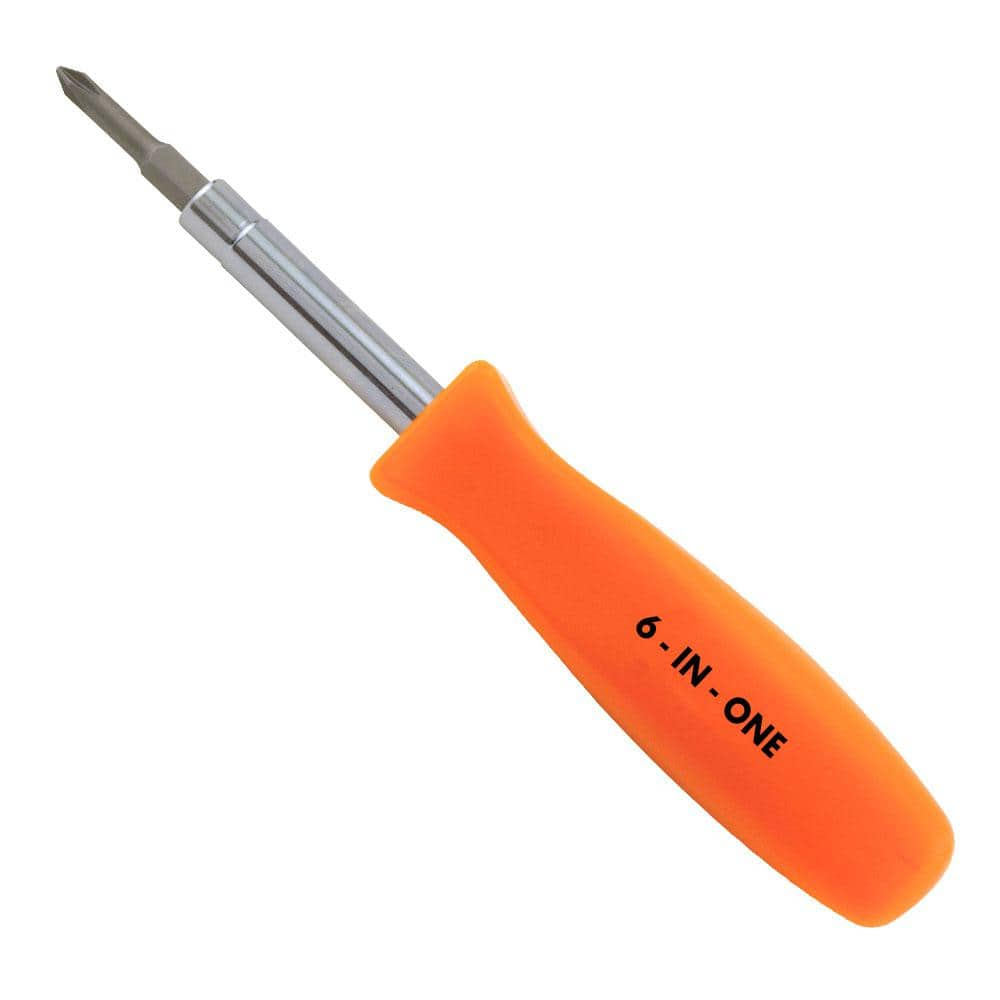
HDX 3-1/4 in. 6-in-1 Screwdriver 120SD12D
The HDX 3-1/4 in. 6-in-1 Screwdriver features double-sided bits with the four most common screwdriver tip styles, including a #1 Phillips bit, a #2 Phillips bit, a 3/16 in. flathead bit and a 1/4 in. flathead bit. Both ends of the shaft can be used as 1/4 in. nut drivers when the bits are removed, offering convenient, versatile use. The high-visibility orange handle makes the handy tool easy to find on a job site or in a toolbox.
Steps

Test Initial Water Pressure
5 minsThe first critical step is to establish a baseline measurement of your home's current water pressure. First, ensure no water is running anywhere in the house (e.g., toilets, faucets, showers, washing machine). Locate an exterior hose bib (spigot) or an indoor laundry sink faucet. Screw the water pressure gauge onto the faucet's threads, ensuring a snug, hand-tight connection. Open the faucet all the way. The needle on the gauge will immediately display the home's static water pressure in PSI (pounds per square inch). Note this number down. A reading above 75-80 PSI is too high and confirms the need for adjustment.

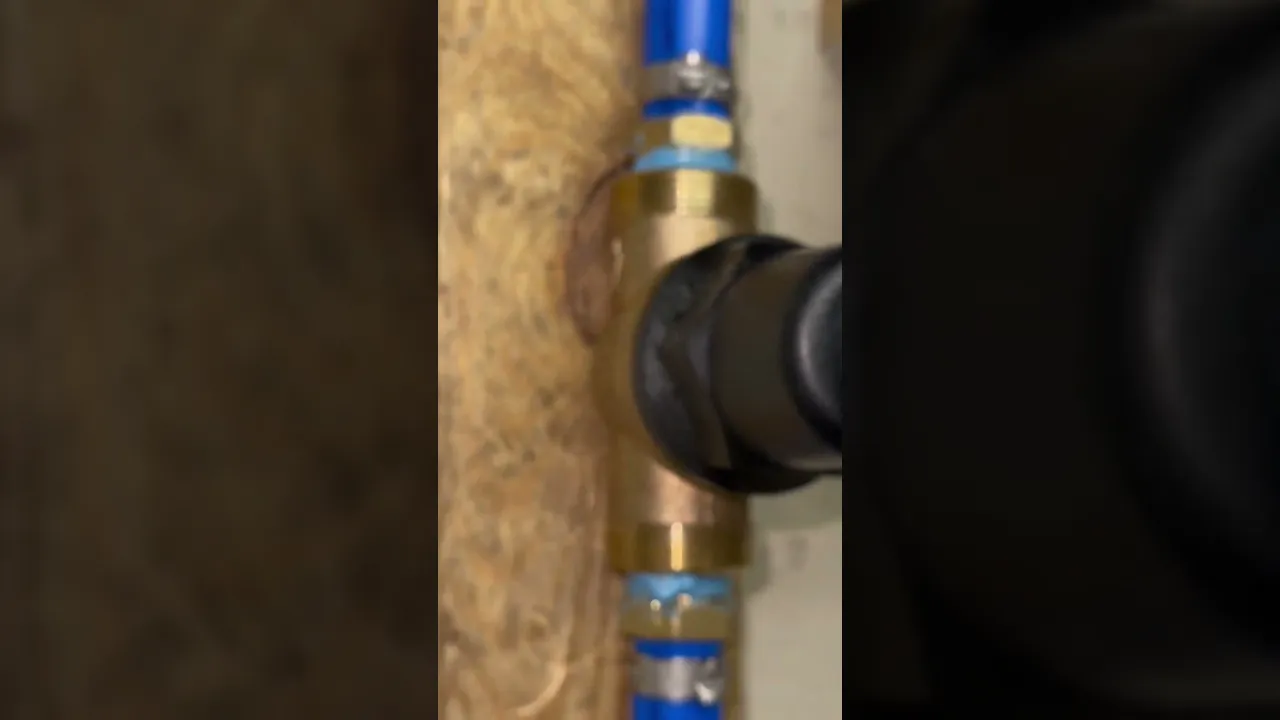
Locate PRV and Loosen Locknut
5 minsLocate the water pressure reducing valve. It is typically a bell-shaped brass valve installed on the main water line shortly after the main shut-off valve and the water meter. Once you've identified the PRV, examine the top of the 'bell'. You will see an adjustment mechanism, which in this case consists of a threaded bolt protruding from the top and a separate locknut around its base. Before making any changes, it's wise to mark the current position of the bolt with a permanent marker. Use an adjustable wrench or a pair of channel-lock pliers to loosen the locknut. You'll need to turn the locknut counter-clockwise. You may need to hold the adjustment bolt steady with a second tool (like a screwdriver or another wrench) while loosening the nut to prevent it from turning.

Adjust the Pressure
2 minsWith the locknut loosened, you can now adjust the pressure. To decrease the water pressure (our goal), use a wrench or screwdriver to turn the adjustment bolt counter-clockwise ('lefty-loosey'). To increase pressure, you would turn it clockwise ('righty-tighty'). Make only a small adjustment at first—a quarter-turn or half-turn is sufficient. It is crucial not to make large adjustments at once, as this can cause a dramatic and unpredictable change in pressure.

Test the Adjusted Pressure
5 minsAfter making an adjustment, you must test the pressure again to see the result. However, the system's pressure won't update until water has flowed through the valve. Go to a faucet inside the house (ideally on an upper floor) and turn it on for about 20-30 seconds. This allows water to flow through the newly adjusted PRV and stabilizes the pressure throughout your home's plumbing. Turn the faucet off, then return to your water pressure gauge. The needle will now show the new, adjusted static pressure. Compare this reading to your initial measurement and your target pressure (50-60 PSI).

Repeat Adjustments and Finalize
10 minsIt is unlikely you will hit the perfect pressure on the first try. You will need to repeat the adjustment and testing cycle. Go back to the PRV, turn the adjustment bolt another small increment (Step 3), then go run a faucet and re-test the pressure (Step 4). Continue this iterative process until the gauge consistently reads within your target range of 50-60 PSI. Once you are satisfied with the pressure, the final step is to secure your setting. While holding the adjustment bolt stationary with one tool, use your wrench to tighten the locknut by turning it clockwise. It should be snug, but do not overtighten it, as this can damage the threads. Once the locknut is tight, the adjustment is complete. You can now remove the pressure gauge from the faucet.
Common Problems
Inaccurate static pressure readings if water is running.
Solution: Ensure no water is running in the house to get an accurate static pressure reading.
Leaky gauge or inaccurate pressure readings.
Solution: Ensure the gauge is screwed on tightly to the spigot to get an accurate, leak-free reading.
Water pressure above 75 PSI can damage plumbing and appliances.
Solution: Residential water pressure should typically be between 50 and 75 PSI.
No gauge means you can't accurately set PRV.
Solution: Water pressure gauges are inexpensive and can be found in the lawn sprinkler section of most hardware stores.
Incorrect water pressure can damage pipes and appliances.
Solution: If you don't have an inline gauge, a simple screw-on gauge for a hose bib is an inexpensive and effective tool.
Incorrectly adjusting the PRV screw can lead to dangerously high water pressure.
Solution: Turning the adjusting screw clockwise compresses the internal spring, which results in higher downstream pressure.
Do not increase pressure above the maximum recommended PSI for your home's plumbing and appliances, which is typically 80 PSI.
Solution: To avoid this issue: Be mindful of this warning and take appropriate precautions.
Frequently Asked Questions
How long does this project typically take, and is it really suitable for a DIY beginner?
Adjusting a PRV usually takes 30-60 minutes once you have the right tools and understand the steps. It is considered beginner-friendly as it primarily involves turning a bolt and monitoring a gauge. The main challenge is patience with incremental adjustments rather than complex plumbing skills.
Do I need a specific type of pressure gauge, or will any pressure gauge work for this project?
Yes, a specialized water pressure gauge that attaches to an outdoor spigot or washing machine hookup is essential for accurate readings. The Orbit Pressure Gauge 91130 or Water Source WSPGH100 are ideal for this. Using a generic or inaccurate gauge can lead to incorrect pressure settings, potentially damaging your plumbing.
What if I adjust the PRV but don't see any change in my water pressure?
If there's no change, first ensure your gauge is properly attached and functioning, and that you've loosened the locknut before turning the adjustment screw. The PRV itself might be faulty, clogged, or too old to respond to adjustments. In such cases, the PRV may need to be repaired or replaced by a professional plumber.
Are there any safety precautions I should take, or things I should absolutely avoid when adjusting the PRV?
Always make small, incremental adjustments (quarter turns at a time) to avoid sudden, drastic pressure changes that could stress your plumbing system. Never overtighten or force the adjustment screw, as this can damage the valve. Ensure the locknut is securely tightened after making adjustments to prevent the setting from drifting.
Why is it important to adjust my water pressure, and what is the ideal pressure range for a residential home?
Proper water pressure protects your plumbing fixtures and appliances from premature wear, leaks, and potential pipe bursts, while also optimizing water flow for daily use. The ideal residential water pressure range is typically between 50-70 PSI (pounds per square inch). Pressures consistently above 80 PSI are considered excessive and damaging.
My PRV is old and looks corroded. Should I still try to adjust it, or is it time for a replacement?
If your PRV is visibly corroded, leaking, or very old (typically 10-15+ years), attempting to adjust it might cause more issues or fail to work properly. It's often more cost-effective and safer in the long run to replace a failing PRV rather than try to salvage it. Consider consulting a plumber for a professional assessment and replacement.


