

How to Adjust a Water Pressure Reducing Valve (PRV)
About This Project
A comprehensive guide to testing and adjusting a residential Water Pressure Reducing Valve (PRV) to achieve the optimal water pressure of 50-60 PSI. This process involves taking an initial pressure reading, making incremental adjustments to the valve's set screw, and re-testing until the target pressure is met.
Best for homeowners and DIY enthusiasts with basic plumbing knowledge and familiarity with power tools.
Tools & Materials
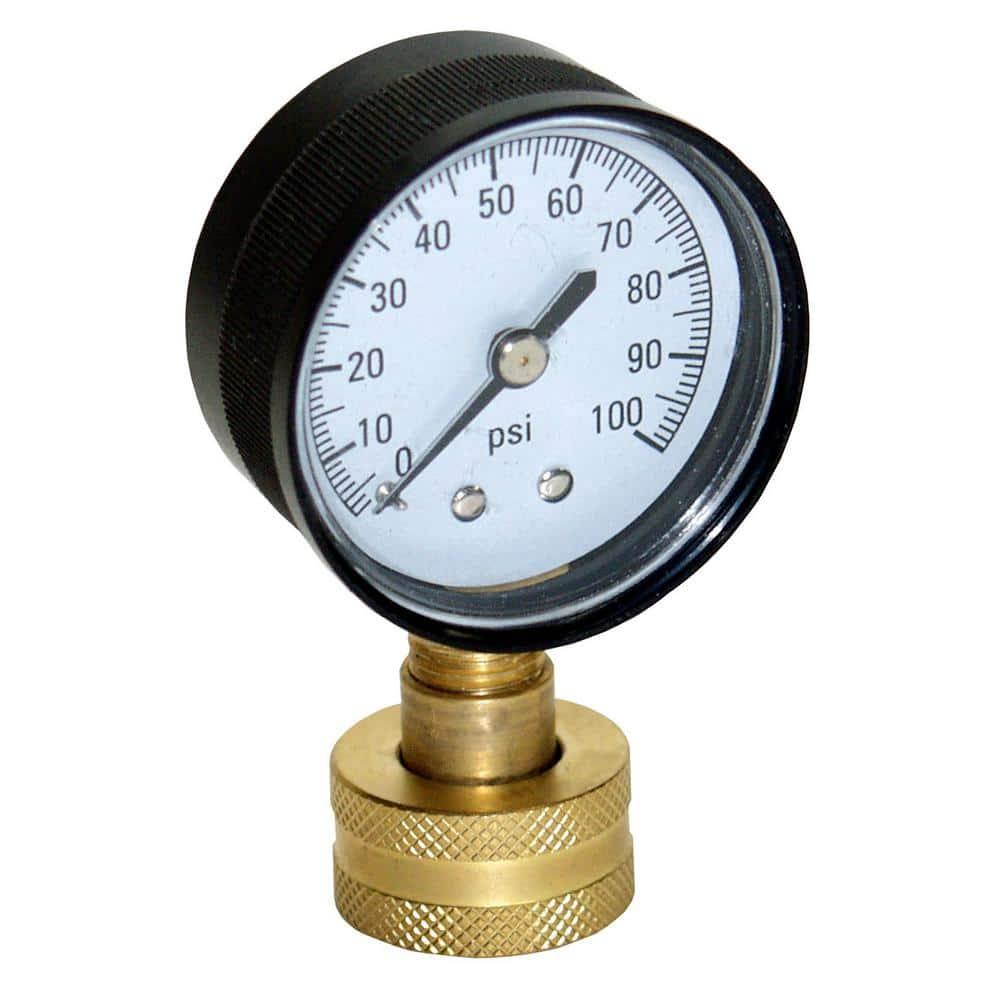
Water Source Water Test Pressure Gauge WSPGH100

Adjustable Wrench
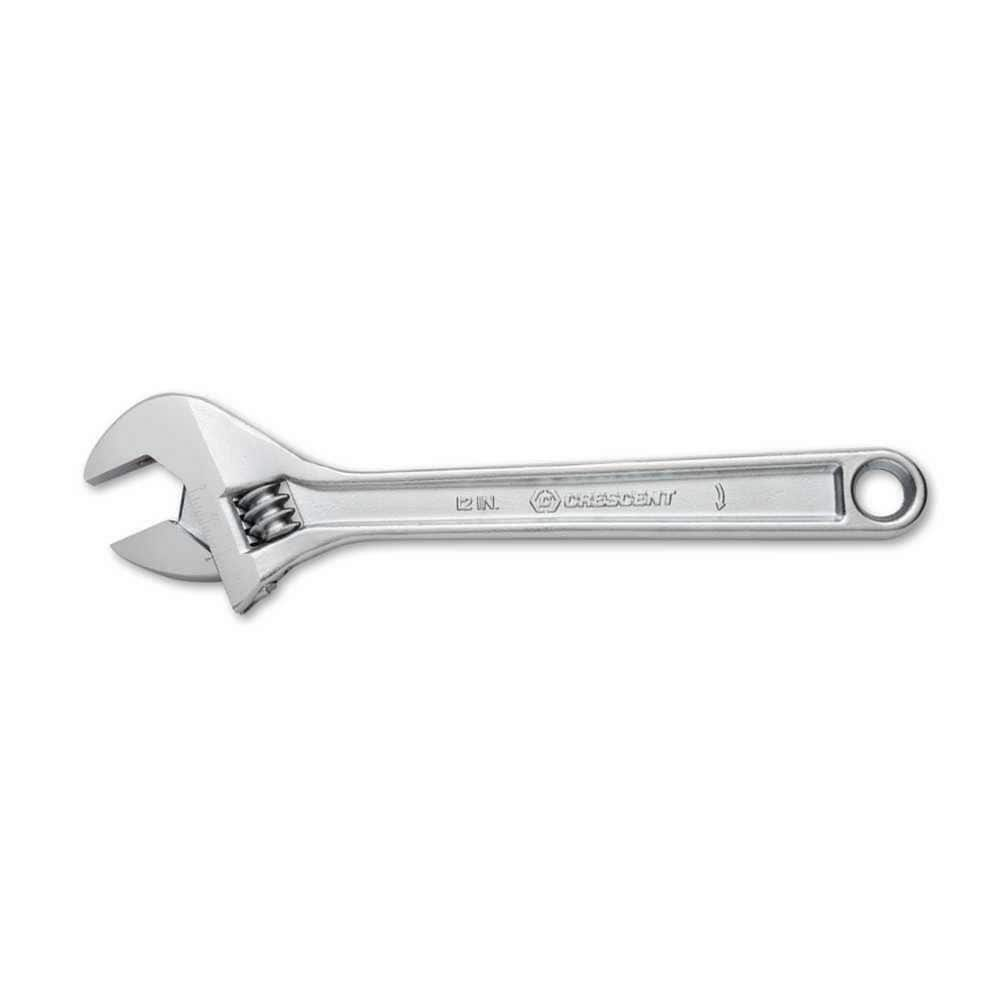
Crescent 12 in. Chrome Adjustable Wrench AC212VS
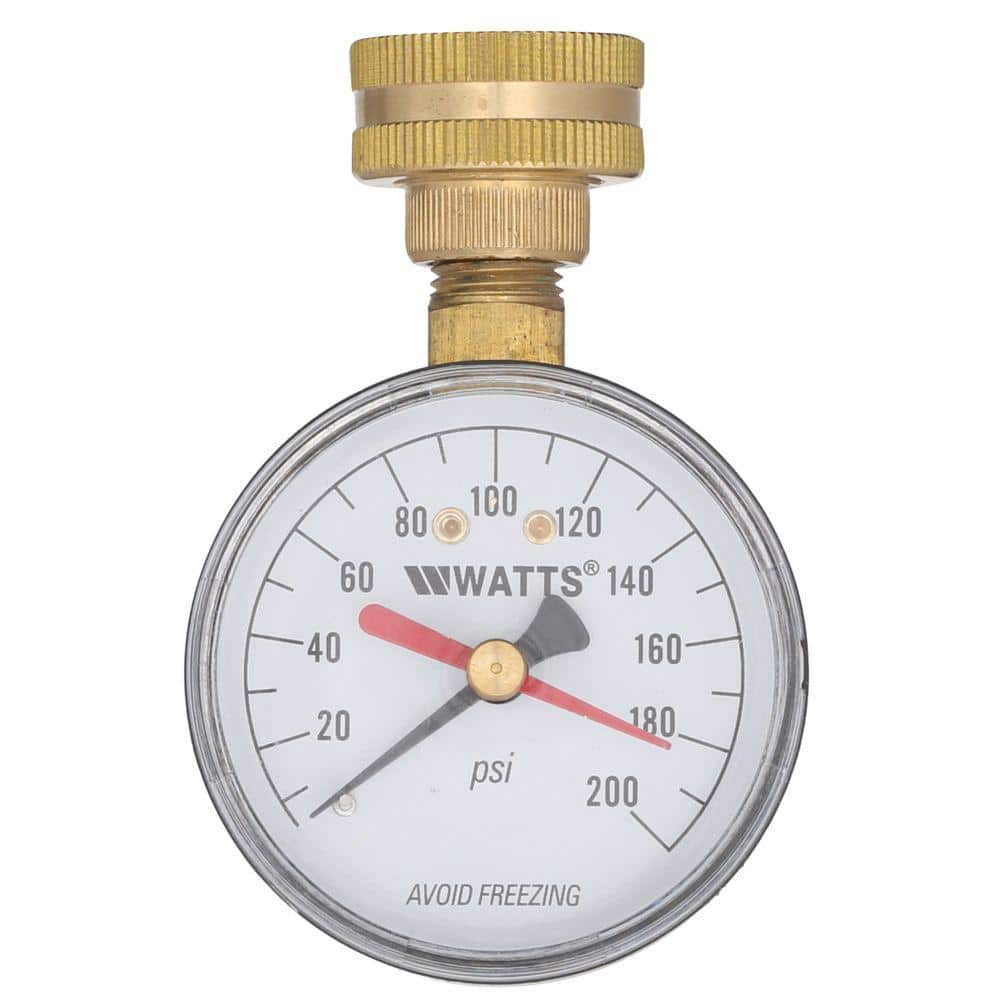
Watts 3/4 in. Plastic Water Pressure Test Gauge DP IWTG
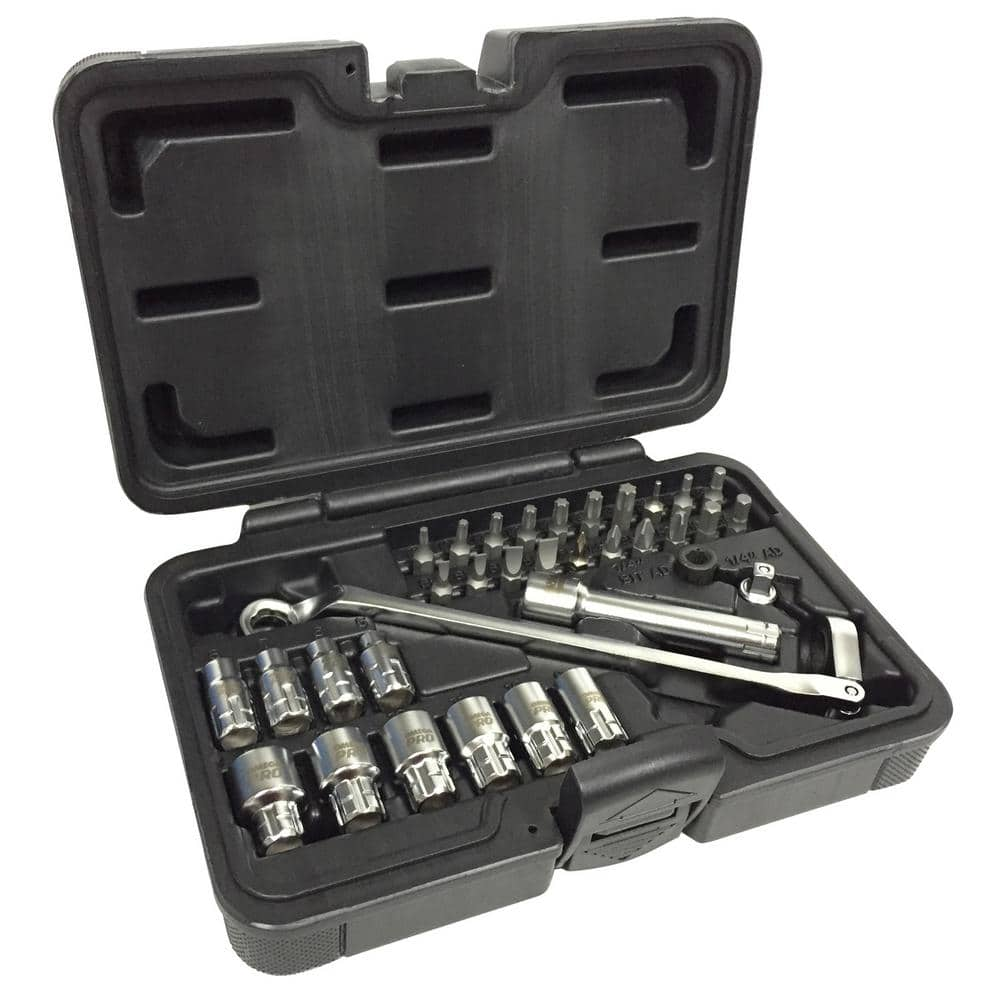
Omega Go-Through Socket Set and Wrench 1/2 in. Drive Flexible Ratchet in Molded Case (34-Piece) 83029
Milwaukee 4 in. x 1/4 in. Slotted Flat Head Screwdriver with Cushion Grip MT206
Water Source Water Test Pressure Gauge WSPGH100
This 100 psi Water Pressure Test Gauge attaches to a garden hose bib to verify water pressure or check for leaks in the system. Glass casing provides an easy to read display. It's easy to install.
Adjustable Wrench
Fits various nut and bolt sizes with its adjustable jaw.
Crescent 12 in. Chrome Adjustable Wrench AC212VS
Since the introduction of the original Crescent wrench in the early 1900s, the Crescent brand has become synonymous with adjustable wrenches. Crescent Adjustable Wrenches feature a large knurl for easy
Watts 3/4 in. Plastic Water Pressure Test Gauge DP IWTG
When you choose this hose connection gauge, you can rest assured that you're getting a quality product to test water supply pressures within a distribution system. Its red indicator hand holds at the highest reading registered for detection of thermal expansion pressure surges. Rubber garden hose washer included. Easy to install, no tools are required.
Omega Go-Through Socket Set and Wrench 1/2 in. Drive Flexible Ratchet in Molded Case (34-Piece) 83029
Ideal Mechanic Tool Sets around the Home, in the Garage and at the Work Site Omega PRO 83029 Mechanics Socket Set is 34-pieces tool set in a box. That features Go Through design wrench and sockets and
Milwaukee 4 in. x 1/4 in. Slotted Flat Head Screwdriver with Cushion Grip MT206
The Milwaukee® 1/4" Slotted 4" Cushion Grip Screwdrivers (USA) are manufactured to give the professional the best-fitting screwdriver with max grip. These screwdriver tips are custom machined to deliver
Steps
Check Initial Water Pressure
5 minsBefore making any adjustments, you must establish a baseline pressure reading. Locate an outdoor hose bibb or a utility sink faucet. Ensure all other faucets and water-using appliances in the home are turned off to get a static pressure reading. Firmly screw the water pressure gauge onto the faucet's threads. Open the faucet's handle completely. Observe the dial on the gauge and note the pressure reading in PSI (pounds per square inch). The ideal residential pressure is between 50 and 60 PSI.

Loosen PRV Locknut
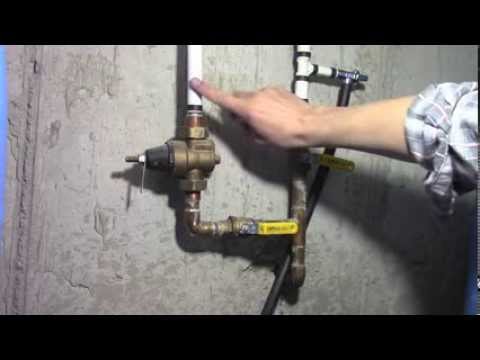
5 minsLocate the PRV, which is typically a bell-shaped brass valve installed on the main water line shortly after the main shutoff valve and water meter. On the top of the 'bell' is the adjustment mechanism, which consists of a long threaded bolt and a locknut that secures it. To allow for adjustment, you must first loosen this locknut. Place one adjustable wrench on the locknut and another on the adjustment bolt head above it to hold it steady. Turn the wrench on the locknut counter-clockwise about one full turn. This should be enough to allow the adjustment bolt to turn freely.
Adjust Pressure Bolt
5 minsWith the locknut loose, you can now change the pressure setting. To INCREASE pressure, use a wrench to turn the adjustment bolt clockwise (screwing it down). To DECREASE pressure, turn the bolt counter-clockwise (unscrewing it). It is crucial to make these adjustments in small increments, such as a quarter-turn at a time, to prevent drastic changes that could overshoot your target.
Test Adjusted Pressure
5 minsAfter making a small adjustment, the pressure in the pipes needs to stabilize to reflect the new setting. To do this, go to any faucet in the house (other than the one your gauge is attached to) and turn it on for 20-30 seconds. This action relieves the static pressure and allows the PRV to settle at its new set point. After running the water, turn the faucet off completely. Return to your water pressure gauge to read the new, adjusted pressure.

Fine-Tune and Re-Test
10 minsCompare your latest pressure reading with your target of 50-60 PSI. It is unlikely you will hit the exact number on the first try. You will need to repeat the adjustment and testing cycle. If the pressure is still too high, turn the adjustment bolt another quarter-turn counter-clockwise. If it's too low, turn it a quarter-turn clockwise. After each adjustment, remember to run a faucet to stabilize the system before taking a new reading. Continue this iterative process until the gauge shows a stable pressure within the desired range.

Secure the Adjustment
5 minsOnce the water pressure is consistently holding within your target range, you must lock the adjustment in place to prevent it from changing over time due to vibrations. Use one wrench to hold the adjustment bolt head firmly in its final position. With your other wrench, turn the locknut clockwise until it is snug against the body of the PRV. It should be firm, but do not overtighten, as this can strip the threads or damage the valve.

Final Verification
5 minsAs a final quality check, look at the pressure gauge one last time after the locknut has been tightened. The act of tightening the nut can sometimes cause the adjustment bolt to turn slightly, which may alter the pressure. If the reading is still correct, your job is done. You can now unscrew the water pressure gauge from the faucet. If the pressure has shifted outside your target range, you will need to loosen the locknut and make one final micro-adjustment.
Common Problems
Incorrect adjustment due to improper tool use.
Solution: A text overlay in the video notes that a screwdriver can be used for this step.
This is a critical connection. If it is not tight enough, the tube can pop out and cause a major leak. Ensure it is very secure.
Solution: To avoid this issue: Be mindful of this warning and take appropriate precautions.
Failing to tighten the lock nut could allow vibrations to change your pressure setting over time, undoing your work.
Solution: To avoid this issue: Be mindful of this warning and take appropriate precautions.
Locating the main water line is difficult.
Solution: The main water line is often a copper pipe coming through a foundation wall.
Incorrectly adjusting the PRV can lead to inconsistent water pressure.
Solution: This adjustment is for fine-tuning the range. The main pressure adjustment should be performed first.
PRV adjustment bolt loosens or leaks if lock nut is over-tightened.
Solution: Don't over-tighten the lock nut, just make it snug enough to hold the adjustment bolt in place.
Over-adjusting the PRV can lead to inconsistent or excessively high water pressure.
Solution: Make small, quarter-turn adjustments and re-test the pressure after each adjustment.
Frequently Asked Questions
What kind of pressure gauge do I need for this project, and why can't I just guess?
You need a specific water pressure test gauge, like the Watts DP IWTG or Orbit 91130, which connects directly to a hose bib. These gauges provide accurate PSI readings essential for setting your water pressure precisely between 50-60 PSI. Guessing can lead to incorrect pressure, potentially damaging appliances or fixtures.
Is it safe to adjust the PRV myself, or should I call a plumber?
Adjusting a PRV is considered a beginner-level DIY task and is generally safe if you follow instructions carefully. Ensure you have the proper tools and make small, incremental adjustments while re-testing the pressure frequently. If you encounter leaks, stripped parts, or persistent issues, then consulting a professional plumber is advisable.
What's the biggest mistake a beginner might make when adjusting their PRV?
The most common mistake is making large adjustments to the pressure bolt without re-testing the pressure incrementally. This can easily lead to over-pressurization or under-pressurization, requiring more effort to achieve the desired setting. Always turn the adjustment screw in small increments (e.g., quarter-turns) and re-check the gauge after each change.
My water pressure isn't changing even after I've adjusted the PRV. What could be wrong?
If adjustments aren't affecting the pressure, your PRV might be old, faulty, or completely failed and needs replacement. First, double-check that you're turning the correct adjustment bolt and that the locknut is sufficiently loosened. If the valve itself is defective, no amount of adjustment will fix it, and replacement is the next step.
How long should I wait between adjustments before checking the pressure again?
After making an adjustment, briefly run some water (e.g., flush a toilet or run a faucet for a few seconds) to equalize the pressure throughout your home's system. Then, wait a minute or two for the system to settle before taking a new reading on your pressure gauge. This ensures you get an accurate and stable measurement.
What if my PRV is old and rusty; can I still adjust it?
While some older PRVs can still be adjusted, excessive corrosion can seize the adjustment bolt or indicate internal component failure. If the bolt is difficult to turn or you observe significant leakage around the valve, forcing it could cause further damage. In such cases, it's often more practical and safer to consider replacing the entire PRV unit for reliable performance.


