Garbage Disposal Repair: Troubleshooting & Reset Guide
About This Project
This project provides a step-by-step guide on how to repair a garbage disposal that is not working. The first step is to disconnect the power to the garbage disposal for safety. Next, inspect the garbage disposal chamber for any obstructions and remove them using tongs or pliers. After clearing any visible debris, try resetting the garbage disposal by pressing the red reset button located at the bottom of the unit. Finally, reconnect the power and test the disposal by running cold water and turning it on. If the problem persists, further troubleshooting may be necessary.
Best for homeowners and DIY enthusiasts.
Tools & Materials
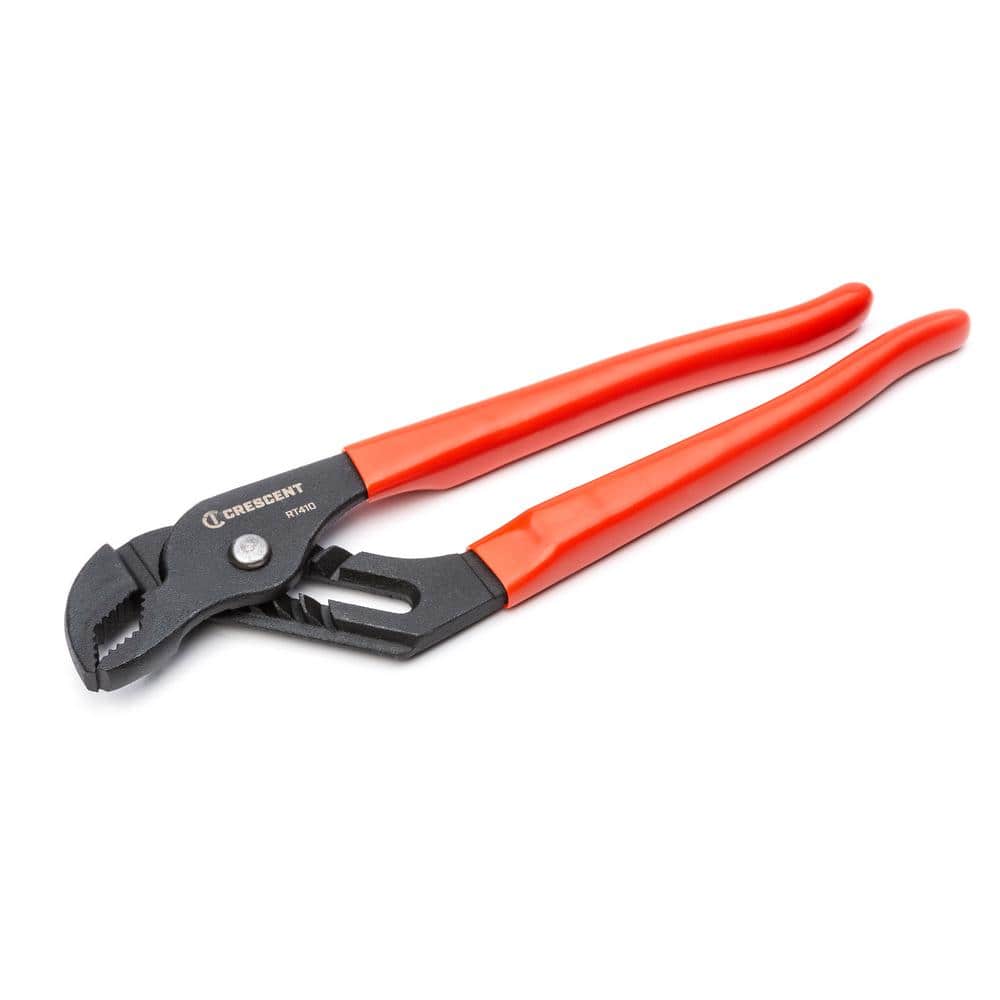
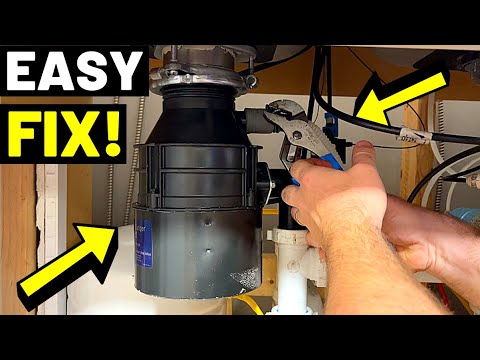
Crescent 10 in. V-Jaw Tongue and Groove Pliers with Dipped Grips RT410CVN-05
Crescent 10 in. V-Jaw Tongue and Groove Pliers with Dipped Grips RT410CVN-05
The Crescent Tongue and Groove Pliers are versatile utility pliers, ideal for objects of all shapes and sizes. They are forged from alloy steel and precision machined for long life and durability. The
Steps

Disconnect Power: Safety First!
2 minsBefore starting any repairs, completely disconnect power to the garbage disposal. Turn off the power at the circuit breaker and the switch, then verify with a voltage tester that power is off. This essential safety precaution prevents electric shock.
Watch: Disconnect Power
Inspect for Obstructions
5 minsCarefully inspect the garbage disposal chamber using a flashlight. Look for any visible debris, such as bones, utensils, or fibrous materials. Use tongs or pliers to remove large objects. Never reach your hand into the disposal unit.
Watch: Inspect and Clear Obstructions

Test the Disposal and Reconnect Power
2 minsReconnect the power to the garbage disposal. Turn on cold water and then switch on the disposal to test its operation. Listen for unusual noises and check for leaks. If the problem persists, additional troubleshooting may be necessary.
Watch: Test DisposalCommon Problems
Safety concern: Always disconnect the power to the garbage disposal before working on it.
Solution: Take proper safety precautions. Always disconnect the power to the garbage disposal before working on it.
Prevention: Always follow safety guidelines before starting the project.
Loud or unusual noises indicate a problem. Don't continue running the disposal if you hear these sounds.
Solution: To avoid this issue: Be mindful of this warning and take appropriate precautions.
Disposal clogs from solidified grease when hot water is used.
Solution: Always run cold water when using your disposal, not hot. Hot water can liquefy grease, which may then solidify and clog the drain further down the line.
Disposal jams or clogs from melted grease re-solidifying.
Solution: Always run cold water when operating the garbage disposal to help solidify grease and flush food particles down the drain.
Failure to disconnect the power can lead to severe electrical shock or injury from the moving parts of the disposal.
Solution: To avoid this issue: Be mindful of this warning and take appropriate precautions.
Confirm the unit is unplugged before proceeding to the next step. Failure to do so can result in serious injury.
Solution: To avoid this issue: Be mindful of this warning and take appropriate precautions.
Confirm the unit is unplugged before proceeding to the next step.
Solution: To avoid this issue: Be mindful of this warning and take appropriate precautions.
Frequently Asked Questions
What is the most critical safety precaution I need to take before attempting any garbage disposal repair?
The most critical safety precaution is to always disconnect the power to the garbage disposal before doing anything else. Turn off the circuit breaker that controls the disposal to prevent accidental activation and potential injury. Never put your hands inside the disposal chamber.
Besides the specified pliers, are there any other essential tools or items I might need for this project?
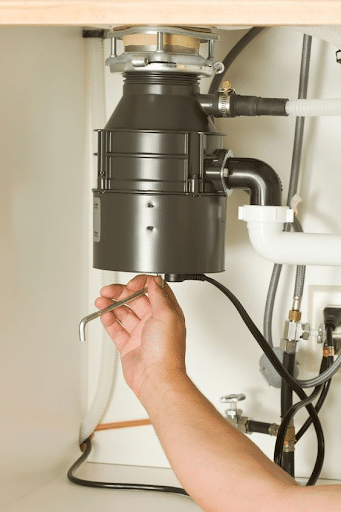
While the Crescent pliers are excellent for removing obstructions, you might also find a flashlight helpful for inspecting the chamber. Most garbage disposals also come with an Allen wrench (hex key) which is essential for manually freeing a jammed motor from the bottom of the unit.
I pressed the red reset button, but my garbage disposal still isn't working. What should I do next?
If the reset button doesn't work, the disposal might be jammed. Ensure power is still disconnected, then insert the appropriate Allen wrench into the hexagonal hole at the bottom center of the disposal and turn it back and forth to free the shredder plates. Reconnect power and try the reset button again.
How difficult is this garbage disposal repair for a beginner, and how long should I realistically expect it to take?
This project is rated as beginner difficulty and is generally straightforward. For most common issues like jams or resets, it should take approximately 15-45 minutes to complete, assuming you have the necessary tools and follow the safety steps carefully. The most time-consuming part is often identifying the obstruction.
My garbage disposal hums when I turn it on but doesn't actually spin. What does this usually mean?
A humming sound typically indicates the motor is receiving power but the shredder plates (impellers) are jammed and cannot rotate. Disconnect power immediately, then use an Allen wrench in the bottom center hole to manually rotate the motor and free the impellers. You may also need to look inside with a flashlight and use tongs to remove any visible obstructions.
What are some common types of obstructions that jam garbage disposals, and how should I remove them safely?
Common obstructions include silverware, small bones, fruit pits, and fibrous vegetables like celery or potato peels. Always disconnect power first. Use tongs or pliers to carefully remove any visible debris; never use your bare hands. If an item is stuck and not visible, use an Allen wrench to try freeing the impellers from below.