Fabric Painting Project
About This Project
This project outlines the steps for creating a painted design on fabric, suitable for various items like t-shirts, tote bags, or canvas art. It covers preparation, design transfer, painting techniques, and finishing.
Tools & Materials

Noble House Baisly Antique Brown Iron Frame Full Size Platform Bed with Headboard and Footboard 111366
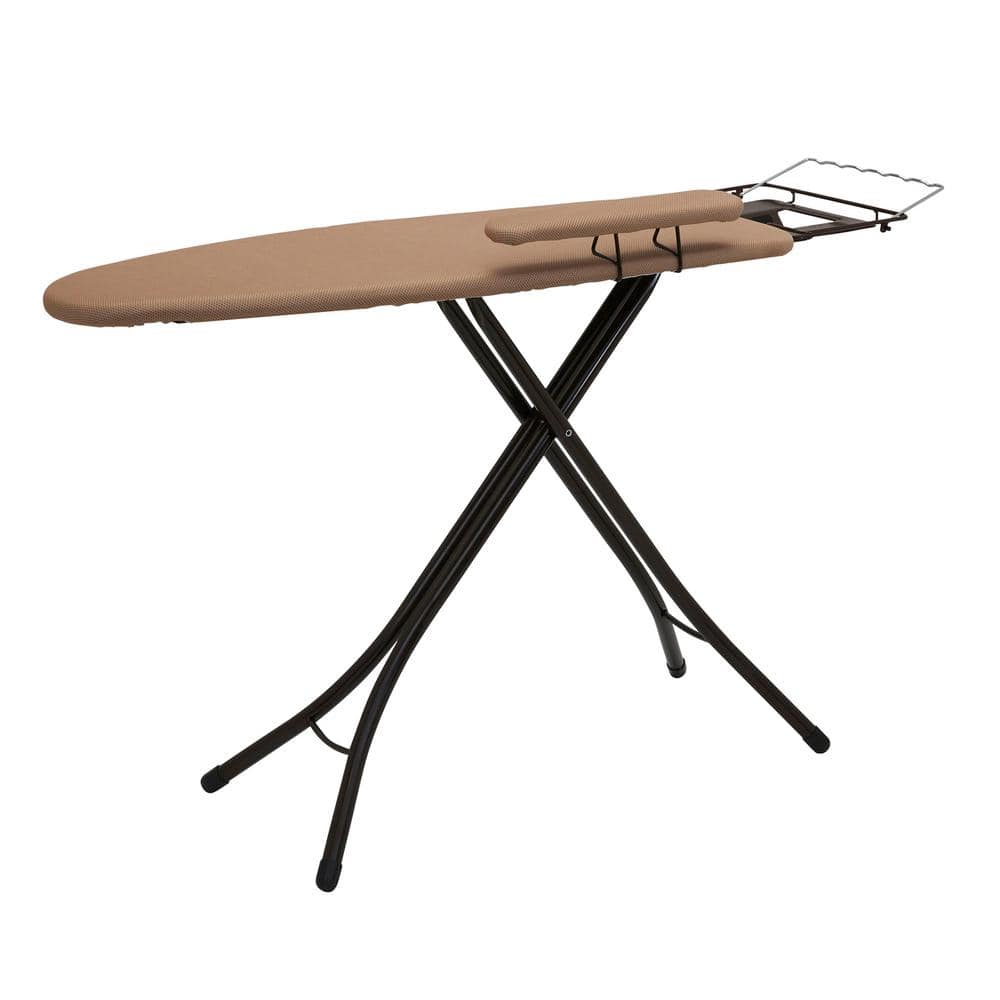
HOUSEHOLD ESSENTIALS Steel Top Ironing Board 972021-1
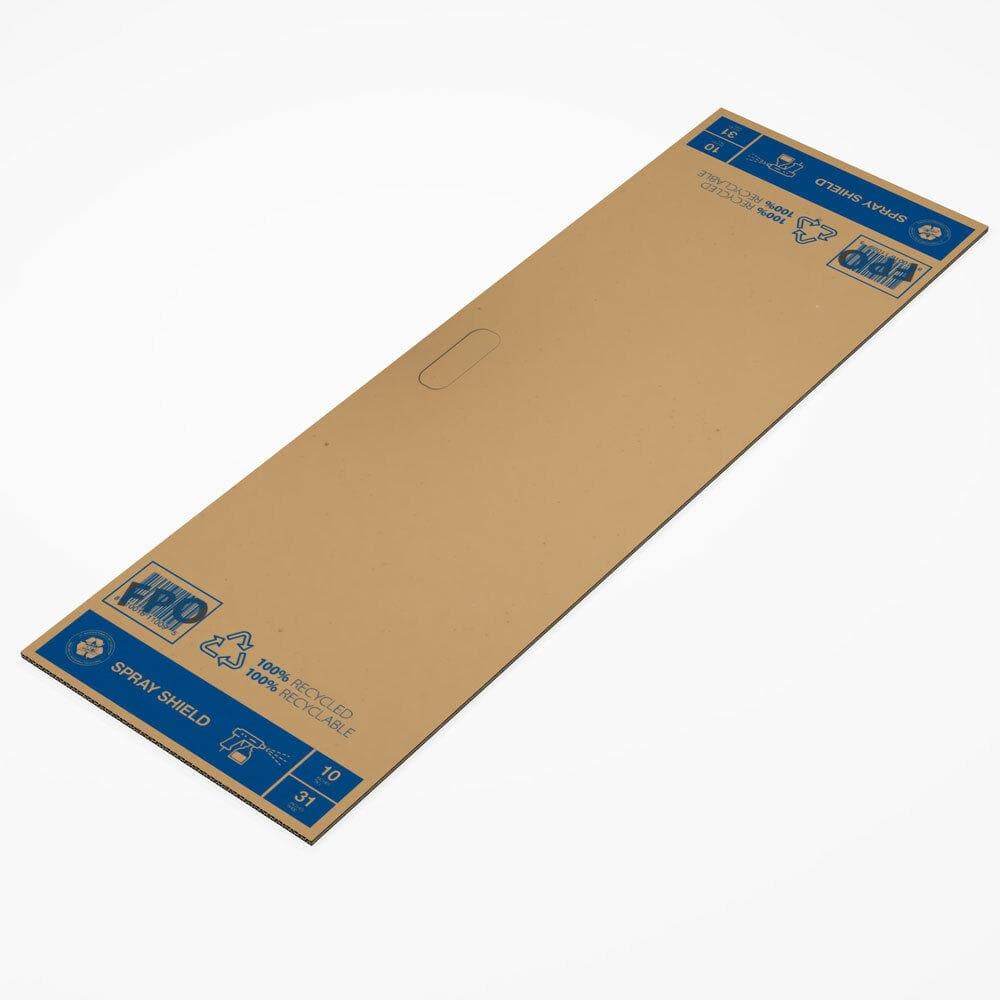
Pratt Retail Specialties 10 in. x 31 in. Cardboard Paint Shield (25-Pack) 31SS25PK

Wellco 24 in. x 48 in. x 0.236 in.(6mm) PVC Waterproof Foam Sheet White Plastic Sheet, DIY Making, (1-Pack) PVC61122P1
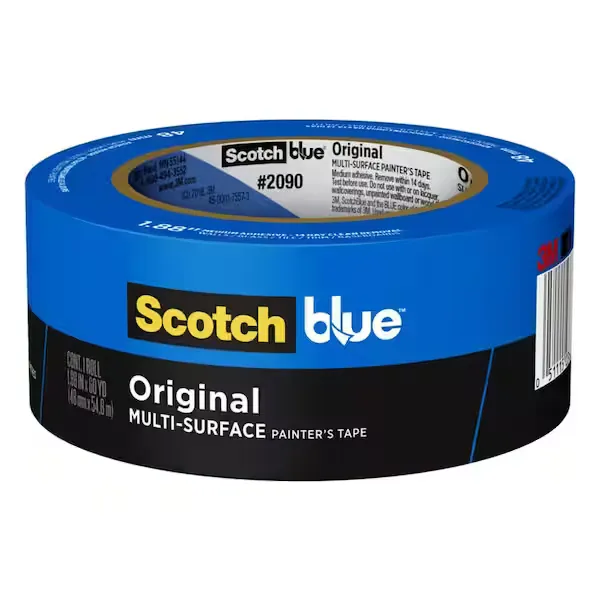
Painters Tape
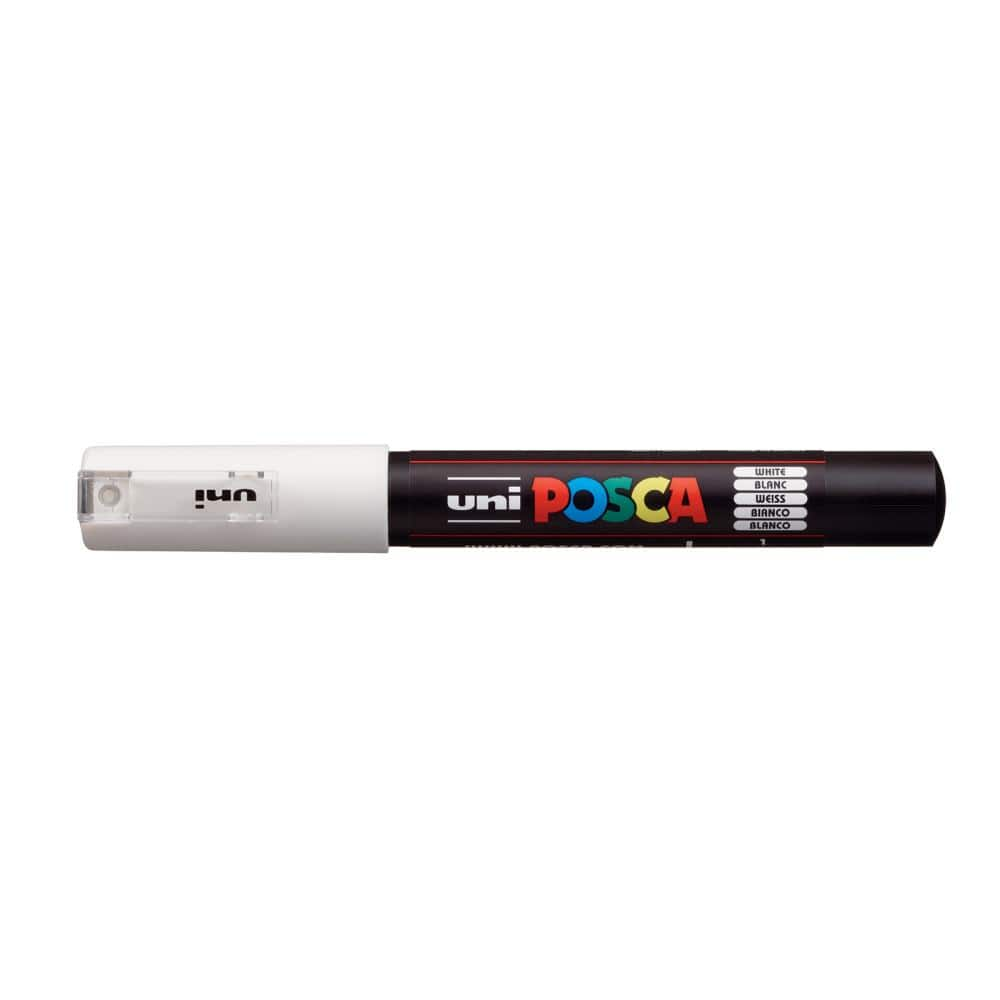
POSCA PC-1M Extra Fine Bullet Paint Marker, White 076831
Noble House Baisly Antique Brown Iron Frame Full Size Platform Bed with Headboard and Footboard 111366
Elevate your bedroom decor with this queen size antique brown storage bedframe. Combining classic elegance with modern functionality, this bedframe is the perfect addition to any home. Transform your bedroom into a serene and stylish retreat where classic design meets modern practicality.
HOUSEHOLD ESSENTIALS Steel Top Ironing Board 972021-1
This steel top ironing board is a must-have for anyone looking to streamline their ironing chores with a bit of style. Made with high-quality materials, this ironing board is made to last, and the 4-leg
Pratt Retail Specialties 10 in. x 31 in. Cardboard Paint Shield (25-Pack) 31SS25PK
Open handle corrugated spray shield. Used for trim protection. Great for spray protection and edges. Easy to use and handle.
Wellco 24 in. x 48 in. x 0.236 in.(6mm) PVC Waterproof Foam Sheet White Plastic Sheet, DIY Making, (1-Pack) PVC61122P1
Unleash the potential of our PVC Foam Sheet White Plastic Sheet, the ultimate solution for your diverse project needs. It's rigid, yet lightweight and easy to cut and fabricate. It's an excellent substrate
Painters Tape
Masks areas for precision painting.
POSCA PC-1M Extra Fine Bullet Paint Marker, White 076831
Non-toxic, water-based POSCA paint markers can be used on almost any surface, and are loved by professionals, creative hobbyists and amateurs alike. The alcohol and solvent-free opaque paint covers well,
Steps

Prepare the Fabric
30 minutesPre-wash the fabric item (t-shirt, tote bag, canvas) without fabric softener to ensure the paint adheres properly. Dry it completely. Then, iron the fabric item to remove any wrinkles or creases, creating a smooth surface for your design transfer and painting.
Watch: Prepare the Iron and Fabric
Insert Painting Surface
5 minutesInsert a piece of cardboard, plastic sheeting, or a painting board inside the fabric item. Ensure it is larger than the area you intend to paint and is placed smoothly to prevent paint bleed-through and to create a taut painting surface.
Watch: Position Stencil and Insert Cardboard
Transfer Design
20 minutesSketch your design directly onto the fabric using a fabric marker or chalk. For more complex designs, you can print a template, trace it onto the fabric with a light-colored fabric pencil or chalk, or use transfer paper designed for fabric.
Watch: Direct Trace MethodApply Fabric Paint
60 minutesUsing a variety of brushes, sponges, or stencils, begin applying the fabric paint according to your design. Work in thin, even layers. Allow each layer to dry slightly before applying the next, especially for opaque colors or detailed work, to prevent muddiness and ensure smooth transitions. Experiment with different application techniques like dabbing, brushing, or stippling.
Watch: Apply Fabric Paint with Stippling Technique
Add Details and Highlights
30 minutesOnce the main areas of your design are painted, use finer brushes or specialized paint pens to add details such as outlines, small patterns, or highlights. These elements can significantly elevate the visual impact of your painted fabric.
Watch: Paint Your Design
Heat Set the Paint
15 minutesOnce the paint is completely dry (usually 24-72 hours, check paint instructions), heat set it to make it permanent. This typically involves ironing the painted area (placed on a pressing cloth or inside out) for several minutes. Follow the specific instructions on your fabric paint packaging for the correct temperature and duration.
Watch: Heat Set the PaintCure and Final Wash
30 minutesAfter heat setting, allow the paint to cure for the recommended time period (often 24-72 hours or more, check paint instructions). Once cured, you can gently wash the fabric item by hand or on a delicate cycle, and then air dry or tumble dry on low heat. This final wash tests the paint's durability and removes any temporary markings from the transfer process.
Watch: Wash and Care for GarmentCommon Problems
Paint bleeds under the stencil or spreads beyond the intended design lines, making the edges blurry or messy.
Solution: If the paint is still wet, gently blot the excess with a clean paper towel. For future sections, remove excess paint from your brush or sponge before applying. Apply paint by dabbing straight down onto the fabric rather than brushing side-to-side, and lift stencils straight up to avoid smudging.
Prevention: Secure your stencil tightly to the fabric using painter's tape or a temporary spray adhesive. Apply paint in thin layers, allowing each layer to dry slightly if needed, rather than applying one thick coat. Less paint helps prevent bleed.
The fabric paint cracks, peels, or washes off the fabric after the first wash, ruining the design.
Solution: Unfortunately, extensive cracking or peeling after washing is usually not repairable. You may try to re-apply paint to small areas and heat set more thoroughly, but results will vary. For future projects, ensure proper heat setting is done.
Prevention: ALWAYS heat-set your fabric paint thoroughly according to the manufacturer's instructions. This typically involves ironing the design for 30-60 seconds on the reverse side of the fabric or through a pressing cloth. Allow the paint to 'cure' for at least 72 hours (or as specified on the paint) before washing. Wash finished items inside out in cold water on a gentle cycle.
Fabric paint soaks through the material to the other side of the garment or item, creating an unwanted stain on the back.
Solution: If the paint is still wet, you might be able to dab the excess from the backside with a paper towel. However, once fabric paint is dry and has bled through, it is usually permanent and cannot be removed.
Prevention: Always place a protective barrier, such as the cardboard paint shield or PVC foam sheet, *inside* the fabric item (e.g., inside a t-shirt or tote bag) before you begin painting. This prevents paint from seeping through to the opposite side.
The fabric gets scorched, discolored, or develops shiny spots when heat setting with an iron.
Solution: Scorched fabric is usually permanently damaged. For very minor discolored spots, you might try gently rubbing with a damp cloth, but be aware that it might not remove it. If the fabric is just shiny, you might be able to lightly steam it to reduce the sheen.
Prevention: Always place a pressing cloth (a thin cotton towel or parchment paper works well) between the iron and your painted fabric. Set your iron to the temperature recommended for your fabric type (usually a cotton setting with no steam). Keep the iron moving constantly and avoid leaving it in one spot for too long.
POSCA or Sharpie paint markers skip, clog, or don't deliver consistent paint flow on the fabric.
Solution: Shake the marker vigorously with the cap on to mix the paint. Then, press the tip down repeatedly on a scrap piece of paper or fabric until the paint starts to flow smoothly and consistently again. If the tip is clogged with dried paint, gently clean it with a damp cloth.
Prevention: Store paint markers horizontally to keep the ink evenly distributed. Always re-prime the tip on scrap paper or fabric before starting on your actual project, especially if the marker hasn't been used in a while. For very textured fabrics, fine-tip markers might struggle, so consider a slightly broader tip or brushes.
The pencil or marker lines used to transfer your design are still visible after painting, or they smudge during the painting process.
Solution: If using a pencil, wait until the paint is completely dry, then very gently try to erase the visible lines with a soft art eraser, being careful not to rub off the paint. If it's a permanent marker, it's likely permanent and will need to be carefully painted over until completely covered.
Prevention: Use a very light hand when drawing your design with a pencil, aiming for the faintest lines possible that you can still see. Alternatively, use an erasable fabric marker that will disappear with heat (ironing) or water, making cleanup easier. Plan to paint carefully over your lines so they are completely covered by the fabric paint.
Frequently Asked Questions
What kind of fabric paint is best for ensuring my design is durable and washable?
For the best results, use paints specifically labeled as "fabric paint," like the Tulip Festive Dimensional Fabric Paint mentioned. These paints are formulated to adhere well to fabric, remain flexible, and withstand washing without cracking or fading, especially after proper heat-setting.
How can I prevent paint from bleeding under stencils or making a mess?
Secure your fabric tightly to your work surface and the stencil firmly to the fabric using painter's tape. Apply fabric paint sparingly with a brush or sponge, dabbing straight down rather than brushing sideways, to minimize seepage.
Is heat-setting truly necessary, and what's the correct way to do it for permanent results?
Yes, heat-setting is crucial for curing the paint and making your design permanent and washable. After the paint is completely dry, place a pressing cloth over the design and iron it on a medium-high setting for 3-5 minutes, or follow your paint's specific instructions.
How long do I need to wait before washing my newly painted fabric item?
After heat-setting, most fabric paints require a curing period of at least 24-72 hours before the first wash. Refer to the paint manufacturer's specific instructions, as premature washing can cause the design to fade or peel.
What are the essential tools and materials I'll need for this beginner fabric painting project?
Beyond fabric paint, you'll need brushes, sponges, and fine-tip markers (like Posca or Sharpie) for details. A painting surface insert (like PVC foam sheet or cardboard), painter's tape, and an ironing board are also essential for preparation and finishing.
What should I do to protect my work surface and the unpainted side of my garment from paint bleed?
Always insert a protective barrier, such as a cardboard paint shield or PVC foam sheet, inside garments or bags to prevent paint from seeping through. Cover your workspace with newspaper or a drop cloth to catch any accidental spills.
What are some common mistakes beginners make, and how can I avoid them?
Common mistakes include overloading brushes, not heat-setting correctly, and washing too soon. To avoid these, apply paint in thin layers, ensure proper heat-setting with an iron, and adhere to the paint's curing time before washing.