

Delta Shower Handle Replacement: A Step-by-Step DIY Guide
About This Project
This project outlines the steps to replace a Delta shower handle. It begins by turning off the water supply to the shower. Next, the old handle is removed by first removing the handle screw cover, then unscrewing the handle itself. The new handle is then installed by aligning it with the valve stem and fastening it securely with the screw. Finally, the water supply is restored, and the connections are inspected for leaks.
Best for homeowners and DIY enthusiasts.
Tools & Materials
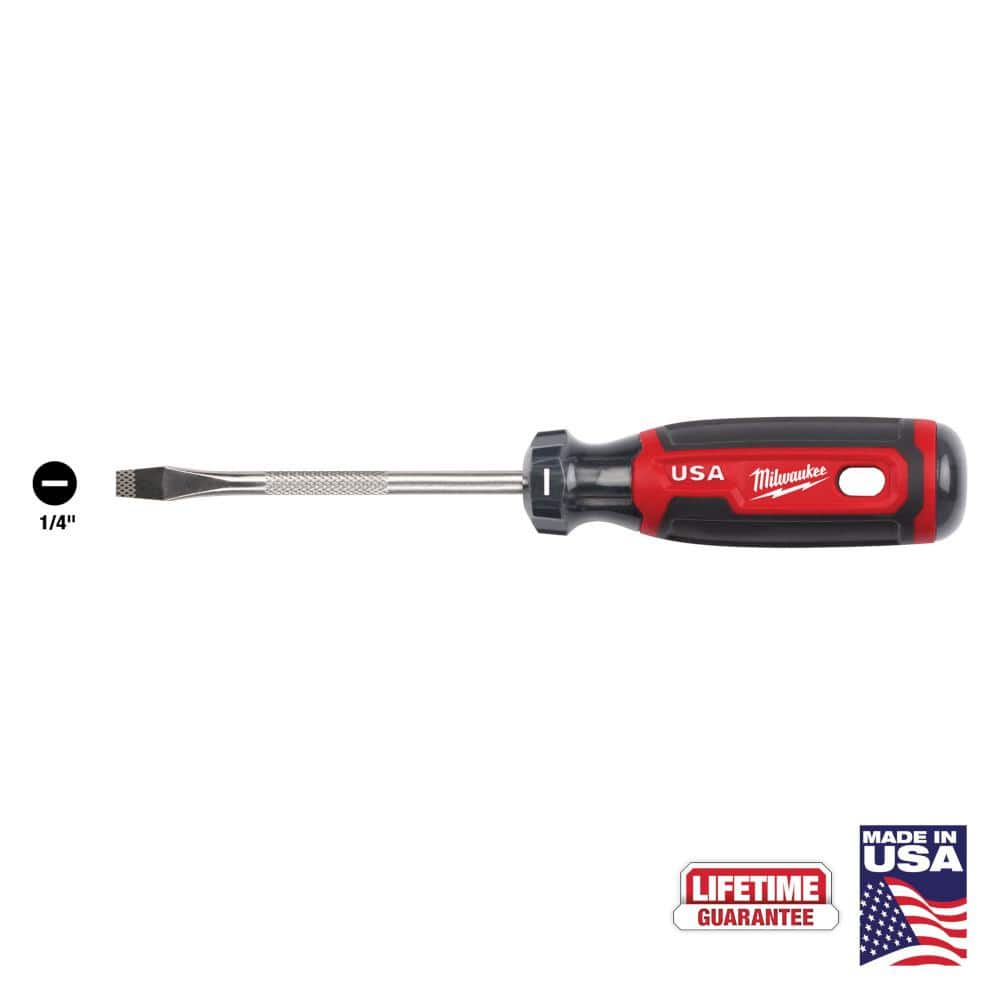
Milwaukee 4 in. x 1/4 in. Slotted Flat Head Screwdriver with Cushion Grip MT206
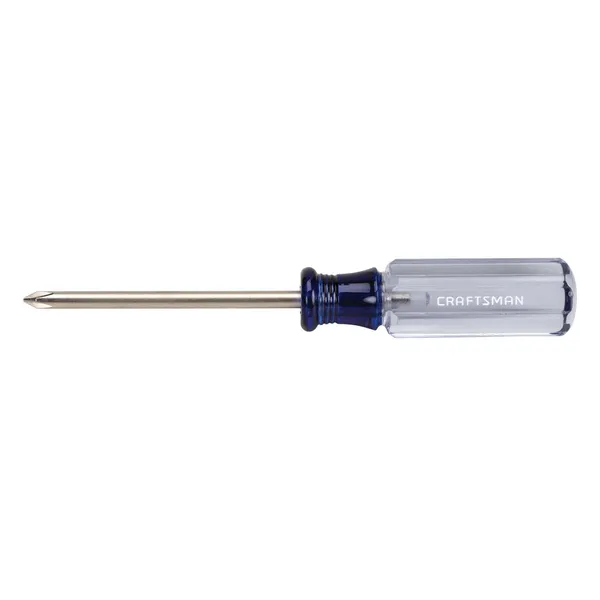
Phillips head screwdriver
Milwaukee 4 in. x 1/4 in. Slotted Flat Head Screwdriver with Cushion Grip MT206
The Milwaukee® 1/4" Slotted 4" Cushion Grip Screwdrivers (USA) are manufactured to give the professional the best-fitting screwdriver with max grip. These screwdriver tips are custom machined to deliver
Phillips head screwdriver
This is a type of screwdriver that has a cross-shaped tip.
Steps

Shut Off the Water Supply
5 minsBefore starting, completely shut off the water supply to your shower. Locate the shut-off valves—usually behind an access panel or near the water heater—and turn them clockwise until they stop. Double-check that the water is off by attempting to run water from a nearby faucet.

Remove the Old Delta Shower Handle
10 minsCarefully remove the handle screw cover (often a small cap or button). Use a small flathead screwdriver or Allen wrench to gently pry it off without damaging the finish. Then, remove the screw securing the handle, using the appropriate screwdriver (often a small Phillips or flathead).


Common Problems
Scratching the shower handle while removing the index button.
Solution: Be gentle when prying off the index button to avoid scratching the handle.
If using pliers on the dome cap, wrap the jaws with a cloth to protect the finish.
Solution: To avoid this issue: Be mindful of this warning and take appropriate precautions.
Do not overtighten the set screw, as this can strip the threads or crack the handle.
Solution: To avoid this issue: Be mindful of this warning and take appropriate precautions.
Stripped screw heads prevent handle removal and installation.
Solution: Ensure the screwdriver head fits the screw snugly to avoid stripping the screw head.
Double-check that the water is completely off by briefly turning on the shower controls.
Solution: To avoid this issue: Be mindful of this warning and take appropriate precautions.
Valve is stuck and risks damage from excessive force.
Solution: If the valve is difficult to turn, use a wrench or pliers to apply more leverage, but be careful not to damage the valve.
Ensure the water is fully shut off before proceeding to disconnect any lines.
Solution: To avoid this issue: Be mindful of this warning and take appropriate precautions.
Frequently Asked Questions
Do I need the specific Milwaukee screwdriver mentioned, or will any flathead and Phillips head screwdriver work for this project?
While the Milwaukee screwdriver is a good quality tool, any standard flathead and Phillips head screwdriver of the appropriate size will work. Ensure the screwdriver tip matches the screw head size to prevent stripping the screws during removal or installation, which is a common issue.
What should I do if I can't shut off the water supply to just the shower, or if water continues to drip after shutting it off?
If you can't isolate the shower's water supply, you'll need to turn off the main water supply to your entire house, usually found near the water meter or main shut-off valve. If water still drips after turning off the supply, double-check that the valve is fully closed. For persistent drips, you might need to address the shut-off valve itself or consult a plumber before proceeding.
My old Delta handle's screw cover is stuck or won't come off easily. How can I remove it without causing damage?
Often, old screw covers can be stiff due to mineral buildup. Try gently prying around the edges with a thin, flat tool like a plastic putty knife or the edge of a flathead screwdriver wrapped in painter's tape to avoid scratching. If it's still stuck, a small amount of penetrating lubricant applied carefully around the edge might help loosen it, but wipe away any excess immediately.
Is 45 minutes a realistic time estimate for a complete beginner, or should I budget more time for this Delta handle replacement?
The 45-minute estimate is generally realistic for someone with basic DIY skills and the right tools on hand. However, as a complete beginner, it's wise to budget an hour or two. This allows for potential issues like stuck screws, locating your main water shut-off, or needing extra time to review instructions carefully.
What if my new Delta handle doesn't fit the existing valve stem properly after I've removed the old one?
Delta has various valve types and handle connections across their product lines. First, double-check that your new handle is specifically designed to be compatible with your existing Delta valve series. If not, you may need to exchange the handle for one that matches your valve or look for a compatible adapter kit if one is available for your specific model.
Are there any common mistakes beginners make during this project that I should be aware of to avoid?
A common mistake is forgetting to turn off the water supply before starting, leading to an unexpected shower! Also, ensure you don't overtighten the handle screw, as this can crack the new handle. Conversely, if it's too loose, the handle might slip or come off, so a firm but gentle tightening is key for proper function and longevity.