Turn the water supply back on slowly. Thoroughly check all connections for leaks. If leaks are present, tighten fittings or reseal as needed. Once satisfied, reinstall the handles and trim.
Step 1
⏱ 2 min
Turn Off the Water Supply
Before beginning, completely shut off the water supply to your shower. Locate the shut-off valves—typically near the shower or on the main water line—and turn them clockwise until they stop. Open the shower faucet handles to release any remaining water pressure.
Step 2
⏱ 2 min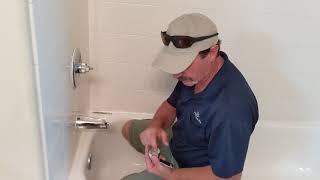
Remove the Old Faucet Trim
Carefully remove the old faucet handles and escutcheon plate. You might need a screwdriver (Phillips or flathead) or an Allen wrench, depending on your faucet model. A putty knife may help break any stubborn silicone sealant.
Step 3
⏱ 2 min
Remove the Old Valve
Remove the old valve cartridge or valve stems. This usually involves unscrewing them or carefully extracting them with pliers. Inspect the old parts for wear and tear; this might indicate the cause of any prior problems.
Step 4
⏱ 2 min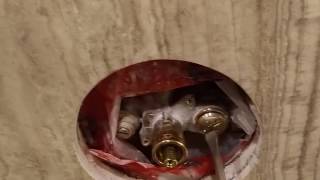
Install the New Delta Faucet
Following Delta's instructions, install the new Delta shower faucet valve and trim. Ensure all connections are secure and properly sealed. Pay close attention to the correct alignment of parts.
Step 5
⏱ 2 minTest for Leaks and Finalize Installation
Step 5 of 5
Test for Leaks and Finalize Installation2 min