

Stair Tread Measurement
About This Project
Wondering how to get that perfect, professional look for your stair remodel? The secret is in the prep work! Getting the right measurements is the first step toward a successful and easy DIY stair remodel. This simple guide will walk you through everything you need—just a tape measure, pencil, and paper—to ensure your new treads are custom-made to fit your staircase perfectly. We'll cover counting your steps, measuring depth and width, and choosing the perfect 'reveal' to showcase your beautiful wood floors.
Tools & Materials
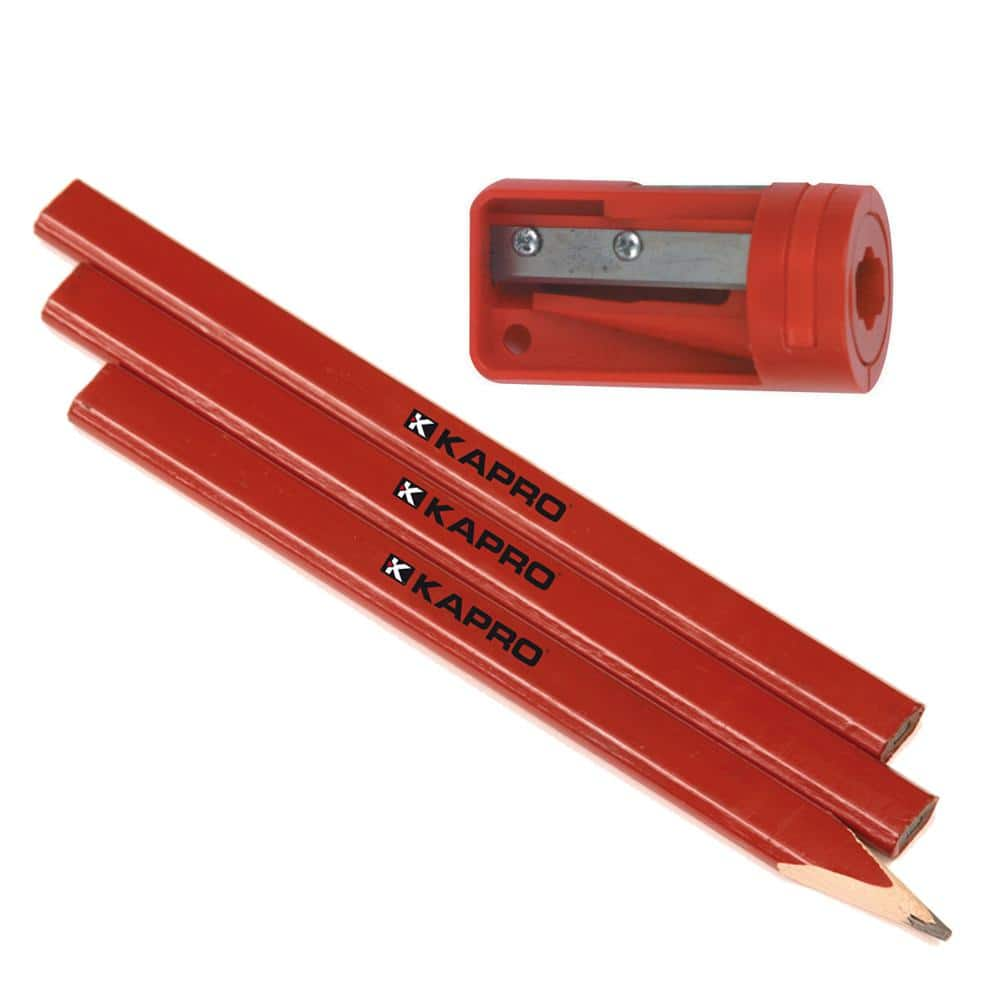
Kapro Sharpener and 3 Pencil Set 275S

Rite in the Rain All-Weather 8-1/2 in. x 11 in. 100 lbs. Printer Paper, White (250-Sheet Pack) 1008511
Kapro Sharpener and 3 Pencil Set 275S
The Kapro 275S Carpenter Set includes 3 quality carpenter pencils and 1 carpenter sharpener. A reliable staple for carpentry work, this pencil sharpener has a built-in emery board for fine sharpening and a durable plastic body. These construction pencils resist crumbling while sharpening. The carpenter sharpener fits most carpenter pencils and can be used in carpentry and construction projects. At Kapro, we reimagine precision tools and accessories for professional craftsmen to weekend warriors while setting high standards by driving innovation in our designs.
Rite in the Rain All-Weather 8-1/2 in. x 11 in. 100 lbs. Printer Paper, White (250-Sheet Pack) 1008511
Copy or laser print your own all-weather forms, charts, maps and worksheets on patented 8-1/2 in. x 11 in. Rite in the Rain all weather copier paper. Now you can have the convenience of using your existing
Steps

Step 1: Count Your Stairs (and Landings!)
5 minutesWalk your staircase and count every single step you plan to cover. Do you have a landing you'd also like to make safer and more comfortable? Be sure to include that in your final count. This simple number is the key to ordering the right amount and ensuring your project goes off without a hitch. No nails, no glue, no stress—and no leftover treads or last-minute orders!
Watch: Count Risers and Measure Tread ThicknessStep 2: Measure Tread Depth
10 minutesUsing your tape measure, find the depth of your stair tread. Place the end of the tape at the very front edge of the step—what we call the 'nosing'—and measure straight back until you touch the 'riser,' which is the vertical part of the stair. Keeping the tape measure flat and straight is crucial for an accurate measurement, ensuring our custom-made treads will fit just right.
Step 3: Measure Stair Width
5 minutesNow, let's get the width. Measure your stair from one side all the way to the other (from the wall to the balusters, for example). This measurement gives you the total width you have to work with. Hold the tape measure taut and parallel to the front of the step for the most precise reading. This number will help you decide how much of that beautiful wood you want to frame your new treads.
Step 4: Choose Your 'Reveal'
10 minutesThe 'reveal' is the design-conscious term for the amount of wood you leave exposed on the sides of your tread. It's all about personal style! A common choice is to leave about half an inch to a full inch on each side, but it's your home—you decide. A great DIY-friendly tip is to use painter's tape to mock up different widths on a step. This helps you visualize the final look and choose the perfect balance where safety meets style in your home.