

Stair Measurement Guide
About This Project
This project provides a comprehensive guide to accurately measuring stairs for various DIY purposes, including carpeting, railing installation, or structural modifications. It will cover essential tools, step-by-step instructions for measuring different stair components (riser, tread, width, height), and tips for ensuring precision and avoiding common errors.
Tools & Materials
Measuring Tape

25 ft. Tape Measure
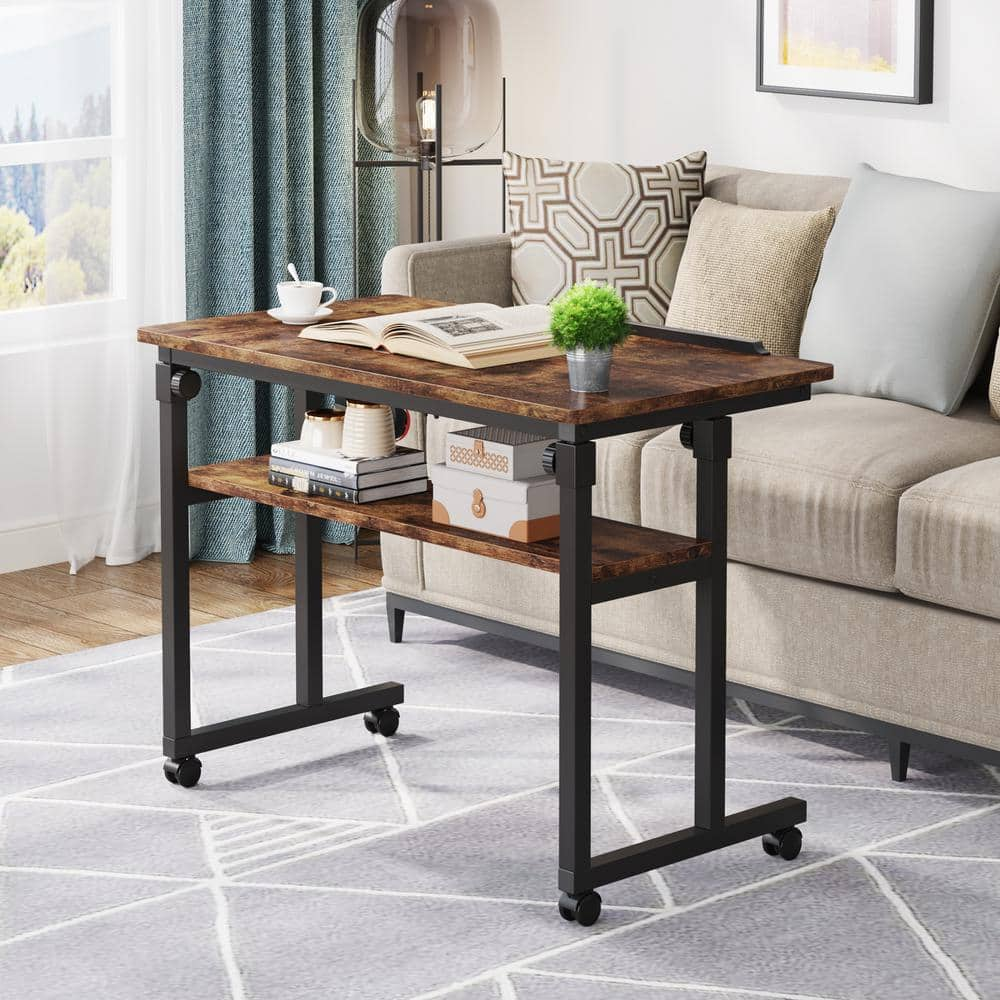
BYBLIGHT Moronia 31.5 in. Brown Portable Laptop Desk H Adjustable Bedside Table with Tiltable Drawing Board and Wheels BB-C0566GX
Pencil
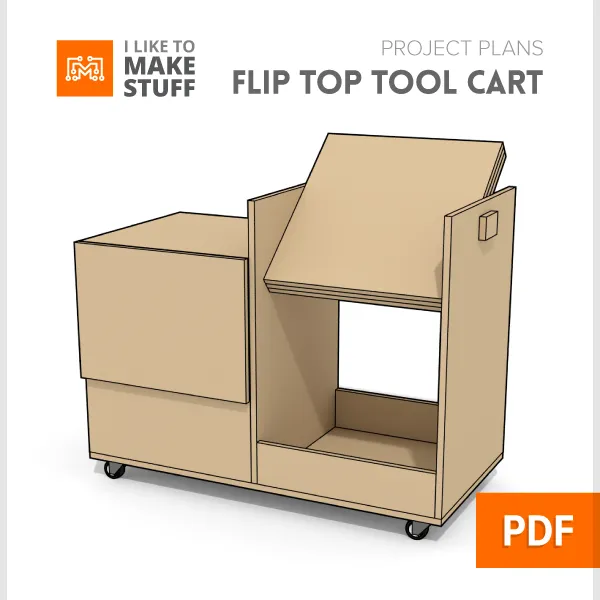
Project Plans
Measuring Tape
For accurate measurements of plywood and components, ensuring proper assembly.
25 ft. Tape Measure
Measure with precision and ease.
BYBLIGHT Moronia 31.5 in. Brown Portable Laptop Desk H Adjustable Bedside Table with Tiltable Drawing Board and Wheels BB-C0566GX
It rises and lower easily. You will love the flexibility that it gives for you to do work either standing up or sitting down.This is a great standing desk for those who are suffering constant neck pain.Use
Pencil
Marks and draws with ease.
Project Plans
Simple digital plans with measurements and instruction to create a cart from two sheets of plywood.
Steps
Measure Tread Depth
5 minutesUsing a tape measure, extend the tape from the very front edge of the tread straight back to where it meets the riser. Record this measurement for each step. This measurement is crucial for determining the amount of material needed for treads, such as carpet or wood.
Document All Measurements
10 minutesCreate a clear and organized document, such as a notebook or spreadsheet, to record all the measurements taken for tread depth, riser height, stair width, total height, and total run. Label each measurement clearly with the corresponding step number or location.