
Sink Repair
About This Project
This DIY project outlines the steps to diagnose and fix a leaking sink. It covers identifying the source of the leak, gathering necessary tools and materials, and performing the repair. The focus is on common leak points such as the faucet, drain, and pipes, providing a practical guide for homeowners to tackle this common household issue.
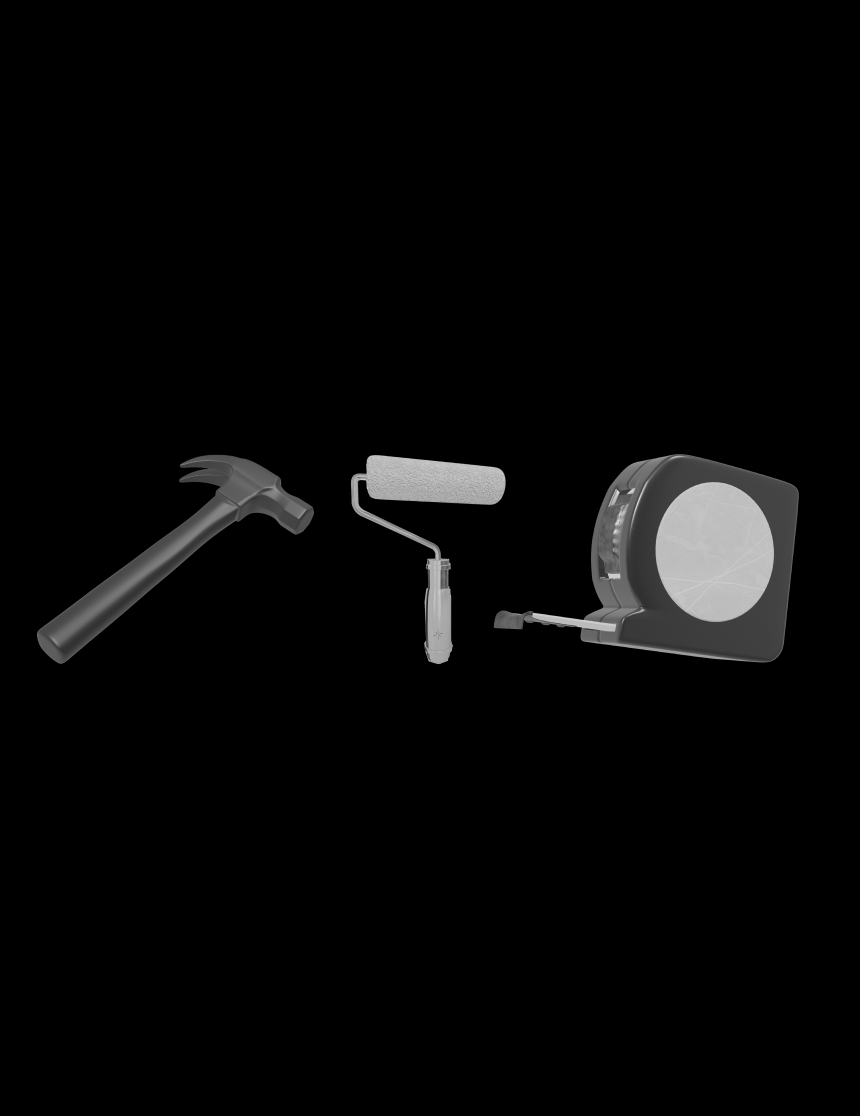
Tools & Materials

Hybrid Light Solar Flashlight - Black 001175

Deco Mirror 27 in. W x 33 in. H Framed Rectangular Beveled Edge Bathroom Vanity Mirror in Dark Teak 8004

HDX Select-A-Size Paper Towels (24-Roll) 22015

Adjustable Wrench
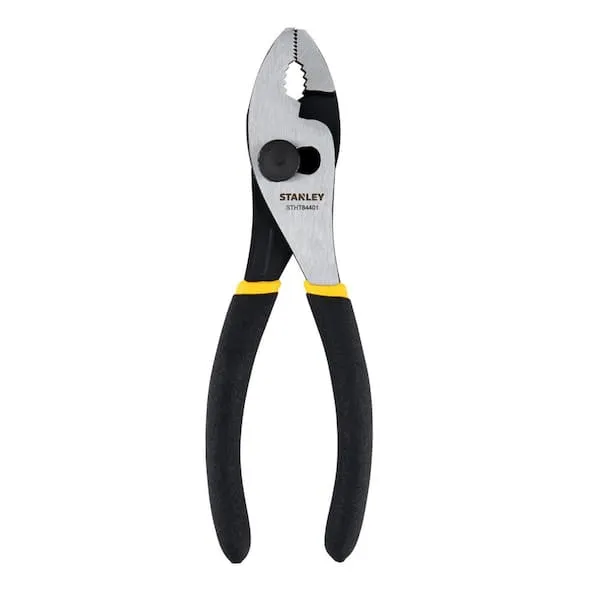
Pliers

Bucket
Hybrid Light Solar Flashlight - Black 001175
The Hybrid Solar Light uses revolutionary technology that generates power from any light source, indoor lighting or sun light and stores it for later use. The Hybrid Solar Light is always collecting power
Deco Mirror 27 in. W x 33 in. H Framed Rectangular Beveled Edge Bathroom Vanity Mirror in Dark Teak 8004
Mirror design features a transitional scooped polystyrene frame finished in a contemporary light grey wood veneer. A beautiful beveled edge mirror helps give this home accent a distinctive look to enhance
HDX Select-A-Size Paper Towels (24-Roll) 22015
Providing superior cleaning, these HDX 2-Ply Paper Towels are ultra-absorbent. Perfect for mopping up spills and still hold up for tough scrubbing. Easily tear only what you need with the Adjust-A-Size
Adjustable Wrench
Fits various nut and bolt sizes with its adjustable jaw.
Pliers
Grips and manipulates objects.
Bucket
Ideal for carrying or storing liquids.
Steps
Locate the Leak Source
15 minutesTurn on the faucet and let the water run for a minute, then turn it off. Place dry paper towels or a flashlight around the sink basin, faucet base, drain assembly, and the pipes underneath. Look for drips, wet spots, or water stains. The source could be a loose connection, a cracked pipe, a worn gasket, or a faulty faucet component. Focus on the most common leak areas first: the base of the faucet, the P-trap, and the connections to the water supply lines.
Shut Off Water Supply
5 minutesLocate the hot and cold water shut-off valves, usually found on the wall behind the sink. Turn the handles clockwise until they are completely closed. If you cannot find or operate these valves, you may need to shut off the main water supply to the entire house.
Tighten Faucet Base Connections
10 minutesIf the leak appears to be coming from the faucet base, reach under the sink and feel for any loose nuts or mounting screws that secure the faucet to the sink or countertop. Use an adjustable wrench or pliers to gently tighten these connections. Do not overtighten, as this can damage the faucet or the sink.
Inspect and Tighten Drain Assembly Connections
15 minutesInspect the drain flange where it meets the sink basin, the large nut connecting the tailpiece to the drain body, and the connections of the P-trap. Use channel-lock pliers to gently tighten any loose nuts. If the leak is at the P-trap connection, ensure the slip nuts are snug.
Check Water Supply Line Connections
10 minutesFeel along the hot and cold water supply lines for moisture. Check the compression nuts where the lines connect to the faucet tailpieces and where they connect to the shut-off valves. Use an adjustable wrench to gently tighten any loose connections. If the lines themselves appear damaged or corroded, they may need replacement.
Replace Worn Gaskets or Seals
30 minutesIf tightening connections did not stop the leak, inspect rubber gaskets and O-rings around the faucet base, drain assembly, and pipe connections. Carefully remove the old gasket or seal, noting its position and orientation. Install a new, appropriately sized gasket or seal. For faucet base leaks, this may involve removing the faucet assembly. For drain leaks, it might mean disassembling parts of the drain pipe.
Apply Plumber's Putty or Sealant
15 minutesIf the leak is coming from the drain flange where it meets the sink, or if you've disassembled and reassembled a joint that still weeps, apply a ring of plumber's putty around the underside of the flange before inserting it into the drain hole, or apply a bead of silicone sealant around the joint after reassembly. Clean excess putty or sealant that squeezes out.
Reassemble and Test
10 minutesOnce repairs are made, reassemble any components that were taken apart. Slowly turn the hot and cold water shut-off valves counter-clockwise to restore the water supply. Turn on the faucet and let the water run, checking all repaired areas and connections for any signs of drips or leaks. Let the water run for several minutes and check again, as some leaks may only appear under pressure or after a short time.