

How to Repair Loose Bricks on Front Steps
About This Project
This project outlines the steps for repairing loose bricks on front steps, including assessment, cleaning, mortar preparation, application, and finishing.
Tools & Materials
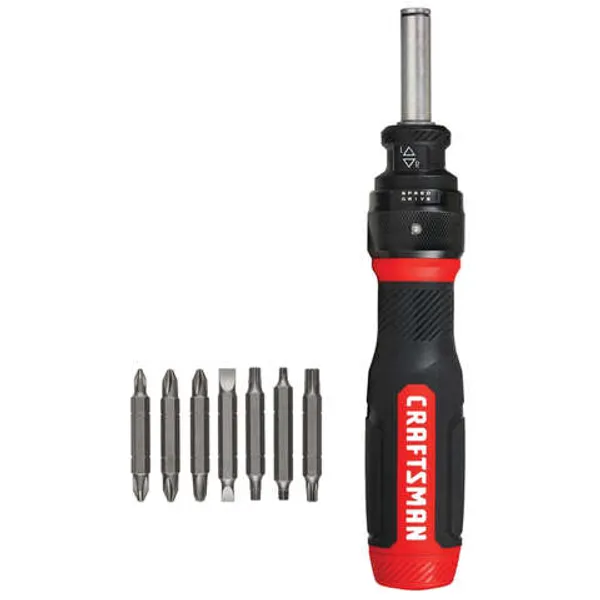
Screwdriver

Dasco Pro 1-3/4 in. x 7-1/2 in. Mason Chisel 333-0

Safety Glasses

Husky 3/8 in. Pro Tuck Pointing Trowel 57509
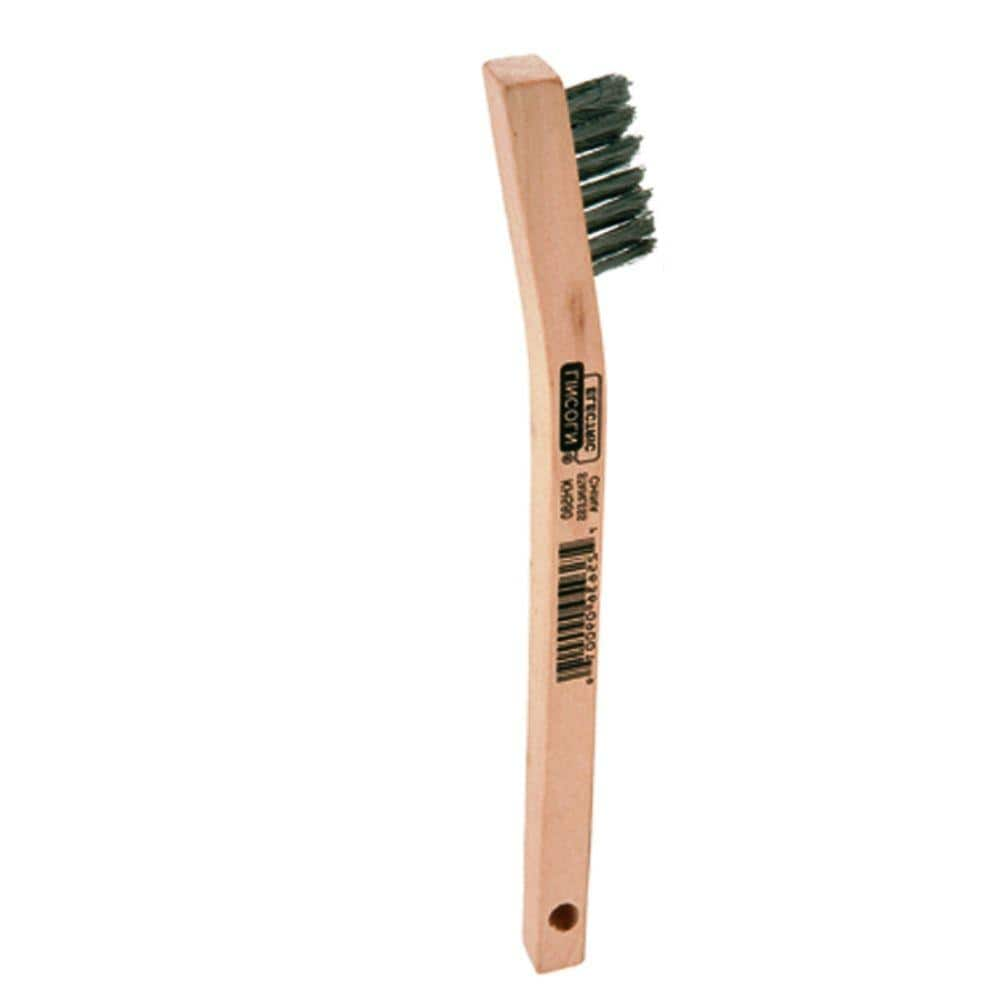
Lincoln Electric 8 in. Long Wooden Handled Stainless Steel Welding Wire Brush (.3 in. x 1.6 in. Bristle Area 3 x 7 Row) KH580
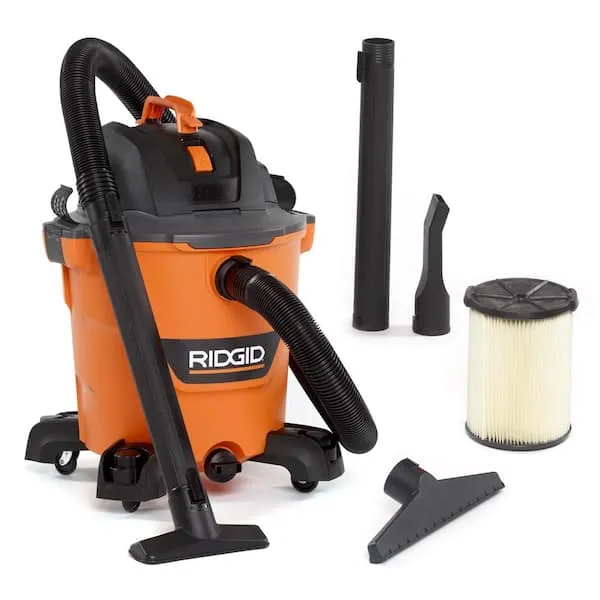
Shop Vacuum
Screwdriver
A tool used to turn screws.
Dasco Pro 1-3/4 in. x 7-1/2 in. Mason Chisel 333-0
The Dasco Pro 1-3/4 in. x 7-1/2 in. Mason Chisel has a 4 in. steel handle and ideal for cutting or shaping brick, cement block, cinder block, or trimming excess mortar. The target head has been designed
Safety Glasses
Keeps eyes safe from potential hazards.
Husky 3/8 in. Pro Tuck Pointing Trowel 57509
The 3/8 in. Pro Tuck Pointing Trowel is designed to make tight mortar jobs easier. Forged from a single piece of high grade tool steel, this trowel is built to last. The blade is precisely tapered to the ground to perfect balance and flexibility. The ergonomic pro soft grip handle ensures a firm, comfortable and durable grip. This trowel is already broken in already, eliminating line and ripple marks from the beginning.
Lincoln Electric 8 in. Long Wooden Handled Stainless Steel Welding Wire Brush (.3 in. x 1.6 in. Bristle Area 3 x 7 Row) KH580
Lincoln Electric Wood-Handled Stainless Steel Wire Brush is good for General cleaning, delicate or finish work and hard-to-reach welding jobs. The brush has a 8-3/4 in. long wooden handle. It has an 3/8
Shop Vacuum
Cleans workshop mess efficiently.
Steps

Assess Loose Bricks
30 minutesCarefully examine the front steps, probing any questionable bricks with a screwdriver or masonry chisel to determine which ones are loose, crumbling, or have deteriorated mortar. Note the location and severity of each problem area.
Watch: Inspect and Clear Damaged Areas
Clean Out Loose Mortar
60 minutesUsing a small trowel, masonry chisel, or wire brush, carefully scrape and chip away all the old, deteriorated mortar from the joints surrounding the loose bricks. Ensure the cavities are clean and free of debris, but avoid damaging the bricks themselves.
Watch: Prepare Mortar Joints by Cleaning Out Loose Material
Prepare New Mortar Mix
20 minutesIn a clean mixing bucket or on a mortar board, combine masonry sand and Portland cement in the ratio recommended by the mortar manufacturer. Gradually add water and mix thoroughly until you achieve a workable consistency – similar to peanut butter, firm enough to hold its shape but pliable enough to spread.
Watch: Mortar Mix Preparation
Apply New Mortar
45 minutesUsing a small trowel or a pointing trowel, firmly pack the new mortar into the cleaned joints around the loose bricks. If a brick has become completely detached, pack mortar into the cavity on the step first, then press the brick firmly into place, ensuring it is flush with surrounding bricks. Add mortar to fill any remaining gaps.
Watch: Apply New Mortar with Pointing Trowel
Tool the Mortar Joints
30 minutesOnce the mortar has begun to set slightly (it should be firm but not hard), use a jointer tool or a rounded piece of metal (like a nail set) to compress and smooth the mortar in the joints. Create a slight concave or flush finish, ensuring the mortar is pressed firmly against the brick edges for a good seal. Remove any excess mortar that squeezes out.
Watch: Tool the Mortar Joints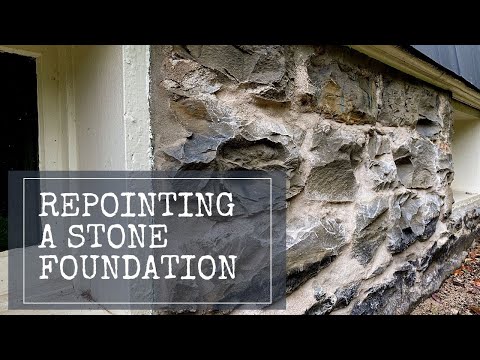
Cure the Mortar
1440 minutesKeep the repaired areas moist for the first 24-48 hours by lightly misting them with water periodically. This slow curing process is crucial for the mortar's strength. Protect the area from direct sun, heavy rain, and frost during this curing period.
Watch: Cure Mortar by Misting