

Landing Measurement
About This Project
Wondering how to handle that tricky U-shaped landing in your staircase remodel? Getting the measurements right is the key to a flawless, professional-looking result. This guide provides a simple, step-by-step process for accurately measuring your stairs and landing, ensuring your new treads provide perfect coverage and a beautiful, consistent look. We'll help you get the right fit to make your stairs safer, more stylish, and built for everyday life.
Tools & Materials
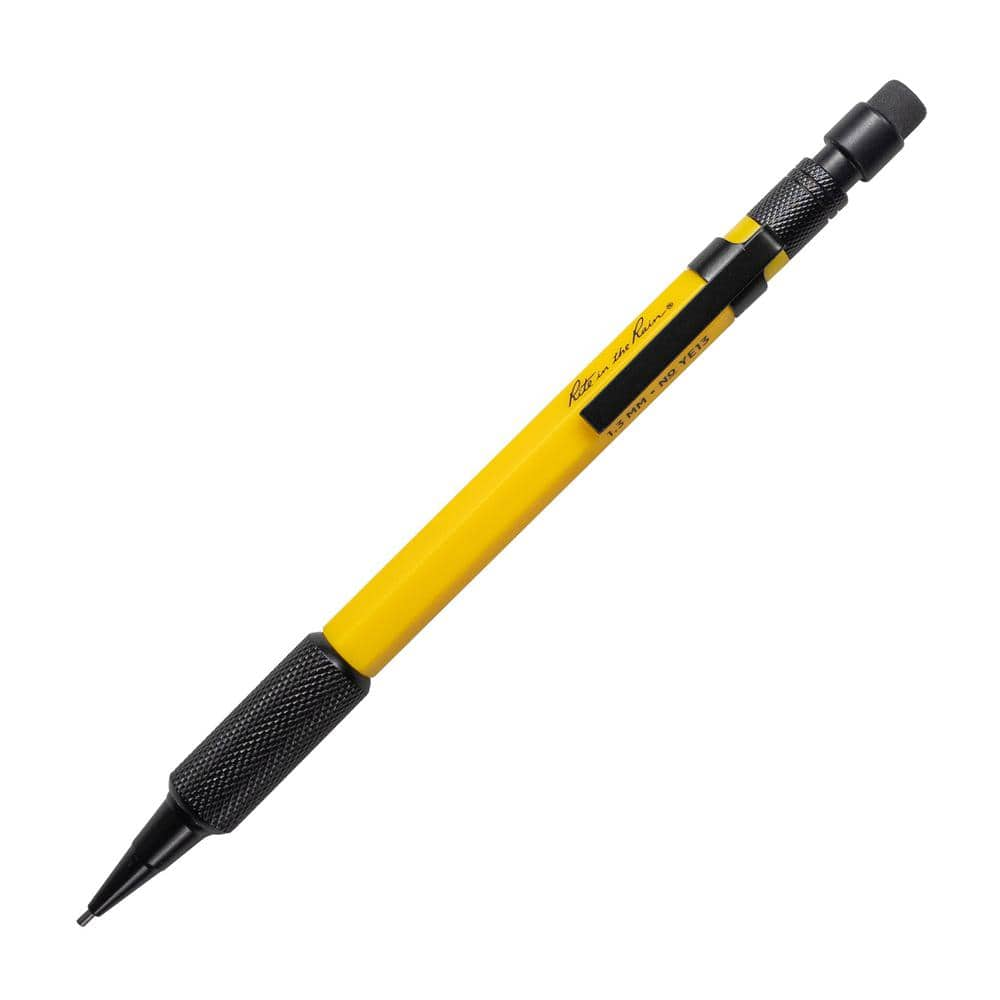
Rite in the Rain 1.3 mm Black Lead Weatherproof Mechanical Pencil, Yellow Barrel YE13

Rite in the Rain All-Weather 8-1/2 in. x 11 in. 100 lbs. Printer Paper, White (250-Sheet Pack) 1008511

25 ft. Tape Measure
Rite in the Rain 1.3 mm Black Lead Weatherproof Mechanical Pencil, Yellow Barrel YE13
Do you prefer using pencils but fear they'll break when it matters most when out taking job notes. You're not alone. The Rite in the Rain Mechanical Pencil may well be the last pencil you'll ever need
Rite in the Rain All-Weather 8-1/2 in. x 11 in. 100 lbs. Printer Paper, White (250-Sheet Pack) 1008511
Copy or laser print your own all-weather forms, charts, maps and worksheets on patented 8-1/2 in. x 11 in. Rite in the Rain all weather copier paper. Now you can have the convenience of using your existing
25 ft. Tape Measure
Measure with precision and ease.
Steps
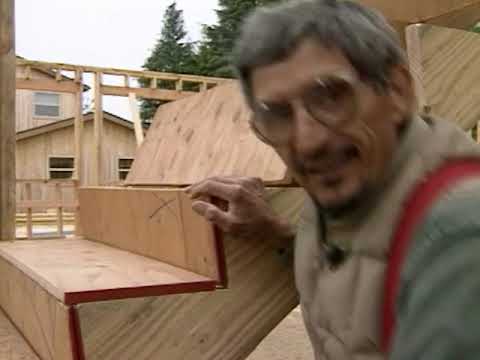
Step 1: Count Every Step (Landings, Too!)
5 minutesTo kick off your easy DIY stair remodel, grab a pencil and paper. Carefully count every single stair step on your staircase. Here’s a key tip for a seamless look and consistent safety: always count your landing as a step! It needs a tread, too. Jotting down this total number is the first crucial step toward ordering your perfect, custom-made to fit set of treads.
Watch: Measure Total Rise
Step 2: Measure Your Tread Depth
10 minutesUsing your tape measure, find the depth of one of your standard stair treads. Place the end of the tape at the very front edge of the step (this is often called the 'nosing') and measure straight back to where the tread meets the vertical board, known as the 'riser'. Getting this measurement right is key to a perfect fit that protects your wood and provides peace of mind with every step.
Watch: Measure Stair Treads
Step 3: Measure Your Stair Width
10 minutesTime to measure the full width of your stair. With your tape measure, go from the wall or banister on one side straight across to the other. This will likely be the longest measurement you take. Be sure to keep the tape straight and taut to ensure an accurate number. This measurement is the foundation for creating a beautifully balanced look on your stairs.
Watch: Measure Stair Tread and Riser
Step 4: Choose Your 'Reveal'
5 minutesThe 'reveal' is simply the amount of exposed wood you leave visible on each side of the carpet tread. It's a matter of personal style! Many homeowners choose to leave about half-an-inch to an inch of wood showing on each side, but it's entirely up to you. Deciding on a consistent reveal for every step is what creates that polished, professional finish that will bring warmth and elegance to your home.
Watch: Construct Wood Tray for Carpet Inlay on Treads