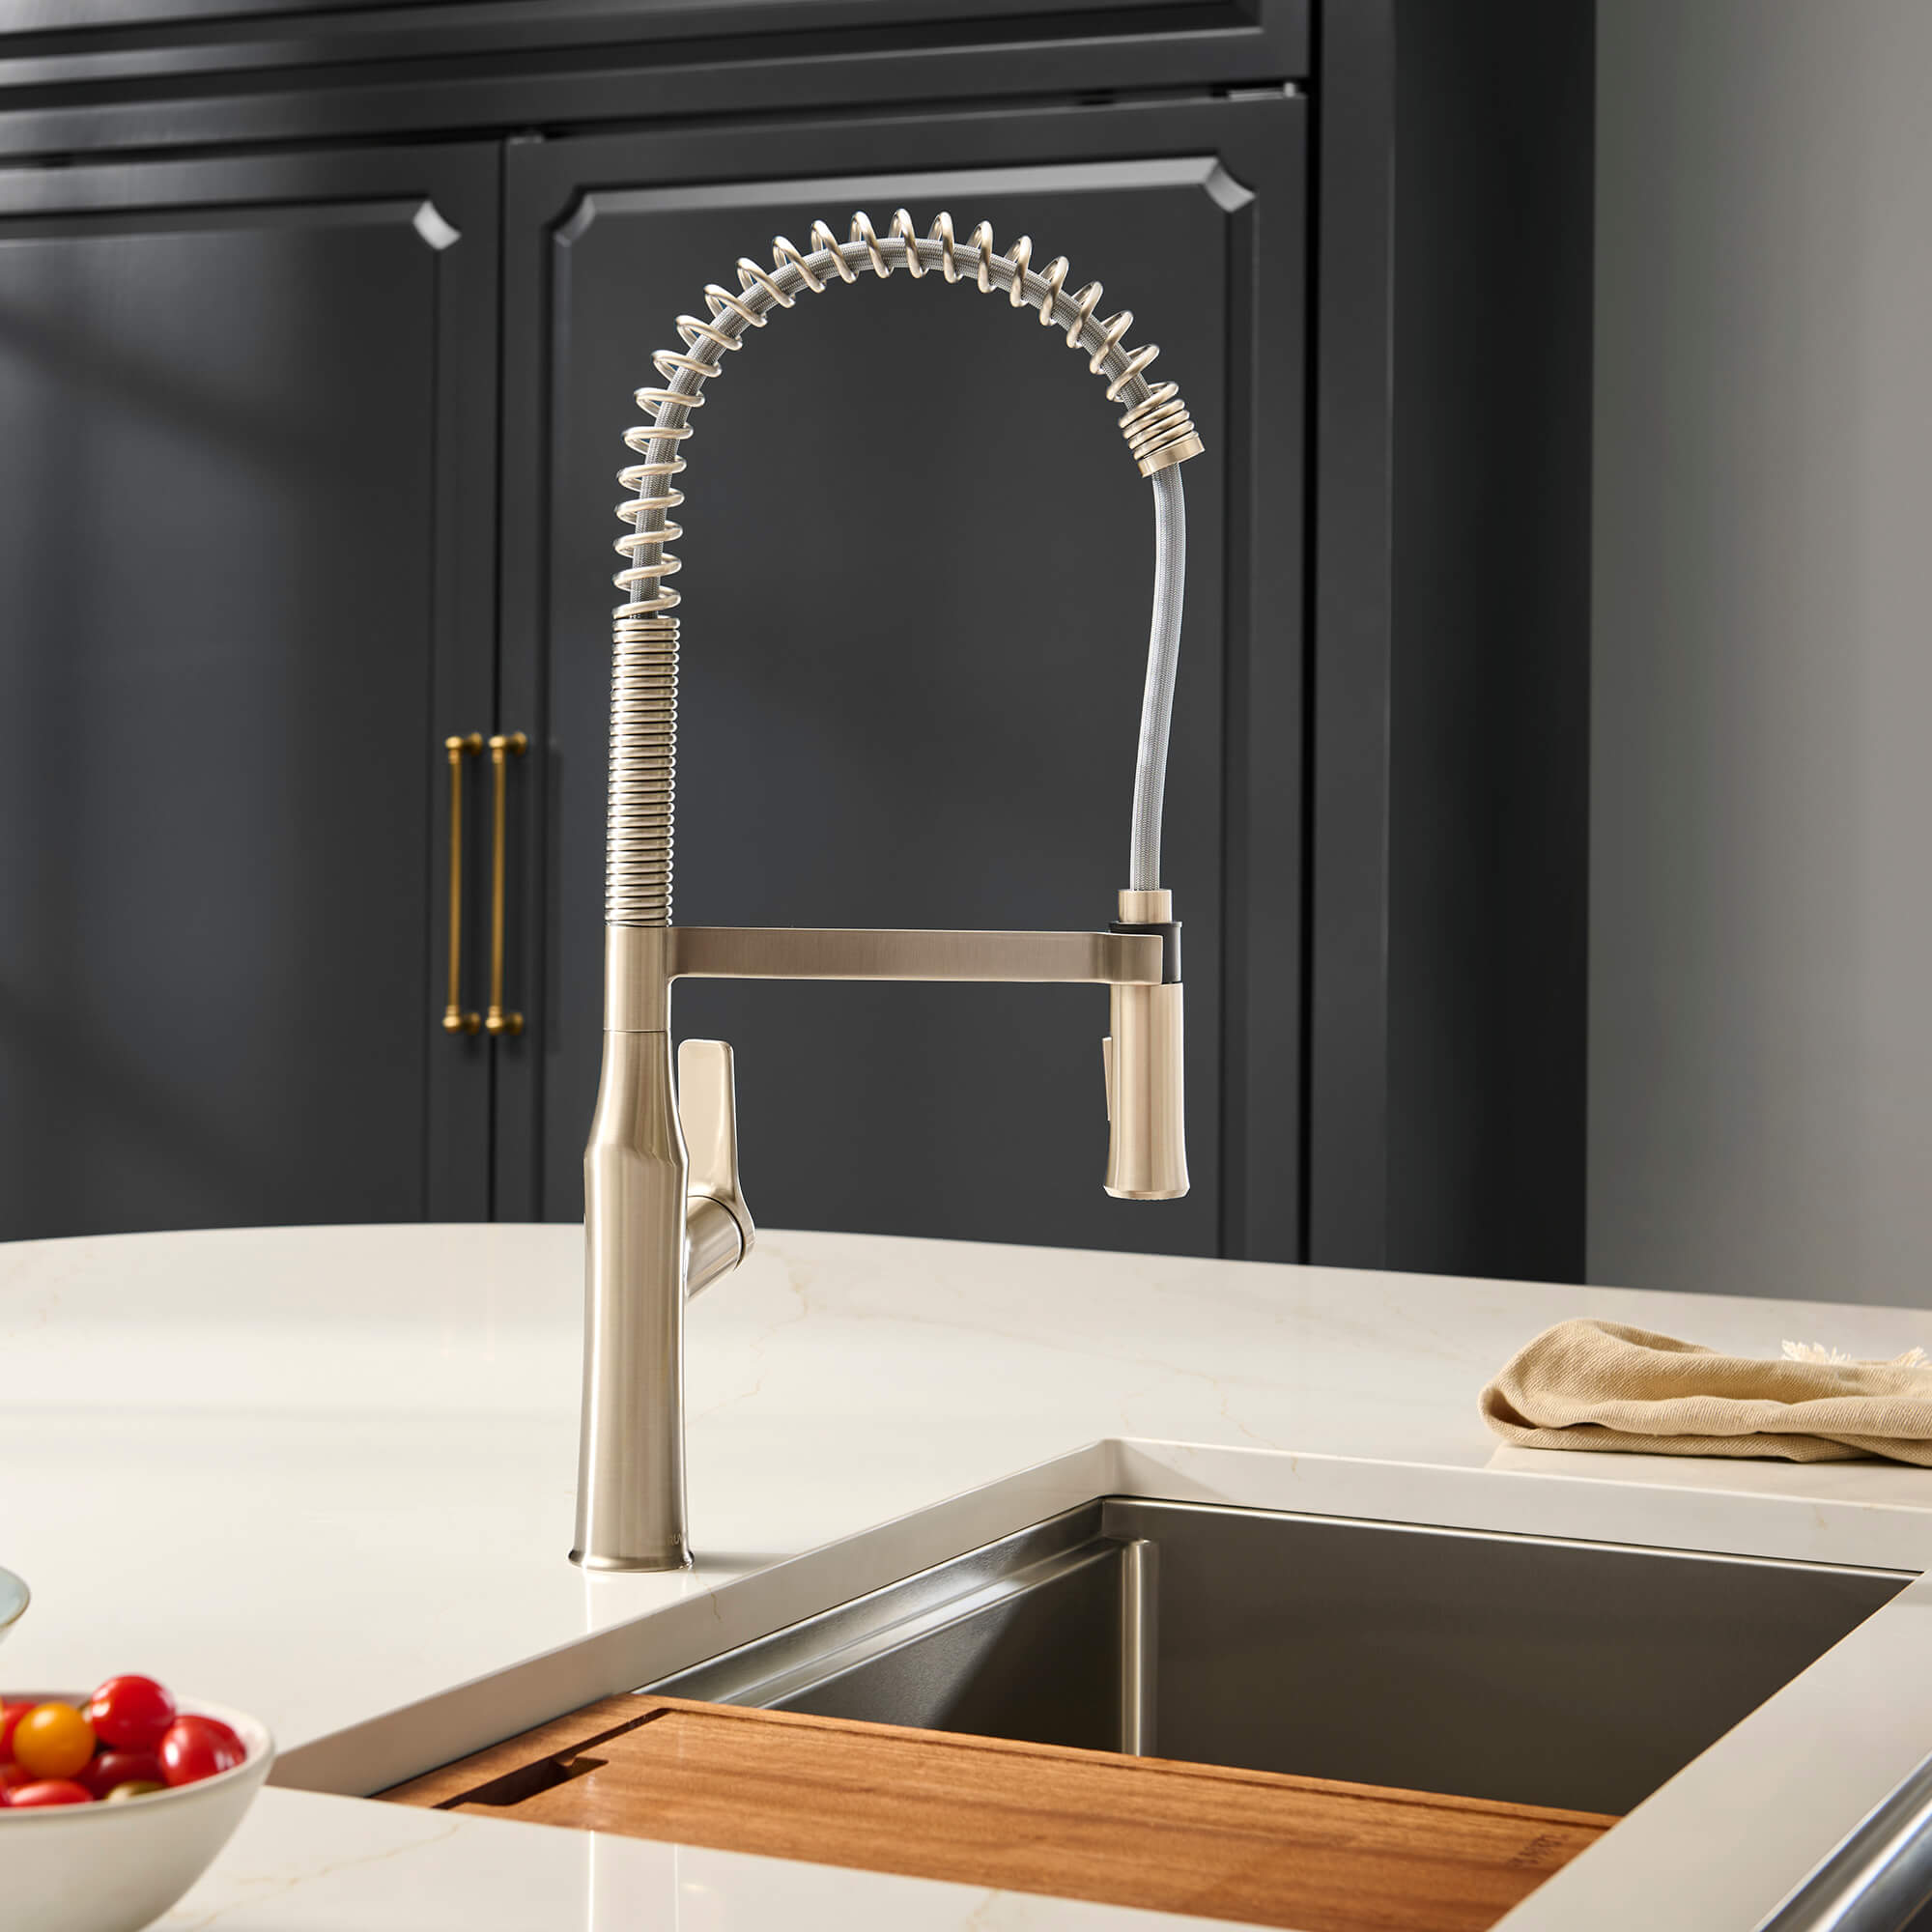
Kitchen Sink & Faucet Replacement: A Complete DIY Guide
About This Project
This DIY guide details the process of replacing a kitchen sink and faucet. It involves five main steps: 1. **Turn Off the Kitchen Water Supply:** Shut off hot and cold water valves under the sink, open the faucet to release pressure, and use a bucket to catch drips. Tools like a basin wrench may be needed. 2. **Disconnect the Old Sink and Faucet Plumbing:** Disconnect water supply lines and drain plumbing using an adjustable or basin wrench, and be ready for spills. A bucket and rags can be useful. 3. **Install the New Kitchen Faucet:** After removing the old sink and cleaning the counter, install the new faucet on the sink *before* placing the sink in the counter. Use plumber's putty and follow the manufacturer's instructions for your faucet. A screwdriver is required. 4. **Install the New Kitchen Sink:** Apply silicone sealant to the rim of the new sink, set it in the countertop opening, and secure it with clips using a screwdriver. 5. **Test for Leaks and Final Checks:** Slowly turn the water supply back on and check connections for leaks, inspecting the faucet too. Tighten loose fittings if needed and retest.
Best for experienced DIYers and homeowners with some experience.
Tools & Materials
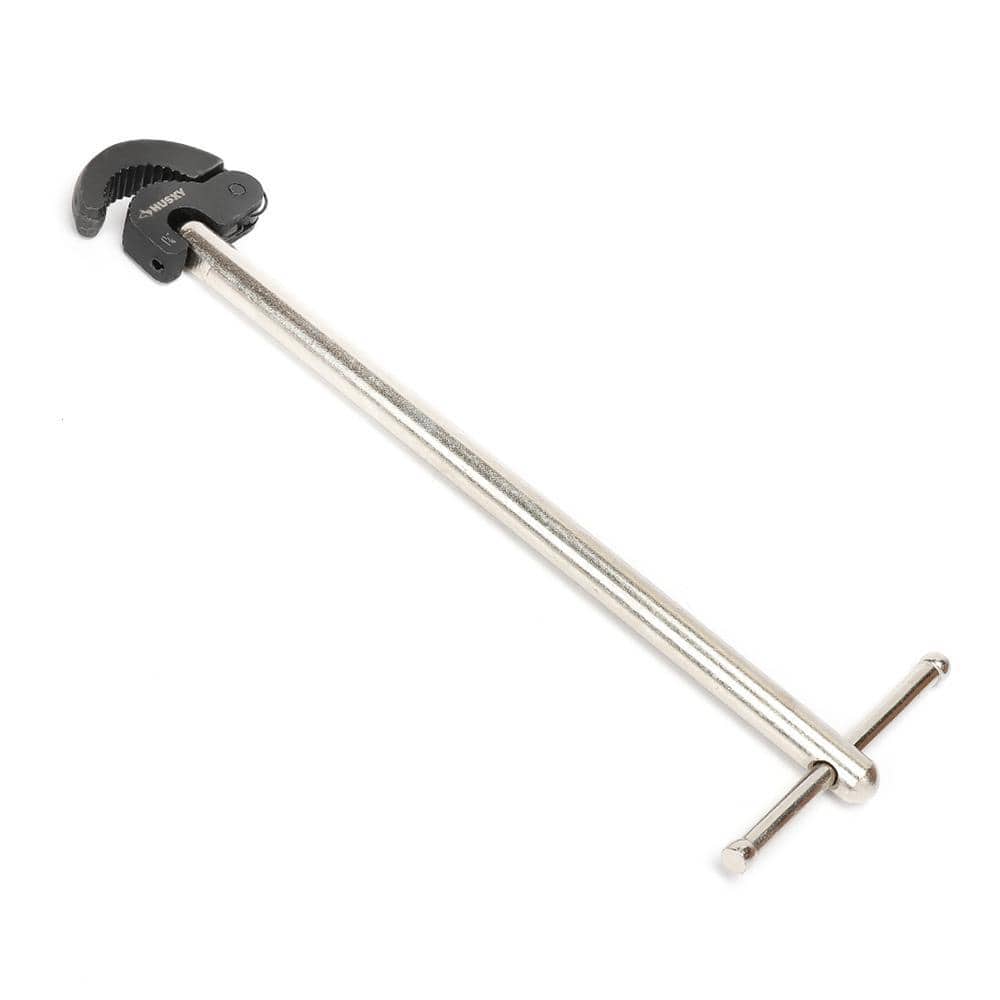
Husky Basin Wrench 16PL0127

Unger 6 Gal. Heavy-Duty Plastic Bucket DB02
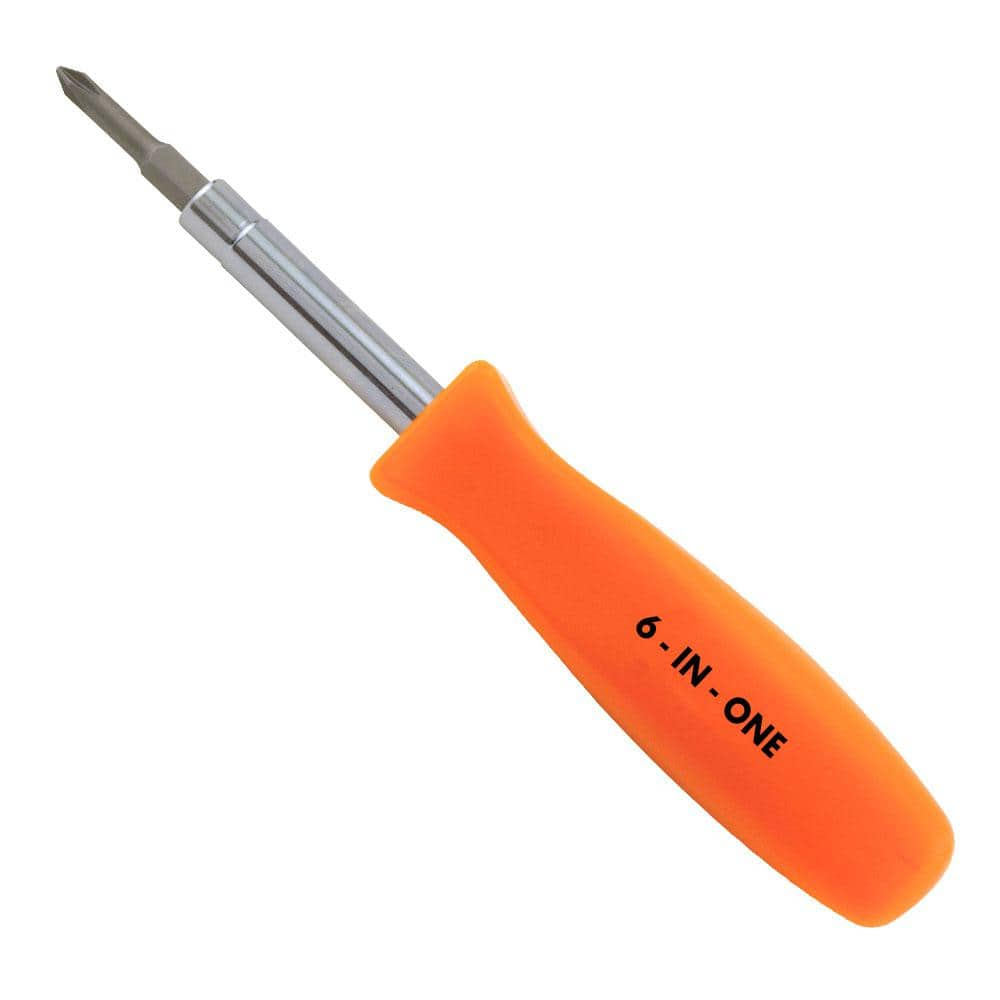
HDX 3-1/4 in. 6-in-1 Screwdriver 120SD12D

Oatey 9 oz. Stain-Free Plumber's Putty 31177
Husky Basin Wrench 16PL0127
Husky's 11 in. Basin Wrench is made from heavy-duty steel and has a reversible head for accessing faucet nuts in tight spaces. The 180 pivoting head holds its position at any angle to access hard-to-reach
Unger 6 Gal. Heavy-Duty Plastic Bucket DB02
The Unger 6-Gallon Heavy-Duty Professional Cleaning Bucket holds more than 6 Gal. of liquid. The bucket can accommodate a scrubber up to 14 in. L. This bucket features measurement marks and 2-pour spouts
HDX 3-1/4 in. 6-in-1 Screwdriver 120SD12D
The HDX 3-1/4 in. 6-in-1 Screwdriver features double-sided bits with the four most common screwdriver tip styles, including a #1 Phillips bit, a #2 Phillips bit, a 3/16 in. flathead bit and a 1/4 in. flathead bit. Both ends of the shaft can be used as 1/4 in. nut drivers when the bits are removed, offering convenient, versatile use. The high-visibility orange handle makes the handy tool easy to find on a job site or in a toolbox.
Oatey 9 oz. Stain-Free Plumber's Putty 31177
For setting frames, faucets and basket strainers, use this Oatey 9 oz. Stain-Free Plumber's Putty on granite, marble, quartz, sandstone and other natural, porous materials. Will not crack or shrink. Cleans
Steps


Disconnect the Old Sink and Faucet Plumbing
15 minsUsing an adjustable wrench or basin wrench, carefully disconnect the water supply lines and drain plumbing from the old sink. Be prepared for some water spillage, even after turning off the valves. Have rags or a bucket ready.
Watch: Disconnect Supply Lines

Common Problems
Safety concern: Turn off water supply before starting any plumbing work., If unsure about any step, consult a qualified plumber.
Solution: Take proper safety precautions. Turn off water supply before starting any plumbing work., If unsure about any step, consult a qualified plumber.
Prevention: Always follow safety guidelines before starting the project.
Be careful not to break the water supply lines when disconnecting them.
Solution: To avoid this issue: Be mindful of this warning and take appropriate precautions.
Can't reach or loosen faucet nuts due to tight space.
Solution: A basin wrench is highly recommended for reaching the faucet mounting nuts in the tight space behind the sink basin.
Ensure the water is completely off before disconnecting any plumbing. Test by turning on the faucet; no water should flow.
Solution: To avoid this issue: Be mindful of this warning and take appropriate precautions.
If you cannot find or operate the shutoff valves under the sink, you will need to shut off the main water valve for the entire house.
Solution: To avoid this issue: Be mindful of this warning and take appropriate precautions.
Water damage and mess from unexpected leaks during sink and faucet replacement.
Solution: Keep a towel handy to clean up any spills immediately.
Jagged, sticky caulk lines result from not preparing your finger for smoothing.
Solution: Wetting your finger with water or rubbing alcohol before smoothing the caulk bead can help achieve a smoother finish and prevent the sealant from sticking to your skin.
Frequently Asked Questions
What specific tools are absolutely essential for a beginner to replace a kitchen sink and faucet, beyond standard household items?
A basin wrench, like the Husky 16PL0127, is crucial for reaching and tightening nuts in confined spaces under the sink. You'll also need an adjustable wrench, a 6-in-1 screwdriver (e.g., HDX 120SD12D), and a sturdy bucket (Unger DB02) for catching water. Don't forget plumber's putty and silicone sealant.
What are the most important safety precautions beginners should take when working with water and plumbing under the sink?
Always ensure the main water supply to the sink is completely shut off before disconnecting anything to prevent flooding. Wear safety glasses to protect against drips or debris, and have plenty of old towels and a large bucket readily available for unexpected spills. Be mindful of confined spaces and potential sharp edges.
Is 5 hours a realistic estimated time for a beginner to complete this kitchen sink and faucet replacement project?
While 5 hours is an estimated time, beginners should typically allocate a full day (6-8 hours) to account for potential unexpected issues, learning curves, and trips to the hardware store. Rushing can lead to mistakes and leaks, so take your time and follow each step carefully for best results.
What's a common mistake beginners make during this project, and how can I avoid it or troubleshoot it?
A frequent mistake is not properly sealing the sink's rim or adequately tightening water connections, leading to leaks. Ensure you apply a continuous, even bead of silicone sealant around the sink's edge, and hand-tighten all water supply and drain connections, then give them a final quarter-turn with a wrench. Always perform a thorough leak test after installation.
The guide mentions installing the new faucet on the sink *before* placing the sink in the counter. Why is this important, and can I skip it?
Installing the faucet onto the sink *before* setting the sink in the countertop simplifies the process significantly, especially for beginners. It provides much better access to tighten the faucet nuts and connect the supply lines, which can be extremely difficult in the cramped space under the counter. Skipping this step is not recommended for ease of installation.
Are there alternatives to plumber's putty for sealing the faucet base, or should I replace the old drain pipes when installing a new sink?
While plumber's putty is traditional for sealing the faucet base, many modern faucets come with integrated rubber gaskets that negate the need for putty. It's highly recommended to replace old drain pipes with new ones when installing a new sink. Older pipes can be brittle, corroded, or incompatible with your new sink's drain assembly, making them prone to leaks if reused.
Besides the new sink and faucet, what other costs might I encounter when undertaking this DIY replacement project?
Beyond the main fixtures, you might need to purchase new water supply lines if your existing ones are old, corroded, or the wrong length for the new faucet. Budget for essential consumables like plumber's putty and silicone sealant, and potentially new P-trap components if your existing drain assembly doesn't align or is in poor condition. Investing in a good basin wrench is also a worthwhile cost.