

Kitchen Faucet Repair: A Step-by-Step Guide to Replacing Faucet Parts
About This Project
This project provides a step-by-step guide to repairing a leaky kitchen faucet. It begins by turning off the water supply lines under the sink to prevent water flow during the repair. Next, the faucet handle is removed, often by unscrewing a hidden screw under a decorative cap. Then, the old cartridge or valve stem is removed and inspected to identify the brand and model number for ordering a replacement. The new cartridge is installed, ensuring proper alignment with the faucet body. Finally, the water supply is turned back on, and the faucet is tested for leaks. If no leaks are found, the handle and other removed components are reassembled.
Best for experienced DIYers and homeowners with some experience.
Tools & Materials
Screwdriver
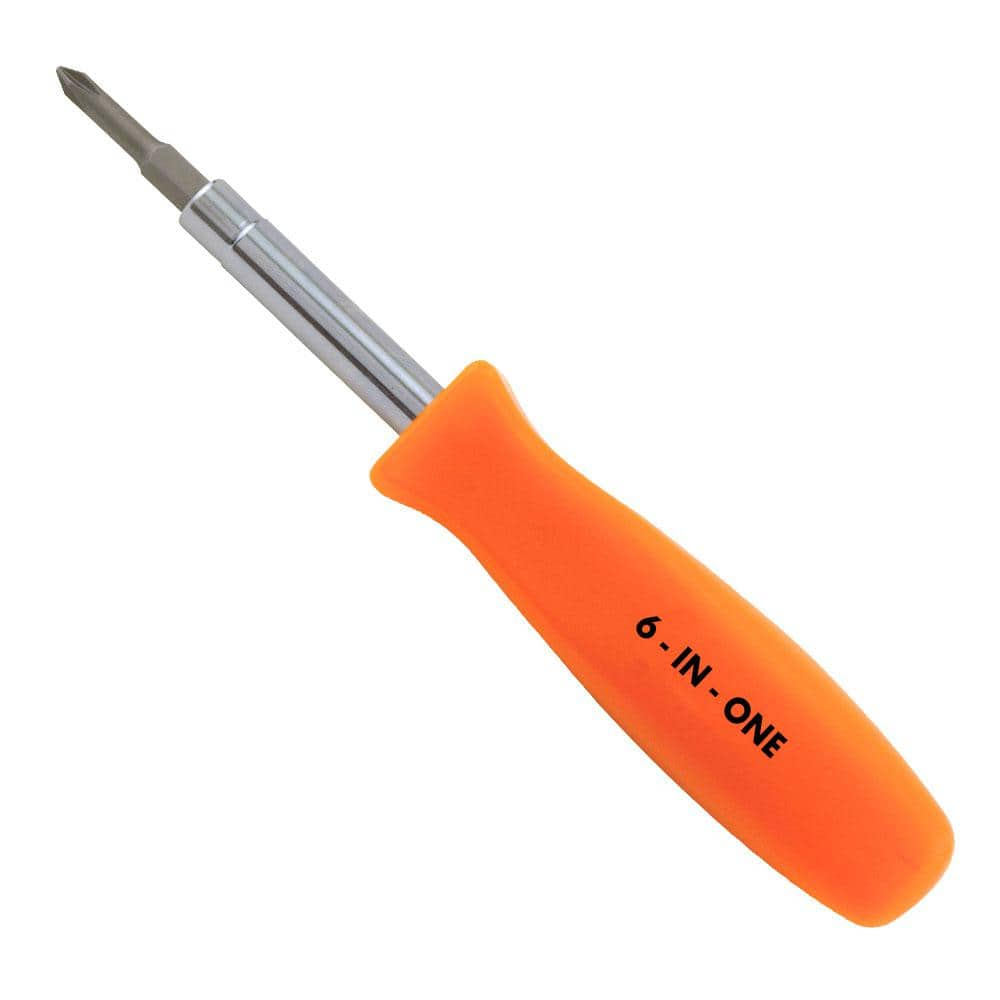
HDX 3-1/4 in. 6-in-1 Screwdriver 120SD12D
Screwdriver
A tool used to turn screws.
HDX 3-1/4 in. 6-in-1 Screwdriver 120SD12D
The HDX 3-1/4 in. 6-in-1 Screwdriver features double-sided bits with the four most common screwdriver tip styles, including a #1 Phillips bit, a #2 Phillips bit, a 3/16 in. flathead bit and a 1/4 in. flathead bit. Both ends of the shaft can be used as 1/4 in. nut drivers when the bits are removed, offering convenient, versatile use. The high-visibility orange handle makes the handy tool easy to find on a job site or in a toolbox.
Steps


Remove the Faucet Handle
10 minsLocate the handle screw(s). These are often hidden under a small decorative cap. Carefully remove the cap (if present) using a small flat-head screwdriver. Use the appropriate screwdriver to remove the screw(s) securing the handle. Once the screws are removed, gently pull off the faucet handle.

Identify and Order the Replacement Faucet Part
30 minsCarefully inspect the old cartridge or valve stem. Note the brand and model number (often found on a label on the faucet body itself). Take clear photos for reference. Use this information to find the exact replacement part online or at your local hardware store.


Test for Leaks and Reassemble
5 minsSlowly turn the water supply back on. Carefully check for any leaks around the handle and spout. If you find leaks, tighten the connections or disassemble the faucet again to ensure the replacement part is correctly installed. Once you are satisfied, reassemble the faucet handle and any other components removed earlier.
Common Problems
Be prepared for a small amount of water to spill from the line when you disconnect it.
Solution: To avoid this issue: Be mindful of this warning and take appropriate precautions.
Ensure both hot and cold water valves are fully closed before proceeding.
Solution: To avoid this issue: Be mindful of this warning and take appropriate precautions.
Failure to turn off the water supply will result in flooding.
Solution: To avoid this issue: Be mindful of this warning and take appropriate precautions.
Lost a small faucet part down the drain?
Solution: Covering the drain is a simple step that can save you the major headache of retrieving a lost part.
Confirm the water is completely off by turning the faucet handle. A small trickle is normal, but a steady flow means the valve is not fully closed.
Solution: To avoid this issue: Be mindful of this warning and take appropriate precautions.
Be gentle when prying off the caps to avoid scratching the handle or the shower surround.
Solution: To avoid this issue: Be mindful of this warning and take appropriate precautions.
Prying off the hot/cold indicator button too aggressively can scratch the faucet's finish.
Solution: The hot/cold indicator button is usually just a press-fit plastic or metal cap. Be gentle when prying it off to avoid scratching the finish.
Frequently Asked Questions
What specific tools, beyond a basic screwdriver, might I need for this faucet repair?
You might need an adjustable wrench or basin wrench for stubborn nuts under the sink. Depending on your faucet, a set of Allen wrenches (hex keys) may be required to remove the handle, and some cartridges require a specialized removal tool. Penetrating oil can also be useful for seized parts.
What's the most crucial first step to ensure safety and prevent water damage before I start this repair?
The absolute first step is to completely turn off the hot and cold water supply lines leading to the faucet, usually found under the sink. Then, open the faucet to drain any remaining water from the lines and relieve pressure. This prevents accidental floods and makes the repair safer.
This project is rated 'beginner' and '2 hours.' What are common issues that could make it take longer or become more difficult?
Corroded or seized parts can be difficult to remove, especially if the faucet is old, potentially adding significant time. Identifying the correct replacement part can also cause delays if the brand or model is obscure. Tight spaces under the sink can make access challenging.
After installing the new cartridge, what should I do if the faucet still leaks or doesn't operate correctly?
First, double-check that the new cartridge is fully seated and properly aligned according to any notches or keys, as incorrect alignment is a common cause of leaks. Ensure all retaining nuts or screws are snug, but do not overtighten. If the issue persists, inspect the cartridge for any defects or verify it's the exact correct model for your faucet.
What's the best way to ensure I buy the correct replacement cartridge or valve stem for my specific kitchen faucet?
After removing the old cartridge, look for any brand names or model numbers stamped on the faucet body or the cartridge itself. Taking a photo of the old cartridge from multiple angles and bringing it to a plumbing supply store, or searching online with the faucet's brand and model, are the most reliable methods.
What is the typical cost range for a replacement kitchen faucet cartridge, and is it always worth replacing?
Replacement cartridges typically cost between $15 and $60, depending on the faucet brand and model. It's almost always worth replacing a cartridge to fix a leak, as it's significantly cheaper than purchasing and installing a whole new faucet. This DIY fix can save you money on both parts and labor.