
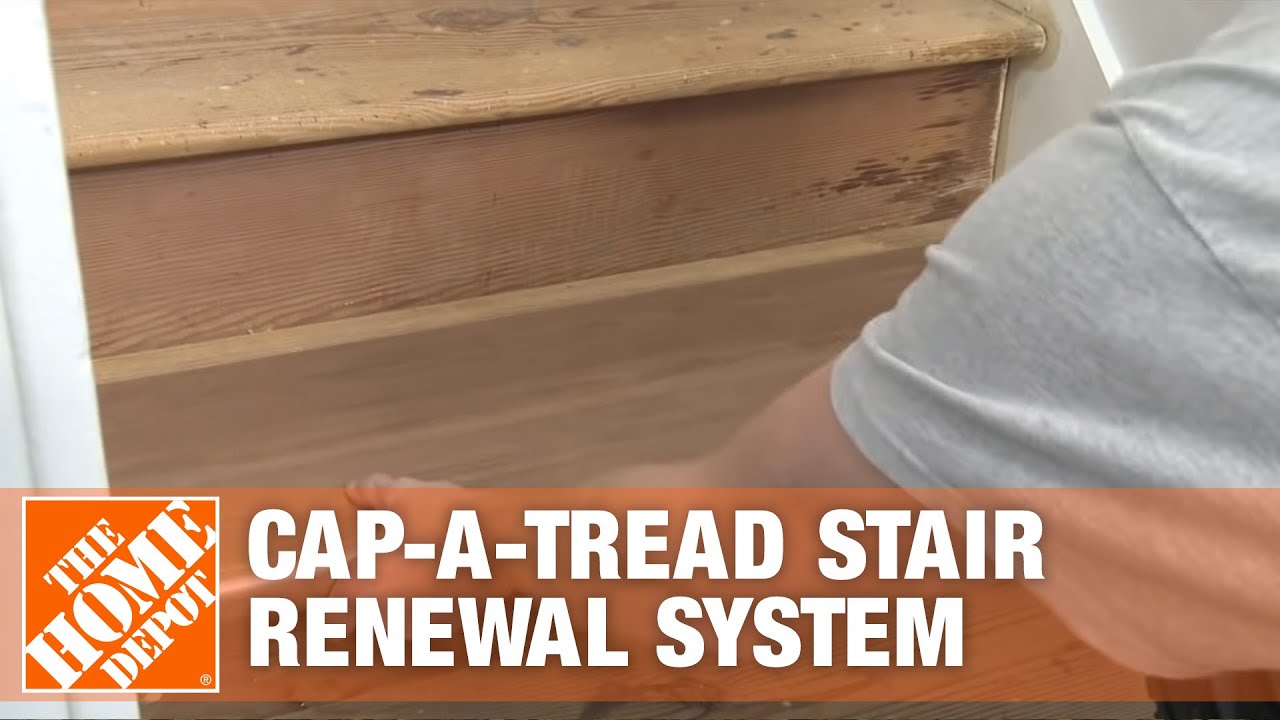
How to Install Carpet Treads on Extra-Wide Stairs
About This Project
This outline details the steps involved in installing carpet treads on extra-wide stairs, including preparation, fitting, and securing the treads for a safe and aesthetically pleasing result.
Tools & Materials
Measuring Tape

KENMORE FeatherLite Lift-Up Bagless Upright Vacuum with Hair Eliminator Brushroll DU4099
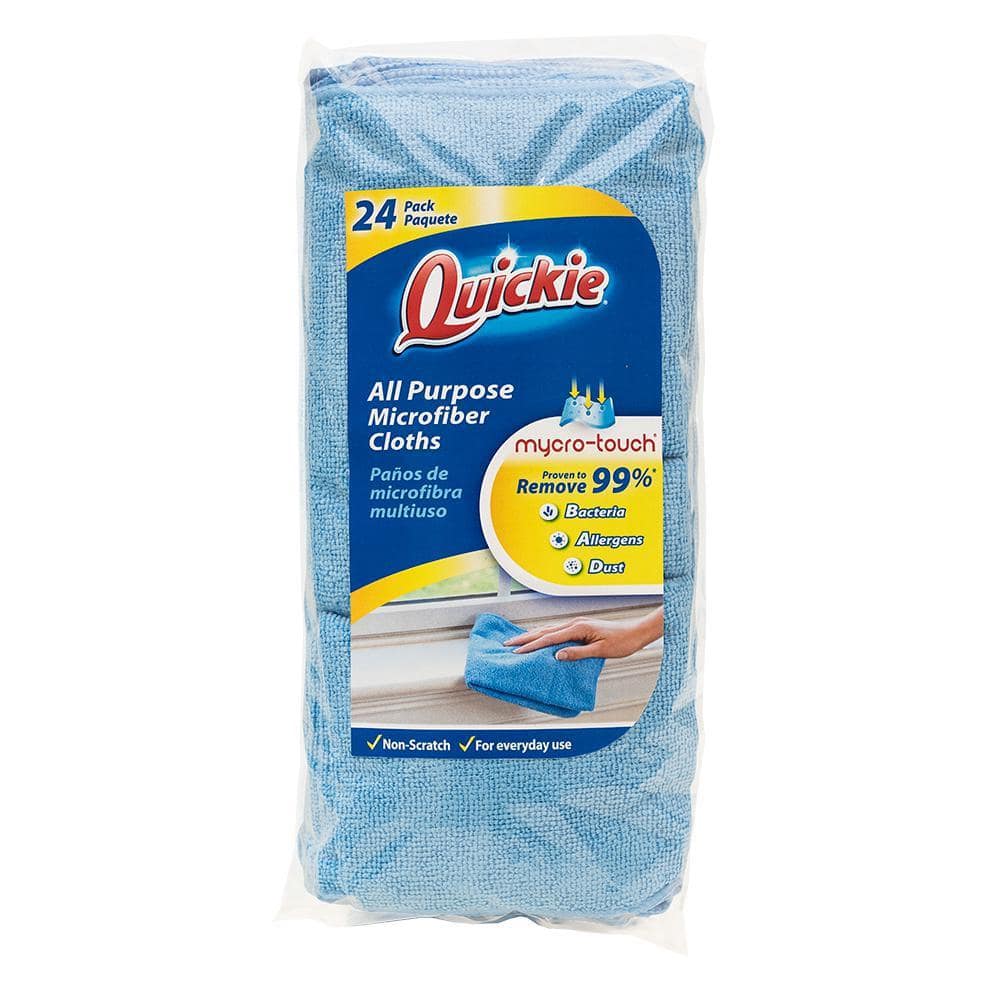
Quickie 14 in. x 14 in. Microfiber Cloth Towels (24-Pack) 49024RM
Arrow Staple Puller SL24D
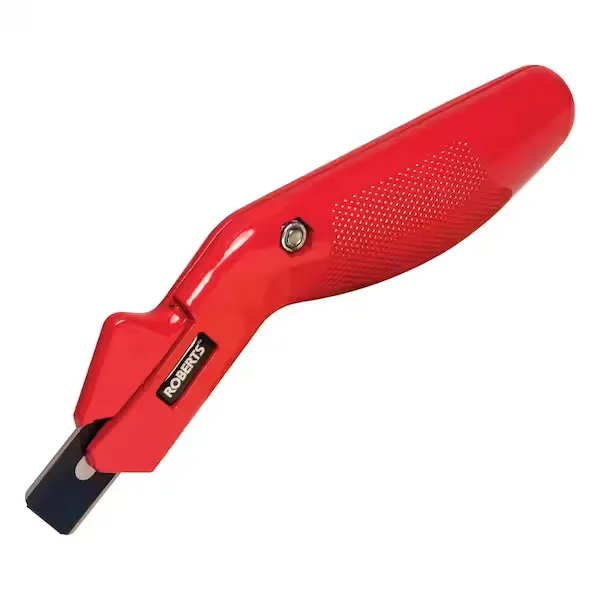
Carpet Knife
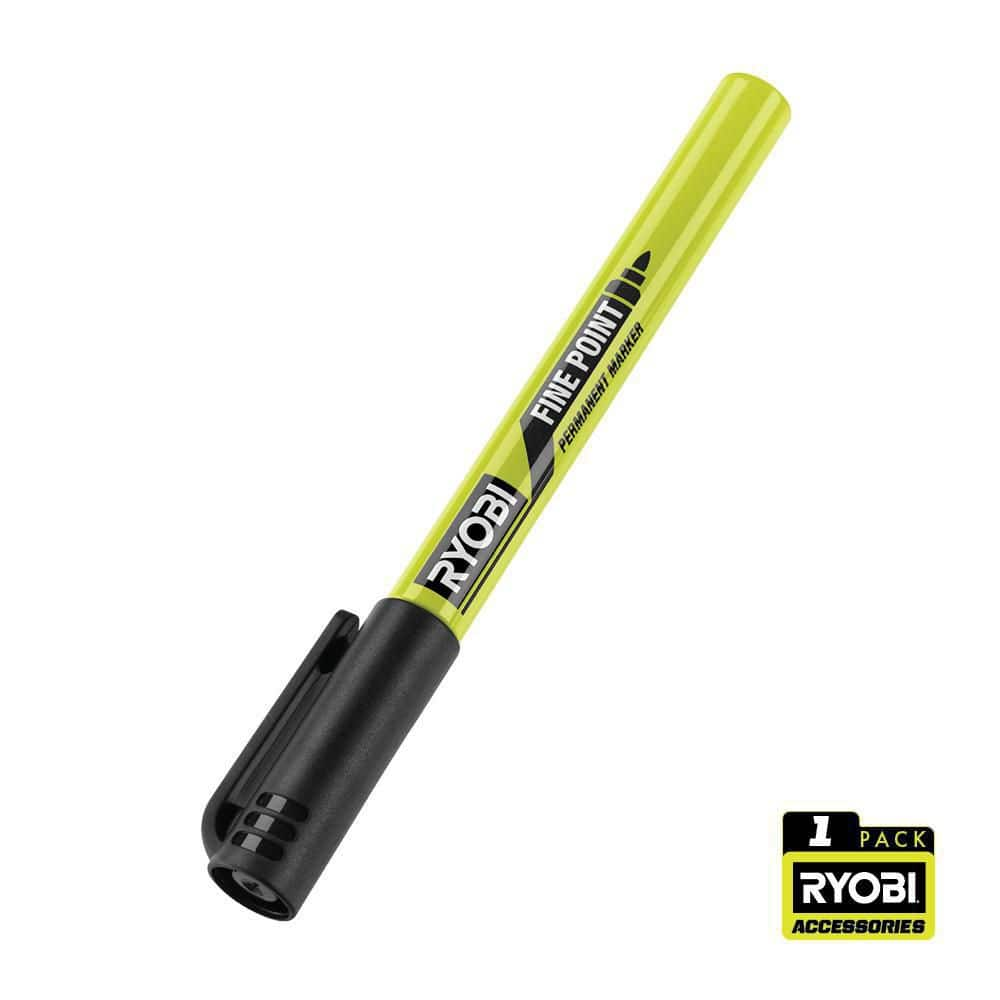
RYOBI Black Fine Point Permanent Workshop Marker RPM121
Measuring Tape
For accurate measurements of plywood and components, ensuring proper assembly.
KENMORE FeatherLite Lift-Up Bagless Upright Vacuum with Hair Eliminator Brushroll DU4099
This Kenmore bagless upright with completely sealed air path can tackle all your cleaning needs. Effortlessly transition to lightweight cleaning with Lift-Up for stairs and above floor cleaning. The AllergenSeal*
Quickie 14 in. x 14 in. Microfiber Cloth Towels (24-Pack) 49024RM
The Quickie Microfiber Towels (24-pack) are all-purpose. They're great for kitchen and bathroom surfaces and countertops. You can also use them on wood, glass and your car.
Arrow Staple Puller SL24D
The new Arrow Staple Lifter is a handy, must-have tool for removing staples quickly, cleanly and safely. The hardened steel body stands up to even the toughest staples while the lightweight ergonomic handle provides a comfortable grip for confident handling. The angled, two prong, rounded point of the lifter makes it easy to get under staples without damaging or gouging the work surface. Perfect for upholstery and furniture refinishing projects.
Carpet Knife
Precision blade crafted for carpet cuts.
RYOBI Black Fine Point Permanent Workshop Marker RPM121
The RYOBI Black Fine Point Permanent Marker provides precise, clean marks on most materials. This marker is perfect for your workshop or the jobsite because of its durability. Its high quality ink is easily visible on rough surfaces. Common surfaces include wood, plastic, tile, and metal. The marker also features a hang clip for easy storage and accessibility. This pack includes one Black Fine Point Permanent Workshop Marker.
Steps


Inspect and Clean Stair Treads
45 minutesVacuum or brush away any loose dirt, dust, or debris from each stair tread. Inspect the surface for any loose carpet fibers, staples, or nails. If present, carefully remove them. For wooden stairs, ensure the surface is smooth and free of splinters or significant imperfections. Wipe down each tread with a damp cloth to remove any remaining dust.
Watch: Clean the Stairs
Cut Carpet Treads to Size
60 minutesLay out your carpet treads on a flat surface. Using your initial measurements, carefully mark the cutting lines on the back of each carpet tread. Employ a sharp utility knife or heavy-duty scissors to cut along these lines. Ensure the cuts are straight and precise to match the stair dimensions.
Watch: Cut and Size Carpet Treads
Position and Secure First Carpet Tread
15 minutesStarting with the bottom-most stair, peel back the adhesive backing on the carpet tread. Align the tread precisely with the edges of the stair tread, ensuring it is centered and flush with the riser. Once positioned, press down firmly across the entire surface of the tread to ensure a strong bond.
Watch: Position and Secure Tread
Install Remaining Carpet Treads
75 minutesMove to the next stair tread. Align the new carpet tread with the riser and the side walls, ensuring it meets the previously installed tread seamlessly if applicable. Press down firmly across the entire surface to secure the tread. Repeat this process for all remaining stairs.
Watch: Install Remaining Carpet Stair Treads
Final Inspection and Cleaning
20 minutesWalk up and down the stairs, pressing on each carpet tread to ensure it is firmly attached. Check for any lifting edges or loose areas. If any tread feels loose, apply additional pressure or use a recommended adhesive if necessary. Wipe down the installed treads with a clean, dry cloth to remove any fingerprints or smudges.
Watch: Complete Installation and Final Inspection