

How to Use a Drain Cleaning Bladder to Clear Stubborn Clogs
About This Project
This guide provides comprehensive, step-by-step instructions for safely and effectively using a drain cleaning bladder (also known as a blow bag) to clear stubborn clogs from household drain pipes. The process involves selecting the correctly sized bladder, preparing the drain area, inserting the bladder, and using high-pressure water to dislodge the obstruction.
Best for homeowners and DIY enthusiasts with basic plumbing knowledge and familiarity with power tools. Requires MCR Safety BearKat Safety Glasses MCSCRWBK110 and Heavy Duty Latex Gloves and HDX Indoor Safety Glasses Clear (1-Pack) VS-9300, clear.
Tools & Materials
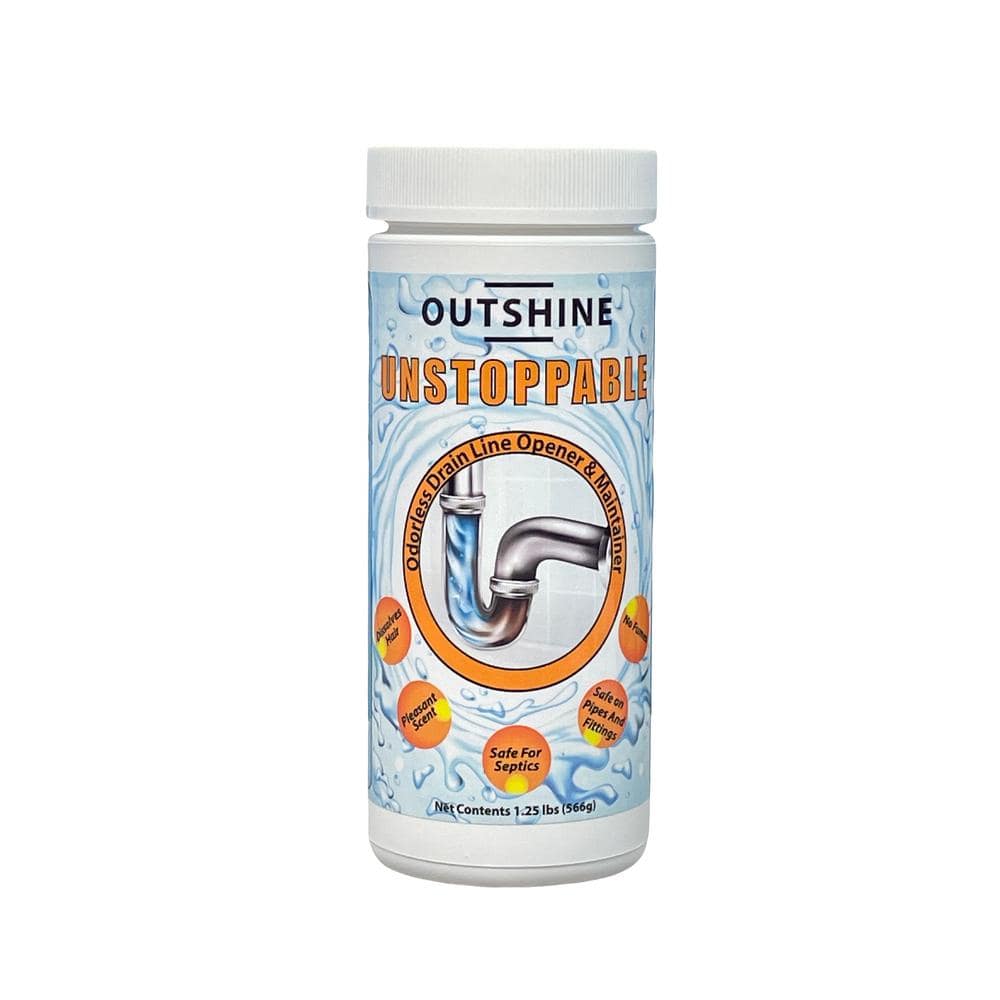
Drain Line Opener and Maintainer 3050-O1005-2
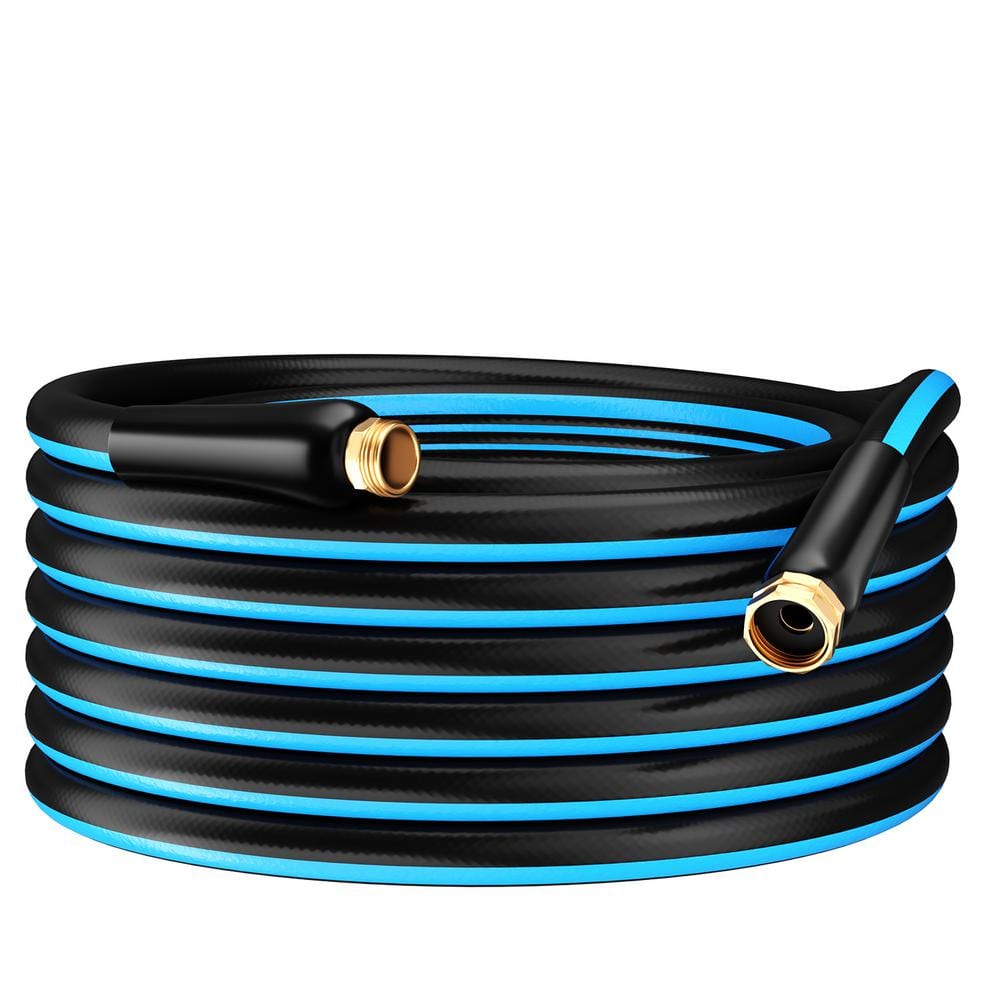
GardenJoy PVC Garden Hose 5/8 in. x 75 ft. Heavy-Duty Durable Hose Outdoor Water Hose LG-GHB5875

Towel
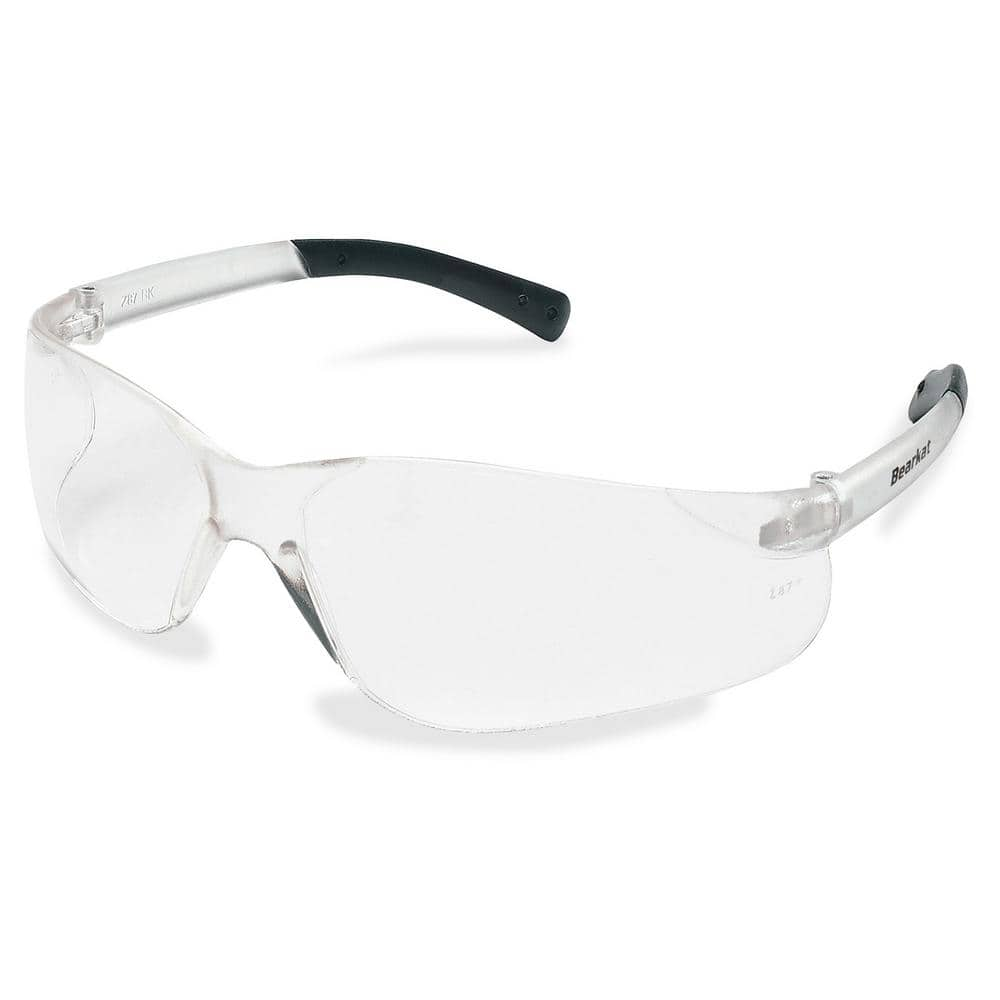
MCR Safety BearKat Safety Glasses MCSCRWBK110

Heavy Duty Latex Gloves
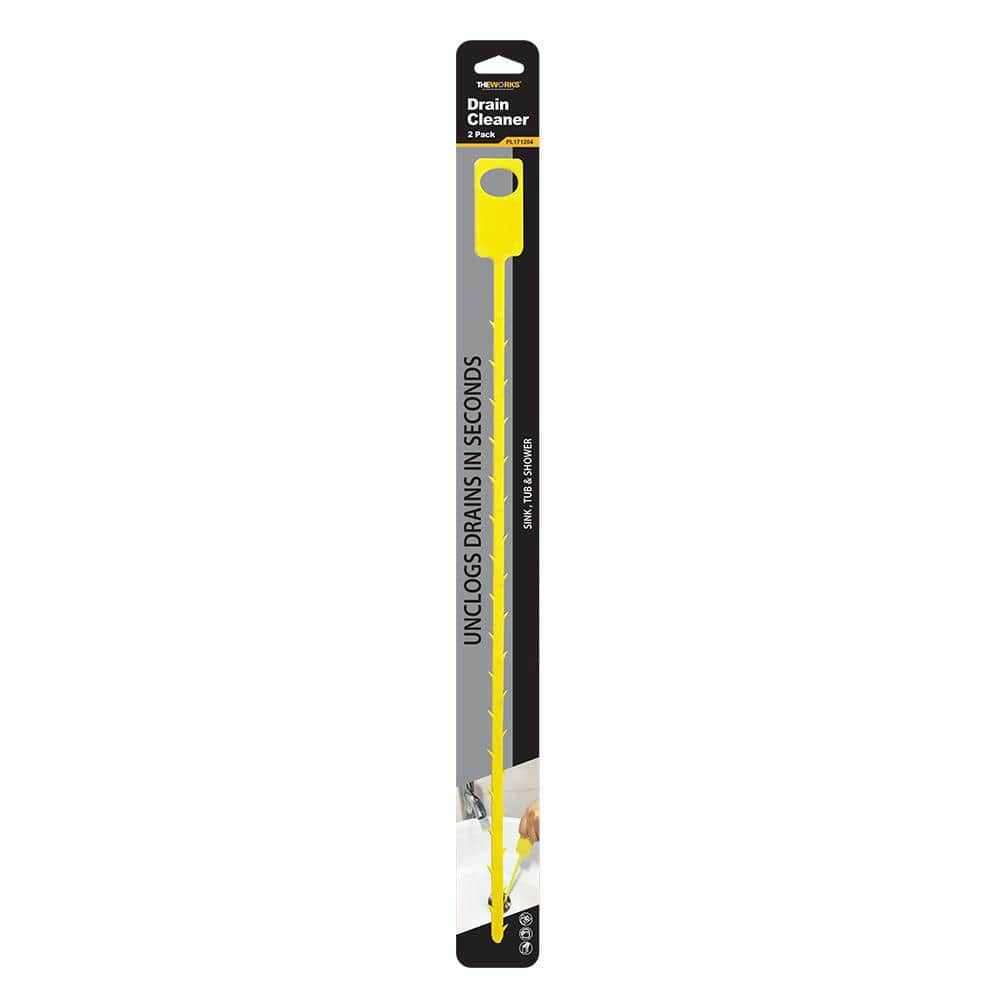
THEWORKS Drain Cleaning Tool (2-pack) PL171204
Drain Line Opener and Maintainer 3050-O1005-2
Unstoppable is a citrus scented granule that cleans and maintains drains. This product is designed to remove hair, body oils, and soap scum that can trap and mat other debris, and cause drains to run slow or clog. Use Unstoppable in tubs, showers, sinks, and kitchen drains. Product can be use on a regular basis as preventative maintenance.
GardenJoy PVC Garden Hose 5/8 in. x 75 ft. Heavy-Duty Durable Hose Outdoor Water Hose LG-GHB5875
Light-weight and Flexible: Made from premium PVC, our garden hose is both light-weight and durable, allowing for easy handling without kinks or tangles, ideal for all your watering and cleaning needs.
Towel
Absorbs moisture and dries surfaces.
MCR Safety BearKat Safety Glasses MCSCRWBK110
Safety glasses feature a well thought-out construction that combines the best in safety, comfort and affordability. Your vision is unobstructed by the 1-piece wraparound lens which, by its tight fit, provides for maximum safety. Flexible temples enhance your comfort during extended use. Nonslip rubber head grips are notched for a clip-on breakaway cord.
Heavy Duty Latex Gloves
Protection during intense tasks.
THEWORKS Drain Cleaning Tool (2-pack) PL171204
The Works Drain Cleaning Tool will clear hair and other debris from your drain in a snap. Easy to use, simply push the tool into the blocked or slow-running drain and pull it back out. Say goodbye to expensive, dangerous drain cleaning chemicals.
Steps

Prepare the Work Area and Gather Tools
5 minsBegin by ensuring your safety and preparing the work area. Put on your safety glasses to protect your eyes from any potential splash-back and wear waterproof gloves. Gather all necessary items: the correctly sized drain cleaning bladder, a garden hose long enough to reach from a spigot to the clogged drain, and several old rags or towels. Clear the area immediately around the drain, removing any bottles, mats, or personal items from the bathtub or shower to prevent them from getting wet or in the way.

Choose the Correct Drain Bladder Size
2 minsExamine the packaging of your drain cleaning bladder to confirm it is designed for the diameter of your drain pipe. Bladders are not one-size-fits-all; they are rated for specific pipe size ranges, such as 1.5 to 2-inch pipes or 3 to 4-inch pipes. Based on our assumption of a 2-inch bathtub drain, you will need a bladder rated for that size. Using a bladder that is too small for the pipe will fail to create a proper seal, rendering it ineffective. Using one that is too large may not fit into the drain opening or could potentially damage the pipe when it inflates.
Attach Bladder to Garden Hose
2 minsTake the male, threaded end of your garden hose and firmly attach it to the female, threaded fitting on the drain cleaning bladder. Hand-tighten the connection to ensure it is secure and will not leak under pressure. Do not use tools like pliers, as this can damage the plastic or brass fittings on the hose or bladder. A snug, hand-tight connection is sufficient.

Access the Drain and Block the Overflow
5 minsTo gain access to the pipe, you must first remove the drain strainer or stopper from the bathtub drain opening. This may require a screwdriver for some models, while others can be lifted or twisted out by hand. Next, locate the overflow plate, which is the metal plate with slots or holes located on the wall of the tub below the faucet. This overflow connects to the same drain pipe. To prevent water from backing up and shooting out of this opening, you must block it. Take one of your old rags, get it thoroughly wet, and wring it out slightly. Tightly pack the wet rag into the overflow opening, ensuring a complete seal. This step is critical for directing all the water pressure from the bladder towards the clog.

Insert the Bladder into the Drain Pipe
3 minsWith the drain open and the overflow blocked, carefully feed the bladder end of the hose into the drain pipe. Push the hose in, guiding the bladder past any initial bends. Continue feeding it until the bladder itself is at least 6 to 12 inches deep inside the pipe. This positioning is vital. It ensures the bladder is securely anchored within a straight section of the pipe, which will prevent the force of the water from ejecting it back out of the drain. The hose should be relatively straight behind the bladder, without any kinks.

Apply Water Pressure
5 minsHold the garden hose firmly a foot or two back from the drain opening. Signal your helper to turn on the water spigot fully and quickly. If working alone, turn the water on and quickly return to the drain. You will feel the hose stiffen and pulse as the bladder inflates to seal the pipe. Once sealed, the bladder will release powerful jets of water against the clog. The hose may jerk or vibrate as it works. Allow the water to run for 1-2 minutes to give it time to break down and flush the clog. Be vigilant for any signs of water backing up in other drains or leaks in your plumbing system, and be prepared to shut the water off immediately if this occurs.

Verify the Drain is Clear and Clean Up
5 minsAfter 1-2 minutes of operation, have your helper turn the water spigot completely off. Wait a moment for the water pressure in the hose to dissipate and for the bladder to deflate. You will feel the hose go limp. Once deflated, carefully pull the hose and bladder out of the drain. Remove the wet rag you placed in the overflow. To test your work, turn on the bathtub faucet and observe how the water drains. If it flows away quickly and without backing up, the clog has been successfully cleared. If the drain is still slow, you can repeat the process one more time. If a second attempt fails, the clog may be too solid or too far down the line for this method. Use your remaining rags to clean up any water that spilled during the process.
Common Problems
Hose gets stuck and won't retract, leaving it inside the drain.
Solution: Make sure the hose has a clear path and isn't wrapped around drain pipes or supply lines, which would prevent it from retracting correctly.
The quick-connect might detach mid-use, causing water to spray everywhere.
Solution: A firm tug on the hose is a good way to confirm the quick-connect has locked properly.
Do not over-tighten the adapters, as this may damage the washers or strip the threads.
Solution: To avoid this issue: Be mindful of this warning and take appropriate precautions.
Leaking fittings due to improperly wrapped pipe thread tape.
Solution: Wrap the pipe thread tape in a clockwise direction, the same direction you will turn the fitting to tighten it.
Overtightening the hose can strip threads and damage the valve.
Solution: Hand-tighten the hose first, then give it a small quarter-turn with pliers. Do not overtighten, as you could damage the plastic or brass threads on the valve.
Be prepared for some water to splash back before the bladder fully inflates and seals the pipe.
Solution: To avoid this issue: Be mindful of this warning and take appropriate precautions.
Difficulty finding the correct drain cleaning bladder size.
Solution: The video shows item numbers from Harbor Freight: the medium is #99942 and the large is #99941.
Frequently Asked Questions
Do I need any special tools or hoses to use a drain cleaning bladder effectively?
Yes, beyond the bladder itself, you'll need a sturdy garden hose (5/8 inch or 3/4 inch recommended) that can withstand high pressure, and a functional outdoor faucet. Essential safety gear, such as heavy-duty latex gloves and clear safety glasses, should always be worn for protection against splashes and dirty water.
What are the most critical safety precautions I should take when using a drain cleaning bladder?
Always wear safety glasses and gloves to protect against dirty water and potential back-splashes. Crucially, ensure any overflow opening is securely blocked to prevent water from unexpectedly backing up and spraying. Never use a drain bladder if you've recently used chemical drain cleaners, as mixing chemicals with pressurized water can be extremely dangerous.
What should I do if the drain bladder isn't clearing the clog or seems stuck?
First, double-check that you've selected the correct bladder size for your pipe diameter and that your water pressure is sufficient. If the clog persists, try adjusting the bladder's position slightly or re-inserting it. If the bladder feels genuinely stuck, immediately turn off the water, carefully remove it, and consider using a drain snake or contacting a plumbing professional.
How difficult is using a drain cleaning bladder for a beginner, and what's the typical time commitment and cost?
This project is considered beginner-friendly, requiring basic DIY skills. It typically takes about 30-60 minutes to complete once you have all the necessary tools and the work area prepared. The main cost involves purchasing the drain cleaning bladder, which generally ranges from $20 to $50, plus any safety gear or a new garden hose if needed.
When is a drain cleaning bladder the best solution compared to a chemical cleaner or a drain snake?
A drain cleaning bladder is ideal for stubborn, soft clogs like grease, hair, or soap buildup located further down the pipe, especially when chemicals are ineffective or undesirable. It offers a powerful, chemical-free method using water pressure. For hard blockages like roots or objects, a drain snake is usually more effective.
How do I ensure I choose the correct drain bladder size for my household pipes?
Drain bladders are specifically designed for different pipe diameters, typically ranging from 1.5 inches to 4 inches. You must determine the approximate inner diameter of the drain pipe you intend to clear and select a bladder that explicitly matches that size. Using an incorrect size can be ineffective, cause the bladder to get stuck, or potentially damage your pipes.