
How to Troubleshoot a Weak Flushing Toilet
About This Project
This guide provides a comprehensive, step-by-step process for diagnosing and fixing a toilet with a weak or incomplete flush. The process involves inspecting and adjusting components inside the toilet tank, clearing mineral deposits from the bowl's rim jets, and checking for partial clogs in the drain.
Best for experienced DIYers and homeowners with some experience with basic plumbing knowledge.
Tools & Materials

Towel
Screwdriver
Pliers
Korky 2 in. Toilet Tank Flapper 54BP

Everbilt #135 x 115 ft. Handy Link Zinc Plated Steel Chain 806470
Tileon 8 in. W x 8 in. H Small Round 1X/10X 2-Sides Magnifying Desk Makeup Mirror with Built-in Battery & Type-C Port in Chrome WYHDRA055
Towel
Absorbs moisture and dries surfaces.
Screwdriver
A tool used to turn screws.
Pliers
Grips and manipulates objects.
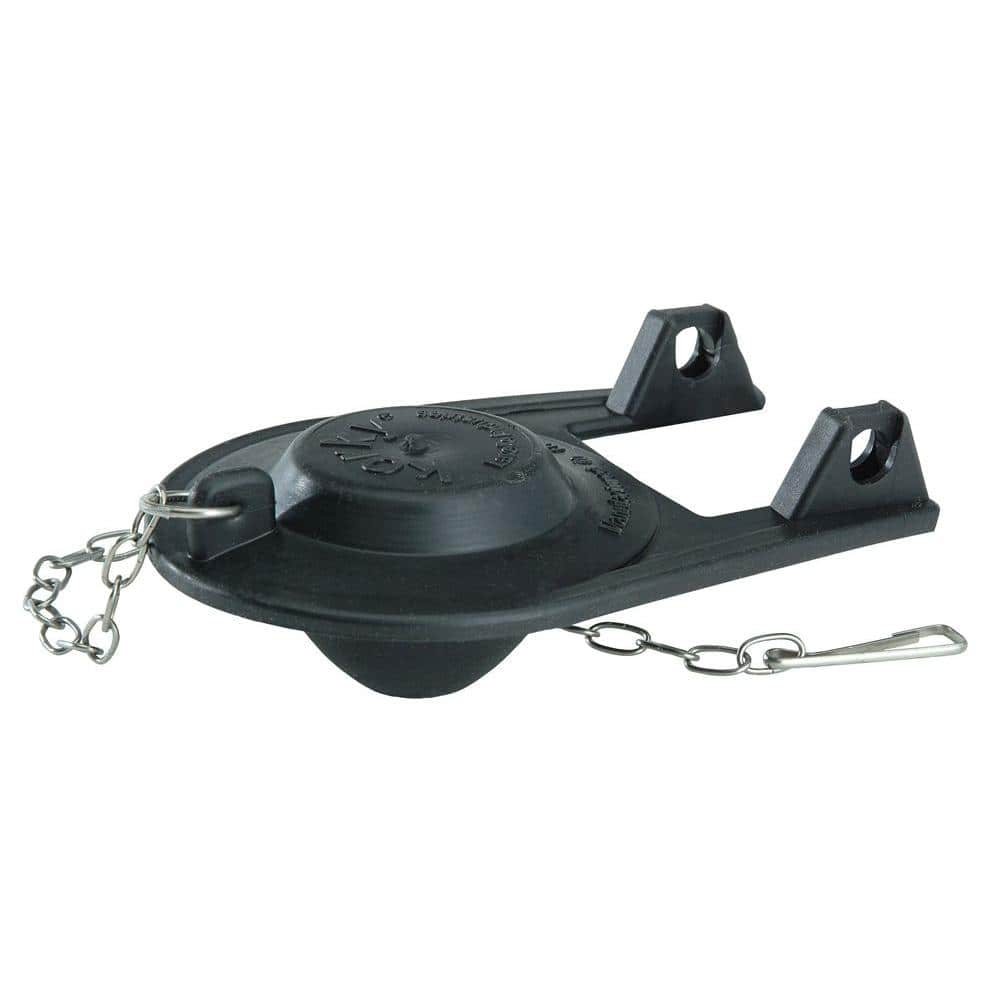
Korky 2 in. Toilet Tank Flapper 54BP
The Korky standard 2 inch Toilet Tank Flapper features rubber construction. The flapper is universal and fits standard 2 inch plastic flush valves. The preferred flapper brand of plumbing pros since 1954.
Everbilt #135 x 115 ft. Handy Link Zinc Plated Steel Chain 806470
Handy Link Chain is a widely used general utility chain Ideal for kennel runs, hanging light fixtures, potted plants, bird feeders and animal ties.
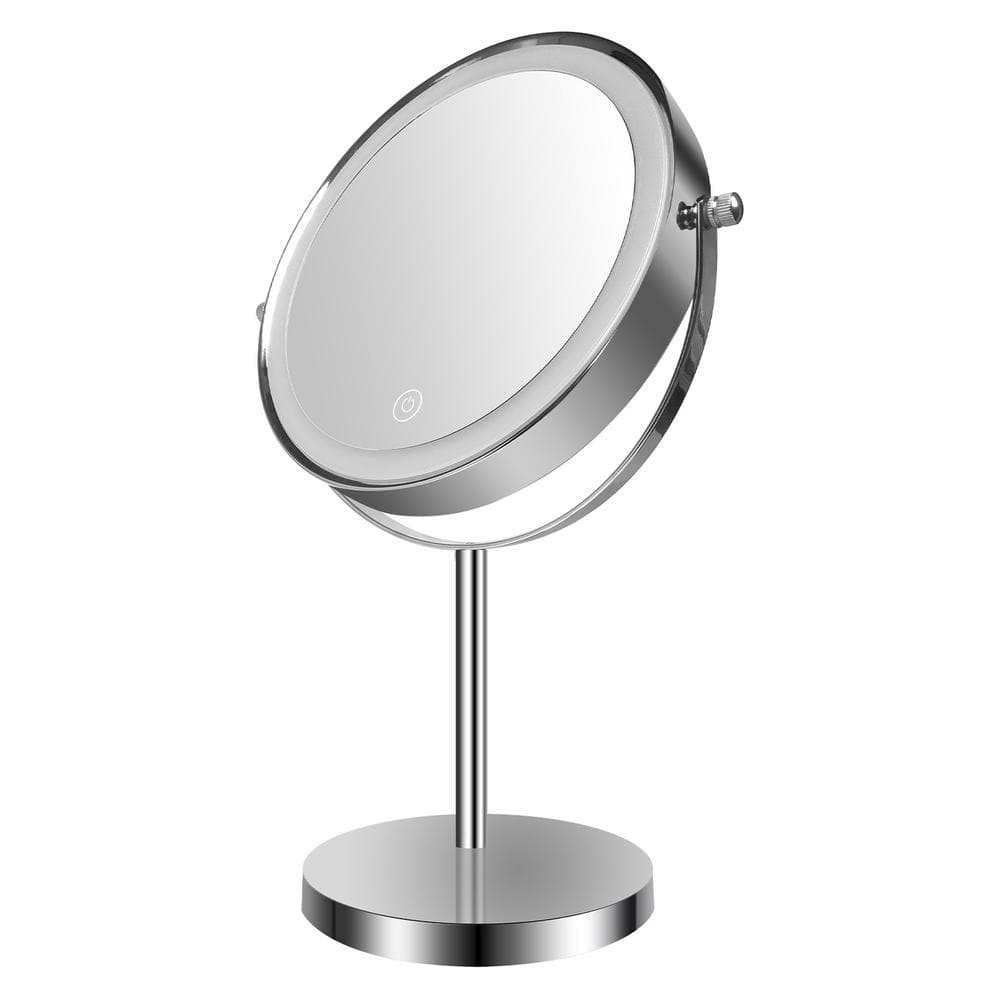
Tileon 8 in. W x 8 in. H Small Round 1X/10X 2-Sides Magnifying Desk Makeup Mirror with Built-in Battery & Type-C Port in Chrome WYHDRA055
This tabletop makeup mirror with light is a classy addition for bathroom, bedroom, grooming, shaving and vanity needs. It is operated by 4 AAA batteries (not included) or USB charging cable (included).
Steps
Preparation and Safety
5 minsBegin by preparing your work area. Turn off the water supply to the toilet using the shutoff valve, typically located on the wall behind the toilet. Turn the valve clockwise until it stops. Flush the toilet to drain most of the water from the tank. Place an old towel on the floor around the base of the toilet to absorb any potential spills. Finally, remove the heavy porcelain tank lid and set it carefully aside on a flat, protected surface to prevent it from cracking or chipping.

Check and Adjust Tank Water Level
10 minsWith the tank lid off, identify the water level. Most toilets have a line marked on the inside of the tank wall or on the overflow tube indicating the proper water level. If no line is visible, a good rule of thumb is for the water to be about 1/2 to 1 inch below the top of the overflow tube. A low water level means there isn't enough water volume for a powerful flush. Adjust the float mechanism to raise the water level. For older ball-style floats, you may need to gently bend the brass arm upwards. For modern cup-style floats, you'll typically find an adjustment screw or clip on the side of the fill valve that you can turn or slide to raise the float.

Inspect the Lift Chain and Flapper
10 minsInspect the lift chain that connects the flush handle arm to the flapper. The chain should have a slight amount of slack, about 1/4 to 1/2 inch. If the chain is too long (too much slack), it won't lift the flapper high enough to release the full volume of water. If it's too short (too tight), the flapper won't be able to create a proper seal on the flush valve seat, causing a slow leak from the tank to the bowl. Adjust the chain's position on the flush handle arm as needed. Also, check the rubber or silicone flapper itself for signs of warping, bubbling, or deterioration, which can also prevent a proper seal.
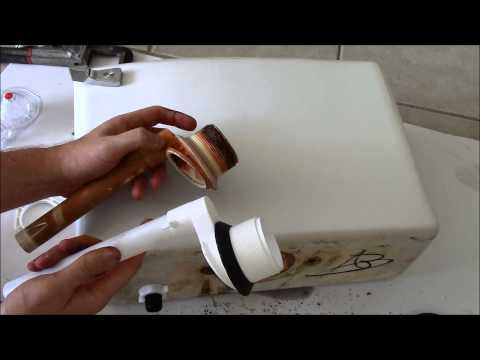
Clean Clogged Rim Jets
1 minOver time, mineral deposits from hard water can clog the small holes (rim jets) located under the rim of the toilet bowl. These jets are crucial for directing water down the sides of the bowl to initiate a strong, swirling flush. Use a small hand mirror to look up under the rim and inspect the jets for blockage. If you see buildup, carefully use a piece of stiff wire, like a straightened metal coat hanger or a small Allen key, to poke into each hole and break up the deposits. Afterward, carefully pour about 1-2 cups of heated white vinegar down the overflow tube in the tank. This will direct the vinegar directly to the rim jets. Let it sit for at least an hour (or overnight for heavy buildup) to dissolve the remaining minerals, then flush.

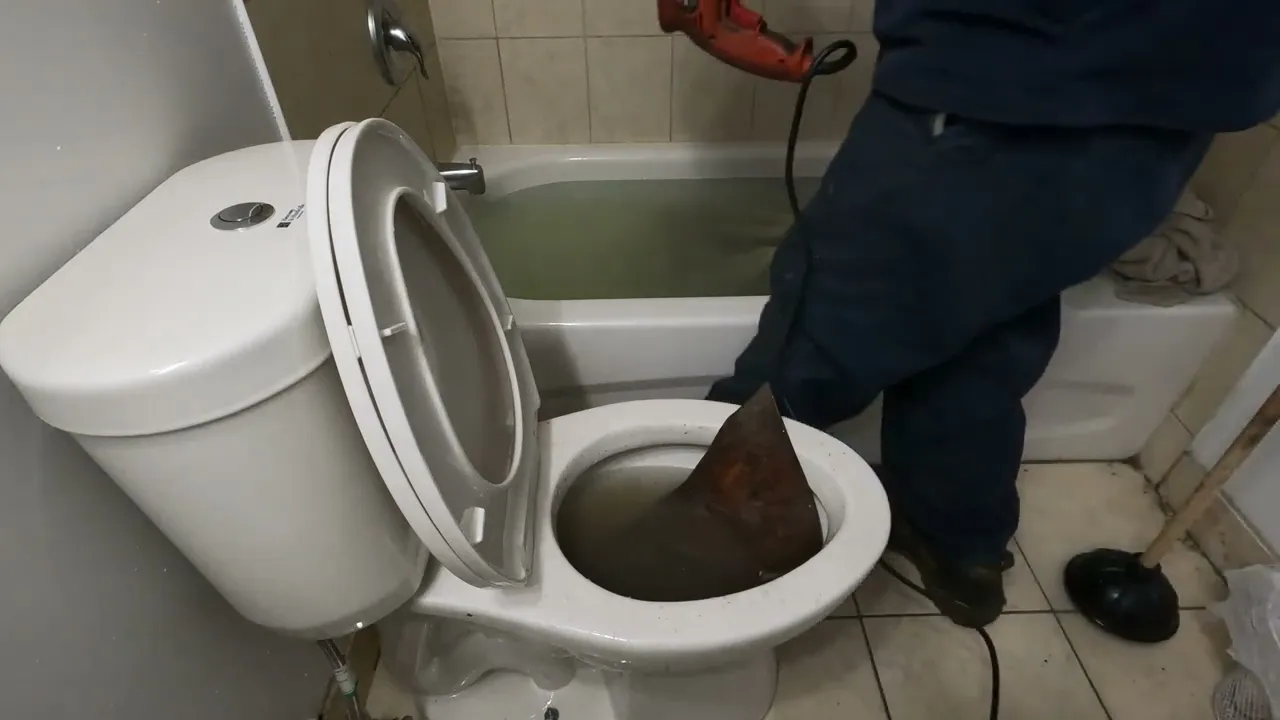
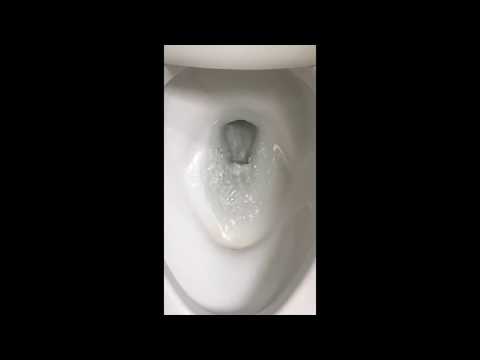
Check for a Partial Clog
20 minsIf the previous steps have not solved the problem, there may be a partial clog deep in the toilet's trapway or further down the drain line. A simple test is to pour a bucket of water (about 1-2 gallons) directly and quickly into the bowl. If this produces a strong flush, the issue is likely with the flushing mechanism in the tank (steps 2-4). If the bucket of water also drains slowly or swirls weakly, a partial clog is the probable cause. To clear this, use a toilet auger, also known as a closet auger or closet snake. Carefully feed the cable into the drain hole, protecting the bowl with the auger's rubber sleeve. Crank the handle to extend the cable through the trap, then retract it to pull the obstruction back or break it up.
Common Problems
The porcelain tank can be heavy and is very fragile. Handle it with care to avoid dropping or cracking it.
Solution: To avoid this issue: Be mindful of this warning and take appropriate precautions.
Be prepared for some residual water to spill when you lift the tank. Have towels ready on the floor.
Solution: To avoid this issue: Be mindful of this warning and take appropriate precautions.
The porcelain tank must be completely dry for the sealant to adhere properly. Use a towel or allow it to air dry for several hours.
Solution: To avoid this issue: Be mindful of this warning and take appropriate precautions.
Water spills during toilet repair, creating a mess.
Solution: Have a bucket and towels ready to catch any residual water from the tank and supply line.
Be gentle when lifting the porcelain tank as it can be heavy and easily damaged.
Solution: To avoid this issue: Be mindful of this warning and take appropriate precautions.
Standard plungers fail to create a seal, making clogs harder to clear.
Solution: For a toilet clog, a flange or accordion plunger is more effective than a standard cup plunger as it creates a better seal in the toilet bowl's drain opening.
Standard plungers fail to create a strong seal, rendering them ineffective for clearing toilet clogs.
Solution: A flange plunger creates a better seal with the toilet drain opening than a standard cup plunger, making it more effective.
Frequently Asked Questions
Is 3 hours a realistic time for a beginner to troubleshoot a weak flushing toilet, and what are the potential costs involved?
Yes, 3 hours is a realistic estimate for a beginner, allowing ample time for diagnosis and completing minor repairs. Most common fixes, such as replacing a flapper or adjusting a chain, are very inexpensive, typically costing under $20 for parts. The main potential cost would be if you need to purchase a toilet auger, which is a valuable tool for deeper clogs.
Do I really need a specialized toilet auger, or can I use a standard plumbing snake or plunger to check for clogs?
While a plunger should always be your first attempt for a minor clog, a specialized toilet auger is highly recommended for safely clearing clogs deeper in the trap. It's designed to navigate the toilet's curved passages without scratching the porcelain, unlike standard plumbing snakes. Using a plumbing snake not designed for toilets can cause damage to the bowl's finish.
I've cleaned the rim jets and adjusted the tank water level, but my toilet still flushes weakly. What should I check next?
If cleaning and water level adjustments don't solve the issue, focus on the flapper and lift chain. Ensure the lift chain isn't too long (causing premature closing) or too short (preventing full opening). Inspect the flapper itself for wear, stiffness, or if it's sealing properly. An old or worn flapper is a common culprit for weak flushes.
What are the most important safety precautions to take when troubleshooting a toilet?
Always turn off the toilet's water supply valve before beginning any work to prevent accidental flooding. Wear heavy-duty latex gloves for hygiene and to protect your hands from cleaning solutions. Have towels readily available to manage any water spills, and ensure good ventilation when using cleaners like vinegar.
Is vinegar the only effective material for clearing mineral deposits from rim jets, or are there other options?
Vinegar is an excellent, eco-friendly, and safe choice for dissolving mineral deposits like limescale in rim jets. For very stubborn buildup, you can try commercial limescale removers designed for toilets, but always ensure they are safe for your toilet's components and follow product instructions carefully. You can also use a thin, flexible wire (like the specified hanging wire) to manually poke through the jet holes.
What exactly is the small magnifying mirror and hanging wire used for in this project?
The small magnifying mirror is incredibly useful for peering into the difficult-to-see areas under the toilet rim, helping you identify clogged or calcified rim jets more easily. The hanging wire, such as the OOK Galvanized Framers Professional Coated Hanging Wire, can be straightened and used as a flexible probe to physically clear mineral blockages directly from the individual rim jets.
What is typically the absolute first thing I should check if my toilet starts flushing weakly?
The very first thing to check is usually the water level in the tank. Ensure it reaches the fill line marked inside the tank, which is typically about 1 inch below the top of the overflow tube. If the water level is too low, the flush won't have enough power.


