

How to Replace an Outdoor Faucet (Spigot/Hose Bibb)
About This Project
This guide provides detailed instructions for removing an old outdoor faucet (hose bibb/spigot) and installing a new, frost-proof model. The process involves shutting off the water supply, disconnecting the old unit from the interior plumbing, installing the new faucet with proper seals, and testing for leaks.
Best for experienced DIYers and homeowners with some experience with basic plumbing knowledge.
Tools & Materials

Unger 6 Gal. Heavy-Duty Plastic Bucket DB02
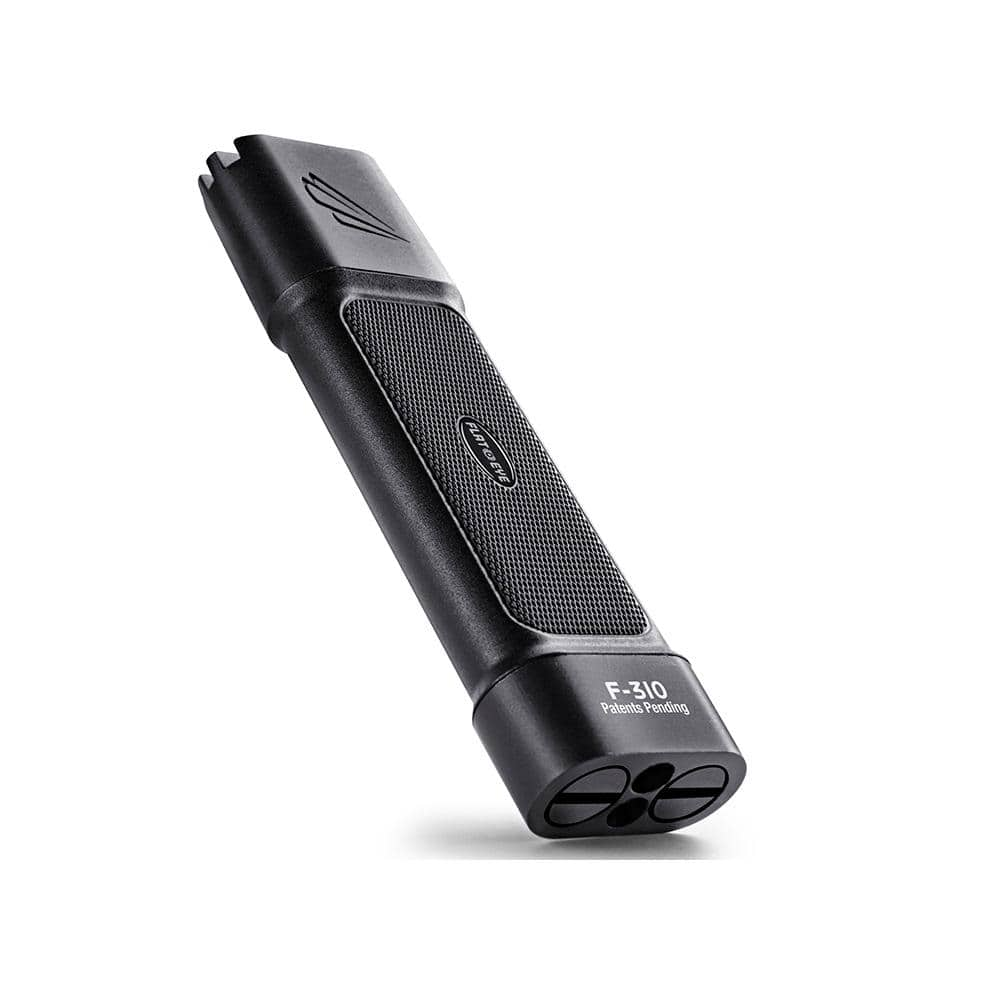
Panther Vision FLATEYE F-310 High Performance 310-Lumen Unround Flashlight CREE LED Multi Position Waterproof and Shockproof FL-6960
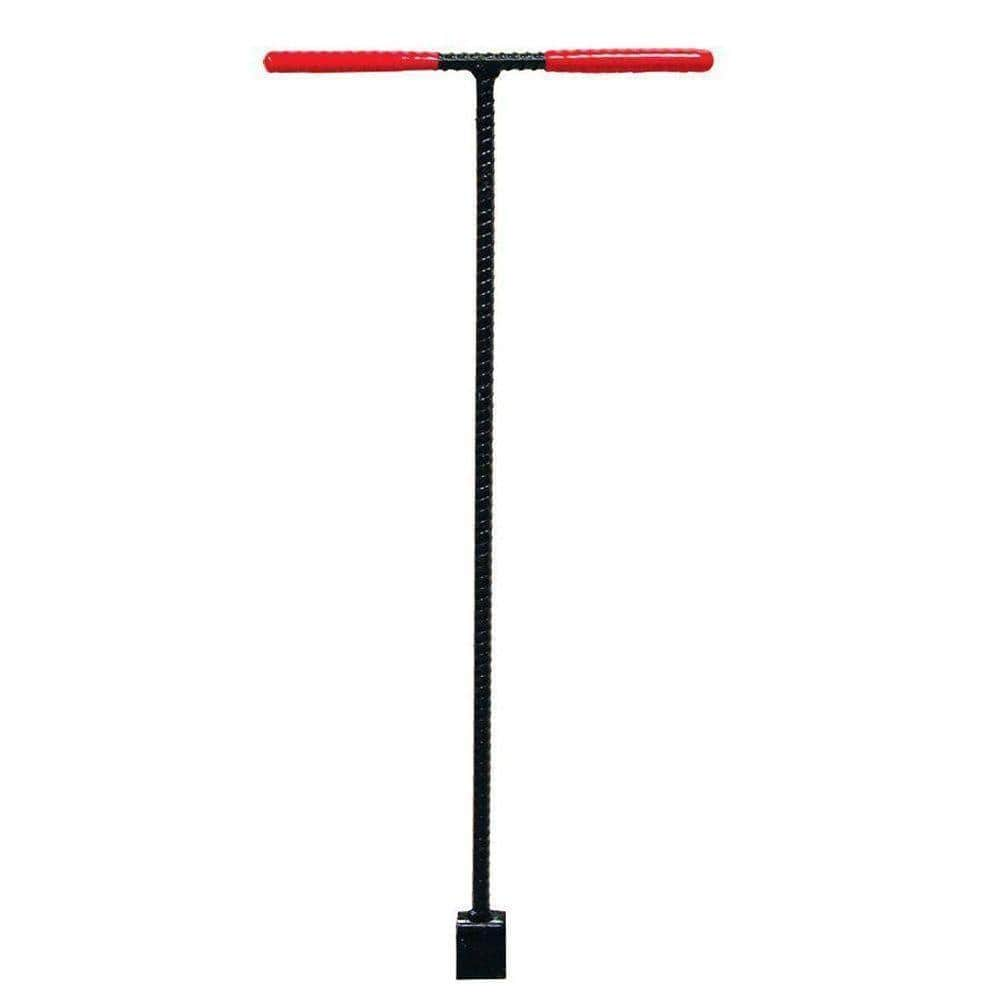
36 in. Solid Steel Water Meter Valve Key with Grips 410-303-0111
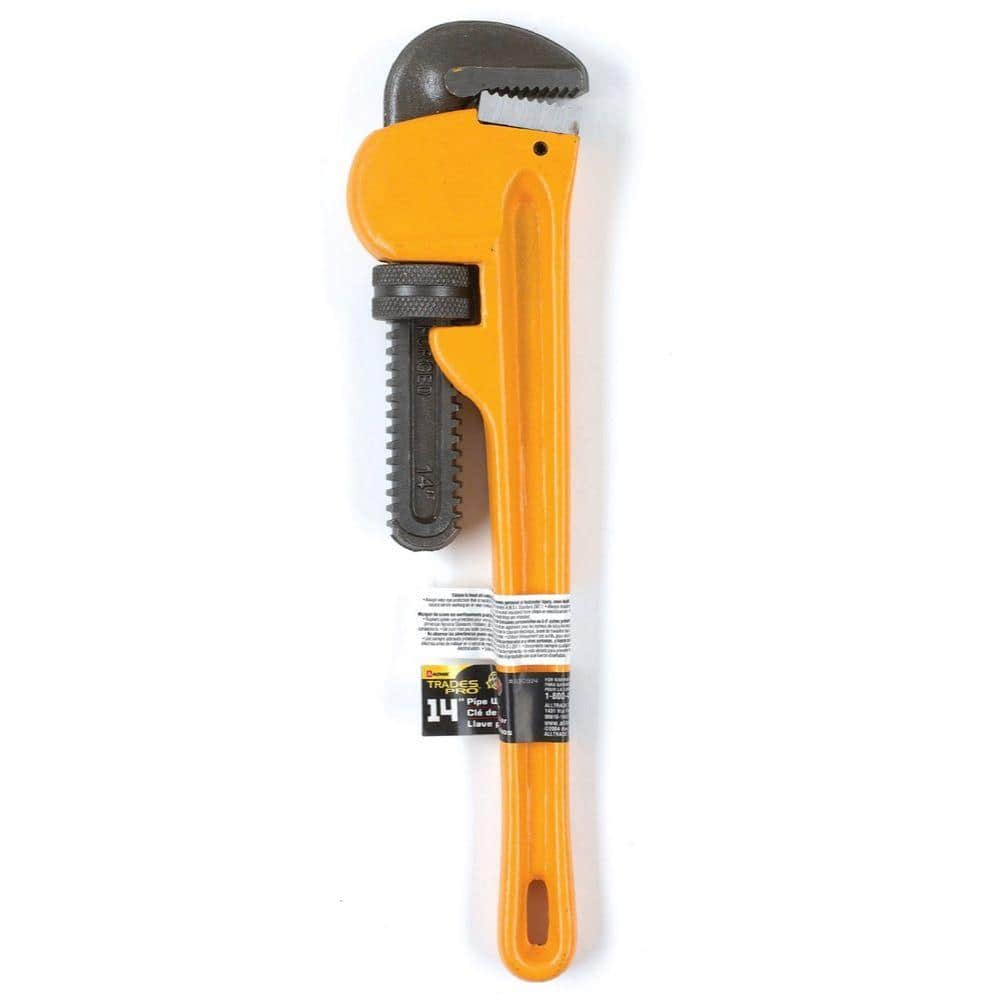
TradesPro 14 in. HD Pipe Wrench 830914
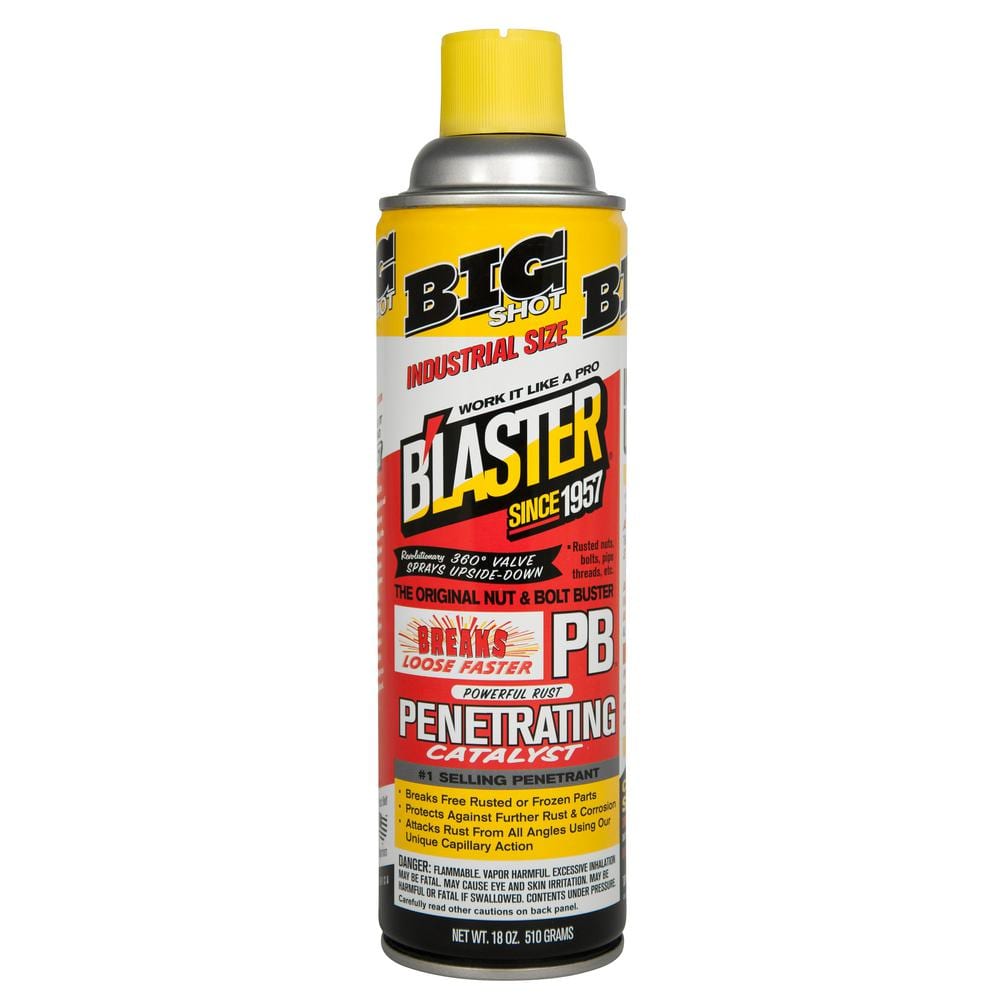
Blaster 18 oz. PB Penetrating Oil 26-PB

Adjustable Wrench
Unger 6 Gal. Heavy-Duty Plastic Bucket DB02
The Unger 6-Gallon Heavy-Duty Professional Cleaning Bucket holds more than 6 Gal. of liquid. The bucket can accommodate a scrubber up to 14 in. L. This bucket features measurement marks and 2-pour spouts
Panther Vision FLATEYE F-310 High Performance 310-Lumen Unround Flashlight CREE LED Multi Position Waterproof and Shockproof FL-6960
Every revolution starts with a spark. At 310-Lumens the F-310 has the power to ignite our un-round revolution without overpowering your needs or your wallet. Not your granddads flashlight these bad boys
36 in. Solid Steel Water Meter Valve Key with Grips 410-303-0111
This water meter valve wrench turns on and off the main water supply valve for a house or building. Its extended 36 in. length is ideal for reaching into shallow meter/valve boxes that are less than 30
TradesPro 14 in. HD Pipe Wrench 830914
A simple tool that's simply irreplaceable around the house, yard, garage and worksite. Nothing works better at biting, clamping and turning stubborn pipes, fittings and more. This wrench has all the essentials
Blaster 18 oz. PB Penetrating Oil 26-PB
The #1-selling penetrant since 1957, PB Blaster quickly busts loose rusted or frozen parts caused by rust and corrosion. PB Blaster penetrant also contains a non-evaporating lubricant that protects against
Adjustable Wrench
Fits various nut and bolt sizes with its adjustable jaw.
Steps

Shut Off Water Supply and Drain the Line
10 minsLocate the interior shut-off valve for the outdoor faucet, which is typically found in the basement, crawl space, or a utility room directly behind the exterior spigot. Turn the valve handle clockwise until it is fully closed. If there is no dedicated shut-off, you must close the main water valve for the entire house. After closing the valve, go outside and open the spigot to drain any remaining water from the pipe. Place a bucket under the interior valve if it has a drain cap (bleeder valve) and open it to drain residual water from the indoor pipe section.

Remove Old Faucet
20 minsFrom inside the house, place one pipe wrench on the faucet's connection point to the pipe. Place a second pipe wrench (or adjustable wrench) on the connecting pipe fitting to hold it steady. This is crucial to prevent twisting or breaking the pipe. Turn the wrench on the faucet counter-clockwise to unscrew it from the pipe. It may require significant force if it's old and corroded. If needed, apply penetrating oil to the threads and let it sit for 10-15 minutes. Once loose, continue unscrewing by hand. After it's disconnected from the inside, pull the old faucet out from the exterior of the house.

Prepare for New Faucet Installation
30 minsMeasure the length of the old faucet from the connection point to the exterior flange. If upgrading to a frost-proof model, measure the thickness of your wall from the interior pipe fitting to the exterior wall surface. Purchase a new frost-proof sillcock of the correct length (e.g., 8-inch, 10-inch, 12-inch). The new faucet must be long enough to extend through the wall and connect to the pipe. Clean the threads on the interior pipe fitting using a wire brush to remove old pipe dope, tape, and any corrosion. Ensure the opening through the wall is clear of debris.

Install the New Faucet
20 minsTake your new faucet and wrap the threaded end with 3-4 layers of Teflon tape. Wrap the tape in a clockwise direction as you look at the end of the fitting; this prevents the tape from unwrapping as you tighten it. Alternatively, apply a layer of pipe joint compound (pipe dope) to the threads. Insert the new faucet from the outside of the house through the wall opening until the threads meet the interior pipe fitting. Make sure the spout on the outside is oriented correctly (pointing downwards) and that the faucet body has a slight downward pitch to allow for proper drainage. From the inside, hand-tighten the faucet into the fitting. Then, use a pipe wrench to tighten it securely. As before, use a second wrench to hold the pipe fitting stationary to prevent damage. Do not overtighten; it should be snug plus about a half to a full turn.

Secure and Seal the Exterior Flange
15 minsOn the outside of the house, ensure the faucet's mounting flange is flush against the siding. If the new faucet came with mounting screws and you have a suitable surface like wood or fiber cement siding, pre-drill pilot holes and secure the flange with the provided screws using a drill or screwdriver. This prevents the faucet from moving and stressing the pipe connection. To weatherproof the installation, apply a bead of exterior-grade silicone caulk around the top and sides of the mounting flange where it meets the house siding. Leave the bottom of the flange un-caulked; this creates a weep hole to allow any potential moisture that gets behind the flange to escape rather than being trapped in the wall.
Restore Water and Check for Leaks
10 minsEnsure the new outdoor faucet handle is in the closed position. Go inside and slowly turn the interior shut-off valve counter-clockwise to restore water pressure to the line. Listen for any hissing or sounds of running water. Carefully inspect the new threaded connection point inside the house for any drips or moisture. Use a dry paper towel to wipe the joint, as this will make even the smallest leak immediately apparent. If there are no leaks inside, go outside and open the faucet to test its operation. Let it run for a minute to flush the line, then turn it off completely. Go back inside and re-check the interior connection one last time to ensure it is 100% dry.
Common Problems
Lost faucet parts down the drain.
Solution: Closing the sink drain is a crucial first step to avoid the frustration of losing a small part.
Use care with the wrench to avoid scratching or damaging the faucet body. You can wrap the jaws in tape for protection.
Solution: To avoid this issue: Be mindful of this warning and take appropriate precautions.
Difficulty seeing and accessing faucet connections under the sink.
Solution: Using a mirror can make it much easier to see the connections and nuts under the sink.
Faucet won't align correctly when tightening.
Solution: Have someone hold the faucet in the correct position from above while you tighten it from below to ensure proper alignment.
Unused holes on sink remain exposed and unsightly.
Solution: When installing a single-hole faucet on a three-hole sink, use the provided escutcheon plate to cover the unused holes.
Leaky faucet connections and difficult future removal.
Solution: Plumber's putty creates a flexible, watertight seal that is easy to remove in the future if needed.
The presenter was surprised by water spraying from the shower head because it was left on. Make sure your faucet is in the off position before turning the main water back on.
Solution: To avoid this issue: Be mindful of this warning and take appropriate precautions.
Frequently Asked Questions
How difficult is replacing an outdoor faucet for a beginner, and how long should I expect it to take?
This project is rated as 'beginner' difficulty, making it suitable for those new to DIY plumbing. With proper preparation and the right tools, it typically takes about 4 hours. Most of the time involves careful disconnection, preparation, and leak testing.
What are the most critical safety precautions I need to take before starting this project?
The most crucial step is to shut off the main water supply to your house and drain the lines before beginning. This prevents accidental flooding. Always wear safety glasses and gloves to protect against debris, tools slipping, or contact with old pipes.
What specific tools and materials are essential for this faucet replacement, especially for a stubborn old unit?
Beyond basic tools, you'll definitely need two sturdy pipe wrenches (like the RIDGID 31305 and TradesPro 830914) to safely remove the old faucet without twisting internal pipes. Penetrating oil (Blaster PB) is critical for seized connections, and Teflon tape along with pipe thread sealant (Hercules Real-Tuff) are essential for leak-free installation.
Why is installing a 'frost-proof' faucet recommended, and are there different types or considerations for them?
Frost-proof faucets are highly recommended because they prevent water from freezing and bursting the pipe inside your wall during cold weather, saving you from costly repairs. They come in various lengths, so measure the thickness of your exterior wall to ensure you select one that extends far enough into your house for proper function and drainage.
What are common mistakes DIYers make when replacing an outdoor faucet, especially regarding leaks?
Common mistakes include not applying enough Teflon tape or pipe thread sealant to the connections, not tightening fittings sufficiently, or damaging existing plumbing by only using one wrench. Always use two wrenches for removal and ensure all new connections are snug, then apply external silicone sealant around the flange for weatherproofing.
How do I thoroughly test for leaks after installing the new faucet, and what if I find one?
After restoring your water supply, slowly open the new faucet and visually inspect all connections, both inside and outside the wall, for drips. Use paper towels to check for any moisture that might not be immediately visible. If you find a leak, shut off the water again, slightly tighten the problematic connection, or reapply sealant/Teflon tape as needed, then retest.