
How to Replace an Electric Water Heater Heating Element
About This Project
This guide provides comprehensive, step-by-step instructions for safely replacing a faulty heating element in a residential electric water heater. The process involves shutting off power and water, draining the tank, removing the old element, installing the new one, refilling the tank, and restoring power to regain hot water functionality.
Best for experienced DIYers and homeowners with some experience with basic plumbing knowledge and familiarity with power tools. Requires Voltage / Circuit Tester and RIDGID Safety Glasses-Amber RSG-Y and UniTherm UniVest Insulation Jacket High Temperature 31 in. L x 02 in. W x 1 in. H Insulation Wrap - R 0.48 UVST3102.
Tools & Materials
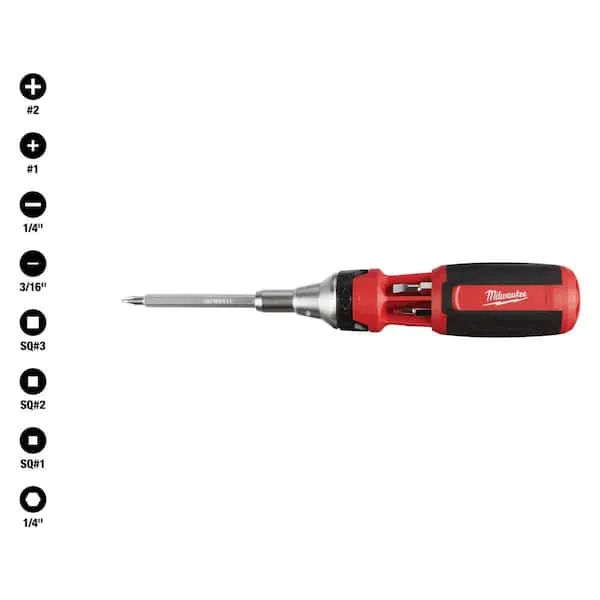
Screwdriver (Multi)
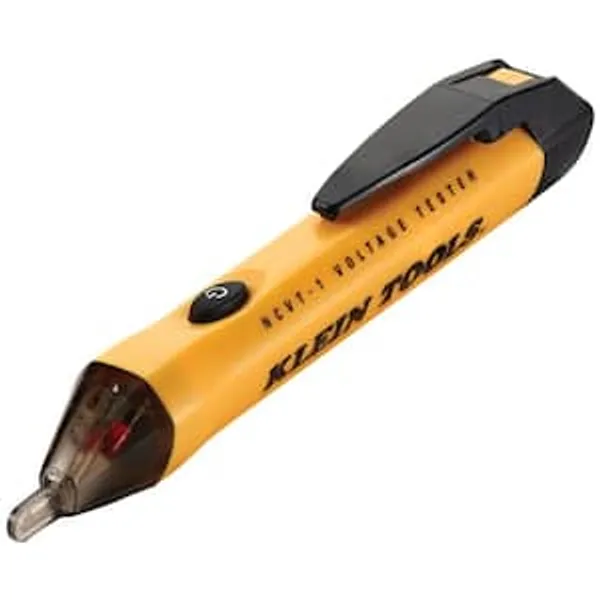
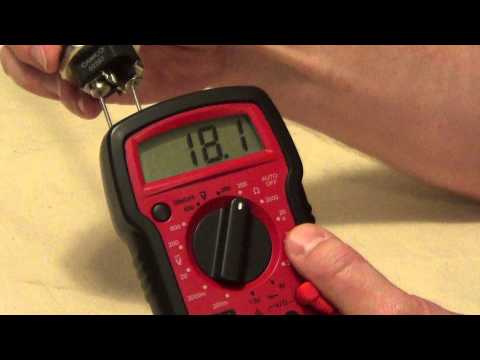
Voltage / Circuit Tester
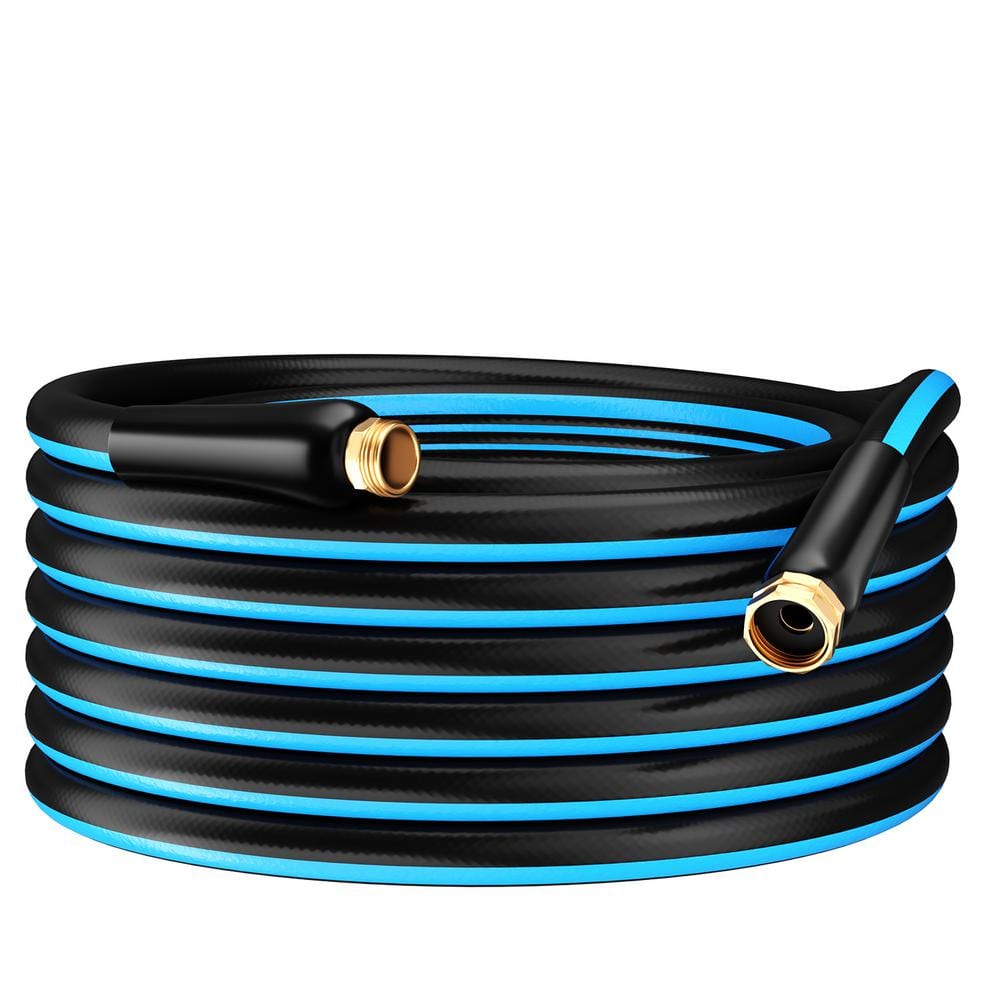
GardenJoy PVC Garden Hose 5/8 in. x 75 ft. Heavy-Duty Durable Hose Outdoor Water Hose LG-GHB5875
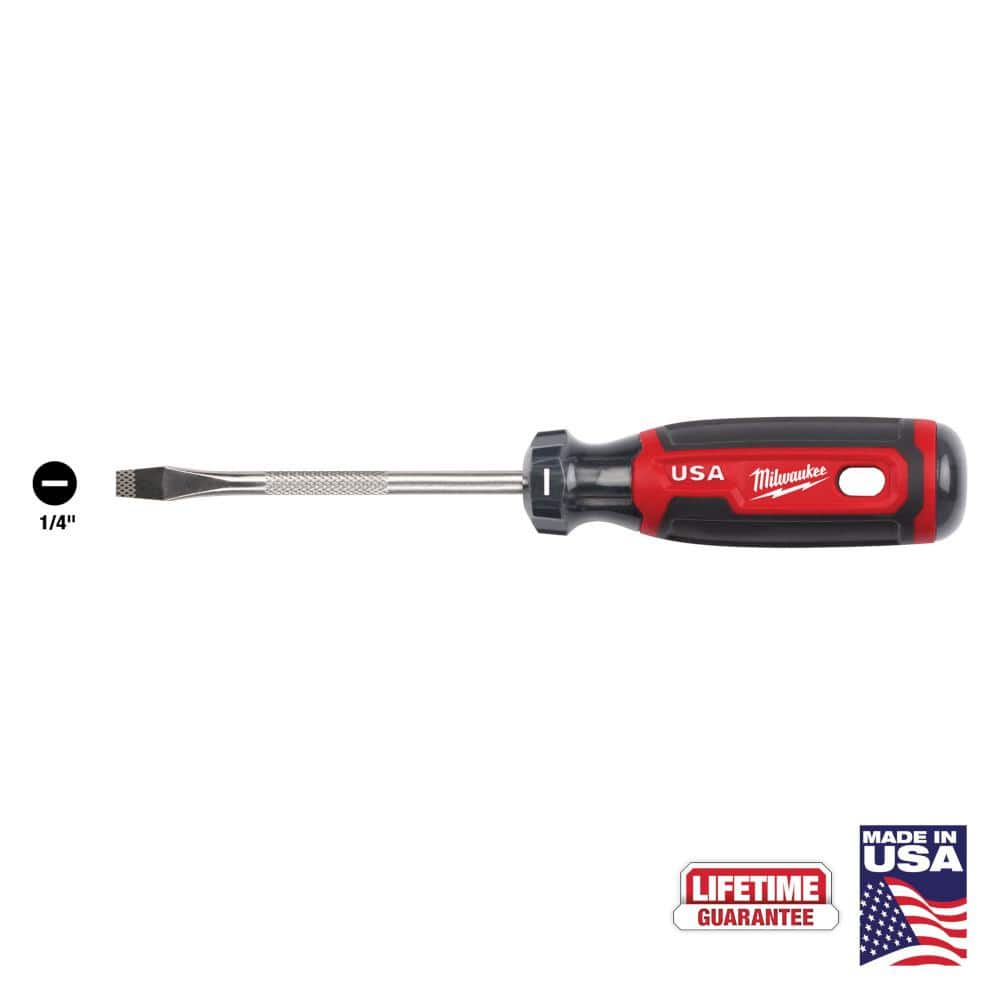
Milwaukee 4 in. x 1/4 in. Slotted Flat Head Screwdriver with Cushion Grip MT206

Unger 6 Gal. Heavy-Duty Plastic Bucket DB02

Screwdriver
Screwdriver (Multi)
Multiple bits for versatile use.
Voltage / Circuit Tester
Detects electrical voltage presence.
GardenJoy PVC Garden Hose 5/8 in. x 75 ft. Heavy-Duty Durable Hose Outdoor Water Hose LG-GHB5875
Light-weight and Flexible: Made from premium PVC, our garden hose is both light-weight and durable, allowing for easy handling without kinks or tangles, ideal for all your watering and cleaning needs.
Milwaukee 4 in. x 1/4 in. Slotted Flat Head Screwdriver with Cushion Grip MT206
The Milwaukee® 1/4" Slotted 4" Cushion Grip Screwdrivers (USA) are manufactured to give the professional the best-fitting screwdriver with max grip. These screwdriver tips are custom machined to deliver
Unger 6 Gal. Heavy-Duty Plastic Bucket DB02
The Unger 6-Gallon Heavy-Duty Professional Cleaning Bucket holds more than 6 Gal. of liquid. The bucket can accommodate a scrubber up to 14 in. L. This bucket features measurement marks and 2-pour spouts
Screwdriver
A tool used to turn screws.
Steps
Turn Off Power and Water
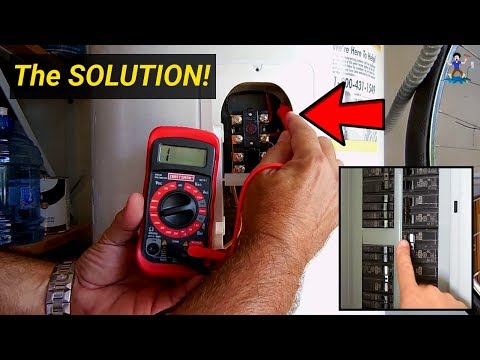
10 minsThe absolute most critical step is to ensure your safety by completely isolating the water heater from its power source. Go to your home's main electrical panel (breaker box) and locate the circuit breaker that controls the electric water heater. It is often a double-pole breaker (two switches linked together). Flip it to the 'OFF' position. Next, locate the cold water inlet pipe on your water heater and turn the shut-off valve clockwise until it stops. This will prevent more water from entering the tank. To be absolutely certain the power is off, remove the element's access panel and use a non-contact voltage tester to verify there is no electrical current at the element's terminals.

Drain the Water Heater
30 minsTo access the lower heating element, the tank must be drained. Attach one end of a garden hose to the drain valve located at the bottom of the water heater. Run the other end of the hose to a floor drain, utility sink, or outside to a lower elevation. To prevent a vacuum from forming and to speed up the draining process, go to a sink inside the house and open a hot water faucet fully. Now, return to the water heater and open the drain valve. If it's a plastic valve, you may need a flathead screwdriver to turn it. Be gentle as old plastic valves can be brittle. The tank will now begin to drain. This process can take a significant amount of time, from 30 minutes to over an hour, depending on the tank's capacity.

Access and Remove the Old Heating Element
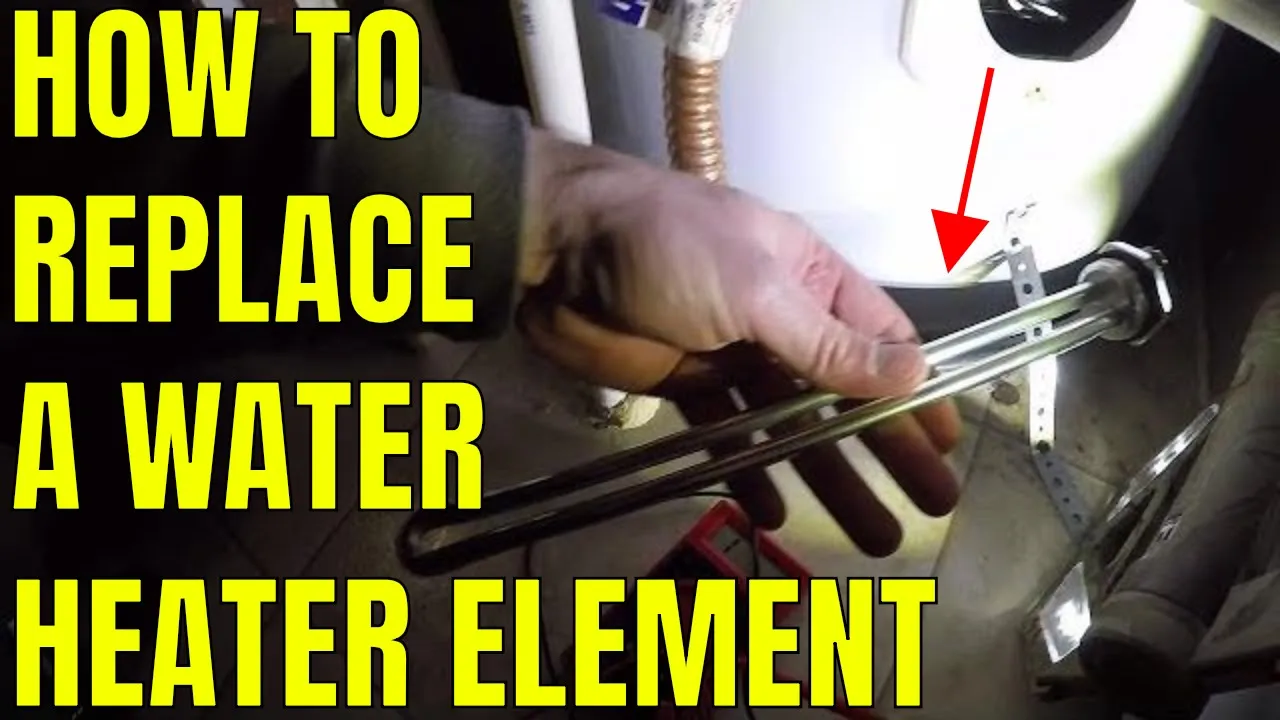
15 minsWith the power off and tank drained, you can now remove the old element. Unscrew and remove the metal access panel covering the element. Fold back the insulation to expose the element and its wiring. Before disconnecting anything, take a clear picture of the wire connections. Use a screwdriver to loosen the screws on the element's terminals and pull the wires off. Now, place a bucket and some towels under the element, as some residual water will likely spill out. Use a heating element wrench to unscrew the old element by turning it counter-clockwise. These can be very tight due to mineral buildup, so you may need to apply significant force. Once loose, pull the old element straight out of the tank.

Install the New Heating Element
10 minsBefore installing the new element, use a cloth or rag to wipe the threaded opening on the tank, removing any old gasket material or sediment. Unbox your new heating element and ensure its rubber O-ring or gasket is properly seated in its groove and is free of debris. Carefully thread the new element into the tank opening by hand, turning it clockwise. Hand-tightening first ensures that you don't cross-thread it, which could damage the tank. Once it's hand-tight, use the heating element wrench to give it a final quarter-turn to snug it up. This will compress the gasket and create a watertight seal.

Reconnect Wires and Close Access Panel
10 minsWith the new element mechanically installed, it's time to reconnect the power. Referencing the photo you took earlier, re-attach the electrical wires to the terminal screws on the new element. Ensure you connect them to the same terminals as they were on the old element. Use your screwdriver to tighten the terminal screws securely. A loose connection can cause arcing, which is a fire hazard. Once the wires are secure, gently tuck them back into the cavity, replace the insulation, and screw the metal access panel back into place.
Refill the Tank and Check for Leaks
15 minsThis is a critical step to prevent damage to your new element. First, ensure the drain valve at the bottom of the tank is fully closed. Also, remove the garden hose. Go back to the hot water faucet you opened earlier and leave it open. Now, slowly turn the cold water supply valve back on. You will hear water flowing into the tank. Let the tank fill completely. You will know it is full when you have a steady, air-free stream of cold water coming out of the open hot water faucet. Once the tank is full, close the faucet. Carefully inspect the area around the new heating element for any signs of leaks. If you see any drips, you may need to shut off the water, drain the tank again, and slightly tighten the element.

Restore Power and Test
60 minsOnce you have confirmed that the tank is completely full and there are absolutely no leaks, you can safely restore power. Return to the electrical panel and flip the water heater's circuit breaker back to the 'ON' position. You may hear a faint humming or hissing sound from the tank, which is the new element heating the water. The process is now complete. You will need to wait for the water to heat up, which can take an hour or more depending on the tank size and the incoming water temperature. Check a hot water faucet periodically until the water runs hot.
Common Problems
Applying too much force can crack the plastic valve or damage the threads on the water heater tank, leading to a much more expensive repair.
Solution: To avoid this issue: Be mindful of this warning and take appropriate precautions.
Sediment buildup can damage your water heater and reduce its lifespan.
Solution: Flushing the tank is a good maintenance practice to extend the life of the water heater, even when not performing a repair.
Ensure the power to the water heater is turned off at the circuit breaker before removing any covers.
Solution: To avoid this issue: Be mindful of this warning and take appropriate precautions.
Water spills onto the floor when removing the old heating element.
Solution: Have a rag or small bucket ready to catch any residual water that may drip out when the element is removed.
Water spills onto the floor when removing the old element.
Solution: Some residual water may drip out when the element is removed. Have a towel ready.
Old elements can be very tight or corroded in place. Use steady pressure to avoid damaging the tank.
Solution: To avoid this issue: Be mindful of this warning and take appropriate precautions.
Unnoticed drips can lead to water damage and corrosion.
Solution: Double-check for leaks after turning the water on. A small drip can cause major problems later.
Frequently Asked Questions
What are the most critical safety precautions I must take when replacing a water heater heating element?
The most critical step is ensuring the power to the water heater is completely OFF at your home's main electrical panel or breaker box before touching any wires. Also, turn off the cold water supply valve to the heater. Safely draining the tank of hot water is also essential to prevent burns.
Is a special tool required for removing the heating element, or can I use a standard wrench?
While some might attempt it with a large socket or pipe wrench, a specialized heating element wrench (like the 'Rheem PROTECH Dual Head Element Wrench' mentioned) is highly recommended. This tool is designed to fit the element's hex head perfectly, minimizing the risk of stripping it and making removal and tightening much easier.
How long should I expect this project to take, especially considering the draining process?
The estimated time for this project is 3 hours, but beginners should budget closer to 4 hours. Draining the water heater tank can take anywhere from 30 minutes to over an hour, depending on your tank's size and the drainage rate. Don't rush the process, especially during safety-critical steps.
What's a common mistake beginners make during installation, and how can I prevent leaks around the new element?
A common mistake is not properly seating the new heating element's gasket or not tightening the element sufficiently. To prevent leaks, ensure the new gasket is clean and properly aligned on the element before insertion. Tighten the element firmly with your specialized wrench, but avoid over-tightening which can damage the tank or element.
After replacing the element and restoring power, my water heater still isn't heating. What should I check first?
First, verify that the circuit breaker for the water heater is indeed ON. Then, check the high-limit reset button (usually red and located behind the top access panel) – it may have tripped and needs to be pushed to reset. Also, confirm your thermostat setting is appropriate. If still no heat, re-examine your wiring connections for looseness or incorrect placement.
Do I need to replace both heating elements, even if only one seems faulty?
You only strictly need to replace the faulty element. However, if one element has failed due to age or wear, the other element might be nearing the end of its lifespan as well. For preventative maintenance and to avoid another repair soon, many DIYers choose to replace both elements simultaneously, especially if they are old.


