

How to Repair a Broken Toilet Flange with a Repair Ring
About This Project
This guide provides comprehensive, step-by-step instructions for repairing a broken toilet flange using a metal or plastic repair ring. The process involves removing the toilet, cleaning the existing flange, securing the repair ring over the damaged area, and reinstalling the toilet with a new wax seal to ensure a leak-free connection.
Best for experienced DIYers and homeowners with some experience with basic plumbing knowledge.
Tools & Materials

Adjustable Wrench

Towel

HDX Multi-Purpose Sponge (2- Sponges) 32242

Unger 6 Gal. Heavy-Duty Plastic Bucket DB02
RIDGID 4 Gal. 6.0 Peak HP Shop Vac Wet Dry Vacuum with Detachable Blower, Fine Dust Filter, Hose, Accessories, Car Cleaning Kit WD4080A
Putty knife
Adjustable Wrench
Fits various nut and bolt sizes with its adjustable jaw.
Towel
Absorbs moisture and dries surfaces.
HDX Multi-Purpose Sponge (2- Sponges) 32242
HDX Hydrophilic Sponge 7.25 in. x 5 in. x 1.875 in. (2-Pack) highly absorbent, the HDX Sponge washes, wipes, and rinses faster. Strong enough for use with acid based products like TSP. Heavy-duty polyester
Unger 6 Gal. Heavy-Duty Plastic Bucket DB02
The Unger 6-Gallon Heavy-Duty Professional Cleaning Bucket holds more than 6 Gal. of liquid. The bucket can accommodate a scrubber up to 14 in. L. This bucket features measurement marks and 2-pour spouts
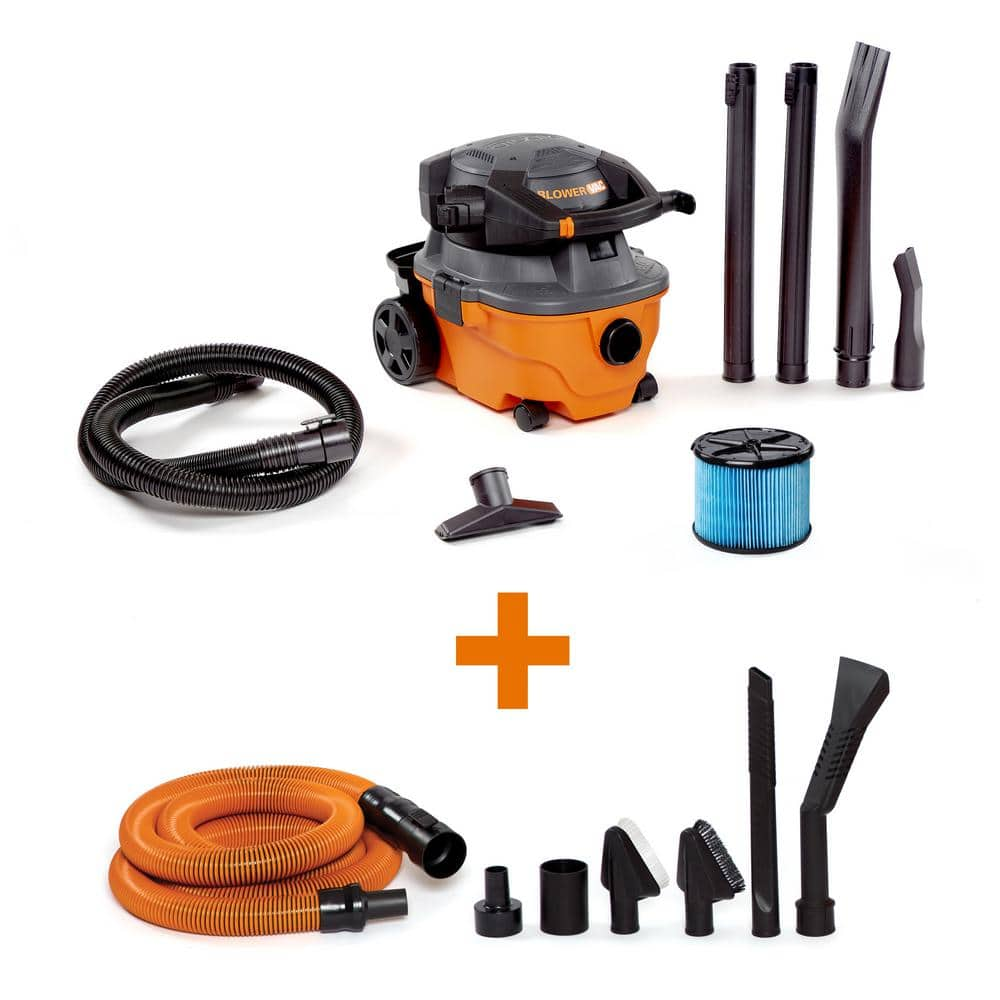
RIDGID 4 Gal. 6.0 Peak HP Shop Vac Wet Dry Vacuum with Detachable Blower, Fine Dust Filter, Hose, Accessories, Car Cleaning Kit WD4080A
The RIDGID 4 Gal. 6.0 Peak Horsepower Wet Dry Shop Vacuum with Detachable Blower is a multi-functional tool that combines portable power and a handheld blower. This compact powerhouse packs a heavy duty
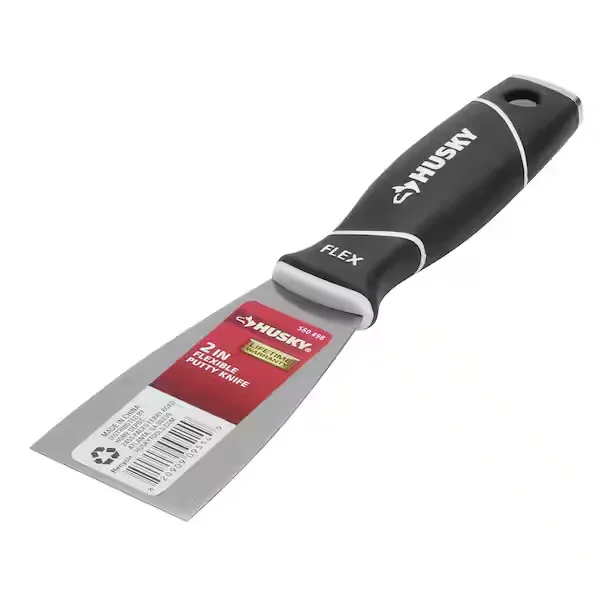
Putty knife
Spreads putty with its flat blade.
Steps
Prepare Work Area and Remove Toilet
30 minsBegin by preparing your work area. Lay down old towels or rags around the base of the toilet to catch any water spills. Locate the water shutoff valve, typically on the wall behind the toilet, and turn it clockwise to shut off the water supply. Flush the toilet to empty the tank and hold the handle down to drain as much water as possible from the bowl. Use a sponge and bucket, or a shop-vac, to remove the remaining water from both the tank and the bowl. Once empty, use an adjustable wrench to disconnect the water supply line from the fill valve at the bottom of the tank. Next, use a putty knife or flathead screwdriver to pry off the plastic caps covering the bolts at the toilet's base. Use the wrench to remove the nuts from the closet bolts. The toilet is now free and can be carefully lifted straight up and moved out of the way. Place it on the towels you laid down earlier.

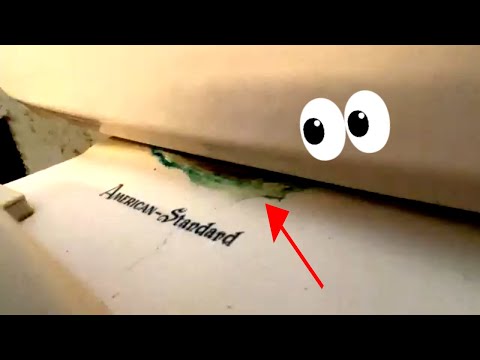
Clean and Inspect Flange Area
15 minsWith the toilet removed, you will see the old wax ring on the toilet flange. Use a putty knife to scrape all of the old wax off the flange and the surrounding floor. Be thorough to ensure the new ring will seal properly. It's also a good idea to clean the bottom of the toilet horn where it meets the wax ring. Once the wax is removed, stuff a large rag into the drain pipe. This is a crucial step to prevent unpleasant sewer gases from entering your home and to stop tools or debris from falling down the drain. With the area clean, use a flashlight to carefully inspect the existing flange for the exact location and extent of the damage. Also, check the condition of the subfloor around the flange for any signs of water damage, discoloration, or rot.
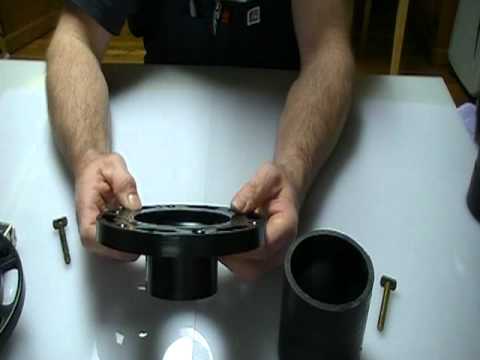
Install the Flange Repair Ring
20 minsPosition the toilet flange repair ring over the top of the old, broken flange. These rings are designed to fit directly over the existing flange. Rotate the repair ring so that its new closet bolt slots are in a different position from the old, broken ones. This ensures the new bolts will be held by the strong, new ring. Align the ring so that the bolt slots are parallel to the wall behind where the toilet will sit. Using a power drill or a screwdriver, secure the repair ring to the subfloor with the provided stainless steel screws. Ensure you drill into a solid part of the subfloor. If you are drilling into tile, you may need a special masonry bit to create pilot holes first to prevent the tile from cracking. Make sure the ring is screwed down tightly and sits flat and level on the floor.

Install New Closet Bolts and Wax Ring
10 minsTake the new closet bolts (toilet bolts) that came with your wax ring kit. Slide the T-shaped head of each bolt into the newly installed repair ring's slots, one on each side. The bolts should slide in and then rotate to lock in place. Position them parallel to the back wall. Now, take the new wax ring. You have two common options for placement: you can either press it firmly onto the toilet flange, centered over the drain opening, or you can press it onto the outlet horn on the bottom of the toilet itself. Placing it on the flange is often easier and less messy. Ensure it creates a good seal with the flange.

Reinstall and Secure the Toilet
20 minsCRITICALLY, REMOVE THE RAG FROM THE DRAIN PIPE. Now, carefully lift the toilet and position it over the flange. Align the holes in the base of the toilet with the two new closet bolts sticking up from the floor. Lower the toilet straight down onto the wax ring. Do not slide it around, as this can break the wax seal. Once the toilet is down, press down firmly on the bowl and sit on it, gently rocking side-to-side, to compress the wax ring and create a tight seal. The toilet base should now be resting flat on the floor. Place the plastic washers and then the metal nuts onto the closet bolts. Use your wrench to tighten the nuts, alternating from one side to the other a little at a time to ensure even pressure. Be very careful not to overtighten, as this is the most common way to crack the porcelain toilet base. Tighten just until the toilet is stable and does not wobble. If the bolts are too long, use a mini-hacksaw to cut them down so the plastic bolt caps will fit. Finally, press the bolt caps into place.
Reconnect Water Supply and Test for Leaks
15 minsWith the toilet secured, it's time to restore the water. Reattach the water supply line to the fill valve on the bottom of the toilet tank. Hand-tighten the connector first to prevent cross-threading, then use your adjustable wrench to give it a final quarter-turn to snug it up. Slowly turn the water shutoff valve counter-clockwise to turn the water back on. As the tank fills, use a flashlight to inspect the supply line connection for any drips. Once the tank is full, flush the toilet. Watch carefully around the entire base of the toilet for any signs of water seeping out. Flush it several more times to be certain the wax seal is holding. If there are no leaks at the supply line or the base, the repair is complete.
Common Problems
Stripped plastic threads from over-tightening the water supply line.
Solution: Hand-tightening the water supply line is often sufficient to prevent leaks without damaging the plastic threads.
Moisture in the flange area can lead to a poor seal and leaks.
Solution: Use a dry paper towel to wipe around the bolts and seam; any moisture will be easy to spot on the paper.
Stuck toilet washer prevents proper flange seating.
Solution: If a washer is stuck to the toilet due to corrosion, you can use a flathead screwdriver to gently pry it off.
Water leaks onto the floor, causing damage and a mess.
Solution: Place towels on the floor around the toilet to catch any residual water from the tank or supply line.
Be prepared for some residual water to spill when you lift the tank. Have towels ready on the floor.
Solution: To avoid this issue: Be mindful of this warning and take appropriate precautions.
Failure to completely remove old wax and debris can compromise the new seal and lead to leaks.
Solution: To avoid this issue: Be mindful of this warning and take appropriate precautions.
Scratched flooring from using a metal putty knife during flange repair.
Solution: A plastic putty knife is less likely to scratch the flooring than a metal one.
Frequently Asked Questions
How difficult is this toilet flange repair project for a beginner, and what's the estimated time commitment?
This project is considered beginner-friendly, primarily requiring patience and careful attention to detail rather than advanced skills. Most DIYers can complete it within 3-5 hours, assuming all necessary tools and materials are readily available. The most time-consuming parts are usually the careful removal and reinstallation of the toilet.
Do I need specialized and expensive tools like a Hilti Hammer Drill for this project, or are there more budget-friendly alternatives?
While a heavy-duty hammer drill is listed, it's typically only needed if you have a concrete subfloor and need to drill new holes for the repair ring or toilet bolts. For most common subfloors like wood, a standard drill with appropriate bits is sufficient. You also don't necessarily need multiple tactical flashlights; one good work light will suffice for visibility.
What are the key safety precautions I should take when repairing a toilet flange?
Always shut off the water supply to the toilet and flush it to empty the tank and bowl before starting. Wear protective gloves, especially when handling the old toilet and wax seal due to hygiene concerns. Be careful when lifting and moving the toilet, as it can be heavy and awkward; consider getting help to prevent back injury.
What is the most common mistake beginners make when installing a flange repair ring, and how can I ensure a leak-free connection?
The most common mistake is not thoroughly cleaning and leveling the existing flange area before installing the repair ring, or improperly seating the new wax seal. Ensure the old wax is completely removed and the surface is dry and smooth. When reinstalling the toilet, press it down firmly and evenly onto the new wax ring and avoid rocking it to create a proper seal.
My toilet flange is severely cracked or has large missing sections. Will a repair ring still work, or should I consider a full flange replacement?
Repair rings are best for minor cracks, breaks, or missing bolt slots that don't compromise the flange's structural integrity. If the flange is severely deteriorated, broken into multiple pieces, or has large sections missing that prevent a secure mounting, a full flange replacement is usually the more durable and reliable solution. Consult a professional if you're unsure of the extent of the damage.
What is the approximate cost of materials for this DIY toilet flange repair?
The material cost for this project is generally low, ranging from $20 to $50 depending on the type of repair ring and local pricing. This typically includes a new toilet repair ring (metal or plastic), a new wax ring with sleeve, and a set of closet bolts. These items are readily available at most hardware stores.


