
How to Remove Old, Hardened Plumber's Putty
About This Project
This guide provides comprehensive, step-by-step instructions for safely and effectively removing old, hardened plumber's putty from plumbing fixtures. The process involves a combination of mechanical scraping, thermal softening with heat, and chemical cleaning to prepare the surface for a new installation without causing damage.
Best for experienced DIYers and homeowners with some experience with basic plumbing knowledge. Requires MCR Safety BearKat Safety Glasses MCSCRWBK110 and Garden Chem Large Green 11 mil Reusable Nitrile Glove 15122-012 and Safety Glasses.
Tools & Materials
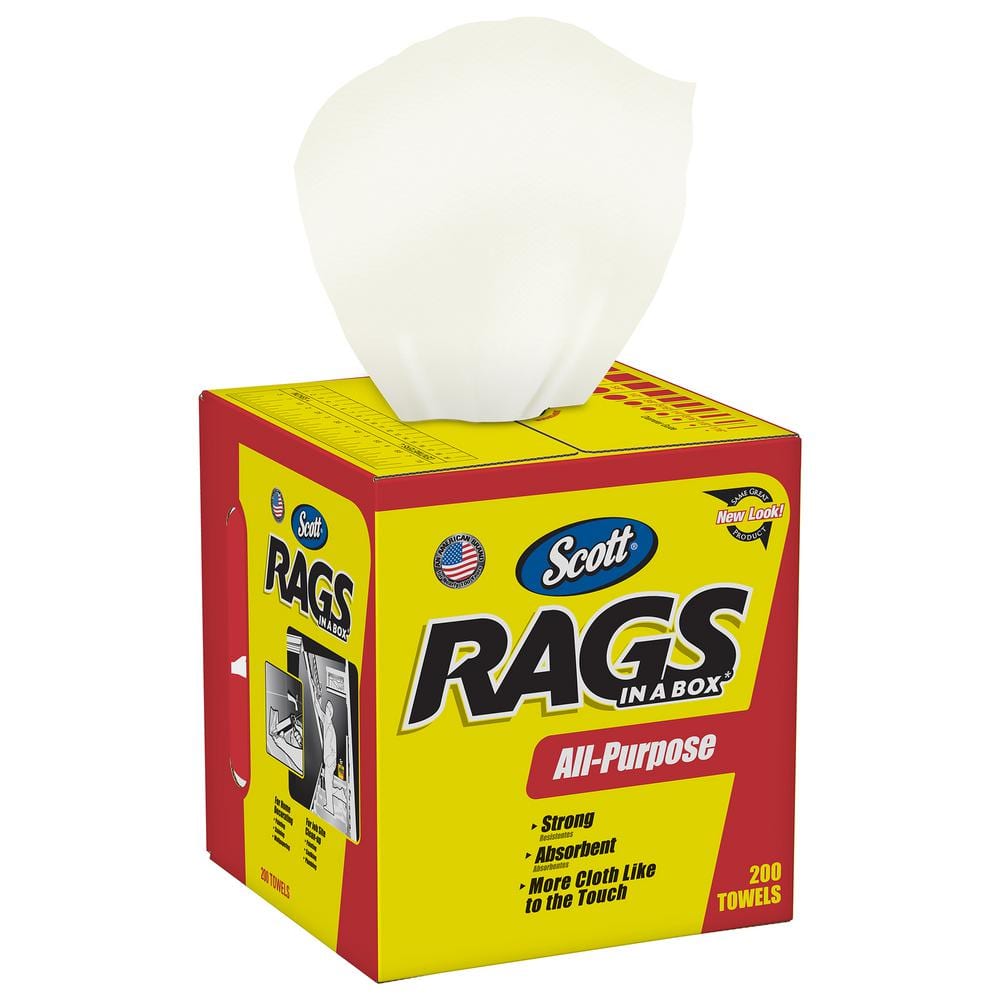
Scott Rags in A Box in White (200-Shop Towels per Box) 75260

MCR Safety BearKat Safety Glasses MCSCRWBK110
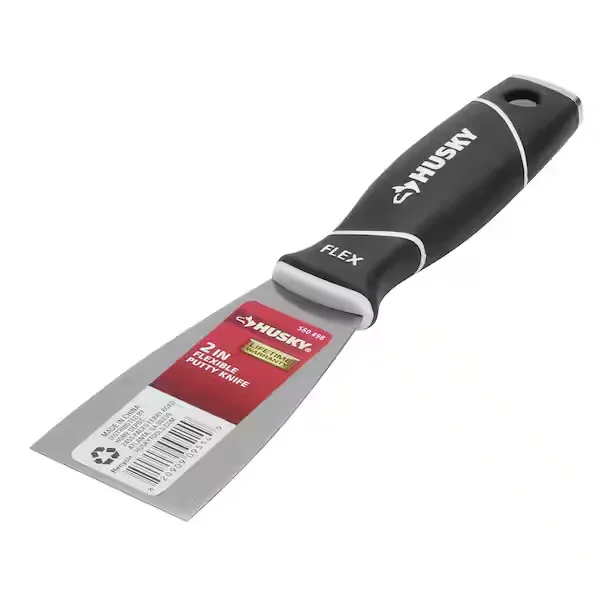
Putty knife

Aoibox Portable 1600-Watt Hair Dryer in Gray SNPH003IN330
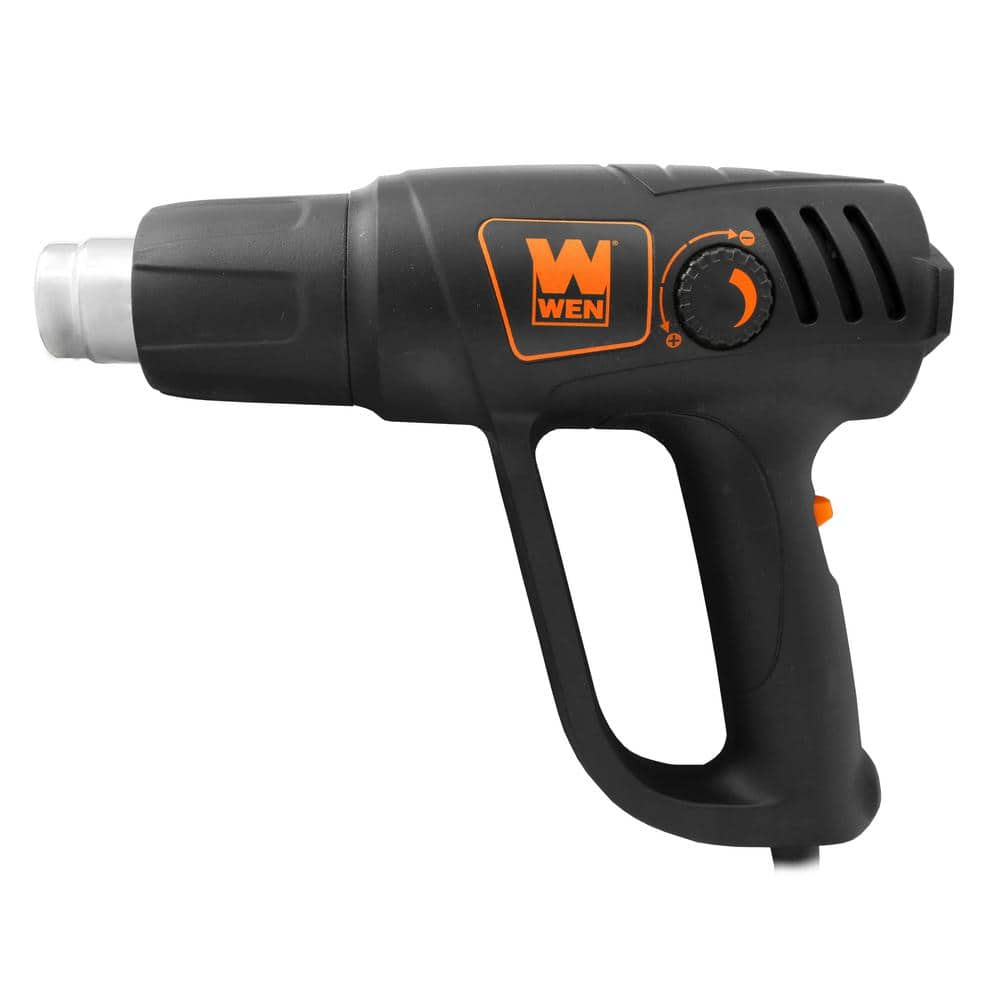
WEN 12.5 Amp Variable-Temperature Heat Gun with Adjustable Air Flow HG112V
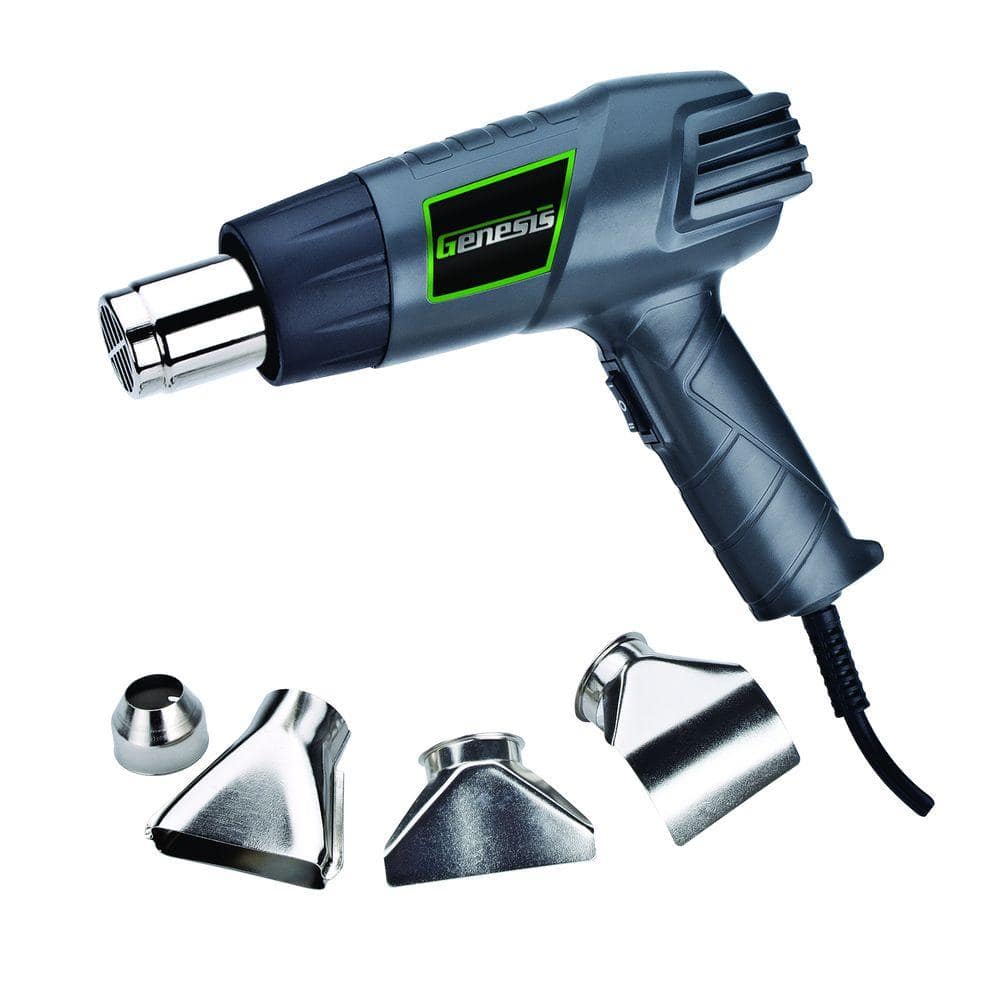
Genesis 12.5-Amp Dual-Temperature Heat Gun with High/Low Settings and Air Reduction, Reflector, and 2 Deflector Nozzles GHG1500A
Scott Rags in A Box in White (200-Shop Towels per Box) 75260
When you have tough jobs to tackle, you can trust Scott Rags in a Box, All-Purpose. These white disposable towels are made of cellulose fibers with a latex binder for thickness, absorbency, and strength.
MCR Safety BearKat Safety Glasses MCSCRWBK110
Safety glasses feature a well thought-out construction that combines the best in safety, comfort and affordability. Your vision is unobstructed by the 1-piece wraparound lens which, by its tight fit, provides for maximum safety. Flexible temples enhance your comfort during extended use. Nonslip rubber head grips are notched for a clip-on breakaway cord.
Putty knife
Spreads putty with its flat blade.
Aoibox Portable 1600-Watt Hair Dryer in Gray SNPH003IN330
Experience the ultimate in hair care with our 110000RPM Hair Dryer Blow Dryer featuring a high-speed brushless motor that delivers up to 20 m/s of powerful airflow for fast and efficient drying. Choose
WEN 12.5 Amp Variable-Temperature Heat Gun with Adjustable Air Flow HG112V
Remember when you could make stuff really hot. Add some heat to your life with the WEN Variable-Temperature Heat Gun Kit. This versatile tool creates heat ranging anywhere from 122°F to 1112°F. Simply
Genesis 12.5-Amp Dual-Temperature Heat Gun with High/Low Settings and Air Reduction, Reflector, and 2 Deflector Nozzles GHG1500A
Discover the many uses of the Genesis 1500W Dual Temperature Heat Gun. It's a Versatile Tool for Stripping Paint and Varnish, Softening Caulking and Putty for Removal, Removing Adhesive Labels, Thawing
Steps
Preparation and Safety
5 minsBefore beginning, prepare your workspace to contain the mess and ensure safety. Lay an old towel or rag on the surface beneath your work area to catch falling debris and prevent scratches. Put on your safety glasses to protect your eyes from any small, sharp fragments of hardened putty that may fly off during removal.

Initial Mechanical Removal
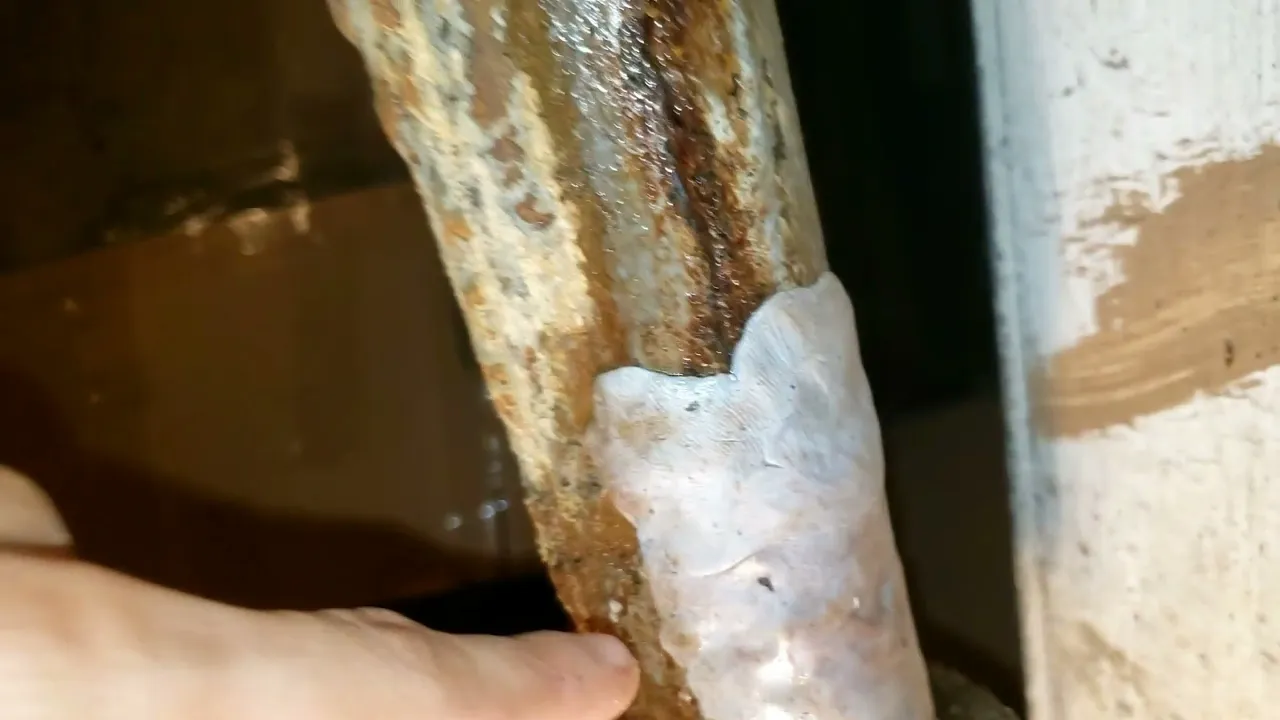
5 minsUsing a plastic putty knife or a similar non-marring plastic scraper, begin chipping away at the exposed plumber's putty. Hold the scraper at a low angle to the porcelain surface and apply firm, steady pressure to get under the edge of the putty. Your goal in this step is to remove the large, brittle chunks that break away easily. Do not force it, as this could cause the scraper to slip and damage the fixture.
Soften Stubborn Putty with Heat
5 minsFor the stubborn putty that remains, apply gentle heat to soften it. Set a hairdryer to its highest heat setting or a heat gun to its lowest. Hold the appliance 3-5 inches away from the putty and move it in a constant back-and-forth or circular motion to distribute the heat evenly. Heat a small section for 30-60 seconds. The putty should become noticeably softer and more pliable. Avoid concentrating heat in one spot for too long, as this could lead to thermal shock and crack the porcelain or melt adjacent plastic components.
Detailed Scraping of Softened Putty
5 minsImmediately after heating a section, while the putty is still warm and soft, resume scraping with your plastic putty knife. The putty should now peel or scrape away in larger, more pliable pieces. For any remaining thin, stubborn layers, you can cautiously use a metal tool. A flathead screwdriver or a utility knife blade, held nearly parallel to the surface, can be used to gently lift the edge of the putty. Apply minimal pressure to avoid scratching the porcelain. Alternate between heating and scraping until all solid putty is removed.

Final Cleaning with a Solvent
5 minsAfter all solid putty is gone, an oily residue will remain. To remove this, pour a small amount of a mild solvent, such as isopropyl alcohol or mineral spirits, onto a clean rag. Vigorously rub the entire area where the putty was located. The solvent will dissolve the oily film. You may need to apply more solvent and switch to a clean section of the rag to fully remove the residue. Once clean, use a final, dry rag to wipe the surface completely dry. The area should now be pristine and ready for the application of new plumber's putty or sealant.
Common Problems
The epoxy putty sets steel-hard in about 20 minutes, but it's best to wait at least an hour for it to fully cure and withstand pressure.
Solution: To avoid this issue: Be mindful of this warning and take appropriate precautions.
Old putty won't seal if the surface isn't dry.
Solution: A dry surface is crucial for the putty to seal correctly.
Avoid using a metal scraper or knife, as it can easily scratch and permanently damage the sink's finish.
Solution: To avoid this issue: Be mindful of this warning and take appropriate precautions.
Wasted putty if not saved.
Solution: The removed excess putty is still usable and can be placed back in its container.
Frequently Asked Questions
Do I really need a heat gun, or can I just use a hairdryer to soften the old putty?
A heat gun like the Genesis GHG1500A is highly recommended because it reaches much higher temperatures than a hairdryer, which is crucial for effectively softening hardened plumber's putty. A hairdryer may not generate enough heat to make the putty pliable enough for easy removal. Using the right tool will save you time and effort.
What are the most important safety precautions I need to take when using a heat gun and mineral spirits?
When using a heat gun, always wear heat-resistant gloves and eye protection to prevent burns and protect your eyes. For mineral spirits, ensure adequate ventilation by opening windows or using a fan to disperse fumes, and wear chemical-resistant gloves. Always keep a fire extinguisher nearby when working with heat and flammable solvents.
How long should a beginner expect this project to take, and what's the typical cost?
For a beginner, removing old, hardened plumber's putty from a single fixture can typically take 1-2 hours, depending on how stubborn the putty is and the size of the area. The cost is minimal if you already own a putty knife; otherwise, the required tools and materials like the heat gun, mineral spirits, and rags can range from $50-$100, providing you with supplies for future projects.
What if the putty still won't come off easily even after heating and scraping?
If the putty remains stubborn, re-apply heat from your Genesis heat gun for a longer duration, focusing on smaller sections at a time to ensure thorough softening. You can also try different angles with your putty knife or gently use a plastic scraper if the surface is delicate. Patience and multiple applications of heat and solvent may be necessary.
Can I damage my plumbing fixture with the heat gun or mineral spirits?
Yes, improper use can cause damage. Using the heat gun too close or for too long in one spot can scorch or melt plastic fixtures, and even crack porcelain or enamel. Mineral spirits like the Klean-Strip Green are generally safe for most fixture materials, but it's wise to test a small, inconspicuous area first, especially on delicate finishes, to ensure no discoloration or etching occurs.
Are there any alternative solvents I can use if I don't have mineral spirits or prefer something less harsh?
While Klean-Strip Green Odorless Mineral Spirits Substitute is effective and relatively mild, you could try rubbing alcohol or even a citrus-based cleaner for a less harsh alternative. However, these alternatives may require more scrubbing with your Scott Rags or Terry Towel Cleaning Cloths and might not be as effective on extremely hardened putty. Always check product compatibility with your fixture material.


