

How to Remove a Stuck Bathtub Drain Flange
About This Project
This guide provides comprehensive, step-by-step instructions for removing a bathtub drain flange that is stuck due to age, corrosion, or hardened plumber's putty. The process begins with preparation and initial attempts using standard tools, then escalates to more advanced techniques involving penetrating oils, specialized drain wrenches, and, as a last resort, cutting the flange.
Best for advanced DIYers and professionals with basic plumbing knowledge and familiarity with power tools. Requires HDX Over the Glass Indoor Safety Glasses VS-265 and FIRM GRIP Heavy Duty Large Glove 55297-06 and Safety Glasses.
Tools & Materials

Adjustable Wrench
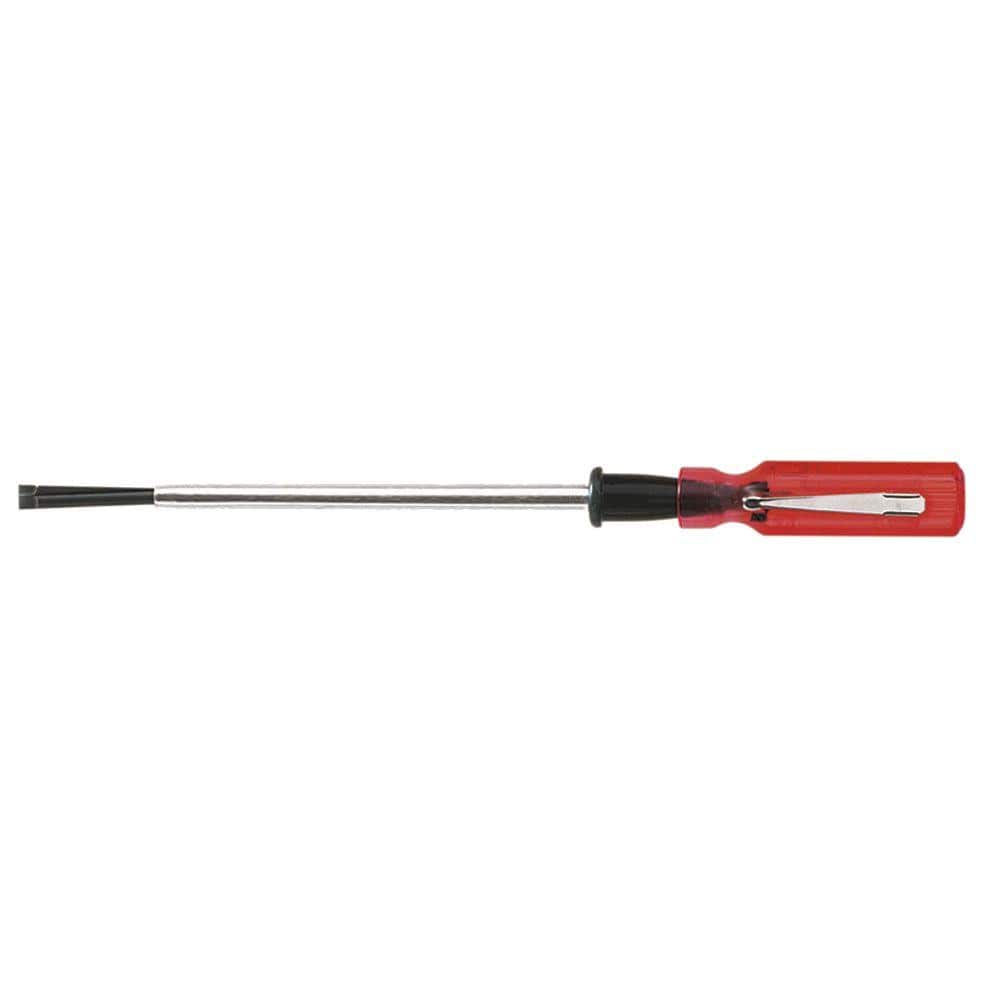
Klein Tools 3/16 in. Slotted Screw-Holding Flat Head Screwdriver with 8 in. Round Shank K28

Towel
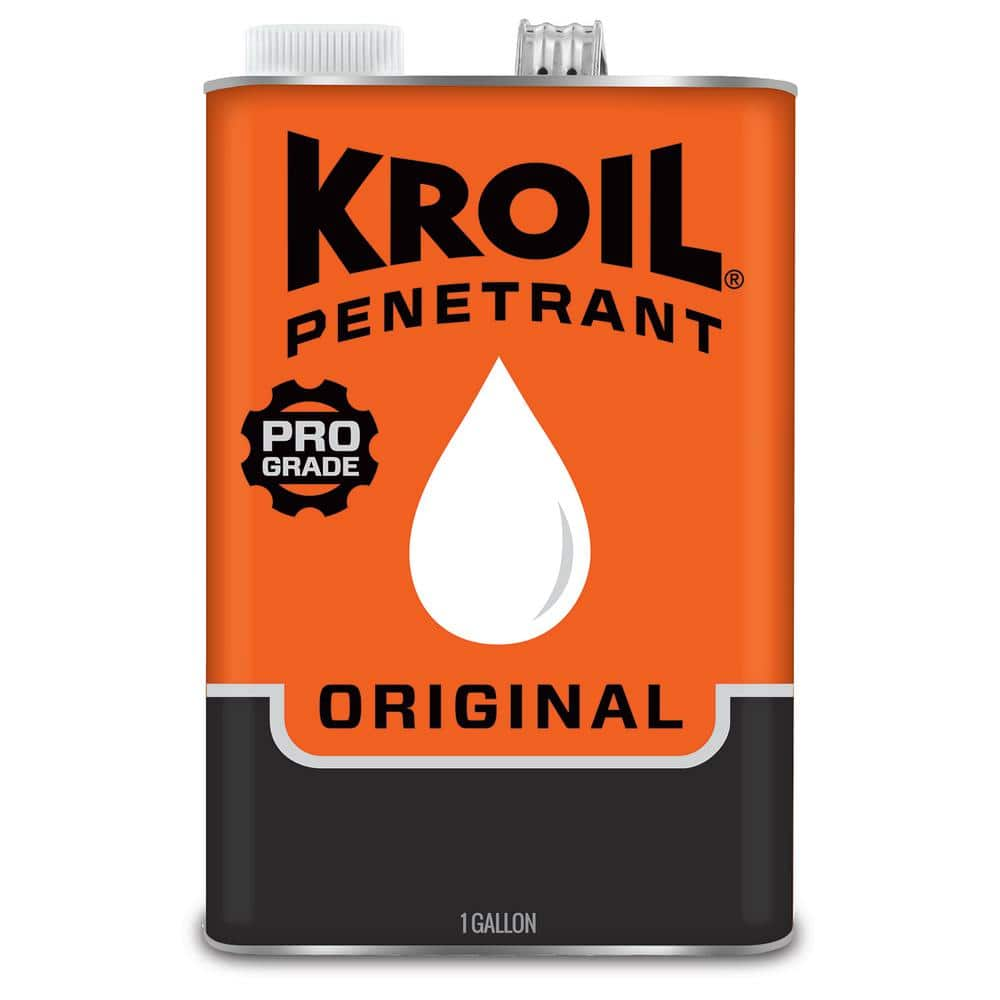
KROIL Penetrating Oil Liquid, Industrial-Grade Penetrant, Multi-Purpose Oil, Liquid, NSF H2,50-State VOC Compliant KL011
Better Trends Edge Collection 24 in. x 40 in. Brown 100% Cotton Rectangle Bath Rug BAEG2440SD

Safety Glasses
Adjustable Wrench
Fits various nut and bolt sizes with its adjustable jaw.
Klein Tools 3/16 in. Slotted Screw-Holding Flat Head Screwdriver with 8 in. Round Shank K28
Getting that screw to stay put while you get it in place is much easier with Klein's Slotted Screw-Holding screwdriver. Positive gripping action holds, starts, and drives slotted screws in awkward, hard-to-reach
Towel
Absorbs moisture and dries surfaces.
KROIL Penetrating Oil Liquid, Industrial-Grade Penetrant, Multi-Purpose Oil, Liquid, NSF H2,50-State VOC Compliant KL011
KROIL Penetrant 1 Gal. can is an industrial-strength penetrating oil formulated to quickly penetrate deep into small crevices. KROIL attacks rust and corrosion to help loosen frozen or seized metal fasteners
Better Trends Edge Collection 24 in. x 40 in. Brown 100% Cotton Rectangle Bath Rug BAEG2440SD
This one is a perfect option if you are looking for a highly durable and sustainable rug for the bathroom. This collection of bathroom mats and rugs sets is a worth investing offer from Better Trends.
Safety Glasses
Keeps eyes safe from potential hazards.
Steps
Prepare the Work Area and Remove Stopper
10 minsFirst, prepare your workspace. Place a thick, dry rag or an old towel over the tub floor around the drain to prevent any accidental scratches or damage to the tub's acrylic surface. Next, remove the existing lift-and-turn stopper. To do this, open the stopper, then locate the small set screw on its base. Use an Allen wrench or a small flathead screwdriver to loosen this screw. You do not need to remove it completely. Once loose, unscrew the knob cap from the top of the stopper post, and lift the entire stopper mechanism out of the drain. Clean out any hair or gunk to get a clear view of the drain flange and its crossbars.
Apply Penetrating Oil
5 minsSince the flange is stuck, hardened plumber's putty and corrosion are likely culprits. Apply a generous amount of penetrating oil, such as PB B'laster or WD-40 Specialist Penetrant. Spray the oil directly onto the seam where the top edge of the flange meets the bathtub, allowing it to seep down into the threads. Also, try to spray some directly onto the threads from inside the drain. Let the penetrating oil sit for at least 30 minutes; for a very stubborn flange, allowing it to penetrate for several hours or even overnight can make a significant difference.
Use a Drain Key for Removal
15 minsThe most effective tool for this job is a specialized drain key, also known as a dumbbell wrench or drain remover. Select the end of the wrench that fits snugly into your drain opening. Insert it so the lugs on the tool firmly engage with the crossbars inside the flange. Once seated, place a large adjustable wrench onto the hex-shaped body of the drain key. Alternatively, if your key has a hole, insert the shaft of a large, sturdy screwdriver through it to use as a T-handle. Apply steady, strong, counter-clockwise pressure to break the flange free. Avoid jerky movements which can break the crossbars.
Cut the Flange (Last Resort)
30 minsIf the flange is still stuck or the crossbars break, you must resort to a more destructive method. This is the point of no return for the old flange. Put on your safety glasses and protective gloves. Using a Dremel-style rotary tool equipped with a reinforced metal cutting wheel, carefully make two vertical cuts on opposite sides of the flange's interior wall. Cut from the top lip down towards the threads, but be extremely careful not to cut all the way through into the drain pipe threads or the surface of the tub. The goal is to weaken the flange. Once the cuts are made, insert a flathead screwdriver into one of the cuts and pry the section inward, toward the center of the drain. This should break the flange's tension and allow you to remove it in pieces. If you don't have a rotary tool, you can wrap a mini hacksaw blade in a rag to use as a handle and slowly saw through the flange wall, though this is much more difficult and time-consuming.
Clean the Drain Threads and Surface
15 minsAfter successfully removing the old flange, it is crucial to prepare the surface for the new installation. Use a plastic putty knife to scrape away the bulk of the old, hardened plumber's putty from the bathtub surface around the drain opening. Use a wire brush to thoroughly clean the female threads inside the drain pipe (the drain shoe), removing any bits of old putty, sealant, or corrosion. Be meticulous with this step to ensure the new flange will seal properly. Finally, wipe the entire area—both the tub surface and the pipe threads—with a clean rag. For a perfectly clean surface, you can wipe it down with a rag dampened with mineral spirits or rubbing alcohol to remove any final oily residue.
Common Problems
Standard extractors might slip and fail to grip on heavily corroded or tightly seized drain flanges.
Solution: To avoid this issue: Be mindful of this warning and take appropriate precautions.
The locknut underneath can be in a very tight, recessed space. Ensure your tools can fit before applying force.
Solution: To avoid this issue: Be mindful of this warning and take appropriate precautions.
This process creates a lot of dust and noise. Wear hearing protection, safety glasses, and a respirator/face mask.
Solution: To avoid this issue: Be mindful of this warning and take appropriate precautions.
Avoid grinding or excessively disturbing the lead seal to minimize toxic dust. Focus on breaking the cast iron first, then deforming the lead to break the seal.
Solution: To avoid this issue: Be mindful of this warning and take appropriate precautions.
Wear safety glasses and gloves when drilling and cutting metal to protect against flying debris.
Solution: To avoid this issue: Be mindful of this warning and take appropriate precautions.
Be careful not to cut too deep and damage the cast iron drain pipe underneath the flange.
Solution: To avoid this issue: Be mindful of this warning and take appropriate precautions.
The chisel may slip. Maintain a firm grip and be prepared for this to avoid scratching the tub surface.
Solution: To avoid this issue: Be mindful of this warning and take appropriate precautions.
Frequently Asked Questions
What should I do if the drain key or wrench just slips, or the flange doesn't budge after applying penetrating oil?
If initial attempts fail, the flange is likely severely corroded or the putty is rock-hard. Apply more penetrating oil, like KROIL, and let it sit for several hours or even overnight to allow it to fully penetrate. If it still won't turn, your last resort is to carefully cut the flange using a rotary tool with a metal cutting wheel, making two opposing cuts without damaging the drain pipe threads.
Is it safe to cut the drain flange, and what precautions should I take?
Cutting the flange is a last resort and requires careful attention to safety. Always wear safety glasses and gloves to protect against metal fragments and sparks. Use a rotary tool with a metal cutting wheel, making two shallow, opposing cuts from the inside of the flange, being extremely careful not to cut into the drain shoe's threads below the flange.
How can I minimize the risk of damaging the bathtub or drain pipe during removal?
To prevent damage, protect the tub surface with a rag or towel if using a wrench or other tools that might slip. When cutting the flange, make shallow passes and continuously confirm you are only cutting the flange metal. Avoid excessive force, as that can warp the drain shoe or break connections further down the pipe.
Given this is a 'beginner' project, what are the most essential tools I absolutely need to have on hand?
Beyond basic safety gear, you'll definitely need a high-quality penetrating oil like KROIL, an adjustable wrench, and a specialized drain key or removal tool. For very stuck flanges, a rotary tool like the WEN 101-Piece Rotary Tool Kit with a metal cutting wheel (Stark 5 in. Metal Cut Saw Wheel) becomes essential. A putty knife and rags are also vital for preparation and cleanup.
The project estimates 4 hours. Is that realistic for a beginner, or should I expect it to take longer?
Four hours is a realistic estimate if the flange isn't severely stuck and responds to initial removal attempts. However, if you need to let penetrating oil soak for several hours or resort to cutting the flange, the active work time might be shorter, but the overall project duration could stretch to a full day or even overnight to allow for proper soaking.
After removing the old flange, what's the best way to prepare the drain opening for a new one?
Thorough cleaning is crucial for a watertight seal with the new flange. Use a wire brush, such as the Lincoln Electric Brass Welding Wire Brush, to meticulously remove all old plumber's putty, corrosion, and debris from the drain pipe threads and the surrounding tub surface. Follow up with mineral spirits (Klean-Strip Odorless Mineral Spirits) on a rag to ensure all residue is gone, leaving a perfectly clean and dry surface.
What type of penetrating oil is recommended, and how should I apply it for best results?
KROIL Penetrating Oil Liquid is highly recommended for its effectiveness in breaking down rust and hardened compounds. Apply it liberally around the gap between the flange and the tub, letting it seep down into the threads. For optimal results, allow it to soak for at least 30 minutes, or even several hours for extremely stubborn flanges, reapplying as needed to keep the area saturated.