

How to Remove a Garbage Disposal and Install a Standard Sink Drain
About This Project
This project involves the complete removal of an existing garbage disposal unit and its associated mounting hardware and plumbing. It will be replaced with a standard basket strainer and a new PVC drain assembly, including a P-trap and connections for a double-bowl sink and a dishwasher.
Best for experienced DIYers and homeowners with some experience with basic plumbing knowledge and familiarity with power tools. Requires MCR Safety BearKat Safety Glasses MCSCRWBK110.
Tools & Materials

Unger 6 Gal. Heavy-Duty Plastic Bucket DB02

Towel
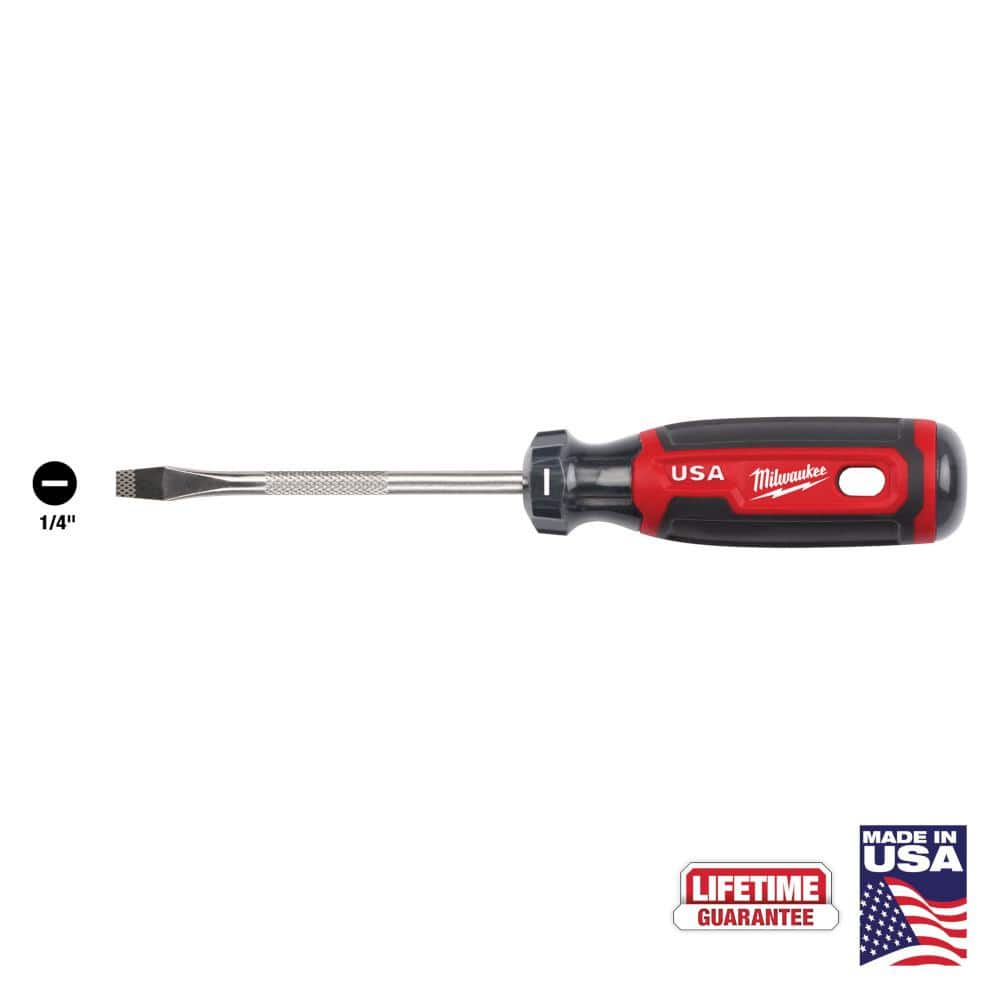
Milwaukee 4 in. x 1/4 in. Slotted Flat Head Screwdriver with Cushion Grip MT206

Channellock 10 in. Tongue and Groove Plier 430
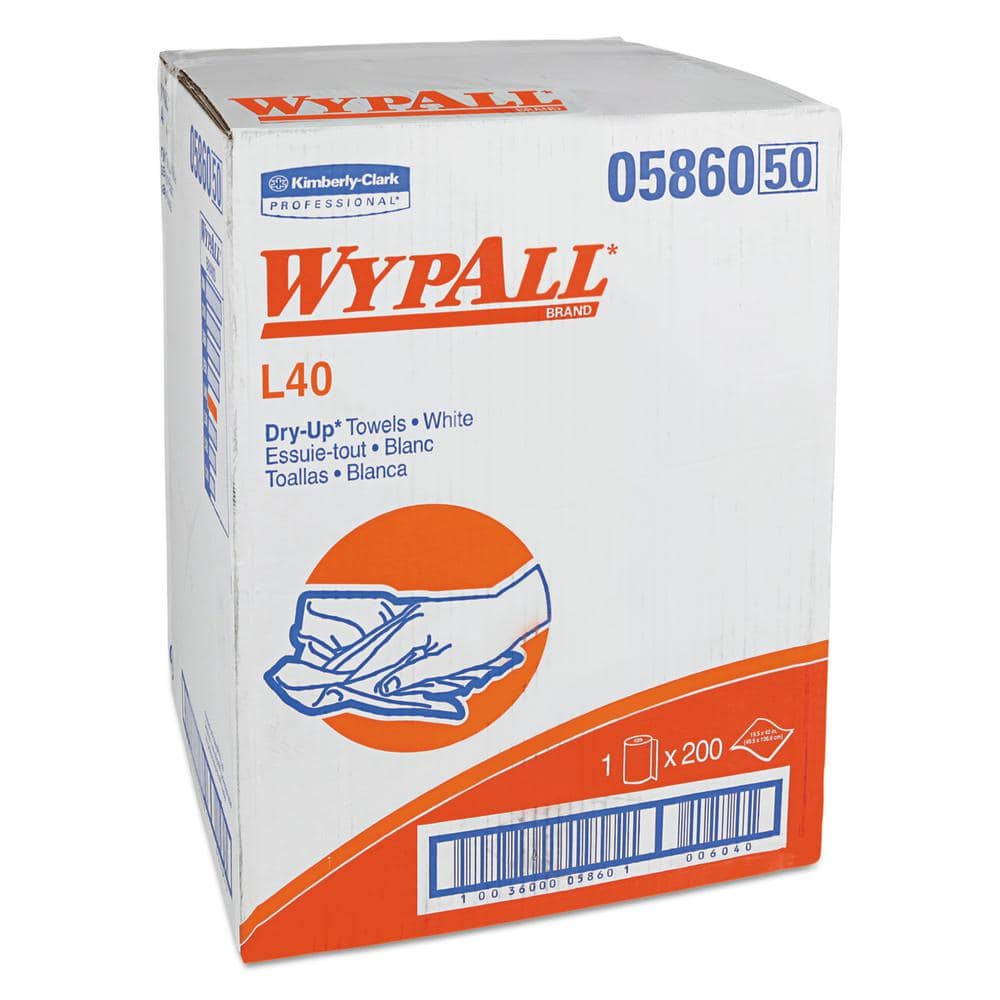
WYPALL L40 Towels, Dry Up Towels, 19-1/2 in. x 42 in., White, 200 Towels/Roll KCC05860

JONARD TOOLS Nut Driver, 5/16 in. Hex Tip, 3 in. Hollow Shaft with Wide Ergonomic Comfort Grip, Blue ND-630516
Unger 6 Gal. Heavy-Duty Plastic Bucket DB02
The Unger 6-Gallon Heavy-Duty Professional Cleaning Bucket holds more than 6 Gal. of liquid. The bucket can accommodate a scrubber up to 14 in. L. This bucket features measurement marks and 2-pour spouts
Towel
Absorbs moisture and dries surfaces.
Milwaukee 4 in. x 1/4 in. Slotted Flat Head Screwdriver with Cushion Grip MT206
The Milwaukee® 1/4" Slotted 4" Cushion Grip Screwdrivers (USA) are manufactured to give the professional the best-fitting screwdriver with max grip. These screwdriver tips are custom machined to deliver
Channellock 10 in. Tongue and Groove Plier 430
The Channellock 10 in. Straight Jaw Tongue and Groove Pliers are constructed with high-carbon steel and fashioned with laser heat-treated teeth for strong, nonslip jaw action. Undercut tongue-and-groove
WYPALL L40 Towels, Dry Up Towels, 19-1/2 in. x 42 in., White, 200 Towels/Roll KCC05860
WYPALL L40 Wipers are effective wipers that absorb liquids lightning-fast. These wipes are made of bonded cellulose using DRC (double re-creped) technology for strength, softness and absorbency. As a wiping cloth, it soaks up liquids fast, but all you'll feel is softness, thanks to a plush, touchable outer layer. In fact, it's a popular choice for patient wiping in healthcare industries, for bathing and patient drying. These utility wipes are specially designed to absorb liquids, lubricants and oils (in restaurants for wiping counters, in mechanic shops, industrial and commercial factories and more), yet they're soft enough for use on face and hands. Experience the difference in superior absorbency and cleaning at your home or office today. Towel/Wipe Type: Dry Wipes; Application: Bathrooms; Material(s): Cloth-Like; Number of Plies: 1.
JONARD TOOLS Nut Driver, 5/16 in. Hex Tip, 3 in. Hollow Shaft with Wide Ergonomic Comfort Grip, Blue ND-630516
Jonard's Nut Drivers have a full length hollow shaft, making them a great tool to use on stacked circuit boards and long bolts/studs. The rubberized handle provides the user better grip on the tool in
Steps

Prepare the Work Area and Shut Off Power
10 minsBegin by completely clearing out the cabinet under the sink to create ample workspace. Place a bucket directly under the P-trap and garbage disposal. Lay down several old towels around the bucket to absorb any spills. The most critical safety step is to disconnect the power to the disposal. Locate the power cord and unplug it from the wall outlet. If your unit is hardwired, go to your home's main electrical panel and switch off the circuit breaker that controls the garbage disposal. To be certain, use a non-contact voltage tester to verify that there is no electrical current flowing to the unit before proceeding.

Disconnect Plumbing Connections
15 minsFirst, locate the flexible, ribbed dishwasher drain hose connected to the large inlet nipple on the side of the garbage disposal. Use a flathead screwdriver or a 5/16" nut driver to loosen the metal hose clamp securing it. Wiggle the hose off the nipple and immediately direct the open end into your bucket to drain any water. Next, identify the large slip nuts that connect the P-trap assembly to the disposal's discharge tube and the drainpipe coming from the wall. Using a pair of channel-lock pliers, turn these nuts counter-clockwise to loosen them. They may be tight initially. Once broken loose, you should be able to finish unscrewing them by hand. Carefully lower the P-trap, emptying its water content into the bucket.

Detach the Garbage Disposal Unit
10 minsThe garbage disposal unit is heavy and will drop once released. Support its weight from below with one hand, or place a few blocks of wood or a small stool underneath it for support. Locate the mounting ring at the top of the disposal where it connects to the sink flange. You will see several small lugs on this ring. Insert the tip of a large flathead screwdriver or the special 'Jam-Buster' wrench (if you have it) into one of these lugs. Apply firm pressure and turn the entire mounting ring counter-clockwise about one-quarter turn. You will feel it unlock from the mounting assembly. Once unlocked, carefully lower the heavy disposal unit and move it out from under the sink.

Remove Sink Flange and Mounting Hardware
15 minsFrom underneath the sink, locate the three screws on the remaining mounting assembly. Loosen these screws until the lower part of the mount (the backup flange) can be removed. Next, you will see a thin, springy metal snap ring holding the rest of the assembly in place. Carefully pry one end of this snap ring out of its groove using a flathead screwdriver. Be cautious as it can spring off unexpectedly. Once the snap ring is off, the rest of the mounting hardware will come free. Move to the top of the sink. Use a putty knife to gently pry up and remove the old sink flange (the metal drain piece). Scrape away all the old, hardened plumber's putty from the sink's surface. For a perfectly clean surface, wipe the area around the drain hole with a cloth and a small amount of rubbing alcohol.

Install New Basket Strainer
20 minsTake a generous amount of fresh plumber's putty and knead it in your hands to warm it up. Roll it into a uniform, snake-like rope about 1/4-inch thick. Wrap this putty rope around the underside of the new basket strainer's flange. From above the sink, press the strainer firmly down into the clean drain hole. The putty should squeeze out evenly around the entire perimeter. From underneath the sink, slide the rubber gasket up against the sink bottom, followed by the fiber or cardboard friction washer, and finally the large metal locknut. Hand-tighten the locknut as much as possible. To finish, use channel-lock pliers or a dedicated strainer locknut wrench to give the locknut a final half-turn. To prevent the strainer from spinning while you tighten, have a helper hold it steady from above by inserting the handles of pliers or a screwdriver into the crossbars. Wipe away the excess putty that squeezed out on the top side of the sink with your finger or a cloth.

Assemble and Connect New Drain Pipes
30 minsBegin by attaching a flanged tailpiece to the bottom of the newly installed basket strainer, securing it with a slip nut and washer. Now, loosely assemble the rest of the pipes to 'dry fit' them. Connect the second tailpiece from the other sink bowl. Attach the continuous waste tee (or sanitary tee) to connect both tailpieces. The outlet of the tee should point toward the drain pipe in the wall. This tee fitting must have a baffled side inlet for the dishwasher hose. Attach the dishwasher drain hose to this baffled inlet and secure it with its hose clamp. Create a 'high loop' by fastening the dishwasher hose as high as possible inside the sink cabinet before it connects to the tee. Finally, connect the P-trap between the bottom of the waste tee and the drainpipe in the wall. You may need to use a hacksaw or tubing cutter to trim a tailpiece or the horizontal arm of the trap for a perfect fit. Once you confirm everything aligns correctly and slopes gently downhill towards the wall drain, hand-tighten all slip nuts, then give each a final quarter-turn with channel-lock pliers. Do not overtighten.

Test for Leaks
15 minsEnsure your bucket is still positioned under the P-trap. Place the stoppers in both sink drains and fill both bowls about halfway with water. While the sinks are filling, visually inspect all your new connections. Once filled, remove both stoppers simultaneously to send a large volume of water through the new drain system, which puts the joints under pressure. As the water drains, meticulously check every connection point for any signs of moisture. Run a dry paper towel under each slip nut and joint, as this will make even the smallest drip immediately visible. If you find a leak, the most common cause is a misaligned slip washer or a nut that isn't tight enough. Try tightening the leaking nut slightly. If the leak persists, disassemble that specific joint, ensure the washer is seated flat and correctly, and then reassemble and re-tighten.
Common Problems
Be prepared for water to spill out of the P-trap as soon as it's disconnected. Keep the bucket positioned directly underneath.
Solution: To avoid this issue: Be mindful of this warning and take appropriate precautions.
The water will come out quickly and can be messy. Make sure the bucket is positioned correctly.
Solution: To avoid this issue: Be mindful of this warning and take appropriate precautions.
Water spills onto the floor when removing the disposal.
Solution: Have a bucket ready to catch any water that might spill from the hose or disposal.
Water spills onto the floor when disconnecting the garbage disposal hose.
Solution: Place a bucket underneath the connection to catch any water that will drain from the hose.
Do not overtighten the nuts, as this might crack the plastic.
Solution: To avoid this issue: Be mindful of this warning and take appropriate precautions.
Do not leave the area unattended immediately after turning the water back on. Stay and observe the new fittings for several minutes.
Solution: To avoid this issue: Be mindful of this warning and take appropriate precautions.
An improperly seated or dirty washer is the most common cause of leaks after reassembly. Double-check their condition and orientation.
Solution: To avoid this issue: Be mindful of this warning and take appropriate precautions.
Frequently Asked Questions
What are the most important safety steps to take before starting this project, especially since it involves electricity and water?
Always shut off power to the disposal circuit at your electrical panel first. Then, turn off the hot and cold water supply valves located under the sink. Have a bucket and towels ready for any residual water that may be in the pipes.
The tool list seems comprehensive, but are there any additional tools that would make this beginner project easier or more efficient?
While the listed tools are sufficient, a headlamp can greatly improve visibility in the dark cabinet space under the sink. A basin wrench can also be helpful for removing stubborn or hard-to-reach nuts from the old disposal or existing drain, though pliers often suffice.
What are the most common pitfalls or mistakes beginners make when installing a new sink drain, and how can I ensure a leak-free installation?
The biggest mistake is inadequate sealing. Ensure you apply a generous, even bead of plumber's putty under the basket strainer flange for a watertight seal. Also, avoid overtightening PVC connections, as this can crack fittings; hand-tightening plus a quarter turn with pliers is usually sufficient.
Given that I'm a beginner, is the 4-hour estimated time realistic, or should I budget more time for unexpected issues?
While the project is beginner-friendly and 4 hours is a good estimate, budgeting extra time is wise, especially if dealing with older, stubborn plumbing connections or unexpected discoveries. Give yourself 5-6 hours to work without rush, allowing for potential trips to the hardware store if needed.
Is plumber's putty always the best choice for sealing the basket strainer, or are there alternative sealants I should consider?
Plumber's putty is the traditional and most effective choice for sealing basket strainers, as it remains pliable and creates an excellent waterproof seal. While silicone sealant is an alternative for some plumbing applications, putty is generally preferred for its ease of application and future removability on sink drains.
After I've completed the installation of the new drain, what's the best way to thoroughly check for leaks before putting everything back under the sink?
Once everything is connected, turn on the water supply and run water into the sink for several minutes, filling and draining both bowls multiple times. Carefully inspect all new connections, including the basket strainer, P-trap, and tailpiece, by wiping them with a dry paper towel to detect even the smallest drips.


